Tzatziki Recipe, a creamy Greek yogurt-based sauce with cucumber and herbs, delivers a perfect balance of refreshing flavors for Mediterranean cuisine. This simple yet sophisticated dip has deep cultural roots, combining nutrition with taste to make it an essential addition to any kitchen.
Table of Contents
Key Takeaways
- Proper cucumber preparation is crucial – peeling, grating, and thoroughly draining removes excess moisture for the perfect consistency.
- Use full-fat Greek yogurt as the base for authentic texture and flavor, combined with fresh garlic, dill, olive oil, and lemon juice.
- Let tzatziki rest for at least 2 hours before serving to allow flavors to develop and meld together properly.
- Beyond a dip, tzatziki works wonderfully as a sauce for grilled meats, a spread for sandwiches, or a topping for roasted vegetables.
- Properly stored in an airtight container in the refrigerator, homemade tzatziki will keep fresh for 3-4 days.
What Makes Tzatziki Special
There’s something irresistible about a good tzatziki sauce that keeps me coming back for more. This Greek yogurt-based sauce has captured the hearts and palates of food lovers worldwide, and for good reason.
A Rich Cultural Heritage
Tzatziki has deep roots in Greek culinary tradition, where it evolved from similar yogurt-based sauces found throughout the Eastern Mediterranean. The Greeks perfected this combination of strained yogurt, cucumber, garlic, olive oil, and herbs into what we know today. The name itself comes from the Turkish word “cacık,” reflecting the cross-cultural influences that have shaped Mediterranean cuisine over centuries.
I find tzatziki’s adaptability particularly impressive. It’s not just limited to being served with gyros or souvlaki. This versatile sauce works beautifully as:
- A refreshing dip for warm pita bread or fresh vegetables
- A cooling sauce for grilled meats, especially lamb or chicken
- A flavorful spread in sandwiches and wraps
- A perfect companion to homemade bruschetta for a fusion appetizer
- A delightful topping for baked potatoes or roasted vegetables
The magic of tzatziki lies in its perfect balance of textures and flavors. The cool, creamy yogurt base provides a velvety foundation, while the cucumber adds a subtle crunch. Garlic delivers a punchy flavor that’s tamed by the dairy, and fresh herbs—typically dill or mint—bring brightness to each bite. A drizzle of quality olive oil ties everything together with its fruity notes.
What I appreciate most about tzatziki is how it manages to be both refreshing and satisfying. On hot summer days, it offers a cool counterpoint to watermelon feta salad or grilled dishes. Even in cooler weather, its creamy texture makes it a comforting addition to heartier meals.
Unlike many store-bought dips loaded with preservatives, homemade tzatziki features simple, wholesome ingredients. The strained Greek yogurt provides protein while keeping the sauce light and tangy. It’s a healthier option than many cream-based dips without sacrificing flavor or satisfaction.
With its simple preparation and incredible versatility, tzatziki deserves a permanent spot in your culinary repertoire. Once you master the basic recipe, you can customize it to your taste preferences, adjusting the garlic intensity or experimenting with different fresh herbs.
Essential Kitchen Tools You’ll Need
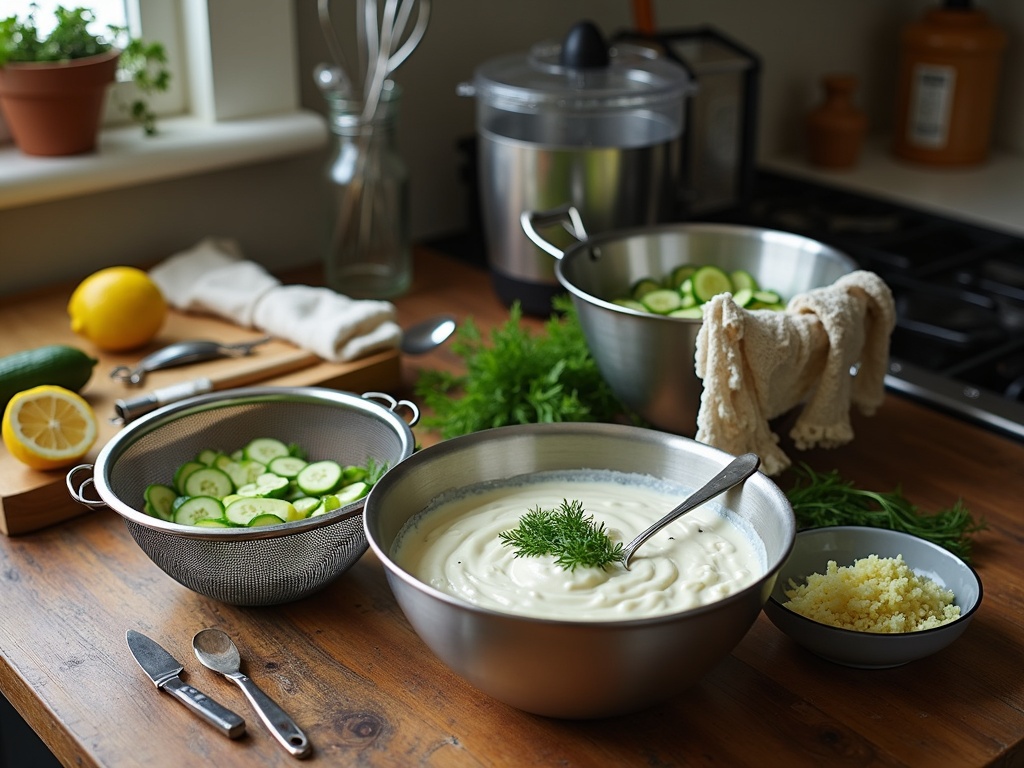
Creating tzatziki at home doesn’t need fancy equipment, but having the right tools makes the process smoother and more enjoyable. I’ve found that a few key items can make all the difference between a rushed, chunky dip and a perfectly balanced, creamy sauce.
Core Equipment for Perfect Tzatziki
A food processor simplifies the cucumber preparation tremendously. While not strictly necessary, it creates that perfect consistency in seconds rather than minutes of hand chopping. If you don’t have a processor, a box grater works well too — just use the medium holes for ideal cucumber texture.
Good quality mixing bowls are essential for combining ingredients properly. I recommend using:
- A medium bowl for straining yogurt (if needed)
- A large bowl for mixing all ingredients together
- A small bowl for temporarily holding prepared garlic or herbs
Perhaps the most important tool in tzatziki making is a cheesecloth or fine-mesh strainer. These are crucial for removing excess moisture from the cucumbers and, if you’re using regular yogurt instead of Greek yogurt, for straining that as well. The drier your ingredients, the creamier and more flavorful your final tzatziki will be.
Don’t forget precise measuring cups and spoons for getting the proportions right. While tzatziki is forgiving, balance matters — especially with potent ingredients like garlic and lemon. I’ve found that following measurements at least the first few times helps develop an intuition for later customization.
If you enjoy cold Mediterranean dishes like tzatziki, these basic tools will serve you well for many other recipes too. They’re particularly useful when making other yogurt-based sauces or fresh dips like hummus.
Beyond these essentials, a good knife for herb chopping and a garlic press can speed things up, but they’re not strictly necessary. The beauty of homemade tzatziki is that it doesn’t demand specialized equipment — just these few basic tools that most home kitchens already have.
Must-Have Ingredients
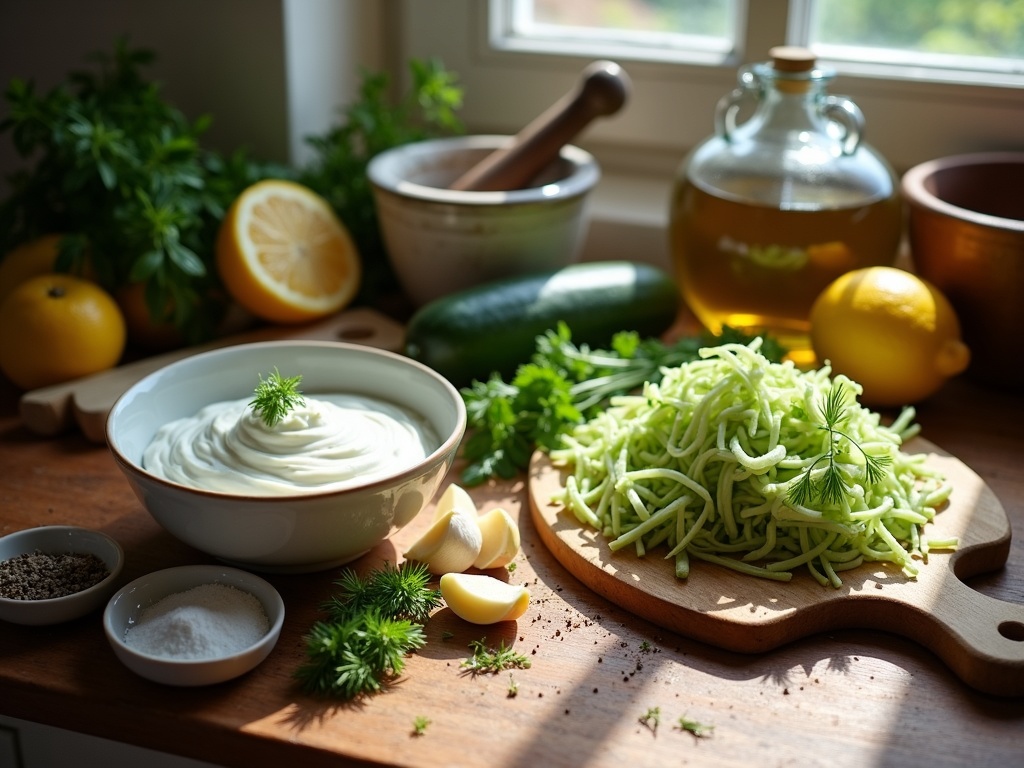
Creating perfect tzatziki starts with quality ingredients. This Greek yogurt-based sauce combines crisp cucumber with aromatic herbs for a refreshing dip or sauce that pairs beautifully with various dishes.
Core Components
Full-fat Greek yogurt serves as the foundation of any authentic tzatziki. I prefer using plain, strained yogurt for its rich texture and tangy flavor. The thick consistency creates the perfect base while providing that distinctive creaminess.
English cucumbers work best because they contain fewer seeds and less water than regular varieties. I always peel, seed, and grate the cucumber, then squeeze out excess moisture to prevent watery tzatziki. This extra step makes a significant difference in the final texture.
Fresh garlic cloves add that essential punch of flavor. I typically use 2–3 cloves, but you can adjust based on your preference. For a milder garlic flavor, try roasting the cloves first or soaking minced garlic in lemon juice for a few minutes.
Fresh herbs elevate tzatziki from good to exceptional. Here’s what I recommend including:
- Fresh dill: The traditional herb for tzatziki, providing distinctive flavor that can’t be replicated with dried versions
- Extra virgin olive oil: A drizzle adds richness and a silky mouthfeel
- Lemon juice: Brightens the flavor profile with necessary acidity
- Salt and pepper: Essential for balancing and enhancing all other flavors
- Mint leaves (optional): Adds a refreshing twist to traditional tzatziki
When selecting ingredients, quality matters tremendously. I’ve found that using organic herbs and locally sourced yogurt can transform a simple cold cucumber sauce into something truly memorable.
While store-bought options exist, nothing compares to homemade tzatziki made with freshly chopped herbs and properly prepared cucumber. The difference in flavor is immediately noticeable, especially when paired with grilled meats, fresh vegetables, or used as a spread on sandwiches.
Preparing Your Cucumber Like a Pro
Cucumber preparation is absolutely critical for a perfect tzatziki. When not properly drained, cucumbers release excess water that can turn your dip into a watery mess. I’ll show you how to handle this key ingredient with techniques that make all the difference.
Mastering the Grating Technique
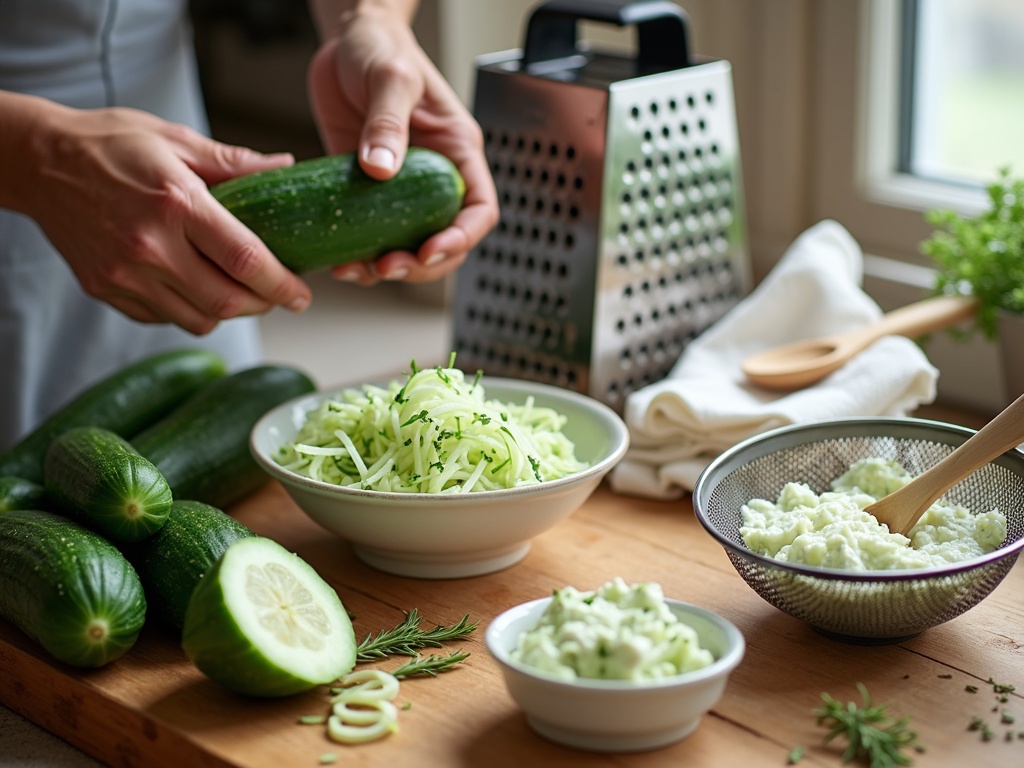
I always start by washing the cucumber thoroughly, then decide whether to peel it. The peel adds color and nutrients, but can sometimes taste bitter. For the actual grating, I use the medium holes on a standard box grater – they create the perfect texture that’s neither too chunky nor too fine.
Hold the cucumber at a 45-degree angle against the grater and use long, smooth strokes down the surface. This gives you consistent shreds and prevents your knuckles from getting too close to the grater. I find that one medium English cucumber yields about one cup of grated cucumber – the perfect amount for a standard tzatziki recipe.
Eliminating Excess Moisture
Getting rid of excess moisture is the secret to thick, restaurant-quality Mediterranean-style dips like tzatziki. Here are the most effective methods:
- Salt-drawing method: After grating, place cucumber in a colander and mix with 1/2 teaspoon of salt. Let it sit for 20-30 minutes to draw out moisture.
- Cheesecloth squeezing: Transfer the salted cucumber onto cheesecloth, gather the corners, and squeeze firmly until no more liquid comes out.
- Paper towel pressing: If you don’t have cheesecloth, place the cucumber in layers of paper towels and press firmly with your hands or a heavy object.
- Fine-mesh strainer: Simply push the cucumber against a fine-mesh strainer with the back of a spoon to extract liquid.
The salt-drawing method is particularly effective because it not only removes moisture but also seasons the cucumber. I give this process at least 30 minutes for best results, though in a pinch, 15 minutes with aggressive squeezing can work too.
After draining, you’ll notice your cucumber pile has shrunk considerably – that’s perfect! The cucumber should feel relatively dry to the touch but still have some moisture. This creates the ideal base for blending with yogurt and herbs in your refreshing Mediterranean dip.
Remember that proper cucumber preparation is an investment of time that pays off in flavor and texture. Your patience will be rewarded with tzatziki that stays thick and flavorful for days rather than separating after a few hours.
Mixing Your Tzatziki
Creating perfect tzatziki is all about technique and patience. The mixing process is straightforward but requires attention to detail to achieve that authentic, creamy texture that makes this Greek yogurt dip so irresistible.
Step-by-Step Mixing Process
I start by placing the strained yogurt in a medium-sized bowl, creating a solid foundation for the dip. Next, I add the prepared cucumber that’s been properly drained of excess moisture. This order matters – adding cucumber to yogurt (rather than vice versa) allows for better control of the consistency.
After incorporating the cucumber, I gently fold in the minced garlic, ensuring it distributes evenly throughout the mixture. The olive oil goes in next, giving the tzatziki its characteristic silky texture. Finally, I add the lemon juice, salt, and freshly chopped herbs.
When mixing, I use gentle folding motions rather than aggressive stirring. This preserves the yogurt’s creamy structure while distributing ingredients evenly. A wooden spoon or rubber spatula works perfectly for this task.
Perfecting Consistency and Flavor
Achieving the right consistency depends on several factors:
- Cucumber preparation: The more moisture removed from cucumbers, the thicker your final tzatziki will be
- Yogurt selection: Full-fat Greek yogurt produces the richest traditional Mediterranean dip texture
- Liquid ingredients: Add olive oil and lemon juice gradually, assessing consistency as you go
- Stirring technique: Gentle folding rather than vigorous mixing prevents breaking down the yogurt’s structure
I’ve found that resting tzatziki for at least 2 hours before serving dramatically improves its flavor profile. This resting period allows the garlic to mellow while infusing throughout the dip. For truly exceptional flavor development, making tzatziki the day before serving yields the best results.
If your tzatziki seems too thick after resting, I recommend adding a small splash of water or additional lemon juice to adjust. Conversely, if it seems too thin, you can strain it through cheesecloth for 20–30 minutes to remove excess moisture.
The final consistency should be thick enough to coat a piece of pita bread without running off, yet soft enough to create appealing ridges when you drag a spoon through it. Remember, tzatziki will continue to thicken slightly during refrigeration as the yogurt sets and additional cucumber water may be released, so aim for a slightly thinner consistency than your final goal.
Common Mistakes to Dodge
I’ve made plenty of mistakes when preparing tzatziki over the years, and I want to help you avoid them. Creating this creamy Greek cucumber yogurt dip seems simple, but a few wrong turns can drastically affect your final result.
Ingredient Selection Errors
Using regular yogurt instead of Greek yogurt is perhaps the most frequent misstep. Regular yogurt contains significantly more moisture, resulting in a runny dip that doesn’t cling properly to your crunchy bruschetta slices or pita bread. Greek yogurt provides that perfect thick, creamy base that holds up to dipping and spreading.
Another common error is adding too much garlic. While garlic gives tzatziki its distinctive flavor, excessive amounts can overwhelm the delicate cucumber and dill notes. Start with one small clove and adjust to taste – remember, raw garlic intensifies as it sits in the yogurt.
Preparation Pitfalls
Skipping the cucumber draining step leads to watery tzatziki that separates in the refrigerator. After grating the cucumber, place it in a clean kitchen towel or fine-mesh sieve and squeeze out as much liquid as possible. This extra five minutes makes all the difference between soupy disappointment and restaurant-quality dip.
Over-mixing the ingredients is another mistake that ruins the texture. Tzatziki should maintain some textural interest from the cucumber. Fold ingredients together gently rather than blending or food processing them. This preserves the refreshing cucumber bits that make cold dishes like gazpacho and tzatziki so satisfying.
Key Mistakes to Avoid
- Using regular instead of Greek yogurt (too thin)
- Failing to drain cucumbers thoroughly (causes separation)
- Stirring too vigorously (destroys texture)
- Adding excessive garlic (overpowers other flavors)
- Not allowing flavors to meld (serve too quickly)
- Under-seasoning with salt and acid (flat flavor profile)
I find that letting tzatziki rest in the refrigerator for at least an hour before serving allows the flavors to develop fully. This makes it an excellent make-ahead option for entertaining alongside other Mediterranean favorites like watermelon feta salad or as a cooling accompaniment to spicier dishes.
Expert Tips for Perfect Tzatziki
Creating restaurant-quality tzatziki at home isn’t complicated, but a few expert techniques can elevate this classic Greek yogurt dip from good to exceptional. I’ve learned through years of experimenting that the little details make all the difference.
Ingredients That Make a Difference
The foundation of any great tzatziki starts with selecting the right yogurt. For authentic texture and tanginess, I recommend using full-fat Greek yogurt. It’s naturally thicker than regular yogurt, creating that perfect creamy consistency without becoming watery. If Greek yogurt isn’t available, you can strain regular plain yogurt through cheesecloth for 4–6 hours in the refrigerator.
When it comes to herbs, fresh is almost always superior to dried for this recipe. Fresh dill provides vibrant flavor that dried simply can’t match. The bright, grassy notes of freshly chopped dill integrate beautifully with the cool yogurt and cucumber. If you’re in a pinch, dried herbs will work, but reduce the quantity to about one-third of what the recipe calls for since dried herbs are more concentrated.
For the cucumber component, Persian or English cucumbers work best as they have fewer seeds and less water content than regular varieties. Whatever cucumber you choose, don’t skip the crucial step of removing excess moisture. After grating, place the cucumber in a clean kitchen towel and squeeze thoroughly to extract as much liquid as possible – this prevents your cool and refreshing tzatziki from becoming runny as it sits.
Preparation and Storage Tips
A make-ahead strategy actually improves tzatziki. I recommend preparing it at least 2–3 hours before serving to allow the flavors to meld. For the best flavor development, make it the day before and store it covered in the refrigerator.
Speaking of storage, properly stored tzatziki will keep in an airtight container in the refrigerator for up to 5 days. You might notice some liquid separation after storage – simply stir before serving to recombine. While tzatziki is traditionally a dip for flavorful appetizers, it’s extremely versatile and works wonderfully as:
- A sauce for grilled meats
- A spread on sandwiches
- A dressing for simple salads
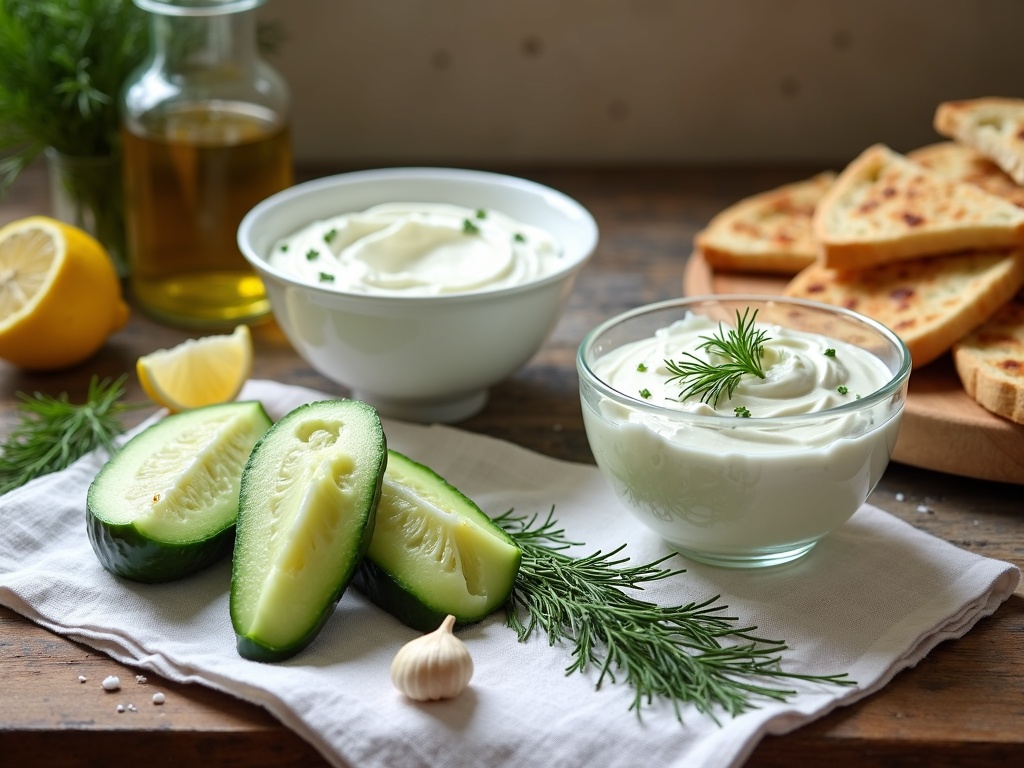
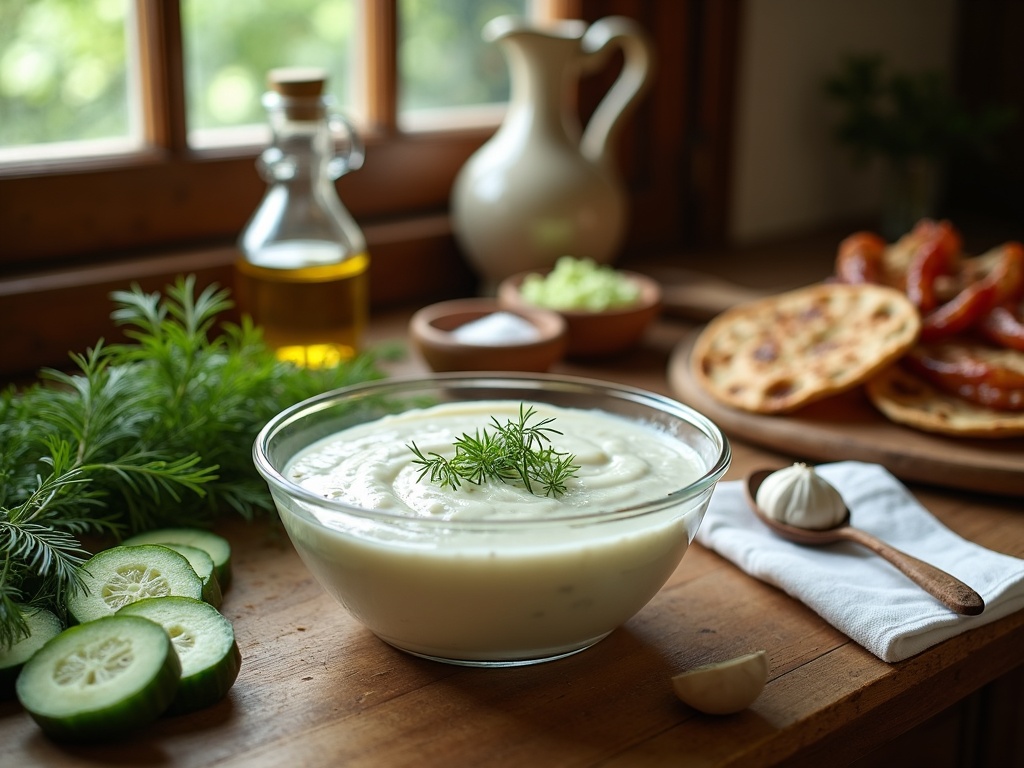
For an extra touch of authenticity, finish your tzatziki with a drizzle of high-quality olive oil just before serving. This adds richness and a beautiful presentation that takes this humble dip to new heights.
Serving Suggestions
Tzatziki isn’t just a versatile dip—it’s a culinary superstar that can transform ordinary meals into Mediterranean feasts. This creamy cucumber-yogurt sauce deserves to be showcased properly, whether you’re sticking to traditional pairings or exploring creative new combinations.
Classic and Creative Ways to Serve Tzatziki
Traditional Greek meals always include tzatziki as a key component. I’ve found that serving it as part of a meze platter creates an authentic experience that guests love. To create your own Greek-inspired spread, pair tzatziki with:
- Warm pita bread or fluffy flatbreads for dipping
- Grilled souvlaki skewers (chicken, or lamb)
- Fresh vegetable crudités like bell peppers, carrots, and cherry tomatoes
- Vegetable side dishes for a complementary flavor profile
- Falafel for a delicious vegetarian option
- Greek salad with feta, olives, and red onion
Beyond traditional uses, tzatziki has found its way into modern cuisine in exciting ways. I’ve discovered it makes a fantastic addition to:
- Burgers and sandwiches as a refreshing alternative to mayonnaise
- Grain bowls with roasted vegetables and proteins
- Baked potatoes instead of sour cream
- Bruschetta variations with a Mediterranean twist
- Fish tacos for a cooling element against spicy flavors
- Wraps with grilled vegetables and halloumi cheese
Temperature plays a crucial role in serving tzatziki properly. The dip tastes best when thoroughly chilled, ideally after sitting in the refrigerator for at least two hours before serving. This allows the flavors to meld together perfectly. For outdoor gatherings, I keep the tzatziki in a bowl nestled inside another bowl filled with ice to maintain the ideal cool temperature, especially on hot days.
When serving tzatziki as a standalone dip, presentation can elevate the experience. Try these simple garnishing tips:
- Drizzle high-quality olive oil on top for a beautiful finish
- Sprinkle with fresh herbs like mint, dill, or parsley
- Add a few kalamata olives for color contrast
- Dust with a pinch of paprika or sumac for a pop of color
- Include a few cucumber slices and lemon wedges around the bowl
- Pair with colorful salads for a visually appealing spread
For a complete Mediterranean meal experience, tzatziki works beautifully alongside other regional favorites. Consider serving it with chilled gazpacho in summer months for a refreshing combination of cold soups that highlight seasonal produce. Another excellent pairing is with homemade pesto as part of a fusion Mediterranean platter.
When hosting dinner parties, I’ve found that setting up a simple tzatziki bar where guests can customize their own servings works wonderfully. Provide warm pita, various vegetables, grilled meats, and different garnishing options, allowing everyone to create their perfect combination.
For family-style meals, tzatziki makes an excellent side dish to heartier fare like cottage pie or roasted meats, providing a cooling contrast to rich flavors.
The versatility of tzatziki extends to breakfast as well—try spreading it on toasted sourdough topped with a poached egg and smoked salmon for a Mediterranean-inspired morning meal that’s both nutritious and delicious.
Remember that tzatziki’s bright, tangy flavor serves as both a complement and counterpoint to many dishes, making it one of the most flexible condiments in your culinary arsenal.
Storage and Shelf Life
Tzatziki’s fresh ingredients require proper storage to maintain its delicious flavor and texture. I’ve found that with the right containers and temperature control, you can enjoy this Greek yogurt-based sauce for days after preparation.
Keeping Your Tzatziki Fresh
The best containers for storing tzatziki are those made of glass or BPA-free plastic with airtight lids. Glass containers are ideal as they don’t absorb odors or stain, keeping your sauce tasting fresh. If using plastic, opt for food-grade containers that seal completely to prevent air exposure. I always make sure to press a piece of plastic wrap directly onto the surface of the tzatziki before sealing the container — this extra step helps prevent a skin from forming and reduces air exposure.
For optimal freshness, refrigeration is essential. Tzatziki should be stored at temperatures between 35–40°F (1–4°C). Always place it in the main body of your refrigerator rather than the door, where temperatures fluctuate more frequently. Properly stored, homemade tzatziki typically lasts 3–4 days, though commercial versions might last longer due to added preservatives.
Be vigilant about signs of spoilage when storing dairy-based dips like tzatziki. Here are key indicators that your tzatziki has gone bad:
- Sour smell that differs from the normal tangy aroma
- Discoloration, particularly yellowing or pinkish tints
- Mold growth, which may appear as fuzzy spots
- Watery consistency with separation that doesn’t remix
- Off-putting taste that seems sharper than the original tang
While I generally don’t recommend freezing tzatziki due to texture changes, it’s technically possible in a pinch. The cucumber and yogurt components will separate upon thawing, resulting in a watery consistency. If you must freeze it, use a freezer-safe container with at least half an inch of headspace to allow for expansion. Frozen tzatziki can last up to 2 months, though the quality diminishes significantly.
When thawing frozen tzatziki, place it in the refrigerator overnight rather than using quick-thaw methods. Once thawed, drain excess liquid and vigorously stir to reincorporate ingredients. I sometimes add a small amount of fresh yogurt to help restore some of the original texture.
For the best flavor experience, I recommend making smaller batches of tzatziki more frequently rather than large batches that require extended storage. This approach ensures you’ll always have that fresh, bright taste that makes homemade sauces and dips so special compared to store-bought versions.
If you’re serving tzatziki at a gathering, avoid leaving it at room temperature for more than 2 hours (or 1 hour if the ambient temperature exceeds 90°F/32°C). Instead, place your serving dish over an ice bath to maintain safe temperatures throughout your event, refreshing the ice as needed.
For meal prep enthusiasts, consider storing the strained yogurt base separately from the cucumber mixture, combining them only when ready to serve. This method significantly extends shelf life as the cucumbers won’t continue releasing water into the yogurt. You might also enjoy experimenting with tzatziki as a spread for Mediterranean-inspired appetizers that can be prepared ahead of time.
Sources:

