Find In This Article
Introduction
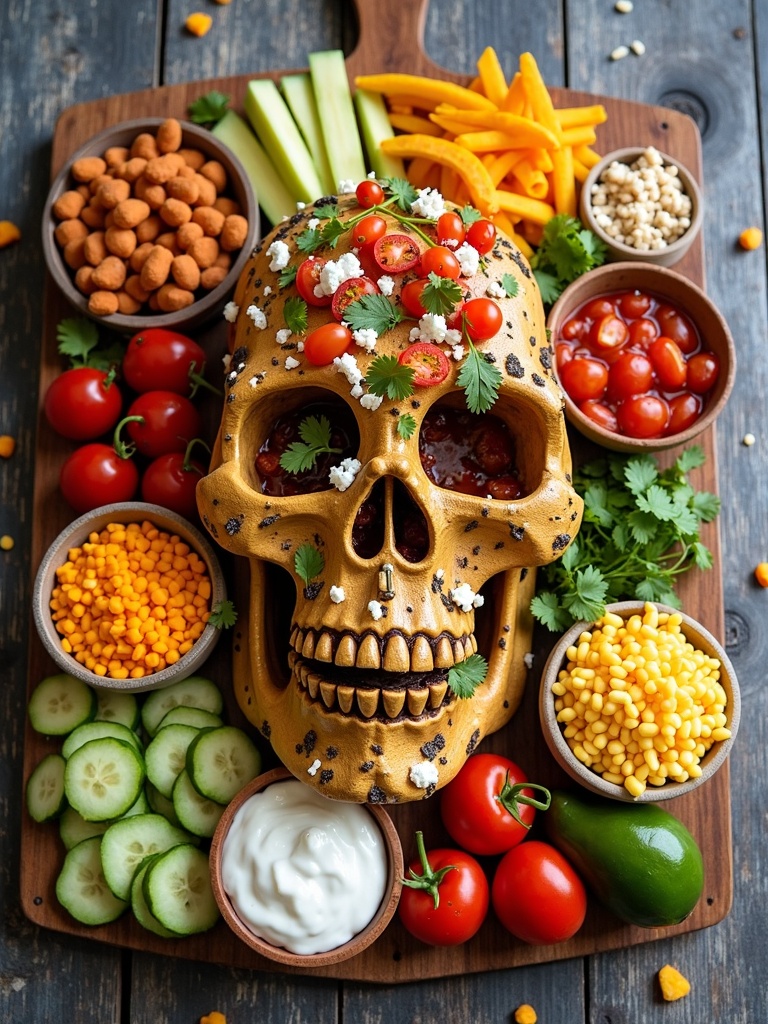
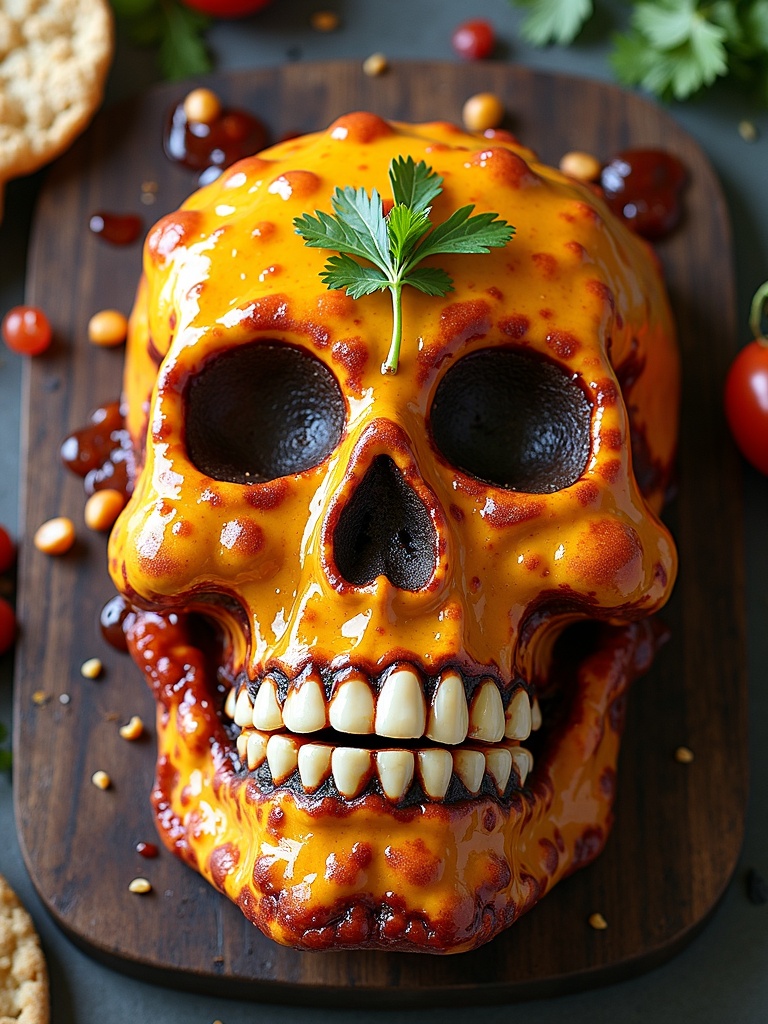
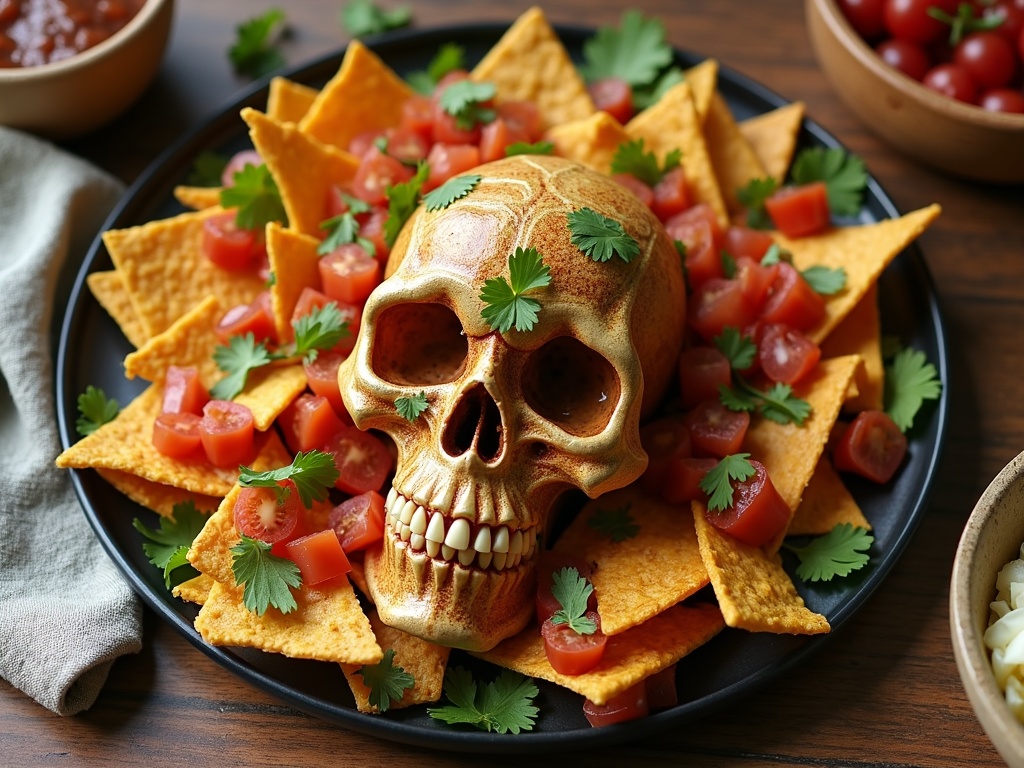
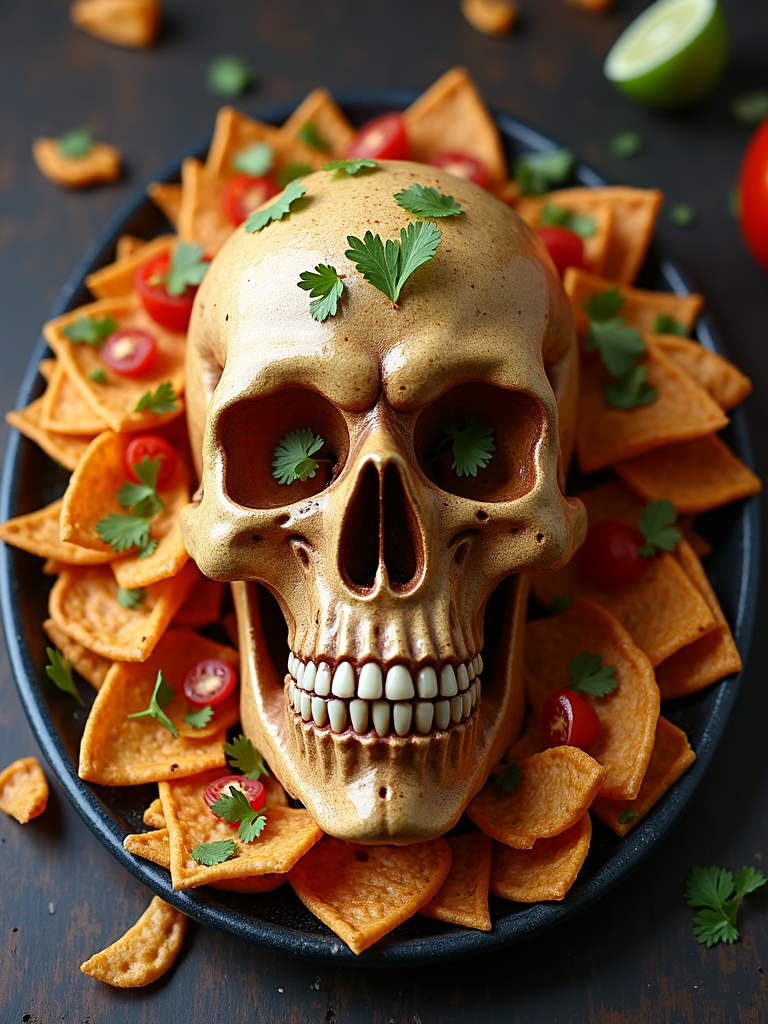
Looking for a show-stopping centerpiece for your Halloween party? A Skull Nachos Platter is the perfect combination of festive fun and delicious food that will have your guests talking long after the party ends. This eye-catching creation transforms ordinary nachos into a macabre masterpiece that’s both terrifying and tasty. I’ve perfected this recipe over years of Halloween entertaining, and it’s always the highlight of my spooky spreads.
What Ingredients are needed for Skull Nachos Platter?

For the Nacho Base:
- 2 large bags (16 oz each) of tortilla chips
- 3 cups shredded Mexican cheese blend
- 1 can (15 oz) black beans, rinsed and drained
- 1 can (15 oz) refried beans
- 1 lb ground beef or turkey (substitute with black beans for vegetarian option)
- 1 packet taco seasoning
- 2 cups shredded lettuce
- 1 cup diced tomatoes
- 1/2 cup sliced black olives
- 1/4 cup sliced jalapeños (optional for heat)
For the Skull Design:
- 1 cup sour cream (use Greek yogurt for a healthier alternative)
- 1/2 cup guacamole
- 1/4 cup sliced black olives (for the eyes)
- 2 slices of red bell pepper (for the lips)
- Thinly sliced green onions (for hair/decoration)
- 1 small squeeze bottle for detailed decoration
For the Dips (Optional):
- Extra guacamole
- Salsa
- Mexican crema or additional sour cream
- Hot sauce
The blend of warm, savory seasonings in the meat combined with the creamy, cool toppings creates an irresistible contrast of flavors and textures. The beauty of this Trips Recipes creation is its flexibility – feel free to customize ingredients based on your preferences or what you have on hand!
Timing
Preparation Time: 25 minutes
Cooking Time: 20 minutes
Total Assembly Time: 15 minutes
Total Time: 60 minutes
This Skull Nachos Platter comes together in just one hour, which is significantly faster than many other themed party platters that can take up to 2-3 hours to prepare. The beauty of this recipe is that much of the preparation can be done ahead of time, allowing you to focus on the artistic assembly closer to serving time.
How to Make Skull Nachos Platter Step by Step?

Step 1: Prepare the Meat Filling
Begin by browning the ground meat in a large skillet over medium heat. Once it’s no longer pink, drain any excess fat. Add the taco seasoning packet along with the amount of water specified on the package (usually 2/3 cup). Simmer for 5-7 minutes until the mixture thickens. Set aside and keep warm.
For a vegetarian option, you can substitute with seasoned black beans or plant-based ground meat alternatives that absorb the taco flavors beautifully.
Step 2: Prepare the Refried Beans
In a small saucepan, heat the refried beans over medium-low heat. Stir occasionally until warm and easy to spread. Adding a tablespoon of water can help achieve a smoother consistency if needed.
Pro tip: Mix in a teaspoon of cumin and a dash of garlic powder to enhance the flavor profile of store-bought refried beans.
Step 3: Prepare the Toppings
While the meat and beans are cooking, prepare all your toppings:
- Shred the lettuce into thin strips
- Dice the tomatoes
- Slice the olives
- Chop any additional vegetables
- Place the sour cream in a squeeze bottle for easier decoration
For the best visual impact, ensure all ingredients are finely chopped and uniform in size to create a cohesive final presentation.
Step 4: Assemble the Base Layer
On a large oval or skull-shaped platter (if you have one), spread a layer of tortilla chips to cover the entire surface. Next, spread the warm refried beans over the chips, focusing on creating a skull shape if not using a shaped platter.
Tip: Use the back of a spoon to spread the beans more easily. They’ll act as a “glue” to hold the next layer of ingredients.
Step 5: Add the Meat Layer
Carefully spoon the seasoned meat over the refried beans, maintaining the skull shape. Leave room around the edges for creating the distinctive skull outline later.
Step 6: Add Cheese and Melt
Sprinkle the shredded cheese evenly over the meat layer. If you want the cheese fully melted, place the platter in a preheated 350°F oven for 5-7 minutes, or microwave in 30-second intervals until the cheese is melted to your liking.
For extra flair, use white cheese like Monterey Jack or white cheddar to enhance the “bone-like” appearance of your skull.
Step 7: Create the Skull Features
This is where the artistry comes in! Use sour cream in a squeeze bottle to outline the skull shape and create distinctive features:
- Draw a circle outline for the cranium
- Create eye sockets using black olives
- Form a “nose” triangle in the center
- Draw teeth lines across the bottom portion
The sour cream creates bright white lines that stand out dramatically against the colorful nacho background.
Step 8: Add Final Decorative Elements
Place sliced black olives in the eye sockets. Add the red bell pepper slices to form lips at the bottom of the skull. Use green onions to create “hair” at the top of the skull or add other decorative elements as desired.
For an extra eerie touch, place small bowls of guacamole and salsa strategically around the platter to represent “toxic substances” or “potions.”
Step 9: Add Remaining Toppings
Strategically place the remaining toppings like lettuce, tomatoes, and jalapeños around the skull design to fill in the platter while maintaining the skull’s visibility.

What is Nutritional Information?
Understanding the nutritional content of your Skull Nachos Platter helps you make informed choices about portion sizes and potential modifications. Here’s the breakdown per serving (assuming 12 servings from the platter):
- Calories: 380 per serving
- Protein: 18g
- Carbohydrates: 35g
- Dietary Fiber: 6g
- Sugars: 3g
- Fat: 21g
- Saturated Fat: 8g
- Cholesterol: 45mg
- Sodium: 650mg
- Potassium: 350mg
- Calcium: 20% DV
- Iron: 15% DV
This analysis is based on using 80% lean ground beef. Using ground turkey can reduce the fat content by approximately 30%, bringing the calories down to around 320 per serving.
Healthier Alternatives for the Recipe
Transform this festive treat into a more nutritious option with these smart substitutions:
- Use baked tortilla chips instead of fried to reduce fat content by up to 30%
- Substitute ground turkey or plant-based meat alternatives for ground beef to cut saturated fat
- Opt for low-sodium taco seasoning or make your own blend with spices
- Use reduced-fat cheese or nutritional yeast for a dairy-free alternative
- Replace sour cream with Greek yogurt for added protein and reduced fat
- Load up on extra vegetables like bell peppers, corn, and onions
- Use homemade guacamole with less salt and more fresh herbs
- Try black bean chips or multigrain tortilla chips for added fiber
- Include fresh herbs like cilantro and parsley for flavor without added sodium
- Serve with fresh salsa instead of store-bought to reduce sugar and sodium
Serving Suggestions
Elevate your Skull Nachos Platter with these creative serving ideas:
- Place the skull platter as the centerpiece of a “graveyard” buffet with tombstone-shaped crackers
- Serve with small bowls of additional warm queso dip and fresh pico de gallo
- Create “bloody” dip by mixing salsa with a touch of tomato paste for a thicker consistency
- Include a side of “bone dust” (a mixture of tajin, lime zest, and salt) for sprinkling
- Offer warm corn or flour tortillas for guests who want to create tacos from the nacho toppings
- Provide small plates and cocktail napkins in Halloween colors for easy self-serving
- Pair with festive Halloween mocktails or beverages served in skull-shaped glasses
- Include a variety of hot sauces of different heat levels for customization
- Garnish the surrounding table with plastic spiders, cobwebs, and other spooky decorations
- For an extra touch, add small bowls of “eyeballs” (green olives stuffed with pimientos)
What are the Common Mistakes to Avoid?
Steer clear of these pitfalls to ensure your Skull Nachos Platter is a smashing success:
- Overloading the chips – Too many wet toppings lead to soggy nachos (the #1 complaint in nacho preparation)
- Not creating a proper base layer – Chips should overlap to prevent bare spots
- Adding cold toppings too early – Wait until just before serving to add items like sour cream and guacamole
- Using pre-shredded cheese – It contains anti-caking agents that prevent proper melting
- Not draining the beans and meat – Excess liquid will make the nachos soggy
- Creating layers that are too thick – This makes it difficult to get all flavors in one bite
- Using a platter that’s too small – Overcrowding leads to steaming rather than crispy nachos
- Forgetting the middle layers – Ensure cheese and toppings reach the center chips
- Using delicate chips – Choose sturdy, thick tortilla chips that can support heavy toppings
- Not having extra chips on standby – Guests may want to scoop up fallen toppings
Storing Tips for the Recipe
Maximize freshness and minimize waste with these practical storage solutions:
- Store each component separately before assembly – this extends freshness by 2-3 days
- Keep prepared meat mixture refrigerated in an airtight container for up to 3 days
- Refrigerate guacamole with plastic wrap pressed directly on the surface to prevent browning
- Store shredded cheese in a resealable bag with a paper towel to absorb excess moisture
- Prep and store crisp vegetables separately to maintain their texture
- If you have leftover assembled nachos, remove any fresh toppings before storing
- Reheat leftover nachos in an oven or toaster oven at 350°F (never microwave – they’ll get soggy)
- Freeze extra taco meat in portion-sized containers for up to 3 months
- Store extra tortilla chips in an airtight container with a desiccant packet to maintain crispness
- Make a nacho soup with leftovers by adding broth and simmering the ingredients together
Conclusion
The Skull Nachos Platter brings together the perfect combination of fun, festivity, and flavor that’s ideal for Halloween gatherings or any themed party where you want to make a memorable impression. What I love most about this recipe is its versatility – you can easily adapt it to suit different dietary preferences and spice tolerances while maintaining the spooky presentation that makes it special.
The beauty of this dish lies in its accessibility. Despite its impressive appearance, it requires no special culinary skills – just a bit of creativity and patience during assembly. The layering technique ensures every bite delivers a perfect combination of flavors and textures, from the crunchy chips to the savory meat and creamy toppings.
I encourage you to make this recipe your own by experimenting with different toppings and design elements. Whether you’re hosting a small family Halloween dinner or a larger costume party, this Skull Nachos Platter is guaranteed to be the talk of the table. Don’t forget to snap a photo of your creation before your guests dig in – this is one dish that’s as Instagram-worthy as it is delicious!
FAQs
Can I make the Skull Nachos Platter ahead of time?
You can prepare all the components ahead of time, but I recommend assembling the platter no more than 30 minutes before serving. For best results, keep the chips and hot components (meat, beans) separate from cold toppings until just before serving to prevent sogginess.
How do I transport a Skull Nachos Platter to a party?
For transportation, I suggest assembling the platter at your destination. Bring all components in separate containers, with the hot items in insulated containers to maintain temperature. Carry the chip base in a large paper bag to preserve crispness, and assemble on-site.
Can I make a vegetarian version of the Skull Nachos Platter?
Absolutely! Replace the ground meat with an extra can of black beans seasoned with taco spices, or use a plant-based ground meat alternative. The visual impact and delicious flavor will remain intact while accommodating vegetarian guests.
What’s the best way to serve nachos to a large group?
For large gatherings, consider creating multiple smaller skull platters rather than one giant one. This allows guests from different areas of the room to access the nachos without crowding, and helps maintain the temperature and texture of the dish throughout your event.
How can I make the skull design more defined and recognizable?
Use a squeeze bottle with a small tip for the sour cream to create precise lines. Additionally, you can use a paper template as a guide – place it over your platter, trace the outline with sour cream, then remove the template and fill in the design. Black olives and red peppers create contrast that helps define the facial features.

