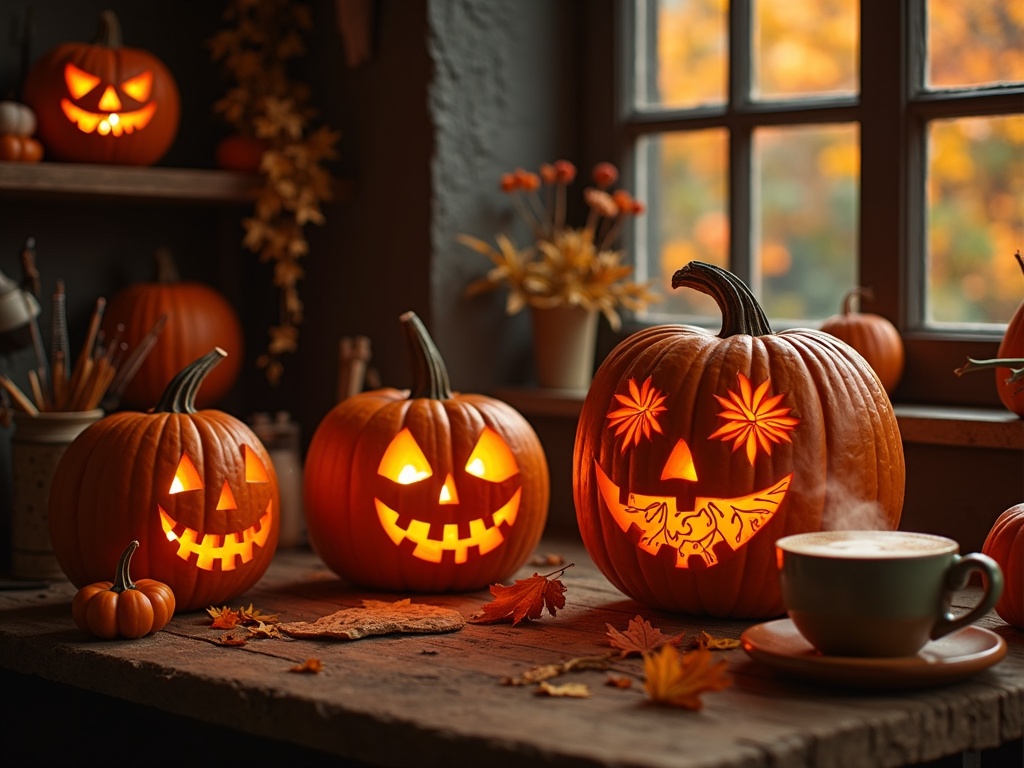
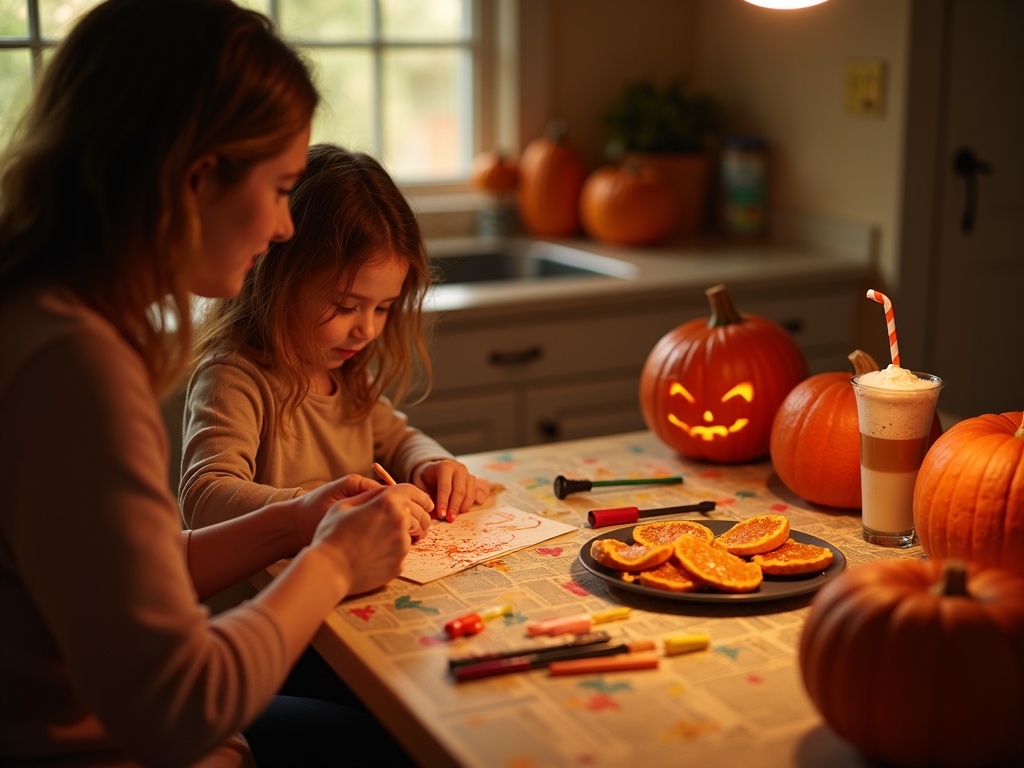
Pumpkin carving evolved from ancient Celtic traditions of carving turnips into lanterns to ward off evil spirits before transforming into the iconic Halloween activity we know today when Irish immigrants discovered abundant pumpkins in North America. This seasonal art form has developed from simple jack-o’-lanterns with triangular features to elaborate artistic expressions featuring intricate details, pop culture references, and competitive carving events that showcase remarkable talent and creativity.
Find In This Article
Key Takeaways
- Pumpkin carving originated with ancient Celts who carved turnips and other vegetables during their Samhain festival to ward off evil spirits.
- The name “jack-o’-lantern” comes from an Irish folktale about Stingy Jack, who was condemned to wander with only a hollowed turnip and coal for light.
- Modern pumpkin carving ranges from traditional designs to elaborate artistic sculptures requiring specialized tools and techniques.
- Proper care techniques, like applying petroleum jelly to cut edges and daily misting, can extend a carved pumpkin’s lifespan from a few days to 1-2 weeks.
- Pumpkin carving competitions and community events provide opportunities for artistic expression while strengthening neighborhood bonds and creating family traditions.
The Art and History of Pumpkin Carving
Pumpkin carving has fascinated me for years, both as a seasonal tradition and as an art form with deep historical roots. This practice didn’t start with the bright orange gourds we recognize today—it actually began centuries ago with something much smaller.
From Ancient Traditions to Modern Celebrations
The tradition of carving vegetables into lanterns originated with the ancient Celts during their Samhain festival. They carved turnips, potatoes, and beets into lanterns containing glowing embers to ward off evil spirits believed to roam freely as winter approached. These early lanterns represented souls trapped in purgatory and served both practical and spiritual purposes.
When Irish immigrants arrived in North America in the 1800s, they discovered pumpkins—larger, softer, and more abundant than turnips—making them perfect for carving. The practice quickly evolved, and the iconic “jack-o’-lantern” became a Halloween staple.
The name “jack-o’-lantern” comes from an old Irish folktale about a man named Stingy Jack who tricked the devil and was forced to wander the earth with only a hollowed turnip and burning coal to light his way.
Today, I’ve seen pumpkin carving transform into:
- Simple traditional designs with triangular eyes and jagged smiles
- Elaborate artistic expressions with shading and intricate details
- Pop culture references featuring movie characters or current events
- Competitive carving events where artists create museum-worthy sculptures
I’ve found that carving pumpkins offers a perfect opportunity for creativity, whether you’re a beginner or seasoned carver. For those interested in exploring creative pumpkin designs, painting provides an alternative to traditional carving.
The tradition continues to bring families together each autumn. After carving, many households even use the pumpkin seeds and flesh to create delicious seasonal treats like pumpkin chocolate chip muffins or a comforting pumpkin spice latte.
The beauty of pumpkin carving lies in its accessibility—anyone can participate, regardless of artistic ability. The tradition connects us to ancient practices while allowing for personal expression, making it one of the most enduring and adaptable autumn customs I’ve encountered.
Essential Tools for Pumpkin Carving
Pumpkin carving is an art form that requires the right tools to create those spooky or spectacular designs. I’ve found that having the proper equipment makes all the difference between a frustrating experience and a fun seasonal activity.
Basic Must-Have Tools
Every successful pumpkin carving session starts with a few fundamental tools. A sturdy, sharp knife is essential for cutting the top or bottom opening of your pumpkin. I prefer using a serrated knife with a blade about 5-6 inches long, as it provides better control when slicing through the tough outer shell.
After creating an opening, you’ll need a large scoop to remove the seeds and stringy pulp from inside. An ice cream scoop or large metal spoon works perfectly for this task. Make sure to scrape the inner walls thoroughly, especially where you plan to carve – thinner walls make detailed carving much easier.
For the actual carving process, you’ll want specific tools designed for precision work:
- Small serrated carving knives for intricate details
- Poking tools for creating patterns and initial outlines
- Saws with fine teeth for clean cuts and curves
- Clay modeling tools for sculpting and shaving the pumpkin surface
Specialty Kits and Accessories
Investing in a dedicated pumpkin carving kit can simplify the entire process. These kits typically include specialized tools designed specifically for pumpkin work. Many contain plastic carving tools that are safer for children but still effective for creating impressive designs.
Stencils are another game-changer, especially for those who aren’t confident in their freehand carving abilities. These templates help guide your cuts to create recognizable characters, spooky scenes, or elegant designs. You can secure stencils to your pumpkin using tape or pins before tracing the design with a poking tool.
Additional helpful accessories include:
- Battery-operated lights to illuminate your finished creation
- Petroleum jelly to coat cut edges (prevents drying)
- Spray bottles with water to keep your pumpkin hydrated
- Toothpicks for reattaching pieces or making repairs
If you’re feeling adventurous after mastering basic carving techniques, consider trying your hand at creating edible treats from the pumpkin flesh you remove. Nothing beats enjoying pumpkin bread while admiring your carved masterpiece!
With these essential tools at your disposal, you’ll be well-equipped to transform an ordinary pumpkin into an extraordinary Halloween decoration that will impress neighbors and trick-or-treaters alike.
Techniques for Stunning Designs
Creating eye-catching pumpkin carvings isn’t as hard as it might seem. I’ve discovered that mastering a few key techniques can transform an ordinary gourd into something truly special. Whether you’re a beginner or looking to level up your skills, these approaches will help you create designs that stand out.
Simple Cutout Techniques
Starting with the basics gives you a solid foundation. Simple cutout techniques involve completely removing pieces of the pumpkin to create your design. I find that these work wonderfully for classic jack-o’-lantern faces and silhouettes.
To get started:
- Draw your design on the pumpkin with a marker or transfer a template
- Use a serrated knife or pumpkin saw to cut along your lines
- Push the cut pieces through from the inside
- Clean the edges with a small knife for crisp lines
The contrast between the dark pumpkin exterior and the light shining through creates a dramatic effect. If you’re looking for more inspiration beyond carving, check out these creative pumpkin painting ideas that offer a less messy alternative.
Advanced Shaving Techniques
When I’m ready for more sophisticated designs, I turn to shaving techniques. Instead of cutting all the way through, shaving removes just the outer skin and some flesh to create areas of varying brightness.
This approach creates depth and dimension by letting different amounts of light shine through. I use special tools like:
- Clay loops for removing the outer skin
- Wood carving tools for creating texture
- Linoleum cutters for fine detail work
- Ribbon tools for smooth transitions between depths
The magic happens when you illuminate your masterpiece. A warm pumpkin spice latte makes the perfect companion while working on these detailed designs, giving you both the comfort and patience needed for intricate work.
Lighting plays a crucial role in highlighting your carving techniques. Traditional candles create a flickering, warm glow, but I’ve found that LED lights offer consistent brightness and come in various colors. Battery-operated tea lights provide a safer alternative that won’t burn out.
For truly show-stopping results, try combining both cutout and shaving techniques in one design. The contrast between fully cut areas and partially shaved sections creates stunning visual interest that will impress everyone who sees your pumpkin creation.
If carving seems too challenging, you might enjoy making pumpkin chocolate chip muffins instead – another festive way to celebrate the season without the carving tools.

Pumpkin Carving Safety Tips
Nothing ruins autumn fun faster than a trip to the emergency room. I’ve learned over years of creating stunning pumpkin designs that safety precautions are essential for an enjoyable carving experience. With the right approach, pumpkin carving can be safe for the whole family.
Setting Up a Safe Carving Station
Before making the first cut, I always set up a proper carving environment. This simple step prevents many common accidents.
- Use a flat, stable surface like a kitchen table or sturdy workbench
- Cover your workspace with newspaper or a plastic tablecloth for easy cleanup
- Make sure the area is well-lit so you can clearly see what you’re doing
- Keep paper towels nearby for wiping slippery hands and tools
- Have a first aid kit accessible just in case
The stability of your workspace directly impacts safety. I never carve a pumpkin on my lap or on an uneven surface. A wobbly pumpkin increases the chance of the knife slipping, which can lead to cuts.
Choosing and Using the Right Tools
Many carving accidents happen because of inappropriate tools. I’ve found that specialized tools make a significant difference in both safety and results.
Sharp tools might seem counterintuitive for safety, but dull knives require more force and are more likely to slip. I use pumpkin-specific carving kits when possible, as they’re designed with safety in mind while still being effective.
For children, there are specially designed tools with safety features that still allow them to participate. These typically have less sharp edges but can still effectively carve through pumpkin flesh. Some kits include scoops, pokers, and etching tools that let kids create impressive designs with minimal risk.
When using any carving tool, I always cut away from my body and keep my free hand away from the cutting path. I take my time with each cut, applying steady pressure rather than forcing the knife through the pumpkin.
If working with traditional kitchen knives, I select ones with serrated edges and comfortable handles. The serration helps grip the pumpkin skin instead of sliding off, which is a common cause of injuries.
For tougher cuts, especially when removing the top, I never place my hand inside the pumpkin while cutting. Instead, I steady the pumpkin from the outside, away from the blade’s path.
After finishing my pumpkin spice latte, I make sure my hands are dry before handling any tools. Caffeine and slippery hands don’t mix well with sharp objects!
When it comes to children, supervision is non-negotiable. I never leave kids alone with carving tools, even the safety-designed ones. For very young children, I find that making pumpkin treats together might be a better alternative until they’re old enough to handle carving tools safely.
Consider letting younger children draw the design on the pumpkin with markers, then have adults do the actual cutting. Kids can still scoop out seeds and pulp with their hands or plastic spoons, giving them the full pumpkin experience without the sharp tools.
For families with children who want to decorate pumpkins independently, painting offers a completely safe alternative that can be just as creative as carving. Once you’re done carving safely, you might celebrate with a delicious pumpkin dessert as a reward for your careful work.

Caring for Your Carved Pumpkin
I’ve found that the joy of pumpkin carving doesn’t end once your masterpiece is complete. Proper care can significantly extend the life of your carved creation, keeping it fresh and vibrant throughout the fall season.
Preventing Premature Rot
The biggest enemy of a freshly carved pumpkin is dehydration and rot. After putting in all that effort to create your perfect pumpkin design, the last thing you want is for it to shrivel up within days. Here’s what I do immediately after carving:
- Apply a thin layer of petroleum jelly to all cut surfaces and edges
- Spray the inside with a mixture of water and a small amount of bleach (1 teaspoon per gallon)
- Make sure to dry the inside thoroughly after cleaning to prevent mold growth
- Consider using battery-operated lights instead of candles, as heat can speed up decomposition
The petroleum jelly creates a protective barrier that helps the pumpkin retain its natural moisture. This simple step can add days or even weeks to your pumpkin’s display life.
Daily Maintenance Routine
Your carved pumpkin needs ongoing attention to stay fresh. I’ve developed a simple daily routine that keeps my Halloween decorations looking their best:
First, I give my pumpkin a rejuvenating bath each evening. Submerging it in cold water for 30 minutes helps rehydrate the flesh and firm up any parts that have begun to sag.
Next, I mist the pumpkin with water, focusing on the carved areas. This adds moisture without creating puddles inside that could promote mold growth.
Finally, I make sure my pumpkin spice season decoration is stored properly overnight. Placing it in a cool spot away from direct sunlight during the day and bringing it inside or covering it at night protects it from extreme temperature changes.
For those who enjoy baking, don’t let the leftovers go to waste! The seeds and some of the flesh can be used in delicious pumpkin chocolate chip treats or other seasonal recipes.
Storage Location Matters
The location where you display your carved pumpkin plays a huge role in how long it lasts. I’ve noticed dramatic differences in preservation based on placement:
A shaded porch or covered patio offers protection from direct sunlight and rain, both of which can accelerate decay. If you live in a particularly hot climate, consider bringing your pumpkin inside during the hottest part of the day.
Cold temperatures help preserve carved pumpkins, but freezing can damage the cell structure and cause mushiness when thawed. A cool basement can be the perfect storage spot overnight.
For those planning parties or special events, I recommend carving your pumpkin no more than two days beforehand. You can extend its life by keeping it refrigerated until the big day, then applying pumpkin preservation techniques right before displaying.
With these care techniques, your carved pumpkin can remain an impressive decoration for 7-14 days, rather than deteriorating within just a few days. The extra effort is well worth it when your pumpkin continues to impress visitors and passersby throughout the Halloween season.
Pumpkin Carving Competitions and Community
I’ve discovered that pumpkin carving competitions add an extra layer of excitement to the Halloween season. These festive gatherings bring neighborhoods together while showcasing incredible artistic talent. From small-town festivals to national championships, these events celebrate the orange gourd in all its carved glory.
Types of Pumpkin Carving Competitions
Local harvest festivals frequently feature pumpkin carving contests where participants of all ages can demonstrate their skills. Some competitions focus on traditional jack-o’-lantern designs, while others encourage more elaborate artistic creations. The categories typically include:
- Speed carving challenges where contestants race against the clock
- Theme-based competitions with specific design requirements
- Family divisions that allow parents and children to collaborate
- Professional categories showcasing advanced techniques
Many competitions offer prizes ranging from gift cards to trophies, but the real reward is the community recognition and the chance to display your creative pumpkin designs for all to see.
Benefits of Community Pumpkin Events
These seasonal gatherings do much more than just celebrate carved pumpkins—they strengthen community bonds. When I attend these events, I notice families working together, neighbors reconnecting, and new friendships forming over shared interests.
The benefits extend beyond just social connections. Many pumpkin carving competitions serve as fundraisers for local causes or food drives for community pantries. Some organizers even arrange for refreshments like seasonal pumpkin beverages and delicious pumpkin treats to keep participants energized.
Children particularly benefit from these events as they develop:
- Fine motor skills through the carving process
- Creative thinking as they design their pumpkins
- Patience and persistence when working on detailed designs
- Social skills through friendly competition
Parents appreciate these gatherings as a safe alternative to trick-or-treating, especially for younger children. The daytime events provide a controlled environment where kids can enjoy Halloween traditions without the concerns that might come with nighttime activities.
For those looking to participate in their first competition, I recommend starting with simple designs and focusing on clean execution rather than complex patterns. Practice with pumpkin-themed crafts throughout the year can help develop the steady hand needed for competition-worthy carving.
Local communities have found creative ways to extend these events beyond just one day. Some towns display winning entries in public spaces like libraries or community centers. Others organize pumpkin walks where carved creations light pathways through parks or neighborhoods.
The most successful community pumpkin events often incorporate educational elements about pumpkin farming, nutritional benefits of pumpkins, or the history of jack-o’-lanterns. This adds depth to what might otherwise be seen as just a decorative activity.
For those inspired to start their own neighborhood competition, it doesn’t need to be elaborate. A simple gathering in a driveway with hot apple cider and homemade pumpkin bread can quickly become an annual tradition that neighbors look forward to each fall.
Whether you’re a competitive carver or just enjoy watching the artists at work, these community events capture the essence of the Halloween season—creativity, community, and a touch of spooky fun that brings people together year after year.

