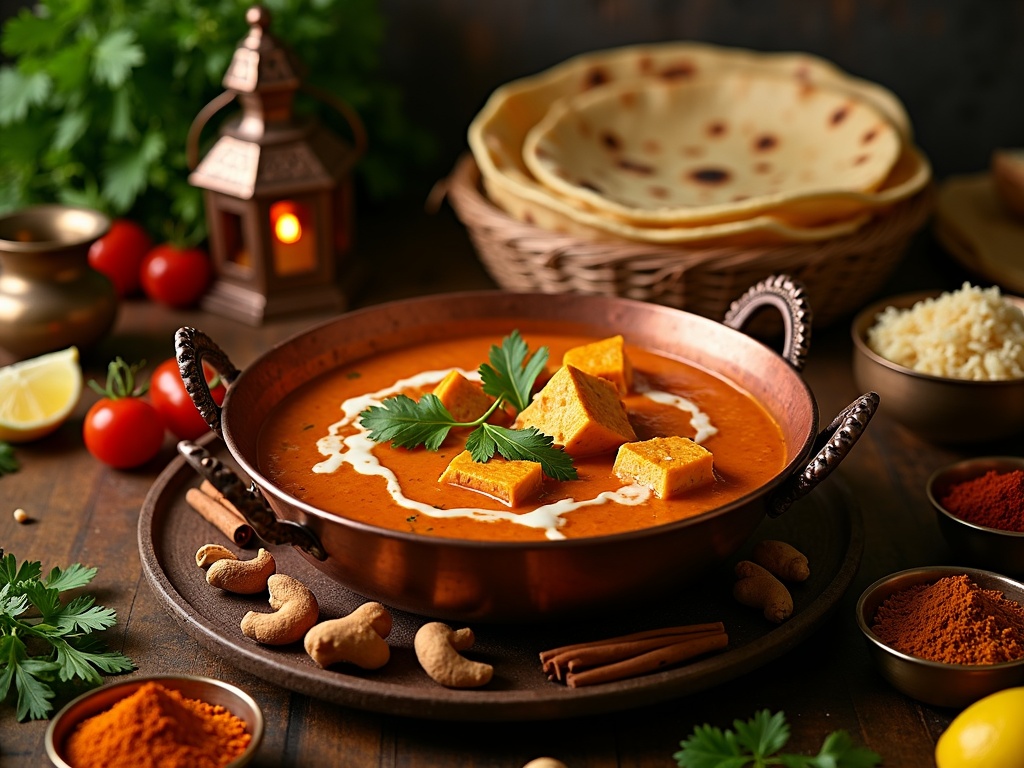
Paneer masala ranks as one of India’s most beloved dishes, featuring soft cheese cubes bathed in a rich, aromatic tomato-based sauce that perfectly balances spice with velvety texture.
Find In This Article
Key Takeaways
- The dish combines paneer’s mild flavor and chewy texture with a sauce balancing sweet caramelized onions, tangy tomatoes, and warming spices.
- Fresh paneer, properly prepared and added in the final minutes of cooking, maintains its pillowy texture while absorbing the masala flavors.
- The signature velvety consistency comes from adding cream or cashew paste at the end of cooking, mellowing the acidity.
- Authentic preparation requires patience when caramelizing onions and cooking down tomatoes to build the proper flavor foundation.
- Paneer masala pairs perfectly with both Indian breads like naan or chapati and rice varieties, making it a versatile centerpiece for any Indian meal.
What Makes Paneer Masala Special
Paneer masala stands out as one of the most beloved dishes in Indian cuisine, capturing hearts with its rich, creamy tomato-based sauce that cradles soft, pillowy cubes of paneer cheese. I’ve found that this North Indian classic has gained immense popularity worldwide because it perfectly balances aromatic spices with a velvety texture that’s both comforting and exciting.
The magic of paneer masala begins with its star ingredient – paneer. Unlike many butter chicken recipes that use meat, paneer brings a unique mild flavor and chewy texture that absorbs the spicy, tangy sauce beautifully. This fresh Indian cottage cheese has a firm yet tender consistency that holds its shape during cooking while soaking up all those wonderful flavors.
The Perfect Balance of Flavors and Textures
What truly sets paneer masala apart is its harmonious blend of contrasting elements:
- The sauce combines the sweetness of caramelized onions with the tanginess of tomatoes
- Warming spices like cumin, coriander, and garam masala create depth without overwhelming heat
- A touch of cream or cashew paste adds luxurious richness that mellows the acidity
- Fresh herbs like cilantro and fenugreek leaves brighten the dish with their distinctive aromas
- The soft, chewy paneer provides textural contrast to the smooth gravy
I’ve noticed that people who try paneer masala for the first time are often surprised by how complex yet approachable it is. Unlike some biryani dishes that can be intimidating with their elaborate preparation, paneer masala offers sophisticated flavors in a relatively straightforward package.
The dish also showcases the Indian cooking technique of layering spices. First, whole spices are tempered in hot oil to release their essential oils. Then ground spices are added at just the right moment to build a foundation of flavor. This careful sequencing creates a masala base that’s far greater than the sum of its parts.
Paneer masala’s versatility also contributes to its special status. It pairs beautifully with various Indian breads like chapati or naan, making it perfect for scooping up that luscious sauce. It’s equally at home alongside rice, where the grains soak up the flavorful gravy.
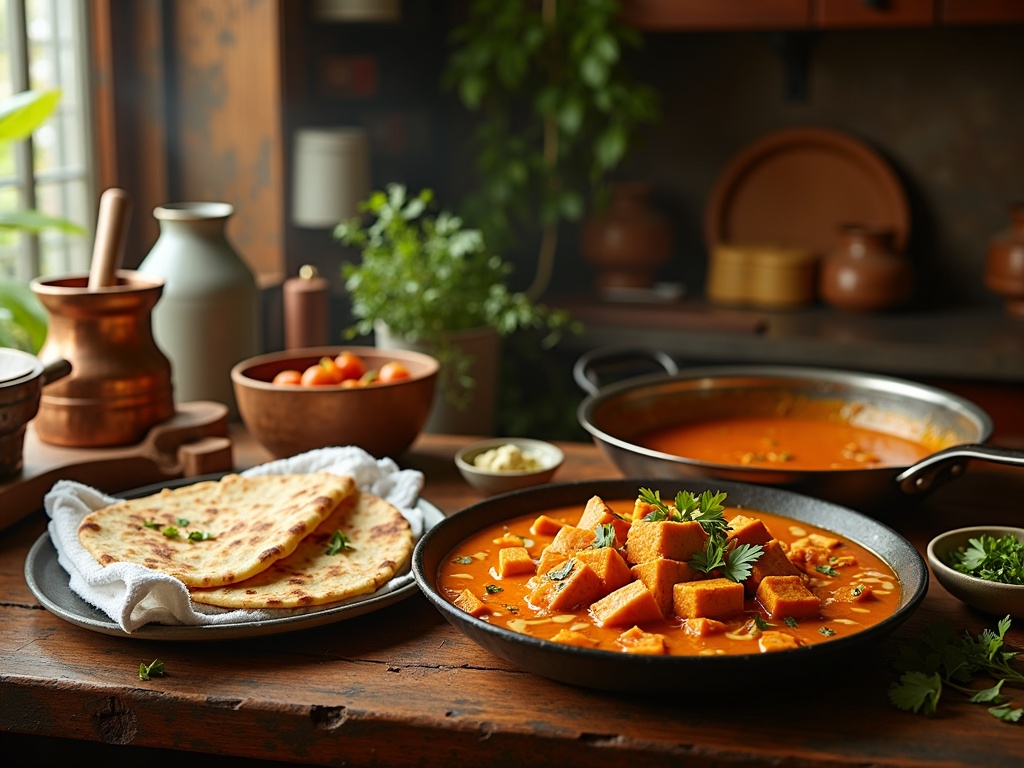
The visual appeal can’t be overlooked either. The vibrant orange-red sauce, dotted with green herbs and white paneer cubes, creates a feast for the eyes before the first bite. This colorful presentation makes it a centerpiece dish for special occasions and family gatherings.
While regional variations exist across India, the fundamental charm of paneer masala remains constant – it’s a celebration of how simple ingredients can be transformed into something extraordinary through thoughtful spicing and cooking techniques. Each household may have its secret ingredient or special touch, whether it’s a sprinkle of dried fenugreek leaves or a splash of cream at the finish, but the essence stays true to its North Indian roots.
For vegetarians seeking protein-rich options, paneer masala offers substantial nutrition alongside incredible taste, making it both practical and indulgent – a rare combination in comfort food. This dual nature explains why it remains a favorite across generations and has traveled so successfully beyond Indian borders to become a global favorite.
Essential Ingredients You’ll Need
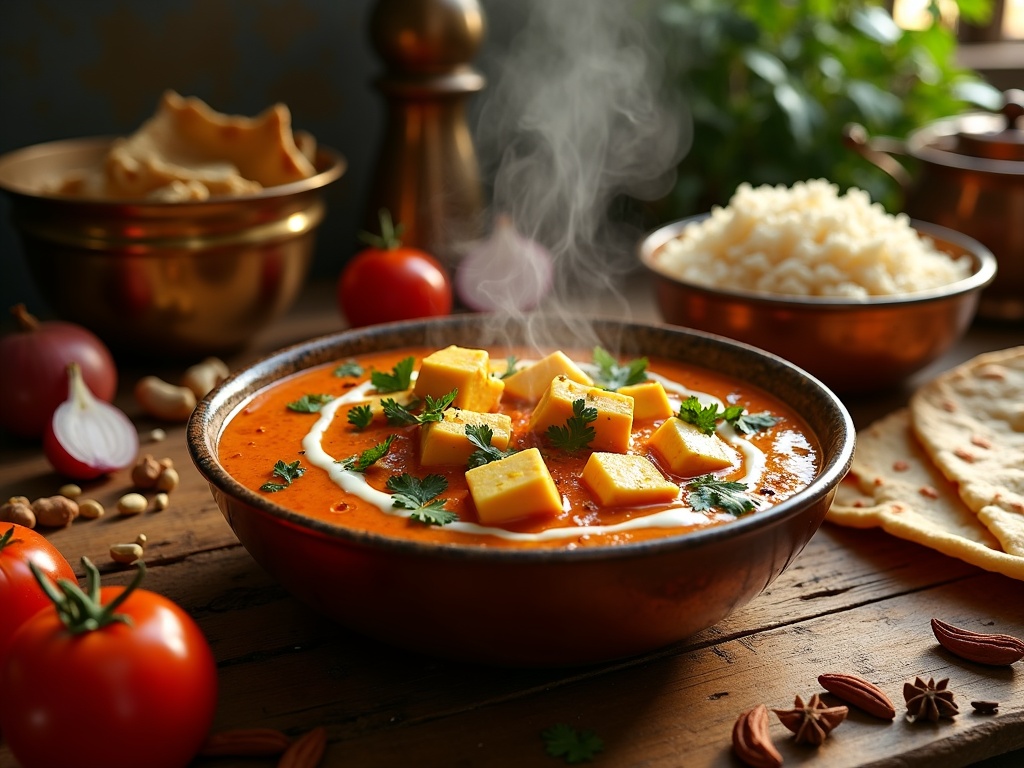
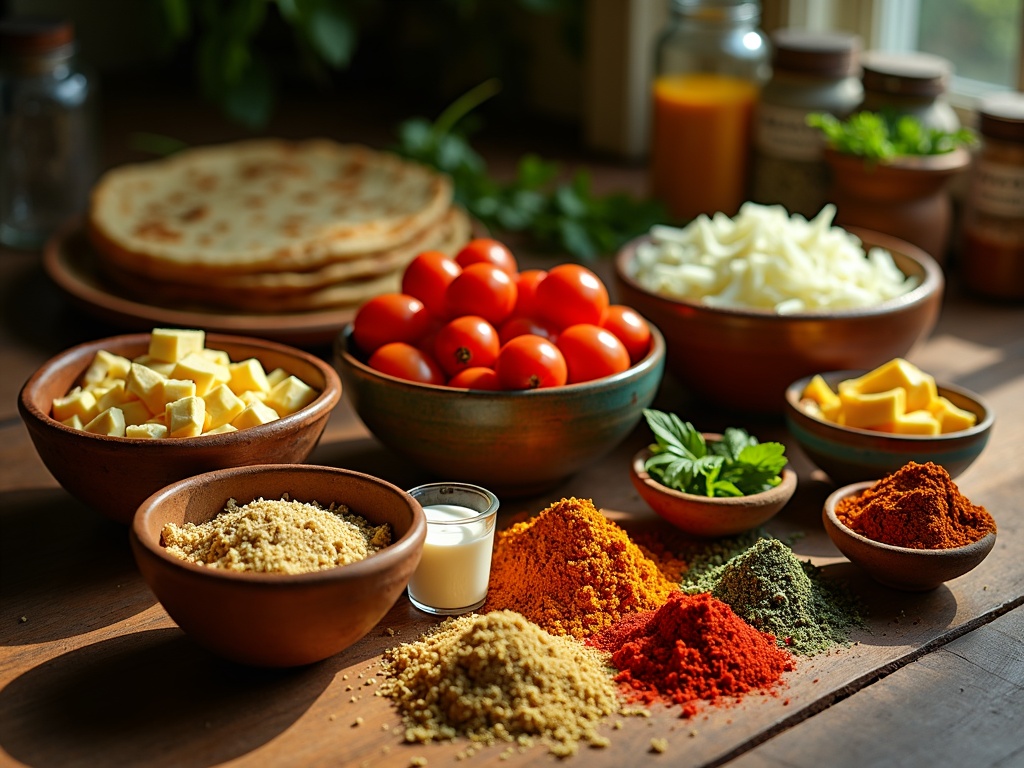
Creating a perfect paneer masala at home starts with gathering quality ingredients. I’ve found that using fresh components makes a noticeable difference in the final dish’s flavor. Let me share the must-have items for your shopping list before you begin cooking.
Core Ingredients for Authentic Flavor
Fresh paneer cubes form the heart of this dish. I prefer using homemade paneer when possible, but store-bought works well too — just make sure it’s fresh and firm. The paneer should be cut into even-sized cubes to ensure consistent cooking.
Ripe tomatoes provide the base for the gravy. Choose tomatoes that are bright red and slightly soft to the touch for maximum flavor. They’ll break down during cooking to create that signature tangy sauce that pairs perfectly with homemade chapati.
Onions add depth and sweetness to the dish. I typically use medium-sized yellow onions, finely chopped or pureed depending on the texture you prefer in your gravy.
Heavy cream gives paneer masala its rich, velvety texture. A few tablespoons stirred in at the end of cooking transform the dish from good to exceptional.
Cashews might seem optional, but they’re crucial for creating that creamy texture without relying solely on dairy. Soaking them for 15–30 minutes before blending makes them easier to incorporate into your gravy.
Additional Essential Components
- Ginger-garlic paste: Fresh is best, but store-bought works in a pinch
- Essential spices: Garam masala, turmeric, red chili powder, and coriander powder
- Butter or oil: Ghee or butter adds authentic flavor, but vegetable oil works too
- Fresh cilantro: For garnishing and adding a pop of color and freshness
- Kasuri methi (dried fenugreek leaves): Optional but adds remarkable depth
- Salt to taste
The blend of spices is what gives paneer masala its distinctive flavor profile. I always keep my spices in airtight containers away from heat and light to preserve their potency. When making this dish, I toast the spices briefly before adding the wet ingredients — this simple step releases their essential oils and enhances the final flavor.
For added richness, you might want to include some butter chicken elements like additional butter or a touch of sugar to balance the acidity of the tomatoes.
When preparing the ingredients, I find it helpful to have everything measured and chopped before starting to cook. This prep work makes the actual cooking process much smoother, especially when dealing with a dish that has multiple components.
Fresh paneer can be found at Indian grocery stores or in some mainstream supermarkets. If you can’t find it, it’s surprisingly simple to make at home with just milk and lemon juice. The difference in taste between fresh and packaged paneer is noticeable, particularly in a showcase dish like paneer masala.
For a complete Indian feast, consider serving your paneer masala with pani puri as an appetizer and gulab jamun for dessert.
Creating Your Restaurant-Style Paneer Masala
Making paneer masala at home that rivals your favorite restaurant isn’t as hard as you might think. I’ve perfected this technique over years of cooking, and I’m excited to share my step-by-step process for creating this rich, flavorful dish.
The Perfect Base for Maximum Flavor
I start by heating 2-3 tablespoons of butter in a deep, heavy-bottomed pan over medium heat. Butter gives paneer masala its signature richness that vegetable oil simply can’t match. Once the butter melts and begins to bubble slightly, I add finely chopped onions and sauté them until they turn a beautiful golden brown color – this usually takes about 8-10 minutes. This caramelization process is crucial as it forms the flavor foundation of the dish.
Next, I add a tablespoon of freshly made ginger-garlic paste, stirring constantly to prevent burning. The aroma that fills the kitchen at this point is absolutely mouthwatering! After cooking this mixture for about 2 minutes, I add chopped tomatoes and a small handful of cashews. These cashews might seem like an unusual addition, but they’re the secret to creating that creamy butter chicken-like texture that makes restaurant paneer masala so special.
I let this mixture cook until the tomatoes break down completely and the cashews soften. This step takes patience – about 10-15 minutes of occasional stirring. When done properly, the mixture will look like a thick, chunky sauce with a deep red color.
After letting the mixture cool slightly, I transfer it to a blender and puree until completely smooth. This silky paste goes back into the pan over medium-low heat, where I add my spice blend: a teaspoon each of garam masala, coriander powder, and Kashmiri red chili powder, plus half a teaspoon of turmeric and a pinch of kasuri methi (dried fenugreek leaves).
The key spice additions transform your paneer masala in these important ways:
- Garam masala provides warm, complex flavor notes
- Kashmiri red chili adds vibrant color without excessive heat
- Kasuri methi delivers that distinctive restaurant-style aroma
- Turmeric enhances the beautiful orange-red color
I simmer this aromatic mixture for about 5 minutes, allowing the spices to bloom and release their flavors. Then comes the star ingredient – cubed paneer. I gently fold about 200 grams of paneer cubes into the sauce, being careful not to break them. After about 3 minutes, I finish with a splash of heavy cream (about 2-3 tablespoons) stirred in gently to create that signature velvety texture.
The final touch is a generous sprinkle of fresh chopped cilantro just before serving. This dish pairs perfectly with freshly made chapati or steamed rice.
The difference between good and outstanding paneer masala often comes down to patience. I don’t rush the onion caramelization or tomato cooking process – these foundational steps develop depth that can’t be added later. For special occasions, I sometimes pan-fry the paneer cubes in a bit of butter before adding them to the gravy, which gives them a delightful golden crust while keeping the inside soft and tender.
Quick Tips for Perfect Results
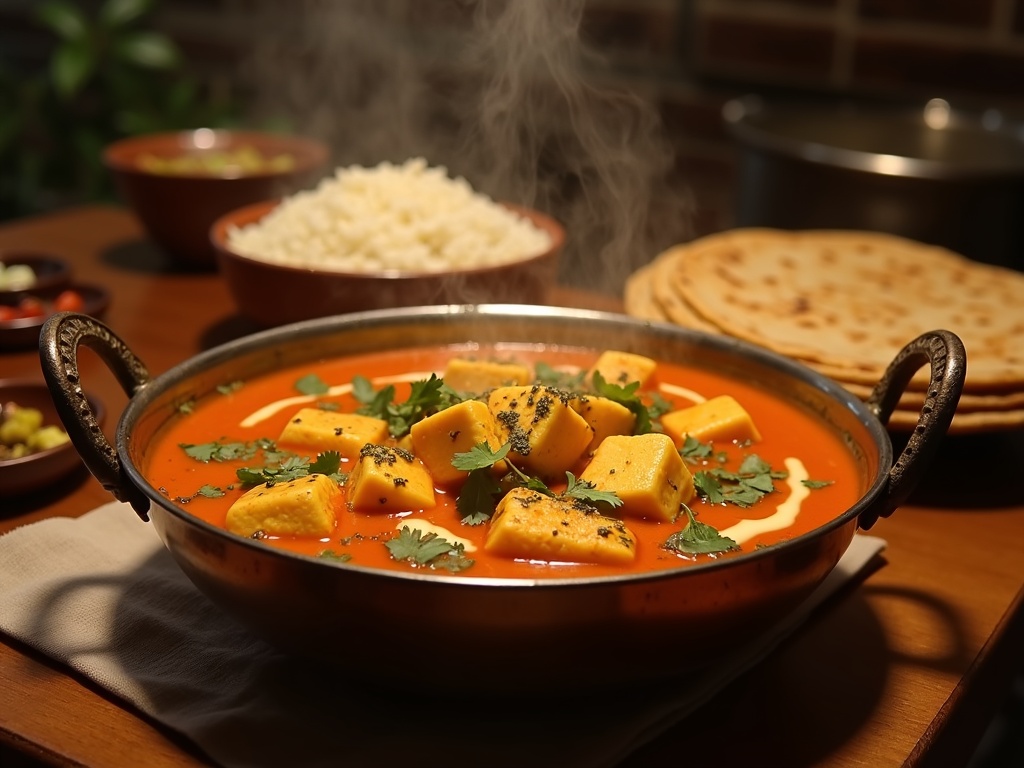
Fresh ingredients make all the difference when preparing paneer masala. I’ve found that using high-quality paneer creates a dish with superior texture and flavor. Store-bought paneer works fine, but freshly made paneer offers a creamier consistency that absorbs the spices better. When selecting paneer, look for pieces that feel firm yet slightly springy to the touch, with a clean, milky aroma.
Before adding paneer to your masala, I always soak it in warm water for about 10–15 minutes. This simple step softens the cheese and prevents it from becoming rubbery during cooking. After soaking, gently pat the pieces dry with a paper towel before adding them to your gravy. This technique helps the paneer maintain its tender texture while still absorbing the rich flavors of your aromatic masala sauce.
Perfecting Your Masala Gravy
The secret to a restaurant-quality paneer masala lies in the smoothness of the gravy. I blend my tomato-onion base until completely smooth, which creates that silky texture you’re looking for. A high-powered blender works best, but a food processor with a little extra blending time can achieve similar results.
When adding spices to your paneer masala, I recommend adjusting gradually rather than all at once. Start with about half the amount called for in your recipe, then taste and add more as needed. This approach gives you better control over the final flavor profile and prevents over-spicing. The beauty of Indian spice blends is in their balance – you want to taste each component without any single spice overwhelming the dish.
Finishing Touches
Adding cream at the end of cooking is crucial for achieving that luscious restaurant-style finish. I stir in the cream after removing the pan from heat, which prevents it from curdling while still integrating perfectly with the sauce. For a lighter version, substitute cream with cashew paste or yogurt – both provide creaminess with different flavor notes.
Here are some additional tips that elevate your paneer masala to the next level:
- Roast whole spices before grinding for deeper flavor
- Add kasuri methi (dried fenugreek leaves) in the last 5 minutes for an authentic aroma
- Let the dish rest for 10–15 minutes before serving to allow flavors to meld
- Garnish with fresh cilantro and a small pat of butter for restaurant-style presentation
- Serve with fresh homemade chapati for an authentic experience
For the vegetarians at your table, paneer masala offers a protein-rich alternative to meat-based curries. The key is treating the paneer with care – overcooking can make it tough and chewy. I add the paneer cubes to the gravy about 5 minutes before finishing the dish, which allows them to warm through and absorb flavor without becoming tough.
If you’re preparing paneer masala ahead of time, I suggest keeping the paneer separate until just before serving. This prevents the cheese from absorbing too much liquid and becoming soggy. When reheating, add a splash of water or cream to bring the gravy back to its original consistency.
The versatility of paneer masala makes it perfect for both casual family dinners and special occasions. Pair it with traditional Indian desserts like gulab jamun for a complete meal that will impress your guests with your culinary skills.
Common Mistakes to Watch Out For
I’ve made plenty of errors while perfecting my paneer masala over the years. Learning from these missteps has dramatically improved my results, and I’m sharing them so you can avoid the same pitfalls.
Technique Errors That Ruin Your Dish
Overcooking the paneer is perhaps the most common mistake. This Indian cheese has a delicate texture that turns rubbery and tough when exposed to heat for too long. Instead, I add the paneer cubes during the final 3-5 minutes of cooking, just enough time for them to warm through and absorb the flavors without hardening.
Using cold paneer directly from the refrigerator is another error that affects texture. Before adding paneer to your creamy curry sauce, let it sit at room temperature for about 15-20 minutes. This simple step prevents temperature shock and helps maintain its soft, pillowy consistency.
Rushing the onion cooking process undermines the entire flavor foundation. Many home cooks hurry this crucial step, but properly caramelized onions provide that distinctive sweetness and depth to your masala.
I dedicate at least 15 minutes to slowly cooking onions until they’re golden brown, stirring occasionally to prevent burning.
Adding cream too early can cause it to split, especially when the tomato-based sauce is still acidic and hot. I always let my masala sauce cool slightly before introducing cream, and then gently simmer rather than boil after this addition.
Not blending the sauce properly results in an inconsistent texture that doesn’t coat the paneer evenly. After cooking your base with tomatoes and spices, take time to blend it thoroughly until silky smooth. This extra step makes a massive difference in creating that restaurant-quality authentic Indian meal experience.
These seemingly small details can make or break your paneer masala. By avoiding these common errors, you’ll create a dish with balanced flavors and perfect texture every time. Remember that patience is key—giving each step the time it deserves results in that remarkable depth of flavor that makes this dish so beloved.
Serving Suggestions
The vibrant flavors of paneer masala deserve perfect companions to create a complete dining experience. I’ve found several delicious pairings that elevate this dish from merely tasty to absolutely unforgettable.
Perfect Accompaniments
Freshly made bread makes an ideal partner for paneer masala. I love tearing off pieces of warm soft homemade chapati to scoop up the rich gravy. The simple flatbread lets the complex flavors of the dish shine. Alternatively, naan provides a slightly chewier texture that beautifully soaks up the spiced tomato sauce.
Jeera rice adds another dimension to your meal. The fragrant cumin-infused rice creates a perfect base for the creamy paneer dish, with its subtle flavor complementing rather than competing with the masala. The combination of aromatic rice and spicy gravy creates a balanced bite every time.
For a complete North Indian feast, add some sides to your spread. I find that crispy samosas make an excellent starter before serving the main course. For dessert, nothing caps off an Indian meal better than sweet gulab jamun — those syrup-soaked delights provide the perfect ending.
Final Touches
Don’t forget these finishing touches that transform paneer masala from good to exceptional:
- Finish with a drizzle of fresh cream for added richness and to balance the spices
- Sprinkle dried kasuri methi (fenugreek leaves) over the top for an authentic aromatic touch
- Add a few fresh cilantro leaves for color and brightness
- Include lemon wedges on the side for those who enjoy a tangy accent
Paneer masala tastes best when served hot, straight from the stove. The warmth helps release all the fragrant spices and keeps the sauce at its ideal consistency. I always warm the serving dishes before plating to maintain the temperature longer.
For a refreshing contrast to the rich dish, serve alongside a cooling raita or a simple kachumber salad with cucumber, tomatoes, and onions.
Storage and Leftovers
I’ve found that properly storing paneer masala keeps its rich flavors intact even days after cooking. Transferring leftover paneer masala into an airtight container prevents it from absorbing other food odors in your refrigerator while maintaining its freshness. The sealed environment also helps the spices continue to meld together, sometimes making the dish taste even better the next day.
Proper Storage Techniques
For best results when storing paneer masala, I recommend these simple steps:
- Allow your paneer masala to cool completely before refrigerating to prevent condensation
- Use glass containers rather than plastic when possible as they don’t absorb the turmeric color
- Fill containers nearly to the top to minimize air exposure
- Refrigerate promptly after cooling – don’t leave at room temperature for more than two hours
- Keep refrigerated for up to three days for optimal flavor and food safety
When it’s time to enjoy your leftovers, gentle reheating is key to preserving the texture of the paneer. Quick, high-heat methods can make the cheese tough and rubbery. I prefer reheating slowly on the stovetop over medium-low heat, stirring occasionally to distribute the heat evenly.
Adding a splash of cream during the reheating process works wonders for restoring the original creamy consistency of the gravy. This simple trick brings back the dish’s richness that might have thickened during refrigeration. The cream also helps prevent the sauce from sticking to the pan while reheating.
If you’ve made a large batch, you might consider freezing portions for longer storage, though the texture of paneer can change slightly upon thawing. For an exciting variation with your leftovers, try using paneer masala as a filling for homemade samosas or as a topping for freshly made warm chapatis.
Sources:

