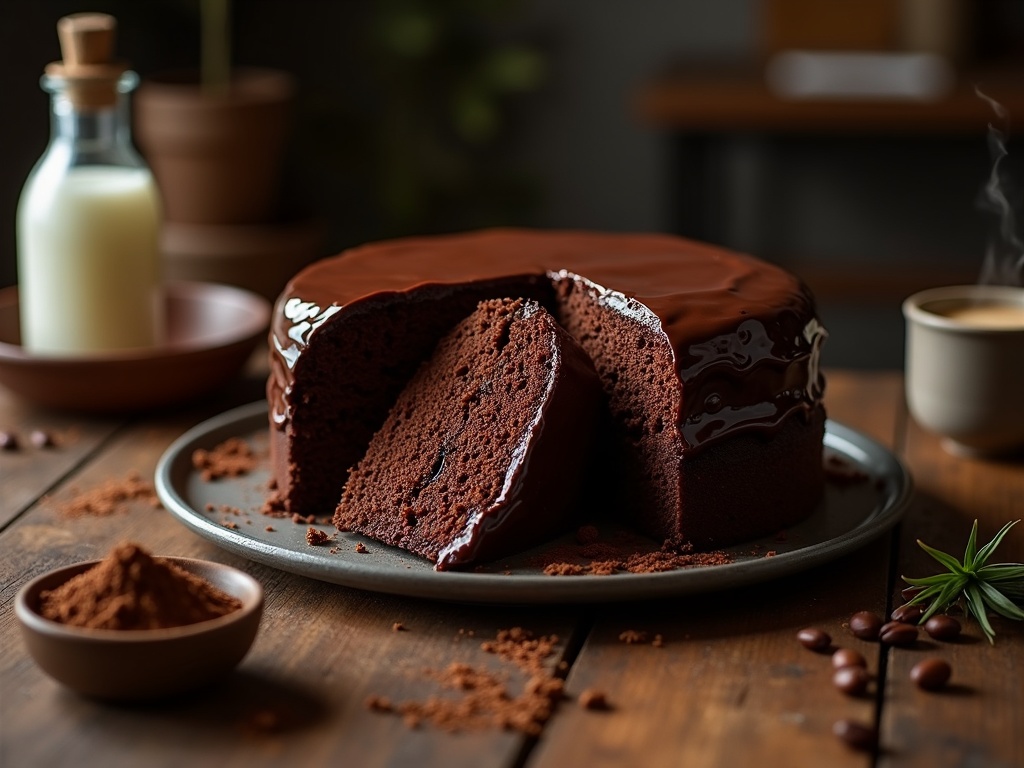
This moist chocolate cake recipe reveals strategic ingredients and techniques that help preserve exceptional moisture for days, including using oil instead of butter and adding boiling water to bloom the cocoa powder. The detailed method breaks down the science behind moisture retention while offering variations for creating a perfect chocolate cake with a tender, melt-in-your-mouth texture that chocolate lovers crave.
Find In This Article
Key Takeaways
- Oil coats flour proteins more effectively than butter, preventing excess gluten formation and extending moisture retention.
- The combination of baking powder and baking soda creates an ideal leavening system that works with acidic cocoa powder for perfect rise and texture.
- Adding boiling water to the batter blooms the cocoa powder for enhanced flavor while creating a thinner batter that rises evenly.
- The recipe calls for specific ingredients including all-purpose flour, cocoa powder, sugar, eggs, milk, and oil that work together to create the signature moist texture.
- Proper storage techniques like airtight containers, refrigeration, or freezing can extend the cake’s freshness for days or even months.
Why This Chocolate Cake Stays Perfectly Moist
Have you ever bitten into a slice of chocolate cake only to find it disappointingly dry? I’ve perfected this recipe specifically to address that common problem. The secret to this chocolate cake’s exceptional moisture lies in several key techniques and ingredients that work together beautifully.
The Science Behind the Moisture
I’ve chosen to use oil instead of butter as the primary fat in this recipe. This isn’t just a random choice – oil coats the flour proteins more effectively than butter, preventing them from forming too much gluten when mixed. The result? A cake that stays moist for days longer than butter-based alternatives. Scientific studies have shown that cakes typically lose 2-5% moisture per day at room temperature, but the oil in this recipe significantly slows that process.
The double leavening system is another crucial element. By combining both baking powder and baking soda, I’ve created the perfect balance of lift and texture. The baking soda reacts with the acidic cocoa powder immediately, while the baking powder provides a secondary rise during baking.
One unconventional technique that makes a huge difference is adding boiling water to the batter. This serves two important purposes:
- It blooms the cocoa powder, intensifying the chocolate flavor
- It activates the leavening agents more effectively, creating a light crumb that still remains moist
The quality of cocoa powder can’t be overlooked either. A premium cocoa powder contains more cocoa butter, which contributes to both flavor and moisture retention. For an even richer variation, you might enjoy my fudgy brownies that use a similar moisture-retention technique.
I’ve found that proper storage is just as important as the recipe itself. Once cooled, wrapping the cake tightly helps preserve moisture – though with this recipe, it rarely lasts long enough for drying to become an issue!
For those looking to experiment with flavors while maintaining the same moist texture, my mango cake and orange cake recipe use similar moisture-preserving techniques.
This chocolate cake recipe has become my go-to for celebrations because it delivers consistent results every time. The crumb structure holds moisture exceptionally well, creating that melt-in-your-mouth experience that chocolate cake lovers crave.

Essential Ingredients for the Perfect Texture
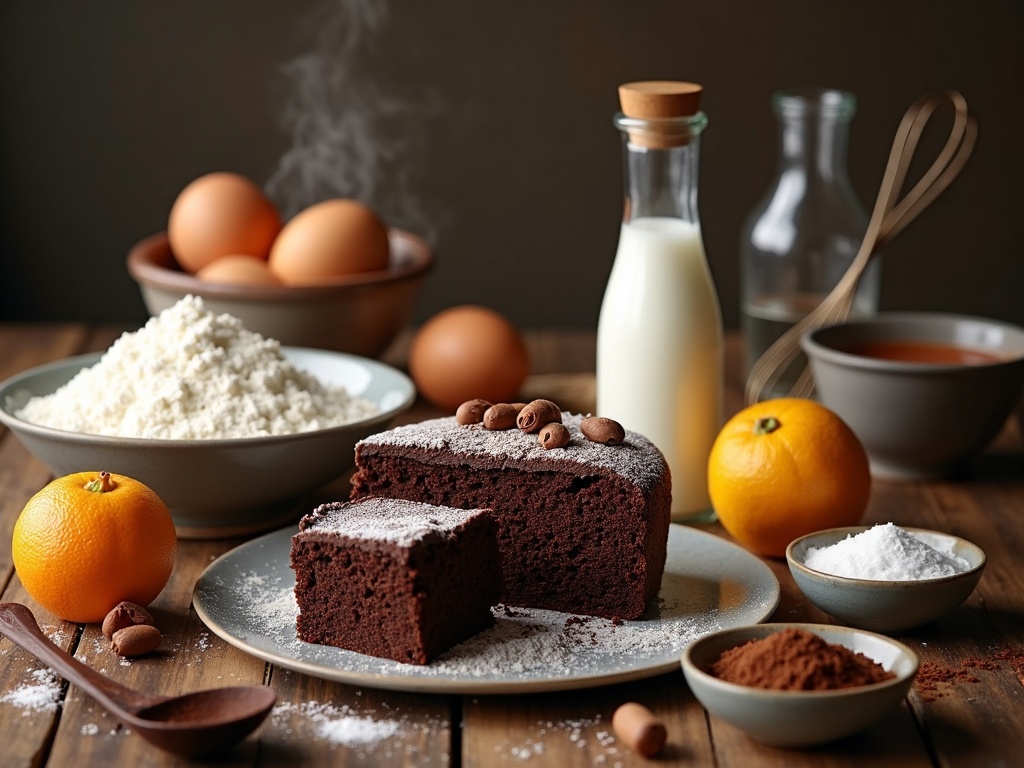
Creating a moist chocolate cake is all about getting the right balance of ingredients. I’ve found that each component plays a crucial role in achieving that perfect, tender crumb that melts in your mouth.
Dry Ingredients That Make a Difference
The foundation of any great chocolate cake starts with the right dry ingredients. I always measure carefully to ensure consistent results every time.
- All-purpose flour (2 cups) provides the necessary structure that helps your cake hold its shape while still remaining light. I prefer to sift it first to remove any lumps and incorporate air, which contributes to a fluffier texture.
- Granulated sugar (2 cups) does more than just sweeten the cake – it’s actually a moisture retention agent that helps keep your cake soft for days. The sugar crystals create tiny air pockets as they dissolve, contributing to that perfect crumb.
- Unsweetened cocoa powder (¾ cup) is the star that delivers the deep chocolate flavor. I’ve discovered that Dutch-processed cocoa produces a richer, darker cake compared to natural cocoa powder, but either works beautifully in this recipe.
- The leavening agents – baking powder (1 ½ teaspoons) and baking soda (1 ½ teaspoons) – work together to create the perfect rise. Salt (1 teaspoon) isn’t just for flavor; it enhances the sweetness and chocolate notes while balancing the overall taste profile.
For those who enjoy different flavor variations, you might want to try my orange-infused chocolate cake that adds a citrusy twist to this classic recipe.
The wet ingredients are where the magic of moisture really happens. Two large eggs bind everything together while adding richness. Whole milk (1 cup) provides fat content that contributes to a tender crumb, while vegetable oil (½ cup) is the secret weapon for moisture that lasts. Unlike butter, oil remains liquid at room temperature, giving the cake its signature moistness days after baking.
Vanilla extract (2 teaspoons) complements and enhances the chocolate flavor. I sometimes use coffee extract instead for a deeper flavor dimension.
The most surprising ingredient might be the boiling water (1 cup). This hot liquid blooms the cocoa powder, intensifying its flavor while creating a thinner batter that allows for even rising. Some bakers substitute hot coffee for an even richer taste profile, similar to what I do in my fudgy brownies recipe.
For a tropical twist on this classic, you could incorporate some of the techniques I use in my mango cake, adding exotic fruit purees to the batter for extra moisture and flavor complexity.
The quality of your ingredients matters tremendously. I’ve found that fresh baking powder and baking soda make a noticeable difference in the rise and texture. And for the ultimate chocolate experience, splurging on high-quality cocoa powder transforms an ordinary cake into something extraordinary.
Room temperature eggs and milk blend more smoothly into the batter, creating a more uniform texture throughout the cake. This small step makes a big difference in the final product, giving you that perfect chocolate cake recipe result that impresses everyone at the table.

Foolproof Baking Method
Creating a moist chocolate cake isn’t rocket science – it’s all about following a reliable process. I’ve perfected this method through countless baking sessions, and it guarantees a deliciously moist result every time.
Step-by-Step Process
First, preheat your oven to 350°F (175°C). This temperature creates the perfect environment for your cake to rise evenly without drying out. While the oven heats up, prepare two 9-inch round cake pans by greasing them thoroughly and lining the bottoms with parchment paper.
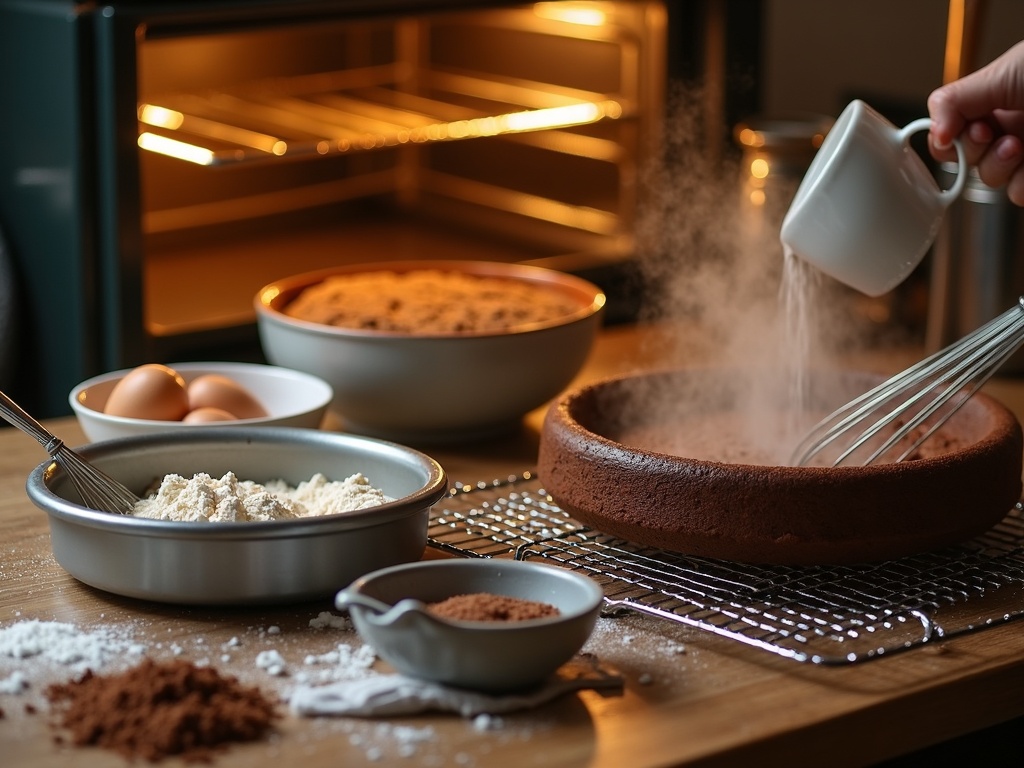
Next comes ingredient preparation. I always whisk the dry ingredients (flour, cocoa powder, baking soda, baking powder, and salt) in one bowl and the wet ingredients (eggs, sugar, oil, and vanilla) in another. This separation is crucial because it allows for even distribution of leavening agents before they activate.
When combining the mixtures, add the dry ingredients to the wet ingredients gradually – about one-third at a time. Mix just until incorporated after each addition. Overmixing develops gluten, which leads to a tough cake instead of the tender crumb we’re after.
Here’s the secret step that transforms this from ordinary to extraordinary: add boiling water as the final ingredient. This might seem strange as the batter becomes quite thin, but this is exactly what you want! The hot water blooms the cocoa powder, intensifying the chocolate flavor while creating that signature moistness found in the best chocolate cake recipes.
Pour the batter evenly between your prepared pans. The consistency will be much thinner than traditional cake batters – don’t worry, this is normal and key to achieving that perfect texture similar to fudgy brownies but in cake form.
Bake for 30-35 minutes, or until a toothpick inserted in the center comes out with a few moist crumbs. For a fruitier twist on this technique, you might enjoy trying my mango cake method, which uses similar principles.
After baking, patience is essential. Let the cakes cool in their pans for exactly 10 minutes – not less, not more. This cooling period allows the structure to set without steaming the bottom. Then transfer to a wire rack to cool completely before frosting.
This method works perfectly with chocolate, but can also be adapted for citrus flavors like my popular orange cake recipe with minor adjustments to the liquid components.

Choose Your Perfect Topping
Deciding on the right topping for your chocolate cake can elevate it from good to unforgettable. I’ve found that different frostings create entirely different dessert experiences, even when using the same moist chocolate cake recipe as your base.
Frosting Options That Complement Chocolate
Chocolate Buttercream offers that classic, rich finish that chocolate lovers crave. To make this indulgent topping, you’ll need:
- 1 cup butter
- 3 ½ cups powdered sugar
- ¾ cup cocoa
- ¼ cup milk
The secret to a silky texture is beating the butter until it’s light and fluffy before gradually adding the other ingredients. This frosting pairs beautifully with layers of dense chocolate cake, creating a dessert that’s reminiscent of those found in high-end bakeries.
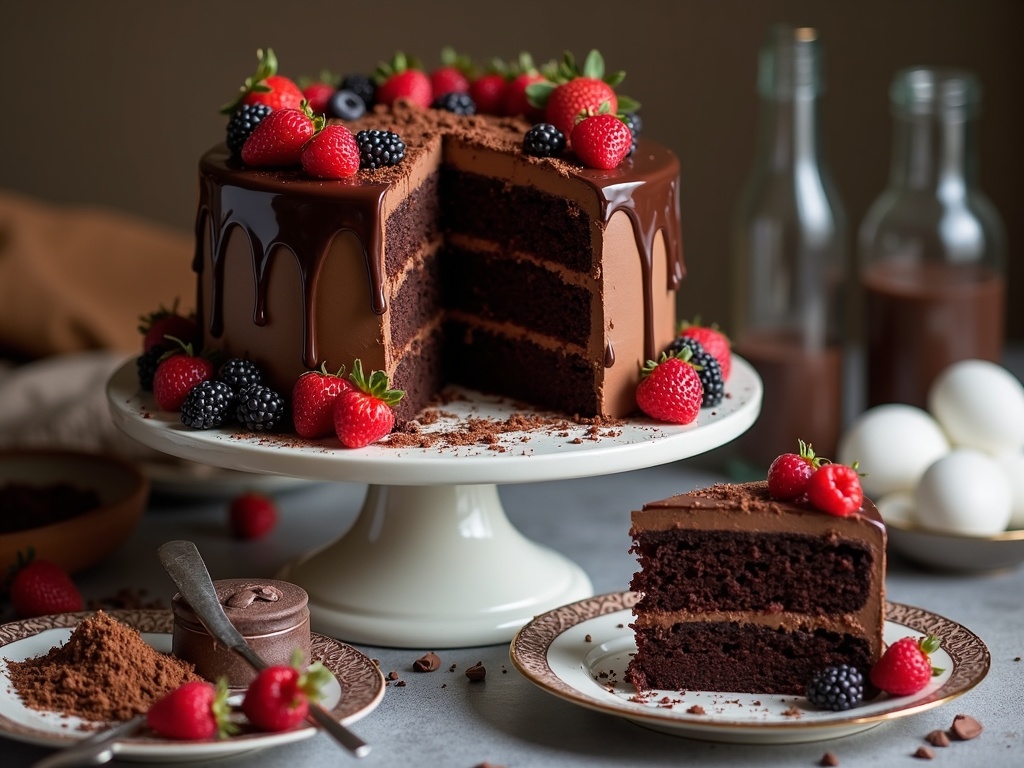
For an elegant, glossy finish, Rich Ganache is unbeatable. Simply heat 1 cup heavy cream until it’s just about to simmer, then pour it over 1 ½ cups semisweet chocolate. Let it sit for a minute, then stir until smooth. The result is a pourable topping that sets into a shiny, decadent layer. Ganache works particularly well with fudgy brownies too, adding an extra dimension of richness.
Cream Cheese Frosting brings a tangy contrast that cuts through the sweetness of chocolate cake. Combine 8 oz cream cheese, ½ cup butter, and 4 cups powdered sugar for a topping that’s both creamy and complex. Studies show cream cheese frosting enhances chocolate flavor with its tangy notes, creating a balanced flavor profile that prevents the dessert from becoming too sweet. This versatile frosting also works wonders on mango cake or orange cake recipes if you’re looking to experiment.
I’ve found temperature makes a big difference with these toppings. Buttercream spreads best at room temperature, while ganache needs cooling time to set properly. Cream cheese frosting benefits from brief refrigeration before spreading, giving you cleaner edges and more control.
For special occasions, consider combining approaches – perhaps a cream cheese frosting between layers with a ganache drip effect on top. This creates visual interest and gives your guests different flavor experiences with each bite.
Remember that frosting isn’t just about taste – it’s your cake’s outfit. The right topping completes your chocolate masterpiece, turning a simple dessert into a showstopper that friends and family will remember long after the last crumb is gone.
Keep It Fresh Longer
Nothing disappoints more than a dried-out chocolate cake. I’ve found that proper storage makes all the difference between enjoying moist, delicious cake for days or ending up with a sad, stale dessert.
Storage Options for Maximum Freshness
At room temperature, your moist chocolate cake will stay fresh for 2-3 days when kept in an airtight container. This method preserves that perfect texture while keeping the flavor intact. Just make sure to place it in a cool spot away from direct sunlight.
If you need your cake to last longer, refrigeration is your friend. When properly covered, your cake can stay fresh in the refrigerator for up to one week. Before serving, I recommend letting it sit at room temperature for about 30 minutes to restore that soft, melt-in-your-mouth quality.
For long-term storage, freezing works brilliantly. Your cake can maintain its quality for 2-3 months when properly wrapped. I always use a double-layer approach for freezing: first with plastic wrap, followed by a layer of aluminum foil. This two-step method prevents freezer burn and locks in moisture.
Here are some additional tips I’ve learned for extending your cake’s shelf life:
- Slice before freezing to make thawing easier and faster
- Label your wrapped cake with the date to track freshness
- Store unfrosted cakes when possible, as frosting can be added later
- Keep cakes with dairy-based frostings refrigerated at all times
- Use cake domes rather than plastic wrap for short-term storage to avoid damaging decorations
The freezer is also perfect for planning ahead. I often make fudgy brownies and chocolate cakes weeks before special occasions. For fruit-based variations, both mango cake and orange cake recipes freeze beautifully using the same wrapping technique.
When thawing frozen cake, transfer it to the refrigerator overnight while still wrapped. This gradual thawing process helps maintain moisture better than rapid thawing at room temperature.
Remember that cakes with fillings like custard or fresh fruit will have a shorter shelf life, so adjust your storage expectations accordingly. With these storage methods, you’ll ensure every slice of your chocolate cake remains as delicious as when it first came out of the oven.
Sources:
The Science of Baking: Understanding Moisture in Cakes – Baking Science Journal
Essential Ingredients for Perfect Cake Texture – Culinary Institute of America
Comparison of Frosting Types: A Flavor Profile Study – Sweets Magazine

