Mini quiche Recipe offer a versatile and impressive dish that can be customized for virtually any occasion, from quick weekday breakfasts to elegant dinner party appetizers. These savory treats combine a flaky, buttery pastry shell with creamy egg filling that can be adapted with countless ingredient combinations, making them perfect for accommodating different tastes and dietary preferences.
Table of Contents
Key Takeaways
- Mini quiches are excellent make-ahead options that refrigerate well for 3-4 days or freeze for up to 3 months without losing flavor or texture.
- The perfect pastry requires cold butter, minimal handling, and a 30-minute chilling period to achieve a flaky, tender crust.
- Pre-cooking wet ingredients like spinach and mushrooms prevents soggy quiches by removing excess moisture before adding to the egg mixture.
- Blind baking the crusts for 10 minutes at 375°F is essential for preventing sogginess before adding filling and completing the bake.
- For best results when reheating, use a 350°F oven for 7–10 minutes rather than microwaving to maintain the crispy texture of the crust.
Why You’ll Love These Mini Quiches
These mini quiches are about to become your new go-to recipe for practically any occasion. I’ve perfected these little savory treats over the years, and they’ve never failed to impress my guests. Their versatility makes them perfect for breakfast alongside some fresh fruit, the star of a weekend brunch spread, or elegant appetizers for your next dinner party.
Ultimate Make-Ahead Marvel
One of the biggest advantages of these mini quiches is their make-ahead friendly nature. I often prepare them on Sunday for quick breakfasts throughout the week. Here’s why they’re perfect for busy schedules:
- They refrigerate beautifully for 3-4 days without losing flavor
- Freeze excellently for up to 3 months in airtight containers
- Reheat in just 10-15 minutes in the oven (or 30 seconds in the microwave)
- Taste freshly-made even after storage
This make-ahead capability puts them in the same convenient category as my popular protein-packed egg muffins — both save tremendous time during busy weekday mornings.
The freezer-friendly aspect is particularly handy when prepping for parties. I can make them weeks ahead, reducing day-of stress completely. Just pop them in the oven before guests arrive, and you’ll have warm, freshly-baked appetizers with minimal effort.
Endless Customization Options
What truly sets these mini quiches apart is how endlessly customizable they are. I can adapt them to any flavor profile, dietary preference, or ingredient availability. This flexibility reminds me of how versatile my zucchini muffins recipe is — both can be transformed with just a few ingredient swaps.
The filling possibilities are virtually limitless:
- Classic combinations like ham and cheese or spinach and feta
- Mediterranean inspired with roasted red peppers, olives and spanakopita-style spinach mix
- Hearty meat options similar to a cottage pie filling with ground beef and vegetables
- Italian twist with sun-dried tomatoes, basil and mozzarella
- Rich and creamy fillings inspired by marry me chicken with sun-dried tomatoes and herbs
I’ve found that guests appreciate having options, especially those with dietary restrictions. By preparing a variety of mini quiches with different fillings, I can accommodate vegetarians, meat lovers, and even those avoiding certain ingredients.
The bite-sized nature of these quiches makes them perfect party food. Their two-bite size allows guests to sample multiple flavors without committing to a full-sized portion. They’re elegant enough for formal gatherings yet approachable for casual get-togethers.
The rich, buttery crust paired with a savory filling creates a perfect balance of flavors and textures in each bite. The edges get wonderfully crisp while the centers remain tender and creamy. For an extra flavor dimension, I sometimes incorporate a bolognese-inspired meat mixture that adds incredible depth to these tiny treats.
Whether served warm from the oven or at room temperature, these mini quiches maintain their delicious flavor, making them incredibly practical for entertaining. Their portability also makes them ideal for potlucks, picnics, or any occasion where finger foods are preferred.

What You’ll Need for the Pastry
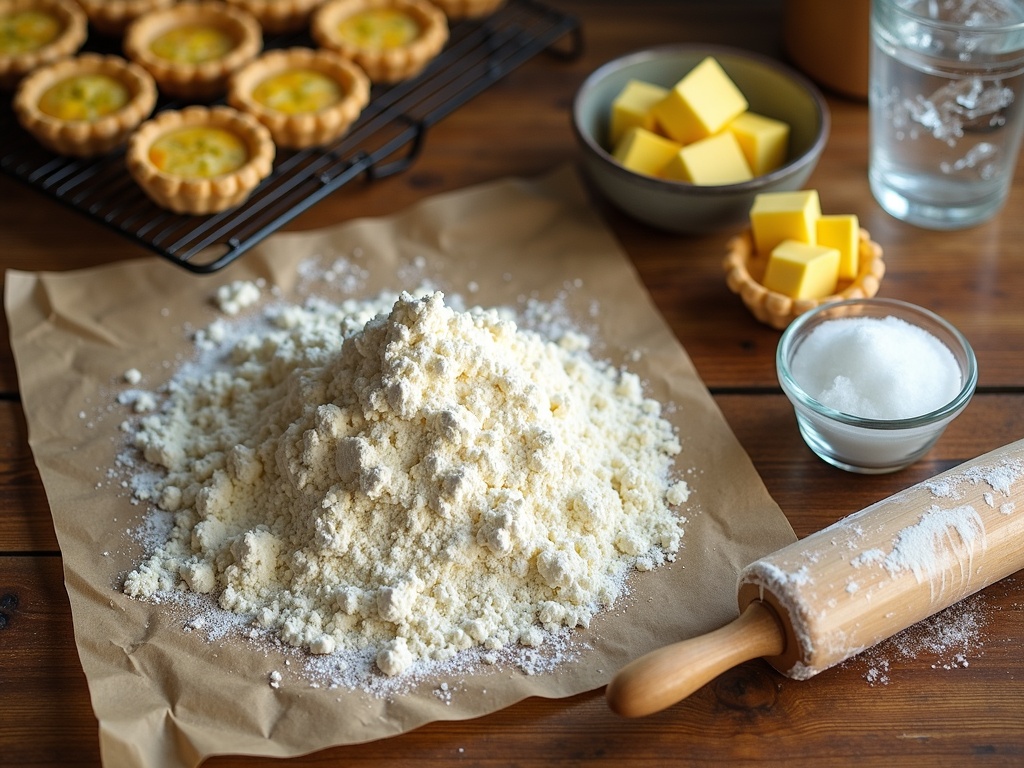
Creating the perfect pastry for mini quiches is all about achieving that delicate balance between flaky and sturdy. The crust serves as the foundation for these bite-sized treats, and getting it right makes all the difference.
Essential Ingredients
For a batch of mini quiche shells that are buttery and flaky, I’ve found that these four simple ingredients work perfectly together:
- 2 cups all-purpose flour – serves as the base of your pastry, providing structure and that classic crust texture
- 1/2 cup cold butter (cut into small cubes) – creates those lovely flaky layers when it melts during baking
- 4-5 tablespoons ice water – helps bind everything together without activating too much gluten
- 1/4 teaspoon salt – enhances the flavor and balances the richness
The secret to a successful pastry lies not just in the ingredients but in how you handle them. I keep my butter extremely cold right until I’m ready to use it. This helps create those distinct layers that make for a flaky crust.
When making mini quiches, this pastry recipe yields enough for about 24 small shells, perfect for savory egg-based appetizers at your next gathering.
For best results, I chill the dough for at least 30 minutes before rolling it out. This rest period allows the gluten to relax and the butter to firm up again, which helps prevent shrinkage when baking. You can also prepare this dough a day in advance, similar to how you might prep ingredients for a classic spanakopita, making your mini quiche assembly much quicker when you’re ready to bake.

Basic Filling Ingredients
The foundation of any delicious mini quiche starts with a perfect balance of simple, high-quality ingredients. I’ve found that mastering the base filling sets you up for endless variations while ensuring a creamy, satisfying texture every time.
Core Components
To create a stellar mini quiche filling, you’ll need these essential ingredients:
- 4 large eggs serve as the primary binding agent, providing structure and richness to your mini quiches. For best results, bring eggs to room temperature before mixing, which helps create a smoother, more uniform filling.
- 1 cup heavy cream adds that luxurious, velvety texture that makes quiche so irresistible. I’ve tried substituting with half-and-half or milk, but heavy cream consistently produces the silkiest results. The fat content in the cream also helps carry flavors throughout each bite.
- Salt and pepper to taste might seem basic, but proper seasoning makes all the difference. I typically use about 1/4 teaspoon of salt and a generous pinch of freshly ground black pepper per batch. These seasonings enhance the other ingredients without overpowering them.
- 1 cup cheese of choice allows for customization based on your preferences. Sharp cheddar offers a bold flavor profile, while Gruyère provides a nutty depth that pairs beautifully with most mix-ins. Other excellent options include feta, goat cheese, or a simple mozzarella. You can even create savory egg treats with cheese blends for more complex flavors.
Mix-In Variations
The beauty of mini quiches lies in their versatility. Once you’ve mastered the base mixture, you can incorporate these popular mix-ins:
- Bacon adds smoky, savory notes that complement the creamy base perfectly. Cook and crumble 4-6 strips before adding to your mixture. For an elegant twist similar to impressive dinner recipes, try using pancetta or prosciutto as upscale alternatives.
- Spinach provides color, nutrients, and a mild flavor that pairs well with nearly any cheese. Sauté and drain a cup of fresh spinach (or thaw and squeeze dry if using frozen) before incorporating it into your filling. This creates a similar profile to traditional Greek spinach dishes but in quiche form.
- Mushrooms contribute an earthy, meaty element that makes even vegetarian versions satisfying. Sauté about 3/4 cup of finely chopped mushrooms until they’ve released and reabsorbed their moisture for the best texture and concentrated flavor.
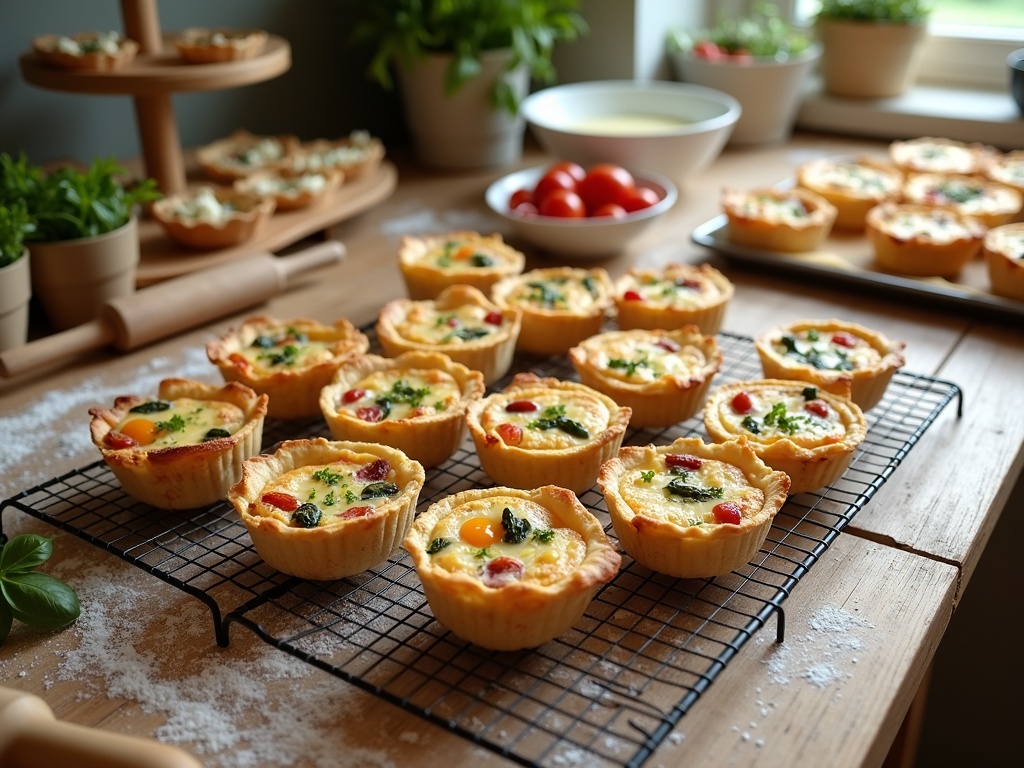
- Other fantastic mix-ins include caramelized onions, roasted red peppers, fresh herbs, or diced ham. For an Italian-inspired variation, try adding diced tomatoes and basil, which provides flavors reminiscent of a classic Italian sauce but in a completely different format.
When combining your core ingredients, whisk eggs until just blended, then slowly incorporate the cream, creating a smooth mixture without incorporating too much air. Season with salt and pepper, fold in your cheese and chosen mix-ins, and you’re ready to fill your prepared mini quiche shells for baking.
For an easy way to fill multiple mini quiches, I find using a measuring cup with a spout helps control the pour into each shell, preventing messy overflow and ensuring even distribution. This approach works just as well when making savory muffins or other portion-controlled dishes.
Creating Your Mini Quiches
Making mini quiches from scratch might sound intimidating, but I can assure you it’s quite straightforward. These bite-sized savory treats are perfect for brunches, appetizers, or even as a protein-packed snack similar to egg muffins but with a flaky crust.
Prepare the Pastry Dough
Start by making a simple shortcrust pastry. I mix 2 cups of all-purpose flour with a pinch of salt, then cut in 1 stick (½ cup) of cold butter until the mixture resembles coarse crumbs. Add 3-4 tablespoons of ice water, one at a time, until the dough just comes together. Don’t overwork it – the key to flaky pastry is minimal handling.
Once the dough forms a ball, wrap it in plastic and chill it for at least 30 minutes. This resting period allows the gluten to relax and the butter to firm up, resulting in a more tender crust, much like when preparing a base for cottage pie but with a more delicate touch.
Line and Fill Your Mini Quiches
After the dough has chilled:
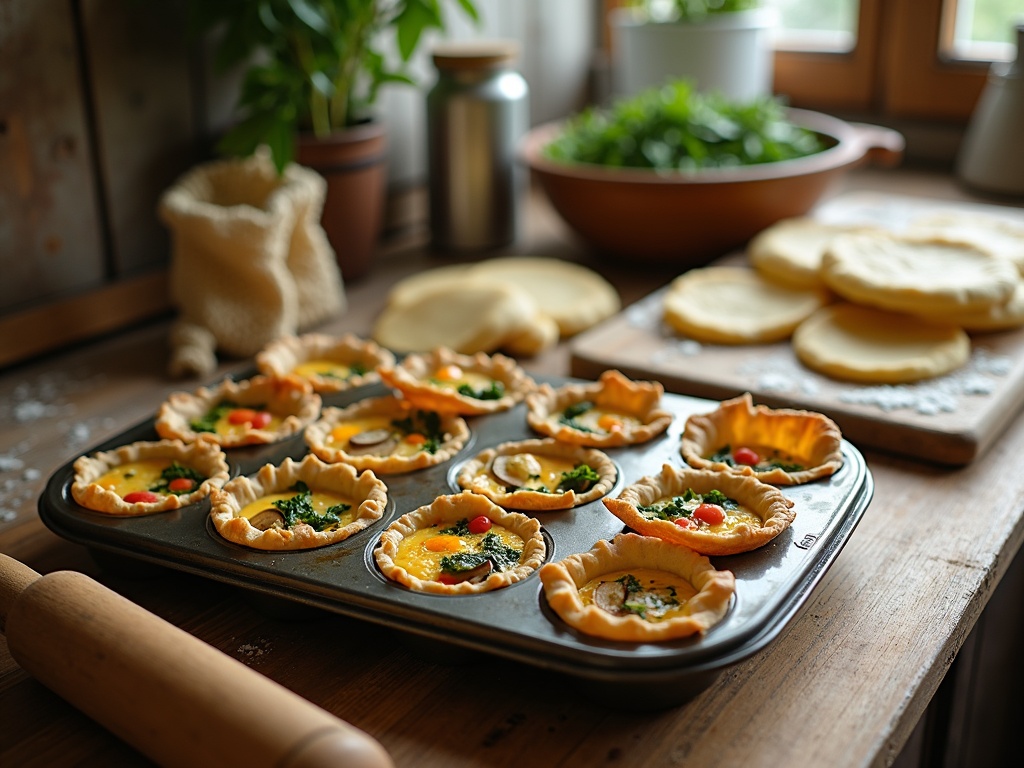
- Roll out the pastry dough to about ⅛ inch thickness on a lightly floured surface
- Use a round cutter slightly larger than your mini muffin cups
- Gently press each round into the cups, creating a small pastry shell
- Prick the bottoms with a fork to prevent puffing
For the filling, whisk together:
- 3 eggs
- ½ cup of heavy cream
- Salt, pepper, and herbs of your choice
This egg mixture serves as your base, similar to what you’d use in a spanakopita but with a French twist.
Add your favorite mix-ins—chopped spinach, crumbled bacon, diced ham, sautéed mushrooms, caramelized onions, or shredded cheese work wonderfully. Pour this mixture into each pastry cup, filling them about ¾ full to allow room for the quiche to puff up as it bakes.
Bake in a preheated 375°F oven for 15-20 minutes, or until the filling is set and the pastry edges are golden brown. The result is a batch of perfectly portioned, muffin-sized quiches that make an elegant addition to any meal.
Let them cool slightly before removing from the tin. These mini quiches can be served warm or at room temperature, making them incredibly versatile for any gathering or quick bite on busy mornings.
Essential Baking Instructions
Preparing mini quiches requires precise timing and temperature control to achieve that perfect balance of crispy crust and creamy filling. I’ve found that following specific baking instructions makes all the difference between mediocre and magnificent results.
Preparing Your Oven and Crusts
First, I always preheat my oven to 375°F (190°C). This temperature is ideal for mini quiches as it allows the crust to become golden and flaky while gently cooking the egg filling without curdling. While the oven heats up, I place my prepared mini crusts into the muffin tins, making sure they’re properly shaped.
Blind baking the crusts is an essential step you shouldn’t skip. This process involves pre-baking the empty crusts before adding any filling. Here’s how I do it:
- Line each mini crust with a small piece of parchment paper
- Fill with dried beans or baking weights
- Bake for exactly 10 minutes at 375°F
- Remove the weights and parchment carefully
This initial baking creates a barrier that prevents the egg mixture from making the crust soggy – similar to the technique used for egg muffins but with an added pastry element. The crusts should look slightly dry but not browned yet.
Adding Fillings and Final Baking
After blind baking, it’s time to add your prepared fillings. I let the crusts cool for about 2 minutes before filling them, which helps prevent the egg mixture from starting to cook immediately on contact.
When adding the fillings, I fill each cup about ¾ full with the egg mixture, then carefully add any solid ingredients like cheese, vegetables, or meat. If you’re looking for inspiration, the cheesy elements from a cottage pie recipe can work wonderfully in savory quiches.
The final baking step requires some attention to detail:
- Return the filled mini quiches to the 375°F oven
- Bake for 15–20 minutes, checking at the 15-minute mark
- Look for a golden crown and slight puffing of the filling
- Test readiness by inserting a toothpick – it should come out mostly clean
The quiches will continue cooking slightly after removal, so I pull them from the oven when the centers are just set but still have the tiniest wobble. This prevents overcooking and keeps the texture silky. Much like spanakopita, mini quiches develop that perfect golden hue when baked properly.
After removing from the oven, I let the mini quiches rest in their tins for about 5 minutes. This resting period allows them to set further and makes removal easier. I then carefully lift each quiche from the tin using a small offset spatula or butter knife around the edges.
These mini quiches are versatile enough for breakfast, brunch, or appetizers. The filling possibilities are endless – try incorporating leafy greens like those used in zucchini muffins for a nutritious twist.
For best results, I serve them warm, though they’re also delicious at room temperature. If making ahead, they can be reheated in a 325°F oven for about 10 minutes until warmed through.

Common Mistakes to Avoid
When making mini quiches, a few simple errors can turn your elegant appetizers into disappointing results. I’ve learned through plenty of trial and error what works and what doesn’t.
Key Pitfalls in Mini Quiche Preparation
- Overfilling the crusts is perhaps the most frequent mistake I see. It’s tempting to load those little pastry shells with as much delicious filling as possible, but restraint is essential. When overfilled, the egg mixture expands during baking and spills over the sides, creating a messy result that’s difficult to remove from the pan. I typically fill each crust only about two-thirds full, leaving room for expansion similar to how I prepare
savory breakfast egg muffins. - Skipping the blind bake might save time, but it’s a shortcut that leads to soggy bottoms. Pre-baking your pastry shells for about 8-10 minutes before adding filling ensures they remain crisp after the final bake. This step is crucial – just as important as getting the right consistency in a
Bolognese sauce or any recipe with both wet and dry elements. - Using wet filling ingredients is another common error. Vegetables like spinach, mushrooms, and zucchini release significant moisture during cooking. I always pre-cook and drain these ingredients thoroughly before adding them to my egg mixture. The spinach treatment is particularly important, similar to how I prepare it for
traditional spanakopita to remove excess moisture. - Not properly chilling the dough leads to tough, shrunken crusts. Patience is key here – after making your dough, wrap it tightly and refrigerate for at least 30 minutes before rolling and cutting. This rest time allows the gluten to relax and the fats to firm up, resulting in a flakier, more tender crust. I find this waiting period essential, just as important as the slow cooking process in a rich
cottage pie recipe.
For successful mini quiches that will impress at any gathering, take care to avoid these common mistakes. Your attention to these details will elevate your quiches from merely good to truly exceptional party fare.

Smart Make-Ahead Tips
I’ve discovered that mini quiches are perfect for meal prep—they’re versatile little savory treats that can save you tons of time during busy weeks. Making them ahead and storing them properly means you can enjoy these delicious bites whenever cravings strike!
Freezing and Storing Options
Freezing unbaked mini quiches is a game-changer for party planning or weekly meal prep. To do this effectively, I prepare the quiches in their tins, then place them on a baking sheet and freeze until solid. Once frozen, I transfer them to freezer-safe containers or bags, separating layers with parchment paper. These unbaked treasures can last up to 3 months in the freezer without losing quality.
For baked quiches that I plan to eat within the week, refrigeration works perfectly. After cooling completely, I store them in airtight containers with paper towels between layers to absorb moisture. When properly stored, baked mini quiches stay fresh for 3–4 days in the refrigerator.
The key to maintaining their texture is to avoid condensation. I never place warm quiches in sealed containers—this creates unwanted moisture that makes the crusts soggy. Instead, I always let them cool completely on a wire rack before storing them.
Reheating for Best Results
Proper reheating makes all the difference between a mediocre leftover and a mini quiche that tastes freshly made. For refrigerated quiches, I’ve found these methods work best:
- Oven method: Preheat to 350°F and warm quiches for 7–10 minutes until heated through
- Air fryer: 3–4 minutes at 325°F for the perfect crispy exterior
- Toaster oven: 5–7 minutes at 325°F for small batches
- Microwave: 15–20 seconds per quiche (though this sacrifices some crispness)
For frozen unbaked quiches, there’s no need to thaw first. I simply place them directly in a preheated 375°F oven and add about 3–5 minutes to the original baking time. This method works perfectly with my favorite egg-based recipes that have similar ingredients to mini quiches.
When reheating frozen baked quiches, I’ve found it’s best to thaw them overnight in the refrigerator first, then rewarm using one of the methods above. This prevents the outside from burning while the center remains cold.
For best flavor, I often add a light sprinkle of fresh herbs or a tiny pinch of cheese on top before reheating. This refreshes the quiches and makes them taste almost freshly made. The technique works particularly well with quiches that contain spinach, similar to the approach used in traditional Greek spinach pies.
I’ve found that mini quiches with a higher vegetable content, like those packed with zucchini similar to these savory muffins, tend to maintain moisture better during storage than those with mostly meat fillings.
For serving at parties, I remove quiches from the refrigerator about 20 minutes before reheating to take the chill off. This allows for more even warming and reduces the reheating time needed, keeping the crust from becoming too brown or dry.
The beauty of these make-ahead tips is that they apply to nearly any mini quiche recipe—whether you’re making classic bacon and cheese, rich creamy variations, or vegetable-packed versions. With proper storage and reheating, you’ll always have an impressive appetizer or quick breakfast at your fingertips!
Serving Suggestions
These mini quiches are incredibly versatile when it comes to serving options. I’ve found numerous ways to present these savory treats that enhance both their flavor and visual appeal, making them perfect for any occasion from casual brunches to elegant soirees.
Breakfast Pairings and Presentation
For breakfast or brunch, I love pairing mini quiches with complementary sides that create a balanced meal. Fresh fruit salads with berries and citrus provide a refreshing contrast to the rich, savory quiches. A simple arugula salad dressed with lemon vinaigrette adds a peppery bite that cuts through the richness of the egg filling, similar to how egg muffins benefit from fresh sides.
Consider these breakfast accompaniments for your mini quiches:
- Crispy bacon strips or breakfast sausage links
- Roasted potatoes with herbs
- Grilled tomato halves with a sprinkle of parmesan
- Avocado slices with a squeeze of lemon
- Yogurt parfaits for a sweet counterpoint
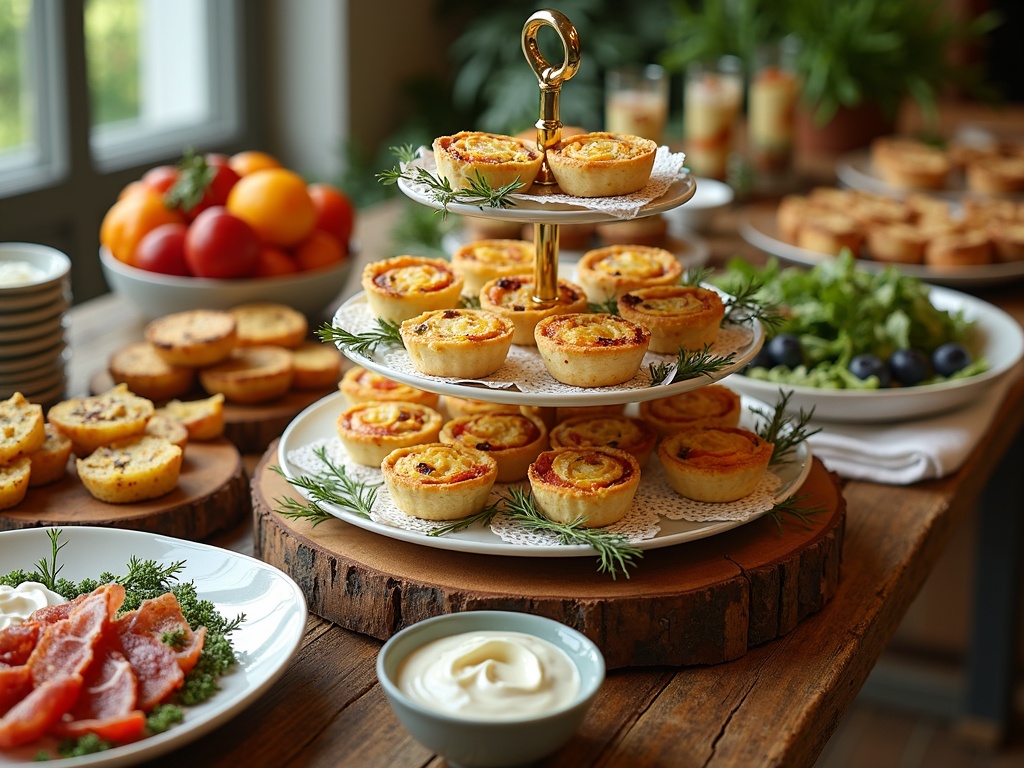
For party presentations, display matters almost as much as taste. I’ve discovered that serving mini quiches on tiered platters creates an eye-catching focal point for any buffet table. Line each tier with doilies or fresh herb sprigs for an elegant touch. For cocktail parties, arrange them on a large wooden board alongside spanakopita or other finger foods for a Mediterranean-inspired spread.
Temperature is crucial when serving mini quiches. They’re best enjoyed warm rather than piping hot, which allows the flavors to fully develop. If you’ve refrigerated them, reheat in a 325°F oven for about 10 minutes until warmed through. For room temperature serving (perfect for buffets), let them sit out for no more than 2 hours for food safety. Cold mini quiches can work for picnics or packed lunches, but their texture is most appealing when served at least slightly warm.
The right garnishes can elevate mini quiches from good to memorable. Fresh herbs make an exceptional topping—try tiny sprigs of dill, chives, or microgreens. A small dollop of crème fraîche or sour cream adds creaminess and visual contrast. For seafood-filled varieties, a tiny lemon wedge provides both decoration and a bright flavor accent. Hearty meat-filled quiches like those inspired by bolognese recipes can benefit from a light sprinkle of additional grated cheese or crispy pancetta crumbles.
I’ve found these garnish combinations particularly successful:
- Smoked salmon quiche: dill sprigs and capers
- Mediterranean quiche: fresh basil and sun-dried tomato sliver
- Mushroom quiche: thyme leaves and truffle oil drizzle
- Spinach quiche: toasted pine nuts and feta crumbles
- Bacon and cheese quiche: chive batons and paprika dusting
For a special brunch, create a mini quiche bar where guests can add their own toppings. Offer ramekins filled with various garnish options alongside zucchini muffins and other breakfast treats for a memorable self-service station that encourages creativity and conversation.

Sources:

