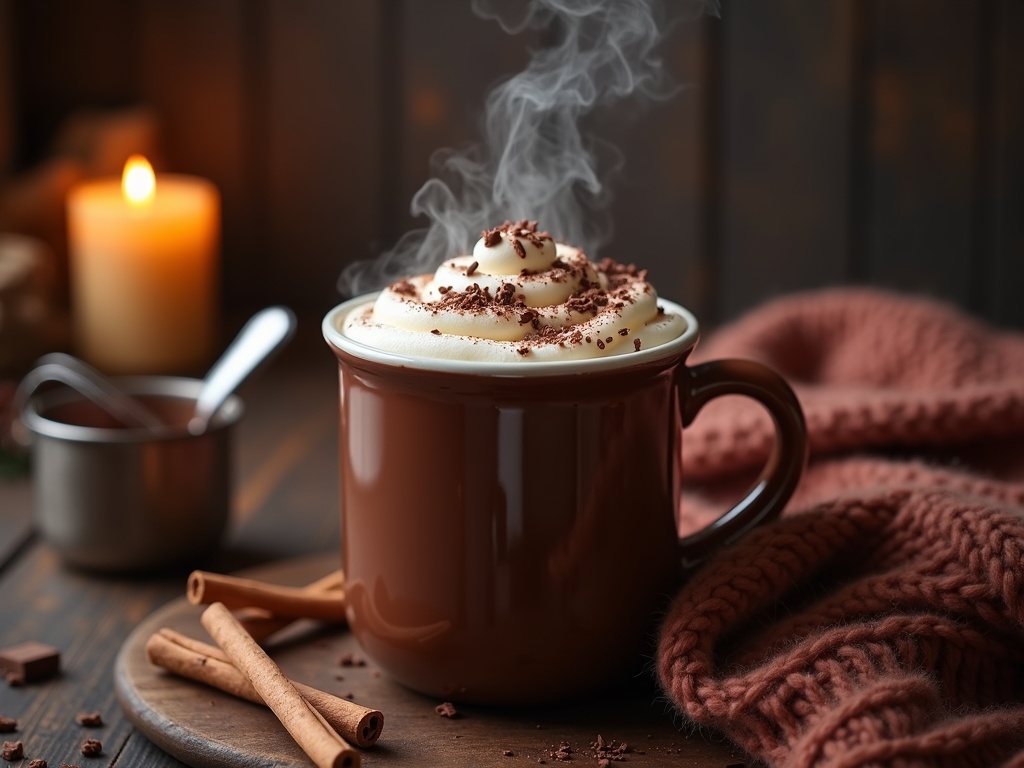
This homemade hot chocolate recipe turns simple ingredients into a luxurious, silky beverage that beats any powdered mix. Real chocolate mixed with whole milk creates a rich, indulgent drink with deep flavors you can customize for any taste or occasion.
Find In This Article
Key Takeaways
- The recipe uses both cocoa powder and real chocolate for deeper flavor and velvety texture.
- It requires only 5 basic ingredients and takes less than 10 minutes to prepare.
- Heating milk slowly and whisking continuously prevents lumps and creates the smoothest texture.
- Adding a pinch of salt enhances the chocolate flavor without making the drink salty.
- Leftover hot chocolate can be refrigerated for up to 3 days and should be reheated slowly on the stovetop.
Why It Works
I discovered that combining high-quality chocolate with basic pantry staples creates hot chocolate that rivals fancy café versions. The secret lies in using both cocoa powder and chopped chocolate – the powder adds intensity while the melted chocolate creates that smooth, creamy texture everyone loves.
Making this at home saves money and lets me control exactly what goes into my cup. I can adjust the sweetness, chocolate intensity, and add custom flavors like cinnamon, vanilla, or even a dash of cayenne for Mexican-style hot chocolate.
What Makes This Recipe Special
I’ve crafted a hot chocolate recipe that stands out from the typical powdered mix varieties you might be familiar with. This recipe delivers a luxurious drinking experience that’ll make you question why you ever settled for anything less.
Exceptional Flavor and Texture
The richness of this hot chocolate comes from using high-quality chocolate instead of cocoa powder alone. By combining real chocolate with whole milk, I’ve created a velvety texture that coats your mouth with each sip. The deep chocolate flavor develops as the chocolate melts slowly into the warm milk, creating layers of flavor you simply can’t get from instant mixes.
The magic happens in the balance between the chocolate and milk – not too thick to be overwhelming, yet substantial enough to feel indulgent. I’ve found that using a combination of dark and milk chocolate creates the perfect depth of flavor, with the dark chocolate providing complexity and the milk chocolate adding familiar sweetness.
This hot chocolate sits at the perfect intersection of decadence and drinkability. If you’re looking for something a bit lighter, you might prefer my simple hot cocoa recipe instead, which uses cocoa powder as its base.
Quick Comfort in Minutes
One of the best features of this recipe is how quickly it comes together:
- Requires only 5 basic ingredients you likely have on hand
- Comes together in a single saucepan for easy cleanup
- Ready to drink in under 10 minutes from start to finish
- No special equipment needed – just a pot and whisk
The simplicity of preparation means you can satisfy your chocolate craving almost instantly, making it perfect for those cold evenings when you need something warm without the fuss. I’ve streamlined the steps so you can focus on enjoyment rather than complicated techniques.
Endlessly Customizable
What truly sets this hot chocolate recipe apart is its adaptability. The base recipe creates a perfectly balanced hot chocolate, but I’ve designed it to be customized to your personal preferences:
- Adjust sweetness by varying the ratio of dark to milk chocolate
- Control thickness by changing the milk fat percentage
- Create different flavor profiles with add-ins like cinnamon, vanilla, or a pinch of salt
- Make it adult-friendly with a splash of your favorite liqueur
- Top with whipped cream, marshmallows, or chocolate shavings for extra indulgence
Each variation creates a distinctly different experience while maintaining the rich foundation that makes this hot chocolate special. This flexibility means one recipe can satisfy the preferences of everyone in your household, from kids who prefer sweeter versions to adults who appreciate more complex flavors.
The recipe also scales easily from a single serving to a party-sized batch, making it perfect for both solo indulgence and gatherings. The ingredients maintain their proper ratios regardless of batch size, ensuring consistent results every time.
This hot chocolate has become my cold-weather ritual, offering comfort on chilly mornings and cozy evenings alike. The combination of simplicity, speed, and sublime flavor makes it my go-to recipe whenever temperatures drop or when I simply need a chocolatey moment of comfort.

Everything You’ll Need
Creating a delicious homemade hot chocolate doesn’t require fancy equipment or hard-to-find ingredients. I’ve perfected this recipe through years of experimentation, and these simple ingredients combine for a rich, velvety result that’s far superior to pre-packaged mixes.
Essential Ingredients
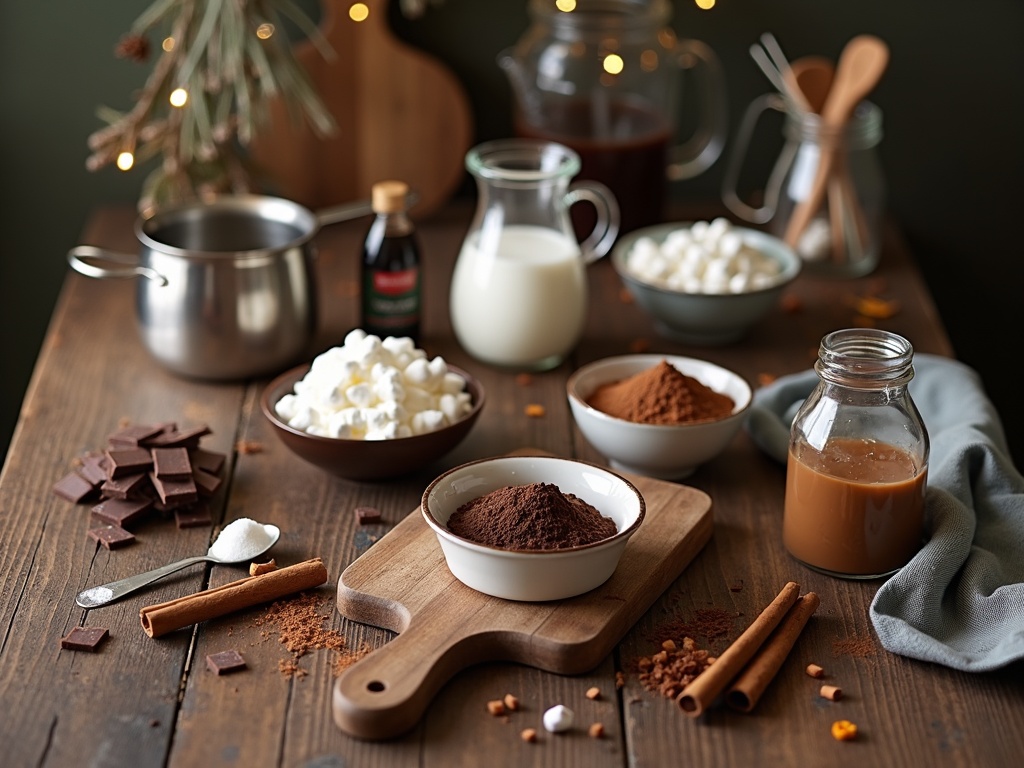
Before getting started, gather these basic ingredients that form the foundation of a perfect hot chocolate:
- 2 cups whole milk – The fat content in whole milk creates the creamiest texture, but you can substitute with 2% or plant-based alternatives
- 2 tablespoons unsweetened cocoa powder – This adds depth and intensifies the chocolate flavor
- 2-3 tablespoons sugar – I typically use 2 tablespoons, but you can adjust based on your sweetness preference
- 4 ounces quality dark chocolate, chopped – The better your chocolate, the better your drink will be
- 1/4 teaspoon vanilla extract – This subtle addition enhances the chocolate notes
- Pinch of salt – Salt actually brings out the sweetness and balances the flavors
The quality of your ingredients makes a significant difference in the final taste. I recommend using the best dark chocolate you can find – look for bars with at least 60% cacao content for a rich, complex hot chocolate recipe that isn’t overly sweet.
If you prefer a lighter version, you might want to try my hot cocoa recipe which relies more on cocoa powder than solid chocolate for a smoother, less intense drink.
Optional Additions
Optional additions can take your hot chocolate to the next level. Consider keeping these on hand:
- Whipped cream
- Mini marshmallows
- Cinnamon sticks
- Peppermint extract
- Orange zest
- Caramel sauce
The beauty of this recipe lies in its simplicity. With just six basic ingredients that most people already have in their pantry, you can create a luxurious treat that rivals any café offering. The combination of both cocoa powder and real chocolate creates layers of flavor that instant mixes simply can’t match.

How to Create Your Perfect Cup
Creating a luxurious cup of hot chocolate isn’t complicated—it just requires attention to a few key steps. I’ve refined this process over years of chocolate-making to ensure you get that perfect, velvety cup every time. The secret lies in the method just as much as the ingredients.
The Perfect Preparation Method
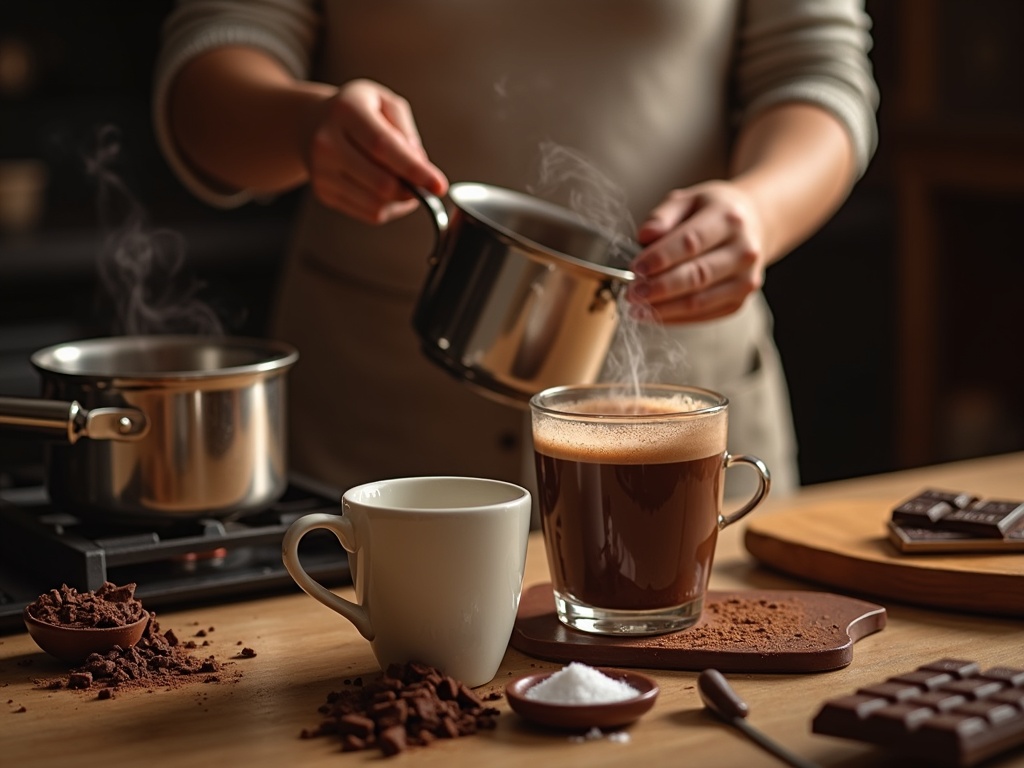
The journey to an exceptional cup of hot chocolate starts with properly heating your milk. Pour your milk into a saucepan and place it over medium heat. Don’t rush this step by cranking up the temperature—patience results in a smoother final product. Gently warm the milk until you see tiny bubbles forming around the edges, but don’t let it boil.
Once your milk is properly heated, it’s time to add the dry ingredients. Whisk in your cocoa powder and sugar, making sure to keep the mixture moving continuously to prevent any clumps from forming. The constant whisking helps the dry ingredients dissolve completely into the warm milk, creating that smooth base you’re looking for.
Now comes the most satisfying part of the process. Add your chopped chocolate to the mixture, continuing to stir as it melts into the warm liquid. I find that using both cocoa powder and actual chocolate creates the richest flavor and creamiest texture. For an even more decadent experience, try using high-quality dark chocolate in your hot chocolate recipe.
After all the chocolate has melted, remove your saucepan from the heat. This is when you’ll add vanilla extract and a tiny pinch of salt—these finishing touches elevate the flavor profile tremendously. The vanilla adds depth while the salt enhances all the chocolate notes.
The final step is to whisk everything vigorously until your hot chocolate becomes smooth and slightly frothy. This aerates the mixture and gives it that classic hot chocolate texture. If you’re feeling fancy, you can use a milk frother for extra foam.
For those who prefer a simpler approach with just as much flavor, you might want to check out my quick hot cocoa recipe that uses just cocoa powder instead of melted chocolate.
Make It Your Own
The beauty of hot chocolate lies in its versatility. While a classic cup warms you from the inside out, customizing your drink creates a personal experience that can match any mood or occasion. I’ve found that a few simple additions can transform an ordinary cup into something extraordinary.
Flavor Enhancements
Adding spices elevates your hot chocolate from simple to sophisticated. A pinch of cinnamon creates a warming effect that complements the chocolate perfectly, while nutmeg adds a subtle nuttiness that’s especially welcome during fall and winter months. For something different, I sometimes add a shot of espresso to create a mocha that delivers both chocolate comfort and caffeine boost in one delicious cup.
For adult gatherings, hot chocolate becomes an ideal canvas for creative cocktails. A splash of your favorite liqueur – perhaps Bailey’s, Kahlúa, or even a peppermint schnapps – transforms this childhood favorite into an elegant after-dinner drink. Remember to serve these enhanced versions only to adults!
Decadent Toppings
The finishing touches often make the biggest impression when serving homemade hot chocolate. These simple additions create visual appeal while adding textural contrast:
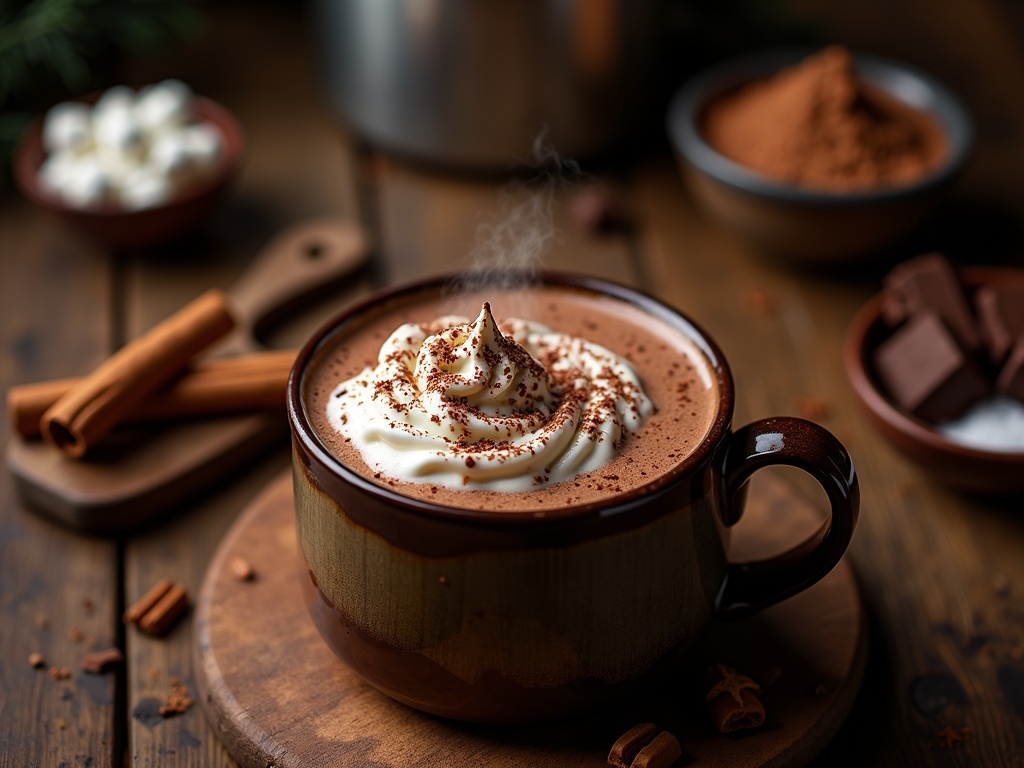
- A dollop of freshly whipped cream creates a luxurious cloud that slowly melts into your drink
- Mini marshmallows that gradually melt, creating pockets of sweetness throughout
- Chocolate shavings or cocoa powder dusted over the top
- Colorful sprinkles for festive occasions
- Candy cane pieces during holiday season
The contrast between the hot liquid and cold toppings creates a sensory experience that makes each sip satisfying. For gatherings, I like setting up a hot cocoa bar with various toppings so guests can customize their own cups.
Don’t shy away from combining multiple elements – cinnamon-spiced hot chocolate topped with whipped cream and a drizzle of caramel creates layers of flavor that keep the experience interesting through the last sip. The possibilities are nearly endless, limited only by your imagination and taste preferences.
Common Mistakes to Sidestep
Making hot chocolate seems straightforward enough, but there are several pitfalls that can turn your potentially decadent drink into a disappointing experience. I’ve noticed these issues often enough in my own kitchen adventures to help you avoid them.
Ingredient and Technique Blunders
- Using water instead of milk is perhaps the most common mistake. While water creates a lighter drink, it lacks the richness and creaminess that milk provides. Milk contains fat that helps distribute the chocolate flavors more fully across your palate, creating that luxurious mouthfeel we associate with quality hot chocolate recipes.
- Overheating the mixture can ruin even the best ingredients. High heat breaks down the subtle flavor compounds in chocolate and can cause milk to scald. I always heat my mixture slowly over medium-low heat, stirring constantly until it’s just steaming—never boiling.
- Not whisking enough leads to uneven chocolate distribution and potentially grainy texture. This is particularly important when adding chocolate directly to the milk. A quick, constant whisking motion helps the chocolate melt evenly and blend properly with the milk. For a truly smooth experience, give your hot chocolate at least 1-2 minutes of vigorous whisking.
- Using low-quality chocolate significantly impacts the final flavor. Premium chocolate with high cocoa content creates depth that just can’t be matched by cheap alternatives or many powdered mixes. The difference is immediately noticeable in both taste and texture, making this an area where it’s worth investing a little extra.
- Skipping the salt might seem like a health-conscious choice, but it’s actually a flavor mistake. A tiny pinch of salt doesn’t make your hot cocoa salty—it enhances the chocolate’s natural flavors by contrasting with the sweetness. The salt works as a flavor amplifier, making the chocolate taste more intense and complex.
I’ve found addressing these common errors has transformed my hot chocolate from merely acceptable to genuinely impressive. The beautiful thing about making adjustments to avoid these mistakes is that they require no extra time—just a bit more attention to detail during the preparation process.

Pro Tips for the Best Results
Making hot chocolate isn’t just about throwing ingredients together. With a few expert techniques, I can help you transform your regular hot chocolate into something extraordinary. These professional tips will elevate your hot chocolate game and impress everyone who takes a sip.
Ingredient Preparation
Use whole milk as your liquid base for the richest, creamiest hot chocolate experience. The fat content in whole milk creates a velvety texture that lower-fat alternatives simply can’t match. If you’re looking for a dairy-free option, full-fat coconut milk makes an excellent substitute.
Always sift your cocoa powder before adding it to your mixture. This extra step prevents those pesky lumps that can ruin the smooth texture of your hot chocolate recipe. A fine-mesh sieve works perfectly for this purpose – just tap it gently over your mixing bowl.
When working with chocolate bars or chunks, chop them as finely as possible. Smaller pieces melt more quickly and evenly, giving you a perfectly smooth drink without any unmelted bits. A sharp chef’s knife on a stable cutting board makes quick work of this task.
Cooking Techniques
Heat your hot chocolate gradually over medium-low heat instead of rushing the process. Quick heating can scorch the milk and chocolate, leaving you with a burnt taste that’s impossible to fix. Patience pays off with a perfectly flavored result.
Stir constantly while heating your mixture. This distributes the heat evenly and helps the chocolate incorporate smoothly into the milk. I find that a silicone whisk or wooden spoon works best for this.
- Don’t walk away from the stove! Hot chocolate can go from perfect to scorched in seconds if left unattended.
Once your hot cocoa reaches your desired temperature, serve it immediately. Hot chocolate is at its absolute best when freshly made and piping hot. The flavors are more pronounced, and the texture is at its peak creaminess.
If you need to make hot chocolate for a crowd, consider keeping it warm in a slow cooker set to low rather than leaving it on the stove. This maintains the perfect temperature without risk of burning.
Storage and Reheating
Saving leftover hot chocolate is a great way to enjoy this delicious treat later without wasting a drop. I’ve found that proper storage and reheating techniques can make your second cup taste almost as good as the first.
Keeping Your Hot Chocolate Fresh
After making a batch of homemade hot chocolate, I always transfer any leftovers to an airtight container. This crucial step prevents the chocolate from absorbing other flavors from your refrigerator and helps maintain its rich taste. Glass containers work particularly well as they don’t retain odors or stain like plastic sometimes can.
Once properly contained, hot chocolate can be refrigerated for up to 3 days. During this time, you’ll notice the mixture may separate slightly, with a layer of chocolate settling at the bottom – this is completely normal and doesn’t mean your drink has gone bad.
For the best results when reheating, I follow these steps:
- Pour the leftover hot chocolate into a saucepan (not a microwave)
- Set the heat to low-medium to avoid scorching
- Stir continuously with a whisk to reincorporate any separated chocolate
- Heat until steaming but not boiling (boiling can cause the milk proteins to break down)
- Remove from heat once the desired temperature is reached
The most common mistake I see people make is reheating too quickly or at too high a temperature. When hot chocolate boils during reheating, it develops a grainy texture and can lose some of its velvety smoothness. The key is patience – slow reheating allows the ingredients to blend together properly once again.
If you notice your reheated hot cocoa seems a bit thin compared to its original consistency, try adding a small amount of chocolate or cocoa powder and whisking thoroughly. This can help restore some of the body that might have been lost during storage.
For single servings, I sometimes transfer the refrigerated hot chocolate to a thermos, which allows it to heat slowly and evenly. This method works well if you’re planning to take your drink on the go the next day.
Remember that cream or whipped toppings should never be stored with the chocolate base. Instead, add fresh toppings after reheating for the best flavor and appearance.
If your hot chocolate contains alcohol, it may stay fresh slightly longer due to the preservative nature of spirits, but the same three-day guideline is still best for optimal flavor.
The texture of your reheated hot chocolate is a good indicator of whether it’s still good to drink. If it smells sour or has an unusual consistency that whisking doesn’t fix, it’s better to make a fresh batch rather than risk consuming dairy that may have spoiled.
By following these storage and reheating guidelines, you’ll be able to enjoy your hot chocolate creation beyond just the initial serving, making your efforts in the kitchen even more worthwhile.

