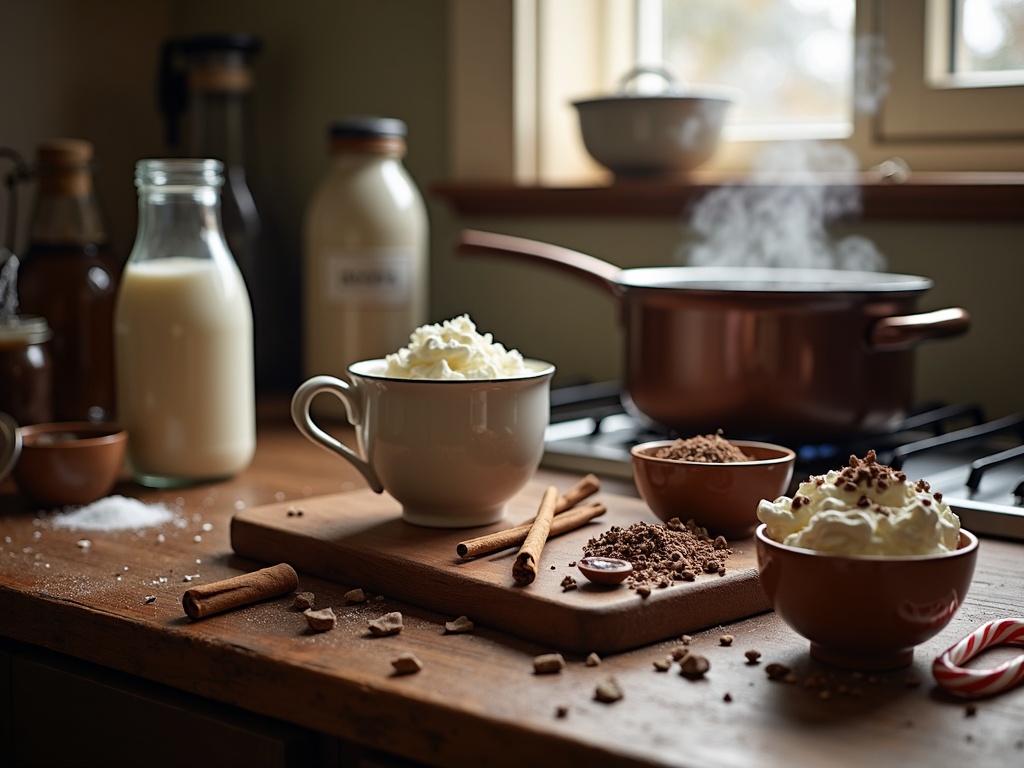
Homemade hot cocoa delivers a deeper, more authentic chocolate experience compared to store-bought packets. I control exactly what goes into my cup, adjusting flavors to my taste. With just a few simple ingredients and some optional premium additions, I create a delicious mug of hot chocolate in about 10 minutes, free from artificial flavors and excessive sugar.
Find In This Article
Key Takeaways
- Four essential ingredients (cocoa powder, sugar, milk, salt) create the foundation for homemade hot cocoa, while premium additions like real chocolate pieces can elevate the experience.
- Proper technique matters – heat milk slowly, whisk dry ingredients separately, and add vanilla after removing from heat to preserve flavor.
- Using Dutch-processed cocoa powder creates a smoother, less acidic taste profile than natural cocoa powder.
- Common mistakes include using water instead of milk, heating too quickly, and not whisking enough to prevent lumps.
- Hot cocoa can be customized for various dietary needs including dairy-free, vegan, keto, and paleo with simple ingredient substitutions.
Perfect Hot Cocoa Every Time
Store-bought hot cocoa packets can’t match the rich flavor and satisfaction of homemade hot cocoa. The pre-packaged versions often contain artificial flavors, excess sugar, and stabilizers that diminish the genuine chocolate experience. When I make homemade hot cocoa from scratch, I control every ingredient that goes into my mug, resulting in a drink that’s not just delicious but also free from unwanted additives.
Essential Ingredients vs. Premium Additions
The beauty of homemade hot cocoa lies in its simplicity. At its core, you only need four ingredients:
- Unsweetened cocoa powder
- Sugar (granulated or brown)
- Milk (whole milk creates the creamiest texture)
- A pinch of salt (to enhance the chocolate flavor)
These basic components create a delightful cup in just 10 minutes. However, elevating your hot chocolate recipe with premium additions can transform it into something extraordinary:
- Using high-quality cocoa powder (Dutch-processed offers a smoother, less acidic taste)
- Incorporating real chocolate pieces for extra richness
- Adding vanilla extract or cinnamon for depth
- Finishing with homemade whipped cream instead of store-bought
- Grating dark chocolate on top for visual appeal and flavor
Quick Preparation Process
The 10-minute preparation time makes homemade hot chocolate practical for any occasion. I start by whisking the dry ingredients together, then slowly incorporating warmed milk while stirring continuously. This prevents lumps and ensures a smooth consistency.
For a richer version, I sometimes heat everything in a small saucepan over medium-low heat rather than microwaving. This allows the flavors to meld more completely, though it requires a bit more attention to prevent scorching.
The quick preparation doesn’t sacrifice quality. Unlike instant packets that often taste flat and artificial, this hot cocoa recipe delivers complex chocolate notes with minimal effort.
During colder months, I make dry ingredient batches in advance, storing them in airtight containers. This prep work cuts the active cooking time down to just 5 minutes when I’m craving a warm cup. For those unexpected guests or chilly evenings, having a hot chocolate recipe that comes together quickly without sacrificing flavor has been invaluable.
What You’ll Need
Creating delicious homemade hot cocoa starts with gathering quality ingredients. I’ve found that using premium components makes a significant difference in the final taste profile. The good news is you likely have most of these staples in your pantry already.
Base Ingredients
The foundation of any great hot cocoa begins with these essential components:
- High-quality cocoa powder: Look for unsweetened, Dutch-processed cocoa for a smoother, less acidic flavor. This creates the rich chocolate base that defines great hot cocoa.
- Granulated sugar: Regular white sugar works perfectly, though you can experiment with brown sugar or coconut sugar for different flavor notes.
- Whole milk or heavy cream: Full-fat options create the creamiest texture. For an extra decadent treat, mix the two or substitute part of the milk with half-and-half.
- Pure vanilla extract: Just a small amount enhances the chocolate flavor dramatically. Skip imitation versions for best results.
- Salt: A pinch balances sweetness and intensifies chocolate flavor – don’t skip this crucial ingredient!
Elevating Your Hot Cocoa
Once you’ve mastered the basic hot cocoa recipe, consider these optional toppings to transform your drink into something special:
- Whipped cream offers a classic finish, especially when made fresh at home.
- Marshmallows, whether store-bought or homemade, add a nostalgic touch as they slowly melt into your drink.
- Chocolate shavings or cocoa powder dusted on top provide an extra hit of chocolate flavor.
For adult versions, consider adding a splash of your favorite liqueur – peppermint schnapps, Irish cream, or amaretto pair beautifully. Spice lovers might appreciate a pinch of cinnamon, nutmeg, or even cayenne pepper for a Mexican-inspired hot chocolate recipe.
I’ve discovered that preparing my ingredients before starting makes the process smooth and enjoyable. Measuring everything in advance lets me focus on achieving that perfect temperature and consistency. When making hot cocoa for a group, I often set up a toppings bar so everyone can customize their drink exactly how they like it.
Remember that quality matters – especially with the cocoa powder. This is the heart of your hot cocoa recipe, so investing in good cocoa will elevate your drink from ordinary to extraordinary.
Making Your Cozy Cup
Creating the perfect cup of homemade hot chocolate isn’t difficult, but it does require attention to detail. I’ve found that the secret lies in the process—taking your time and getting each step just right.
The Perfect Technique
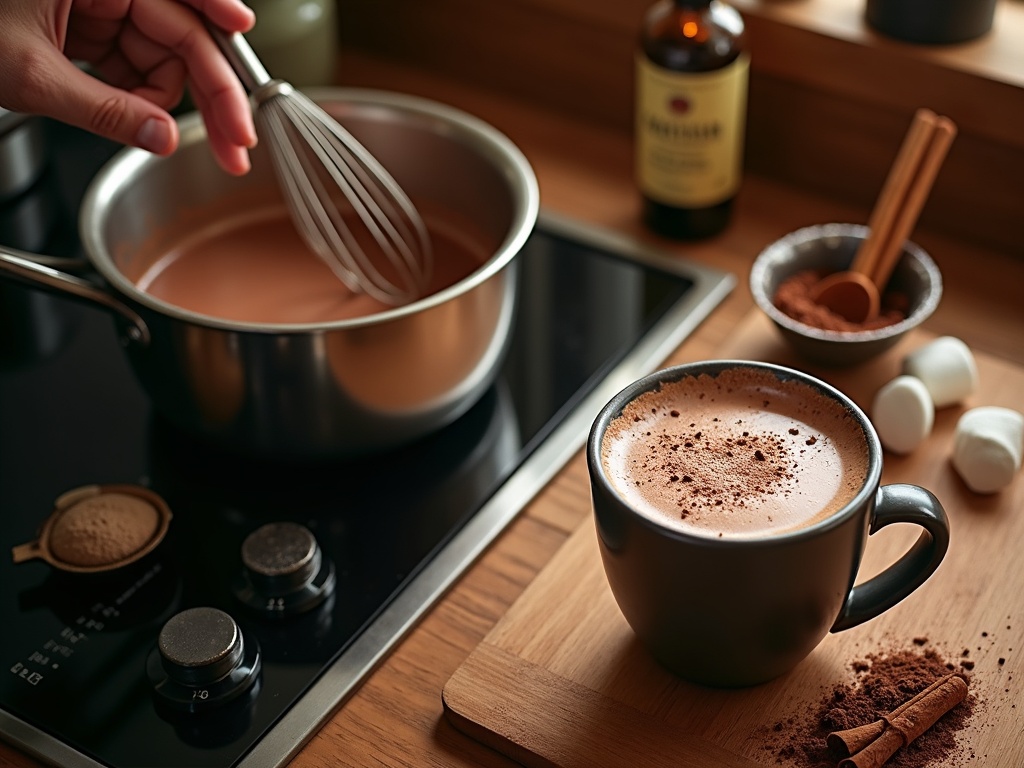
First, I heat milk slowly over medium-low heat in a heavy-bottomed saucepan. Rushing this step by using high heat can scorch the milk, leaving you with an unpleasant burnt taste. I keep the milk moving with a wooden spoon and remove it from heat just before it starts to simmer—you’ll see tiny bubbles forming around the edges when it’s ready.
While the milk warms, I whisk together the dry ingredients in a separate bowl. This extra step ensures there are no lumps in your hot cocoa recipe and helps distribute the cocoa evenly throughout your drink. The mixture should look uniform and smooth.
Next comes the crucial combination. I pour a small amount of the heated milk into the dry ingredients first, creating a paste. This prevents lumps from forming when you add the rest of the milk. After adding the remaining milk, I stir continuously until everything is completely smooth and incorporated.
For that extra touch of flavor, I add vanilla extract at the very end, after removing the pot from heat. This preserves the full aroma of the vanilla instead of cooking it away. Just a half teaspoon makes all the difference in a rich hot chocolate recipe.
The final personal touch comes with the toppings. I love to finish my hot cocoa with these optional additions:
- Homemade whipped cream (so much better than the canned variety)
- A sprinkle of cinnamon or nutmeg for warmth
- Mini marshmallows that slowly melt into the drink
- A drizzle of caramel or chocolate sauce for extra decadence
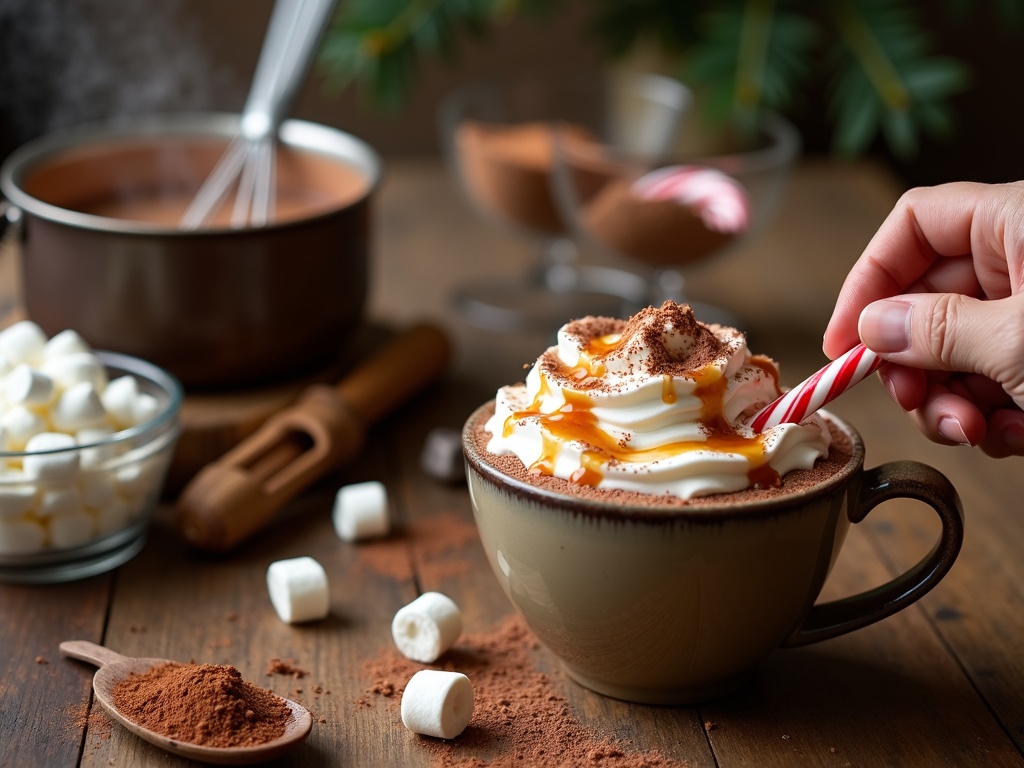
- A candy cane for a minty holiday twist
I’ve found that using this method produces a hot chocolate recipe that’s smooth, rich, and perfectly blended. The slow heating process extracts maximum flavor from the cocoa while protecting the milk’s natural sweetness. And by adding ingredients in the right order, you avoid those annoying cocoa lumps that often plague quick-mix versions.
Common Mistakes to Skip
I’ve made plenty of missteps while perfecting my homemade hot chocolate recipes over the years. Learning from these errors has helped me create that perfect cup of cocoa every time. By avoiding these common pitfalls, you’ll elevate your hot cocoa from mediocre to magnificent.
Recipe Blunders That Ruin Your Cocoa
Using water instead of milk is perhaps the most frequent error I see in hot cocoa preparation. While water might seem like a quicker or lower-calorie option, it simply can’t provide the creamy richness that milk delivers. Milk contains fat that helps carry the chocolate flavor and creates that smooth, velvety texture we all crave in a good hot cocoa recipe. If dairy isn’t an option for you, choose a full-fat plant-based alternative like coconut or oat milk rather than water.
Adding vanilla too early in the process can ruin its impact on your final drink. Vanilla extract contains alcohol, which evaporates quickly when heated too long. I always add my vanilla after taking the cocoa off the heat, just before serving. This preserves the delicate flavor notes that make vanilla such a wonderful complement to chocolate.
Heating milk too quickly is a mistake that can lead to scorched milk and a ruined batch of cocoa. Patience is key here – use medium-low heat and stir frequently to distribute the heat evenly. Scorched milk develops a distinct burnt taste that’s impossible to hide, even with extra chocolate or sugar. Taking an extra minute or two to heat your milk properly will pay off in the final product of your hot chocolate recipe.
Not whisking enough results in clumpy cocoa with dry powder floating on top – definitely not the luxurious experience we’re aiming for! I make sure to whisk continuously when adding cocoa powder and sugar to my heated milk. A small whisk works better than a spoon for breaking up those stubborn lumps. For an extra-smooth result, consider sifting your cocoa powder before adding it to the milk.
Using low-quality cocoa powder is a shortcut that always disappoints. The cocoa powder is the star ingredient in any hot cocoa recipe, so skimping here affects everything about your final drink. I’ve found that Dutch-processed cocoa offers a smoother, less bitter flavor profile than natural cocoa, though both have their place. The difference between basic supermarket cocoa and a premium variety is immediately noticeable in the depth of flavor.
Other mistakes to watch for include:
- Overlooking the salt – a tiny pinch enhances chocolate flavor dramatically
- Using pre-packaged mixes when homemade is simple and superior
- Adding too many competing flavors that overwhelm the chocolate
- Forgetting to sift powdered ingredients, leading to lumpy cocoa
- Serving in a cold mug, which cools your hot chocolate too quickly
I’ve found that making truly exceptional hot cocoa doesn’t require fancy equipment or rare ingredients – just attention to detail and avoiding these common errors. The difference between an average cup and an outstanding one often comes down to these seemingly small factors. With practice and awareness of these potential pitfalls, your homemade hot cocoa will soon rival anything you could buy at a specialty café.
Pro Tips for the Perfect Cup
The difference between good hot cocoa and spectacular hot cocoa comes down to small but crucial details. I’ve gathered some expert tips to help you create a cup that’s rich, velvety, and absolutely satisfying every time.
Elevating Your Hot Cocoa Game
For truly exceptional homemade hot chocolate, consider using Dutch-processed cocoa powder. This specially treated cocoa has been alkalized to reduce acidity, resulting in a smoother, richer flavor profile without the bitter notes sometimes found in natural cocoa. The dark color and mellow taste create a more sophisticated cup that appeals to both children and adults.
Temperature control makes a significant impact on your final product. Heating your milk to exactly 180°F creates the ideal foundation for your hot cocoa recipe — hot enough to dissolve all ingredients thoroughly but not so hot that it scalds or creates that unpleasant “skin” on top.
Before pouring your hot cocoa, take a moment to warm your mugs. This simple step prevents your carefully crafted drink from cooling too quickly. Just fill mugs with hot water for 30 seconds, then dump and dry before pouring in your cocoa.
Adding unexpected flavor elements can transform your basic recipe into something special:
- A pinch of cinnamon adds warmth and complexity
- A drop of pure vanilla extract enhances the chocolate flavor
- A tiny sprinkle of sea salt balances sweetness
- A dash of chili powder creates a Mexican-inspired variation
If you enjoy making hot chocolate recipes in batches, proper storage becomes crucial. Always store any leftover dry mix in an airtight container away from heat and moisture. When stored correctly, homemade cocoa mix can maintain its quality for up to three months, making it perfect for quick cups throughout the winter.
For serving a crowd, I recommend preparing the dry ingredients ahead of time and heating milk separately. This allows guests to customize their drink strength while ensuring everyone gets a piping hot serving of your perfect hot chocolate recipe.

Delicious Mix-Ins to Try
I’ve discovered that transforming basic hot cocoa into an extraordinary treat is as simple as adding the right mix-ins. A dash of creativity can elevate your standard cup into something truly special. These flavor enhancers aren’t just for fancy coffee shops—they’re perfect for creating custom experiences at home.
Sweet and Tangy Additions
Peppermint extract brings a refreshing twist to hot cocoa. Just 1/4 teaspoon per cup creates a cooling sensation that pairs perfectly with chocolate’s richness. During the holiday season, I like stirring my cup with a candy cane, which slowly dissolves and adds both flavor and a festive look.
Caramel sauce creates a decadent experience that’s hard to resist. A tablespoon drizzled into your homemade hot chocolate transforms it into a caramel mocha-like treat. For best results, I recommend adding it while the cocoa is still very hot, then stirring thoroughly to incorporate the caramel throughout. Premium store-bought varieties work well, but nothing beats homemade caramel for this application.
Orange zest adds a surprising brightness to chocolate drinks. The citrus oils in just 1/4 teaspoon of freshly grated zest cut through the richness and create a flavor reminiscent of those chocolate orange balls that are popular during holidays. For a more intense flavor, I add a small splash of orange extract alongside the zest.
Bold Flavor Enhancers
Espresso powder is my go-to for an adult version of hot cocoa. Just 1/2 teaspoon dissolved into your hot chocolate recipe deepens the chocolate flavor without overwhelming it. For coffee lovers, you can increase to a full teaspoon for a more pronounced mocha flavor. This addition not only tastes amazing but also provides a slight caffeine boost.
Spice combinations can transform your cocoa into exotic flavor experiences. Here are some of my favorite blends to experiment with:
- Mexican-inspired: Add a pinch of cinnamon, a tiny dash of cayenne pepper, and a drop of vanilla extract for a rich, warming cup with a subtle heat that builds.
- Chai-spiced cocoa: Combine 1/4 teaspoon each of cinnamon and cardamom with a pinch of ginger, cloves, and nutmeg for a spiced cocoa that’s perfect for cool weather.
- Gingerbread: Mix 1/4 teaspoon cinnamon, 1/8 teaspoon ginger, and a tiny pinch of cloves and nutmeg to create a festive flavor profile.
- Vanilla bean: Split and scrape a vanilla bean into your hot chocolate recipe for an intensely aromatic experience that elevates the simplest cocoa.
I’ve found that starting with a high-quality hot cocoa recipe as your base ensures these flavorings shine without competing with artificial ingredients. For best results, add spices to your cocoa powder before adding hot liquid, allowing them to bloom together in the heat.
Texture enhancers can also serve as delicious mix-ins:
- A dollop of whipped coconut cream adds richness without dairy.
- A sprinkle of toffee bits provides unexpected crunch and caramel notes.
- Floating mini marshmallows that slowly melt create pockets of sweetness throughout your drink.
The beauty of these mix-ins lies in their flexibility. You can adjust amounts based on personal preference, combine multiple options for custom creations, or set up a hot chocolate bar where guests personalize their cups—perfect for casual gatherings or holiday parties.
Storage and Make-Ahead Tips
Preparing homemade hot cocoa mix in advance can save time during busy seasons while ensuring you always have this comforting treat on hand. With proper storage techniques, your mix will maintain its flavor and quality, ready whenever a chocolate craving strikes.
Storing Your Homemade Hot Cocoa Mix
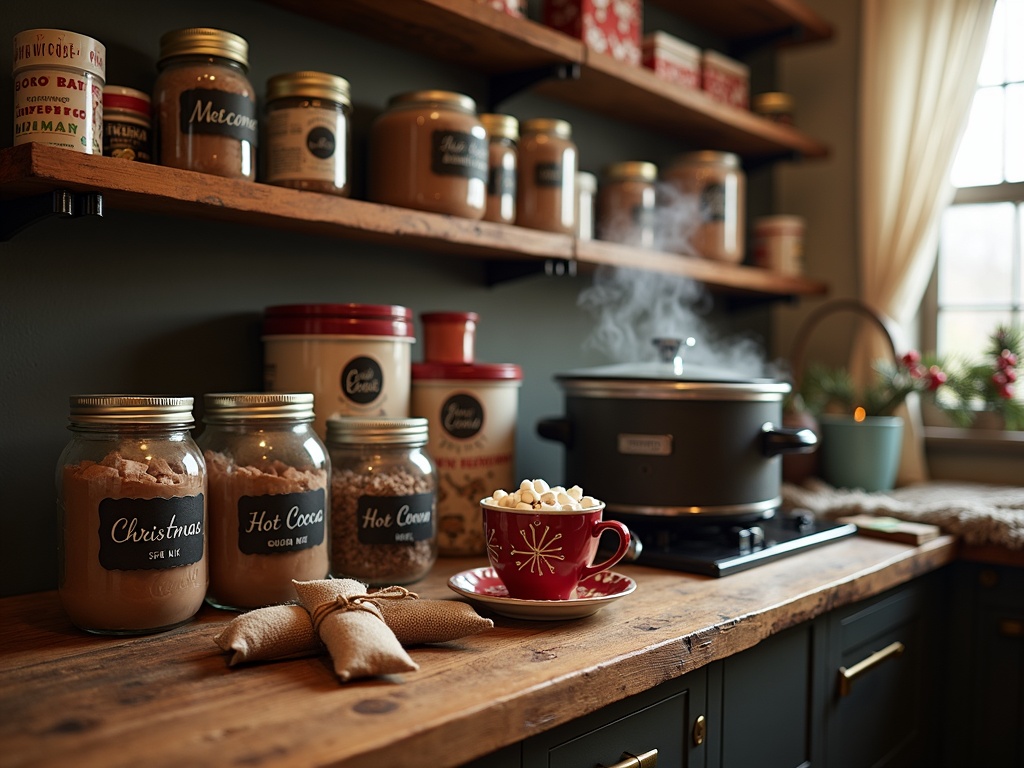
The key to preserving your hot cocoa mix lies in protecting it from moisture, heat, and light. I’ve found airtight containers to be essential for extending shelf life and maintaining quality. Mason jars with secure lids work exceptionally well because they create a perfect seal that keeps humidity out. Glass containers also prevent any unwanted flavor transfer that sometimes occurs with plastic options.
For larger batches, food-grade plastic containers with snap-on lids are practical alternatives. If you’re planning to gift your homemade hot chocolate, decorative tins lined with wax paper offer both functionality and presentation appeal.
Always store your cocoa mix in a cool, dark place like a pantry or kitchen cabinet. Avoid areas near your stove, dishwasher, or sunny windows where temperature fluctuations could cause ingredients to degrade faster.
The shelf life of your homemade cocoa mix depends largely on its ingredients:
- Basic mixes with cocoa powder, sugar, and powdered milk: 6-8 months when properly stored
- Mixes containing powdered creamer: 4-6 months before quality may diminish
- Mixes with crushed candy, chocolate chips, or marshmallows: Best used within 3 months
I recommend labeling your container with the date you made the mix to help track freshness. If your mix contains dairy ingredients like powdered milk, be especially vigilant about storage conditions and shelf life.
Make-Ahead Tips and Reheating
Preparing hot chocolate recipes in advance isn’t limited to just the dry mix. I often make a large batch of prepared hot cocoa for gatherings and have developed some reliable methods for keeping and reheating it.
For prepared hot cocoa, allow it to cool completely before refrigerating in airtight containers. This prepared cocoa will maintain its quality for 3–4 days when properly refrigerated. I don’t recommend freezing prepared hot cocoa as it can separate and develop an unpleasant texture when thawed.
When reheating your hot cocoa, gentle warming produces the best results. Pour it into a saucepan and heat over medium-low, stirring frequently to prevent scorching. You’ll want to avoid bringing it to a full boil as this can give your cocoa a burnt taste and create an unpleasant skin on top.
For individual servings, the microwave works well:
- Heat in 30-second intervals
- Stir between each interval
- Repeat until it reaches your desired temperature
Adding a splash of fresh milk while reheating can revive any cocoa that may have thickened during storage.
For entertaining a crowd, I prepare a large batch of hot cocoa ahead of time and keep it warm in a slow cooker set to low. This method allows guests to serve themselves throughout your gathering while maintaining the perfect temperature.
When making large batches, I calculate about 8–10 ounces per serving and prepare accordingly. For dry mix gifts or personal use, I portion approximately 3 tablespoons of mix per serving size when packaging. This makes it easy to prepare just the right amount without waste.
For gift giving, consider portioning your mix into single-serve sachets using food-grade bags. Combine with a cute mug and instructions for a thoughtful, personalized present that delivers warmth and delicious hot chocolate with minimal effort.
Dietary Variations
Hot cocoa can be customized to fit nearly any dietary requirement without sacrificing that rich, comforting flavor we all crave. I’ve experimented with numerous adaptations over the years that maintain the essence of traditional homemade hot chocolate while accommodating specific health needs.
Dairy-Free and Vegan Options
For those avoiding dairy, there are excellent milk alternatives that work wonderfully in hot cocoa:
- Almond milk: Creates a lighter-bodied cocoa with subtle nutty notes
- Oat milk: Provides a creamy texture closest to traditional dairy milk
- Coconut milk: Adds a tropical undertone perfect for vacation-inspired cocoa
- Soy milk: Offers a protein boost and froths nicely for fancy drinks
When making vegan hot chocolate recipes, pay attention to your chocolate selection too. Dark chocolate (70%+ cacao) is often dairy-free, but always check labels. Many commercial cocoa mixes contain milk powder, so using pure cocoa powder gives you better control over ingredients.
Sugar Alternatives and Special Diets
Traditional hot cocoa can pack a significant sugar punch, but there are plenty of ways to adjust sweetness while maintaining flavor:
Monk fruit and erythritol blends work particularly well in hot cocoa recipes for those following keto diets. These sweeteners don’t have the bitter aftertaste sometimes found in stevia products. For keto versions, combine these sweeteners with heavy cream cut with water or unsweetened almond milk, and use high-quality cocoa powder with no added sugars.
Those looking for lower-fat options can use skim milk or 1% milk in place of whole milk or cream. The trick is to add a small amount (about 1 teaspoon) of cornstarch to help thicken the cocoa and maintain that luxurious mouthfeel without the extra fat. For added richness without cream, try whisking in a small amount of silken tofu – it adds protein while creating a satisfyingly creamy hot cocoa recipe.
For paleo followers, coconut sugar provides a less processed alternative with a deeper, almost caramel-like flavor profile that pairs beautifully with chocolate. Honey and maple syrup can also work well, though they’ll add distinctive flavors to your final hot chocolate recipe.
The beauty of these adaptations is that they’re easily mixed and matched based on your specific dietary needs. With a little experimentation, you’ll find your perfect combination that satisfies both your health goals and your chocolate cravings.

