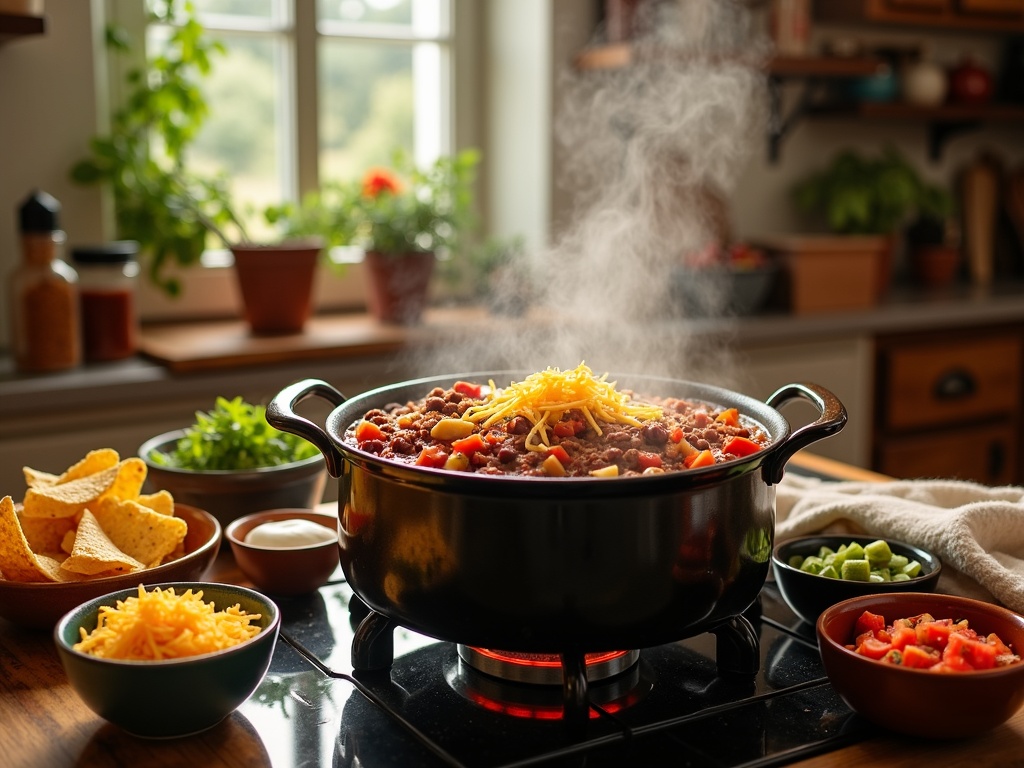
Homemade chili stands out as a versatile comfort food that combines rich flavors, hearty ingredients, and endless customization options to suit any preference.
This beloved dish rewards patience and proper technique, with its flavors often improving after a day or two, making it perfect for meal prep and entertaining alike.
Table of Contents
Key Takeaways
- Properly browning the ground beef creates essential flavor depth, while adding beans during the last 30 minutes prevents them from becoming mushy.
- The spice blend (chili powder, cumin, paprika, oregano) forms the backbone of great chili, and toasting spices before adding liquids dramatically enhances their flavor.
- Allowing chili to simmer for at least 60-90 minutes or making it a day ahead significantly improves flavor development and complexity.
- Fresh toppings like shredded cheese, sour cream, cilantro, and diced onions provide important texture and flavor contrasts.
- Homemade chili is highly adaptable for various dietary needs by substituting ingredients like beans, vegetables, or meat alternatives without sacrificing flavor.
Steps to Building Rich, Flavorful Chili
1. Brown the Meat Thoroughly
The magic begins with properly browning the meat. This step is more than just cooking it through—it’s about developing a deep caramelization that forms the flavor base. Never rush this process; patience here yields rich results.
2. Toast the Spices
After browning, add your spices directly to the pot and toast them for about 30 seconds. This releases their essential oils and builds a deeply aromatic foundation that canned chili simply can’t achieve.
3. Add Beans Later
To preserve structure, beans should be added during the last 30 minutes of cooking. This tactic allows them to absorb flavor without becoming mushy.
4. Simmer for Flavor
Don’t skimp on the simmer—it’s the heart of great chili. Cook for at least 60-90 minutes. Better yet, refrigerate overnight to allow even more flavor development. The resting time turns a good chili into a spectacular one.
Serving Ideas
Customize with Toppings
Memorable chili isn’t just about what’s in the pot—it’s also how it’s served. Set out a variety of toppings to let everyone tailor their own bowl.
- Sharp cheddar cheese adds richness and creaminess
- Fresh cilantro brings brightness
- Sour cream balances out heat and adds a cool contrast
- Diced onions offer crunch and sharpness
Make It Yours
Whether catering to dietary needs or personal taste, chili can be easily adapted:
- Vegetarian version: substitute meat with extra beans, lentils, or plant-based crumbles, and use vegetable broth.
- Spice lovers: toss in diced jalapeños or add a dash of hot sauce at the end.
With a bit of technique and creativity, chili becomes more than just a meal—it becomes a go-to comfort dish for all seasons and occasions. For more inspiration, explore this top-rated chili recipe on Serious Eats.
Why This Recipe Will Become Your Go-To Comfort Food
Finding a recipe that combines flavor, versatility, and ease can feel like striking gold. That’s exactly what this homemade chili delivers. I’ve perfected this recipe through years of tweaking, and it’s now a cornerstone in my meal rotation for good reason.
A Hearty Bowl That Satisfies Everyone
This homemade chili stands out as a truly hearty dish that fills your kitchen with mouthwatering aromas and your stomach with satisfying warmth. The rich blend of spices combined with perfectly cooked ground beef creates depth of flavor that’s hard to match in other quick meals. What makes this recipe special is its incredible versatility – you can dial up the heat for spice lovers or keep it mild for those with sensitive palates.
One of the best aspects of this chili is its adaptability to different dietary needs and preferences. You can easily:
- Swap ground beef for turkey to create a leaner option
- Add extra beans for more protein and fiber
- Incorporate additional vegetables like bell peppers or zucchini
- Make it vegetarian by omitting meat and adding more beans or meat substitutes
When life gets busy, this chili recipe becomes even more valuable. I can make a big batch on Sunday and enjoy it throughout the week – it actually improves in flavor after a day or two in the refrigerator! As a freezer-friendly meal, I often portion it into containers for quick lunches or dinners when I don’t have time to cook from scratch.
Unlike many Mexican-inspired dishes that require extensive prep work, this chili comes together in under two hours, with most of that time being hands-off simmering. The active cooking time is minimal – just brown the meat, sauté some onions, and add your spices and liquids. Then let it bubble away while you handle other tasks or simply relax.
For a complete meal experience, I love serving this chili with a fresh pico de gallo on top for brightness and contrast. The cool, fresh tomatoes and cilantro perfectly complement the rich, warm chili. This recipe has quickly become one of my favorite ground beef recipes because it delivers maximum flavor with minimal effort.
Whether you’re feeding a crowd on game day or just looking for a satisfying weeknight dinner, this homemade chili recipe checks all the boxes for a go-to comfort food that never disappoints.
Essential Ingredients for Success
I’ve found that the perfect chili starts with top-quality ingredients that create those deep, complex flavors we all crave. Making homemade chili doesn’t require fancy items—just fresh, flavorful basics that come together beautifully.
The Foundation
Ground beef is the backbone of traditional chili, providing rich flavor and hearty texture. I recommend using about 2 pounds of ground beef with at least 80/20 fat content for the best flavor. Properly cooking ground beef until browned and slightly crispy creates those delicious caramelized bits that add depth.
Beans add substance and protein to your chili. Two cans of kidney beans work perfectly, though you can substitute black beans or pinto beans based on preference. I always drain and rinse the beans to remove excess sodium.
For the tomato base, two cans of diced tomatoes provide the perfect acidic counterpoint. Some chili masters add a can of tomato paste for extra thickness and concentrated flavor.
Aromatics like onion and garlic are non-negotiable—they create the flavor foundation. One large diced onion and 3-4 minced garlic cloves will infuse your chili with essential savory notes.
Spicing It Up
The spice blend makes chili distinctive. These key spices transform your pot from simple stew to authentic chili:
- Chili powder: 2-3 tablespoons for that classic chili flavor
- Cumin: 1-2 teaspoons for earthy, smoky notes
- Paprika: 1 tablespoon adds color and mild pepper flavor
- Salt and pepper: Season to taste
For heat customization, consider adding diced jalapeños or a pinch of cayenne. Bell peppers contribute sweetness and texture—a red or green bell pepper diced up works beautifully.
The beauty of homemade chili lies in its versatility. Feel free to experiment with your favorite Mexican dishes flavors by incorporating ingredients like fresh pico de gallo as a topping. For more inspiration and variations, exploring other ground beef recipes can help you discover new flavor combinations.
Whether you’re feeding a crowd or meal prepping, these essential ingredients provide the perfect starting point for chili that’s sure to impress. The proportions can be adjusted based on your taste preferences—spicier, meatier, or more bean-forward—it’s entirely up to you.
Crafting Your Perfect Bowl of Chili
There’s something deeply satisfying about a homemade pot of chili bubbling away on the stove, filling your kitchen with incredible aromas. Creating this classic comfort food isn’t complicated, but each step adds important layers of flavor. I’ll take you through the essential process to craft a delicious bowl of chili that you’ll be proud to serve.
Building Layers of Flavor
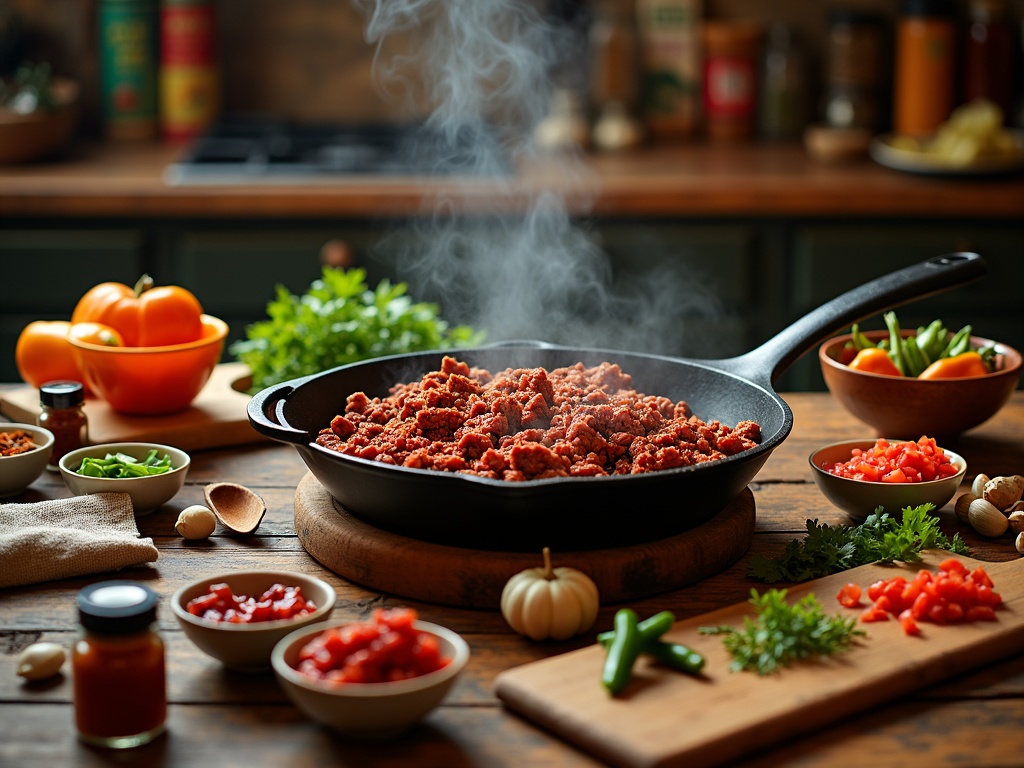
The foundation of great chili starts with properly cooked ground beef. I begin by heating a large, heavy-bottomed pot over medium-high heat. Once hot, I add the ground beef in a single layer, giving it space to brown rather than steam. This browning process creates those delicious caramelized bits that bring depth to the chili. I don’t stir constantly – instead, I let it develop a nice crust before breaking it apart with a wooden spoon.
Once the beef has browned, it’s time to add aromatics. I push the meat to one side of the pot and add chopped onions to the empty space, letting them cook in the rendered fat. After a few minutes, I add minced garlic and stir everything together. These aromatics become wonderfully fragrant as they cook, typically taking 3-5 minutes until the onions turn translucent.
The spice mixture is where your chili comes alive. I add my spices directly to the pot with the meat and aromatics, which allows them to toast slightly and release their essential oils. My standard mix includes:
- Chili powder (2-3 tablespoons for depth)
- Cumin (1-2 teaspoons for earthy notes)
- Smoked paprika (1 teaspoon for smokiness)
- Oregano (1 teaspoon for herbal notes)
- Salt and freshly ground black pepper to taste
I stir the spices constantly for about 30 seconds, just until they become fragrant but before they can burn. This quick toasting makes a remarkable difference in the final flavor.
Next comes the liquid foundation. I pour in canned diced tomatoes with their juices, which add acidity and moisture. Then I add beans – typically kidney beans, but you can mix and match with black beans or pinto beans based on your preference. For extra richness, I sometimes include a cup of beef broth or even a splash of beer.
The simmering stage is where magic happens. I bring everything to a boil, then reduce the heat to maintain a gentle simmer. This slow cooking process allows the flavors to meld together beautifully. I keep the pot partially covered, letting it simmer for at least an hour, sometimes up to 90 minutes if time permits. The longer it simmers, the more the flavors develop and intensify.
Throughout the cooking process, I taste and adjust. Chili is forgiving and customizable – I might add a pinch more salt, a dash of cayenne for heat, or even a spoonful of brown sugar if the tomatoes are particularly acidic. The key is building flavor gradually and making it your own.
While traditional Mexican dishes might follow specific regional techniques, chili has evolved into countless variations. Feel free to experiment with additions like pico de gallo as a fresh topping or trying one of many ground beef recipes that put a unique spin on classic chili.
After simmering, I let the chili rest for about 10 minutes before serving. This short rest allows the flavors to settle and the texture to thicken slightly. Then it’s ready to ladle into bowls and top with your favorite garnishes – perhaps shredded cheese, sour cream, fresh cilantro, or diced avocado.
Common Mistakes to Avoid
Chili making is an art that’s easy to learn but takes practice to master. I’ve noticed several common pitfalls that can turn your chili from extraordinary to just ordinary. Understanding these mistakes will help you create a more flavorful and satisfying bowl every time.
Kitchen Blunders That Affect Your Chili
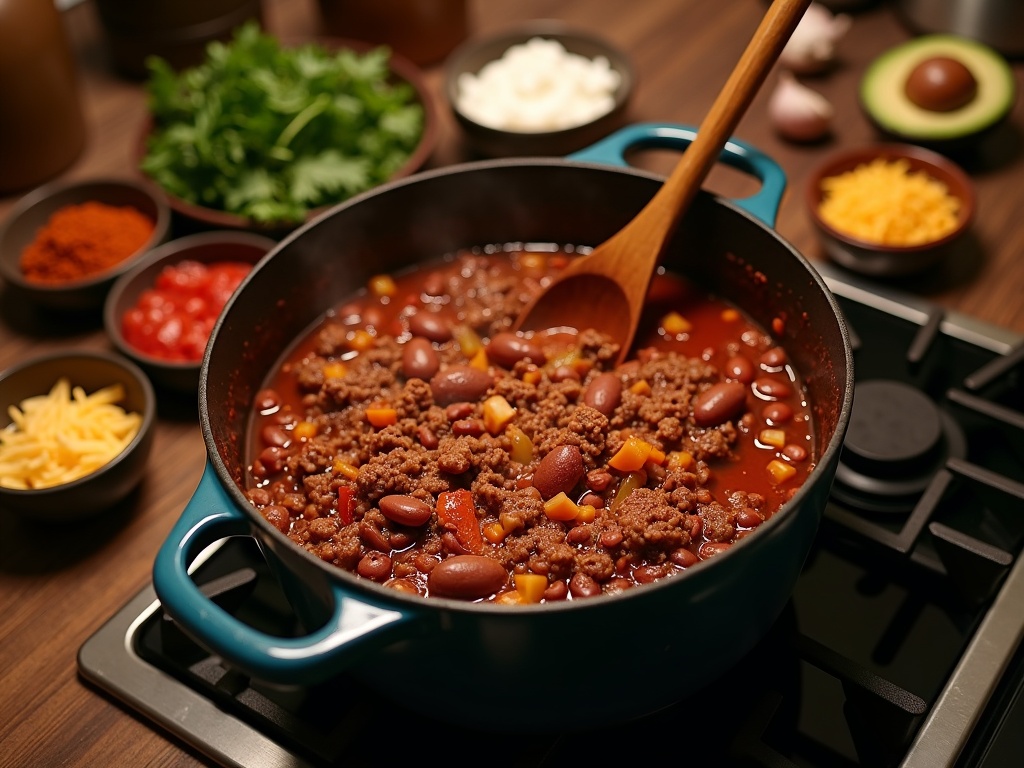
Not browning meat properly is perhaps the biggest missed opportunity in chili preparation. When you skip this crucial step, you lose the rich, caramelized flavors that form the foundation of great chili. Take your time to properly brown ground beef in batches rather than overcrowding the pan, which causes the meat to steam instead of sear.
Adding beans too early can lead to mushy, overcooked legumes that break down completely. I add beans during the last 30 minutes of cooking to maintain their texture and integrity while still allowing them to absorb the chili’s flavors.
Rushing the simmering process is tempting when you’re hungry, but patience pays off with chili. The flavors need time to meld together, and the meat needs to become tender. A proper chili should simmer for at least an hour, though I find that 2-3 hours produces the most developed flavors.
Under-seasoning is a common issue with homemade chili. Don’t be timid with spices and salt! Chili should be bold and flavorful. Taste as you go and adjust accordingly. Remember that some Mexican dishes like chili build flavor through liberal seasoning.
Using low-quality spices can dramatically reduce your chili’s impact. Fresh, high-quality spices make a noticeable difference. I recommend grinding whole cumin seeds instead of using pre-ground powder for a more aromatic result. The same goes for chili powders – invest in good quality varieties for better depth of flavor.
Making ground beef recipes like chili requires attention to detail. Consider adding fresh ingredients like pico de gallo as a topping just before serving to bring brightness and contrast to the rich, slow-cooked flavors.
By avoiding these common mistakes, your homemade chili will stand out with complex flavors and perfect texture. The key is patience, quality ingredients, and proper technique – three elements that transform a basic dish into a memorable meal.
Pro Tips for Enhanced Flavor
Making a batch of homemade chili isn’t just about throwing ingredients into a pot. The difference between good chili and spectacular chili often lies in small techniques that enhance flavors and create depth. I’ve gathered some tried-and-true methods to take your chili from basic to extraordinary.
Preparation Techniques
Toasting your spices before adding any liquids is a game-changer for homemade chili. This simple step releases the essential oils in spices like cumin, chili powder, and oregano, intensifying their flavors significantly. After browning your ground beef, add your spices to the hot pan and stir constantly for 30–60 seconds until they become fragrant. You’ll notice the difference immediately when those aromatic compounds are activated.
Fresh garlic delivers a punch that garlic powder simply can’t match. I mince 3–4 fresh cloves for a standard pot of chili instead of using the powdered version. The flavor is sharper, cleaner, and more complex. For maximum flavor, add the minced garlic after browning the meat but before adding wet ingredients, and sauté it just until golden—about 30 seconds—to prevent bitterness from burnt garlic.
Draining excess fat after browning your meat is crucial for both flavor and texture. Too much fat can make chili greasy and mask the complex flavors you’re working to develop. After browning your ground beef, tilt the pan and use a spoon to remove most of the rendered fat. I typically leave just enough to sauté onions and other vegetables for added flavor.
Timing Considerations
Patience is key when making exceptional chili. Allowing your chili to rest for 15–20 minutes after cooking transforms the flavor profile dramatically. During this resting period, the ingredients meld together, spices distribute evenly, and the texture becomes more harmonious. Simply turn off the heat, cover the pot, and let time work its magic.
For truly spectacular results, make your chili a day ahead of when you plan to serve it. The flavor development that happens overnight in the refrigerator is remarkable. I often prepare Mexican dishes like chili a day in advance for this very reason. The spices fully integrate, the meat becomes more tender, and all components unite into a cohesive whole.
This approach works particularly well for:
- Competition chili
- Large gatherings where advance preparation helps reduce day-of stress
- Special occasions when you want to impress with amazing flavor
- Meal prep situations where you’ll enjoy portions throughout the week
The overnight rest also makes it easier to remove any solidified fat from the top before reheating, resulting in a cleaner-tasting final dish.
A perfect companion to excellent chili is fresh pico de gallo as a topping. The bright, fresh flavors provide a beautiful contrast to the rich, developed flavors of day-old chili.
These seemingly small adjustments don’t require fancy equipment or rare ingredients, yet they elevate homemade chili substantially. The techniques focus on maximizing the potential of standard ingredients through proper handling and timing. When applied consistently, they transform a basic comfort food into a dish worthy of sharing with pride.
Must-Try Toppings and Sides
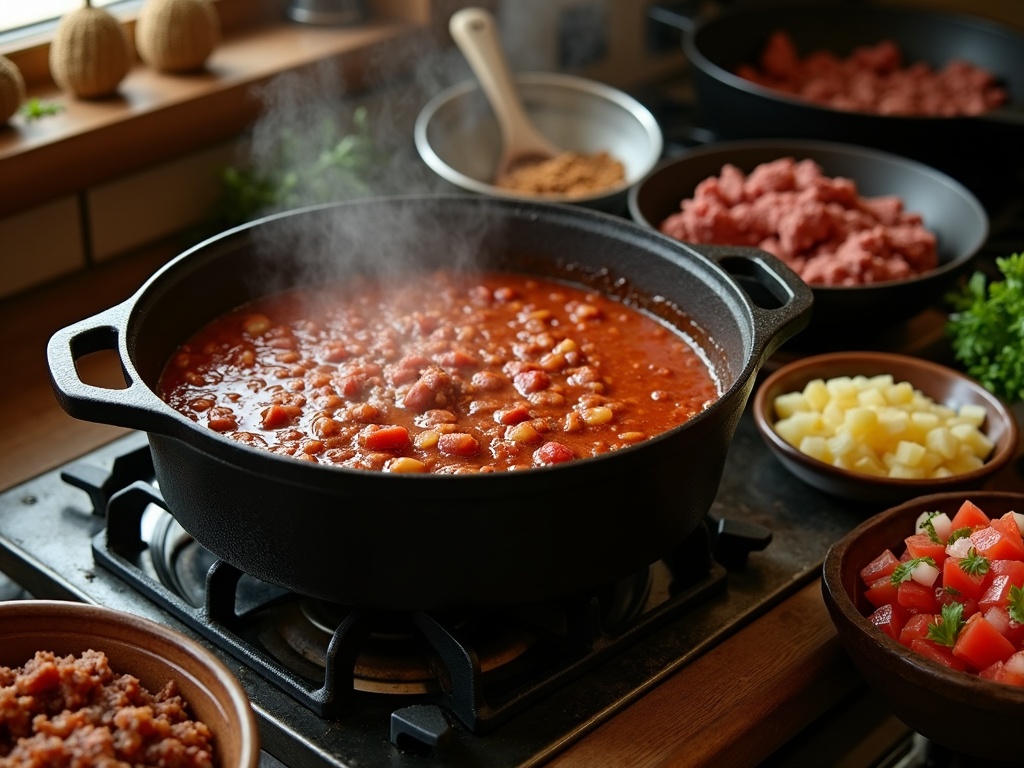
The perfect bowl of homemade chili isn’t complete without the right toppings and sides to complement its rich flavors. I’ve found that the right garnishes can transform a good chili into an extraordinary meal that leaves everyone asking for seconds. Let me share some essential toppings and sides that elevate your chili experience.
Essential Toppings
A sprinkle of the right toppings adds texture, freshness, and visual appeal to your bowl of chili. These simple additions can balance the heat and enhance the overall flavor profile.
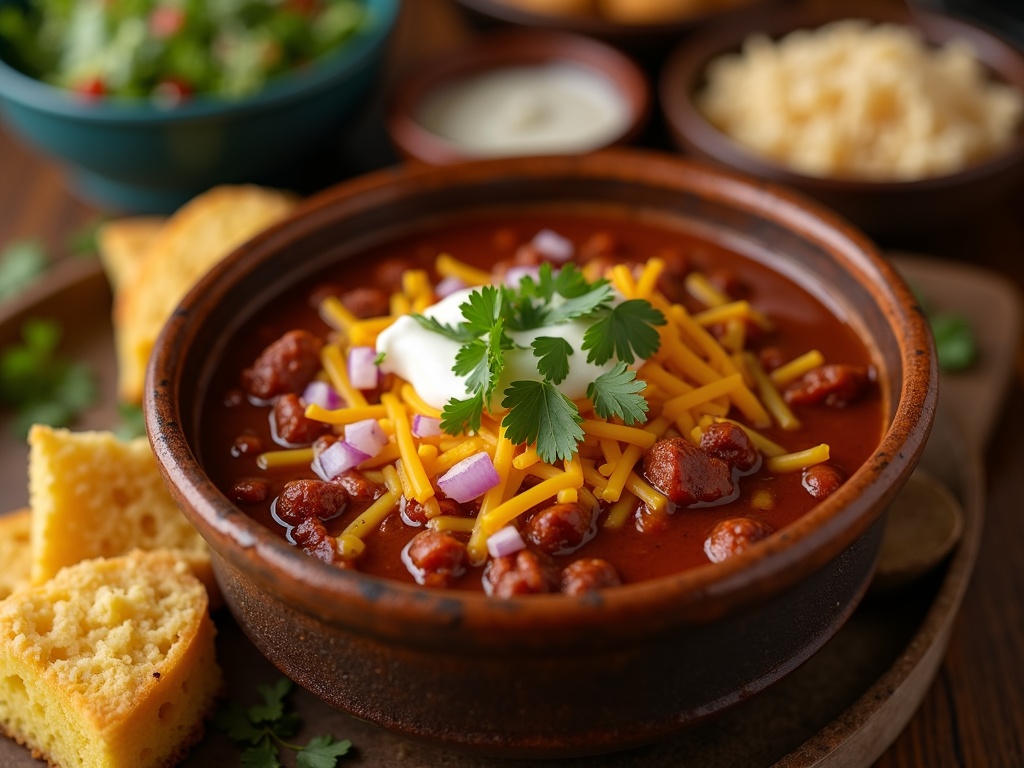
- Shredded cheese is perhaps the most classic topping for chili. As it slowly melts into the hot chili, it adds a creamy richness that perfectly balances the spice. I prefer sharp cheddar for its bold flavor, but Monterey Jack or a Mexican cheese blend works beautifully too.
- Sour cream provides a cool, tangy contrast to the warm, spicy chili. It’s especially helpful for taming particularly spicy batches and adds a luxurious creaminess to each bite. For a lighter option, Greek yogurt makes an excellent substitute while still providing that creamy texture.
- Fresh cilantro brings a bright, herbaceous element that cuts through the richness of the chili. The vibrant green leaves add color and a burst of freshness that elevates the entire dish. If you’re making Mexican-style chili recipes, cilantro is practically essential.
- Diced onions add a satisfying crunch and sharp flavor that contrasts beautifully with the tender meat and beans. Red onions provide a pop of color, while white onions offer a cleaner, more pungent flavor. For a milder option, soak the diced onions in cold water for 10 minutes before serving. This technique is similar to preparing onions for fresh pico de gallo, removing some of the harsh bite while maintaining the crunch.
Perfect Sides
The right side dishes not only complement your chili but also help turn it into a complete meal. These sides are ideal for soaking up every last bit of flavor from your bowl.
- Cornbread is the quintessential chili companion. Its slightly sweet flavor and crumbly texture provide the perfect contrast to savory, spicy chili. I like to serve warm cornbread with a pat of honey butter for an extra touch of sweetness. The combination of cornbread soaking up chili juice is simply unbeatable.
- Tortilla chips offer a crunchy element that works wonderfully with chili. They can be used as dippers for thicker chili or crumbled on top for added texture. If you’re serving chili that features properly cooked ground beef, tortilla chips provide the perfect vehicle for scooping up every bit of that flavorful meat.
- Rice is another excellent option, especially for chili with a thinner consistency. White rice soaks up the flavors beautifully, while cilantro-lime rice adds another dimension of flavor that complements the chili’s spices.
- Green salad with a vinaigrette dressing can provide a refreshing contrast to the richness of the chili. The acidic notes in the dressing help cleanse the palate between bites and lightens up a hearty meal.
Don’t forget about setting up a topping bar when serving chili for gatherings. This interactive element allows guests to customize their bowls to their preferences. I’ve found this approach works especially well when serving various ground beef recipes including different chili varieties.
By thoughtfully selecting both toppings and sides, you transform a simple bowl of chili into a complete, satisfying meal that hits all the right notes: spicy, savory, crunchy, creamy, and fresh. These combinations ensure your homemade chili will be remembered long after the last bite is gone.
Storage and Reheating Guidelines
Making a big batch of homemade chili can save time on busy weeknights, but proper storage is crucial to maintain its rich flavors. I’ve found that chili is one of those magical dishes that often tastes even better the next day when the spices have had time to meld together.
Refrigeration and Freezing Tips
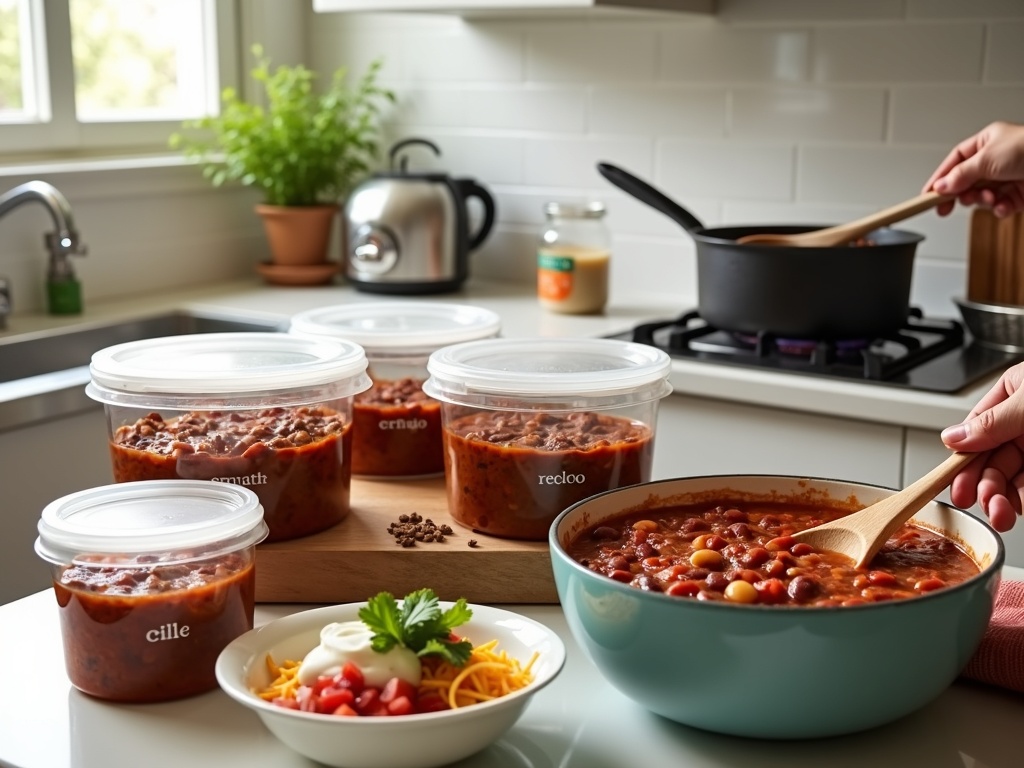
For short-term storage, allow your chili to cool completely before transferring it to airtight containers. When stored properly in the refrigerator, your homemade chili will stay fresh for up to 5 days. This makes it perfect for meal prep or enjoying leftovers throughout the week.
If you’ve made a large batch or want to save portions for later use, freezing is an excellent option. I recommend dividing the chili into portion-sized containers before freezing. This way, you can thaw only what you need. Properly frozen chili maintains its quality for up to 3 months. Consider these freezing tips:
- Use freezer-safe containers with tight-fitting lids to prevent freezer burn
- Leave about an inch of space at the top of containers as chili will expand when frozen
- Label containers with the date so you can track how long they’ve been stored
- Consider freezing individual portions for quick lunches or dinners
When it’s time to enjoy your stored chili again, proper reheating ensures you maintain all the flavors of your Mexican-inspired chili. The best method is to reheat slowly on the stovetop over medium-low heat. This gentle approach prevents burning and helps preserve the texture of ingredients like ground beef and beans.
During reheating, I’ve found it’s often necessary to add a splash of beef or chicken broth to restore the original consistency. Chili tends to thicken during storage as the beans and ground beef continue to absorb liquid. For the best flavor, add the broth a little at a time while stirring until you reach your preferred consistency.
If you’re in a hurry, microwaving is an option, but be sure to use a microwave-safe container and cover it loosely. Heat in 1-minute intervals, stirring between each to ensure even heating. The microwave method works particularly well for smaller portions of ground beef recipes like chili.
For an extra touch of freshness when serving reheated chili, consider adding a new topping of shredded cheese, a dollop of sour cream, fresh cilantro, or even some homemade pico de gallo. These fresh garnishes can revive the dish and make leftovers feel like a brand new meal.
Remember that if your chili has been left at room temperature for more than two hours, it should be discarded rather than stored. Food safety is critical with protein-rich dishes that contain ingredients like ground beef.
With these storage and reheating guidelines, you can enjoy your homemade chili for days or even months after you first made it, making it a practical and delicious addition to your meal rotation.
Dietary Modifications
Chili is one of those fantastic dishes that can be adapted for almost any dietary preference without sacrificing flavor. I’ve experimented with numerous variations over the years and found that with a few simple tweaks, you can create a version that suits your specific needs.
Vegetarian and Vegan Options
Traditional chili often features ground beef as the star ingredient, but plant-based versions can be equally satisfying. To create a hearty vegetarian chili:
- Double up on beans – combination of black, kidney, and pinto beans adds protein and texture
- Add textured vegetable protein (TVP) or crumbled tofu for a meat-like consistency
- Incorporate hearty vegetables like mushrooms, zucchini, and bell peppers
- Use vegetable broth instead of beef broth
- Don’t skip the umami – add soy sauce, nutritional yeast, or liquid smoke for depth
For an extra flavor boost, I like to roast the vegetables before adding them to the pot. This enhances their natural sweetness and adds complexity to your Mexican-inspired dish.
Low-Carb and Specialized Diets
If you’re following a low-carb eating plan, chili can still be on the menu with these adjustments:
Cutting carbs doesn’t mean cutting flavor. I’ve found that focusing on a rich base of aromatics (onions, garlic) and adding plenty of fresh tomato helps create depth even without beans. You can also play with the heat level to match your preferences.
For spicy versions, try adding:
- Fresh jalapeños or habaneros with seeds intact
- Chipotle peppers in adobo sauce
- Hot sauce added at the end of cooking
- Cayenne pepper or red pepper flakes
If you prefer a milder chili that’s family-friendly, simply:
- Reduce the amount of chili powder by half
- Use only one type of mild chile (like ancho)
- Remove seeds and membranes from fresh peppers
- Serve hot sauce on the side for those who want heat
I’ve discovered that adding a touch of sweetness, like a tablespoon of honey or maple syrup, can help balance a mild chili and enhance the natural flavors of the tomatoes.
For those looking for more protein-packed meals, ground beef recipes can be modified with extra lean meat or a combination of meats for a unique flavor profile in your homemade chili.
Sources:

