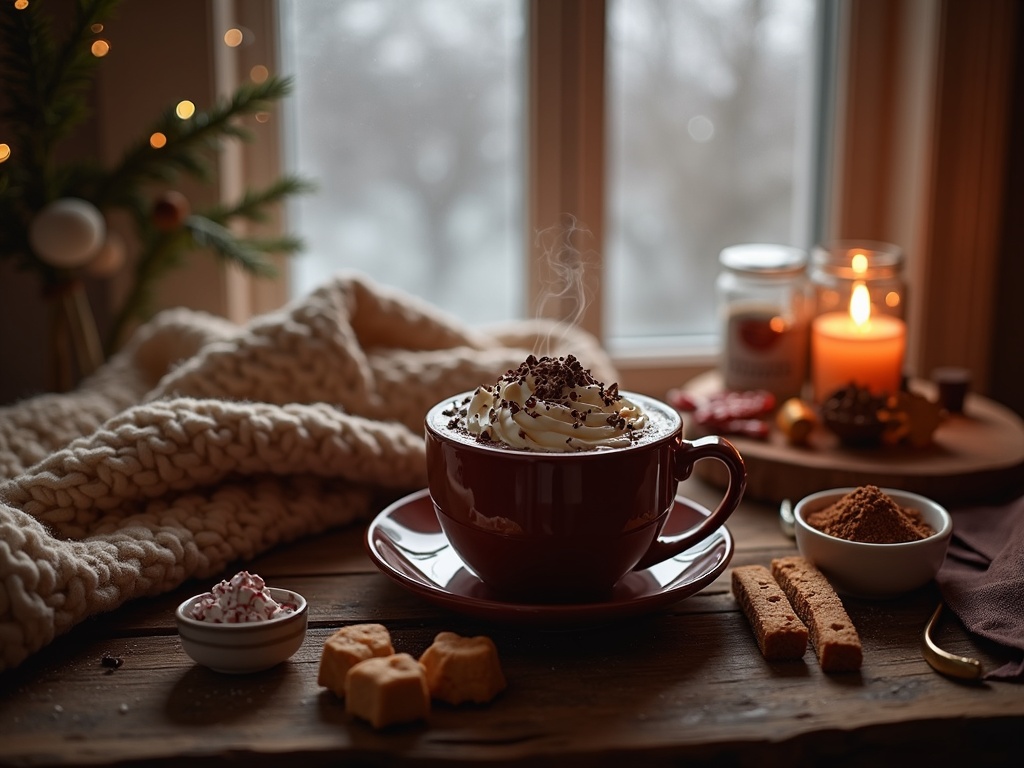
Home made hot chocolate delivers a rich, customizable experience that beats store-bought mixes, giving you control over chocolate intensity, sweetness, and flavor additions. Creating this warming beverage from scratch turns a simple drink into a sensory ritual that brings comfort through quality ingredients and personal touches.
Find In This Article
Key Takeaways
- High-quality ingredients like Dutch-processed cocoa powder, whole milk, and real chocolate pieces create a depth of flavor impossible to achieve with powdered mixes.
- Proper technique matters—heating milk slowly, sifting cocoa powder, and continuous stirring prevent common issues like scorching and lumps.
- Adding complementary flavors like cinnamon, mint, or vanilla extract can transform basic hot chocolate into a signature drink.
- Pre-warming mugs, using room-temperature ingredients, and serving with appropriate toppings elevates the overall experience.
- Making hot chocolate mix in advance and storing it properly in airtight containers extends convenience without sacrificing quality.
Why Everyone Loves Homemade Hot Chocolate
There’s something magical about sipping a cup of freshly made hot chocolate on a chilly evening. That rich, velvety texture simply can’t be matched by those powdered store-bought mixes that often taste flat and artificial. I’ve found that the difference between homemade and commercial options isn’t just noticeable—it’s dramatic.
The Joy of Customization
The best part about making hot chocolate from scratch is the freedom to customize it exactly how you like it. You can control every aspect of your delicious drink:
- Chocolate intensity: Choose between milk, dark, or white chocolate based on your preference
- Sweetness level: Add more or less sugar depending on your taste buds
- Milk options: Use whole milk for ultimate creaminess or substitute with almond, oat, or coconut milk
- Flavor additions: Enhance with vanilla, cinnamon, peppermint, or even a dash of cayenne for a Mexican-inspired kick
- Toppings: Finish with marshmallows, whipped cream, chocolate shavings, or caramel drizzle
When the temperature drops, few things provide as much comfort as wrapping your hands around a steaming mug of hot cocoa that you’ve crafted yourself. It warms you from the inside out, creating a cozy atmosphere that instant packets simply can’t replicate.
Beyond taste and comfort, homemade hot chocolate gives you control over ingredients. Many commercial mixes contain artificial flavors, preservatives, and excessive sugar. When you make it yourself, you can select high-quality chocolate, choose organic milk, and adjust sweeteners to create a hot chocolate recipe that’s not only tastier but also better for you.
I’ve discovered that making hot chocolate from scratch creates more than just a beverage—it creates an experience. The aromas filling your kitchen, the anticipation as you stir the melting chocolate, and the satisfaction of that first perfect sip make the small extra effort completely worthwhile. Plus, it’s a fun activity to share with friends, kids, or someone special on a cold day.
Once you’ve tasted a properly made homemade hot cocoa, those packets of powdered mix will likely stay untouched in your pantry. The depth of flavor and silky texture simply can’t be matched by mass-produced alternatives.
Essential Ingredients for Success
Creating the perfect homemade hot chocolate starts with gathering high-quality ingredients. I’ve found that the right components make all the difference between an ordinary cup and an extraordinary experience that rivals fancy café versions.
The Foundation Elements
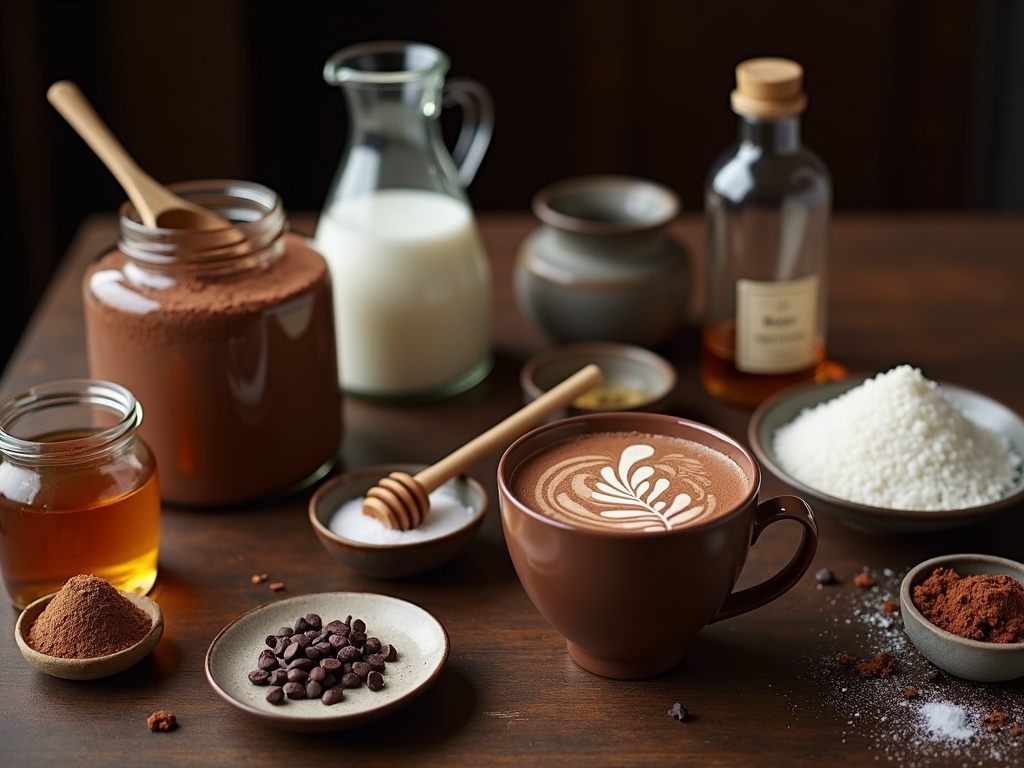
High-quality cocoa powder sits at the core of exceptional hot chocolate. Look for Dutch-processed cocoa for a smoother, less bitter taste profile. Natural cocoa works too, offering a more intense chocolate flavor with slight acidity. The depth of flavor in your final drink directly connects to the quality of this primary ingredient.
Your choice of milk dramatically impacts the richness of your hot chocolate. Whole milk provides a balanced creaminess, while heavy cream delivers maximum indulgence. For a lighter version, 2% milk works well, though it produces a thinner texture. Plant-based alternatives like almond, oat, or coconut milk can substitute nicely, each bringing unique flavor notes to your hot cocoa creation.
Granulated sugar allows for precise sweetness control. I prefer using regular white sugar that dissolves easily, but alternatives include:
- Brown sugar for caramel undertones
- Honey for floral sweetness
- Maple syrup for rustic depth
- Coconut sugar for a lower glycemic option
Pure vanilla extract adds complexity and warmth without overwhelming the chocolate. Just a half teaspoon per serving enhances the other flavors without stealing the spotlight.
A tiny pinch of salt might seem strange, but it’s crucial—salt heightens chocolate’s flavor and balances sweetness. This single ingredient transforms flat hot chocolate into a multidimensional treat.
Elevating Your Hot Chocolate
For truly luxurious hot chocolate at home, consider adding dark chocolate chips. These melt into your drink, creating unmatched richness and body. High cacao percentage chips (60-70%) introduce complex flavor notes while keeping sweetness in check.
The combination of cocoa powder and actual chocolate creates perfect textural balance—the powder infuses thoroughly while the melted chocolate adds silky mouthfeel. This dual-chocolate approach delivers the smoothest hot chocolate imaginable.
When shopping for ingredients, prioritize quality over quantity. A modest amount of premium cocoa creates more satisfaction than larger amounts of inferior products. Your taste buds will thank you for investing in better ingredients for this simple but delightful drink.
Crafting Your Cozy Cup
Making homemade hot chocolate is an art that combines simple ingredients with careful technique. I’ve perfected this process over years of cold winter nights, and I’m excited to share my approach with you.
The Perfect Heating Method
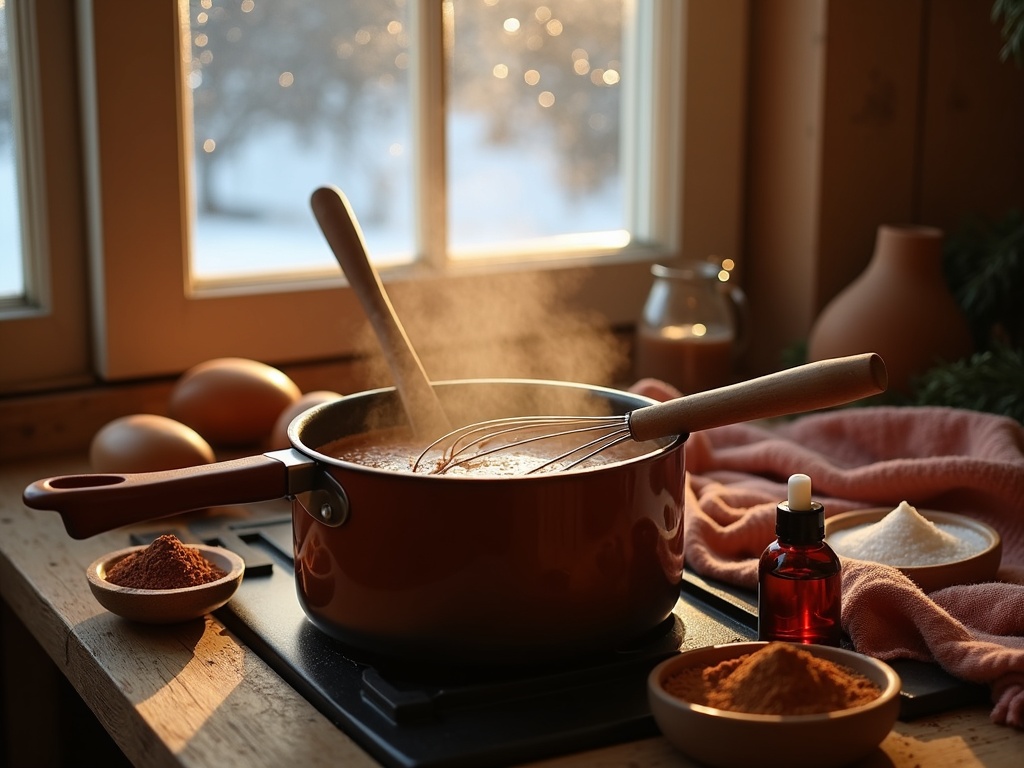
The foundation of exceptional hot chocolate begins with properly heated milk. I start by pouring milk into a medium saucepan over low to medium heat. Patience is key here—heating too quickly can scorch the milk and ruin the flavor. I gently warm it, stirring occasionally with a wooden spoon to distribute the heat evenly.
While the milk warms, I prepare my chocolate mixture. This is where the magic happens. I measure out cocoa powder and sugar, making sure they’re ready to incorporate into the warming milk. Once the milk begins to steam slightly (but before it simmers), I reduce the heat and begin the transformation.
I add the cocoa powder and sugar to the warm milk, immediately whisking to prevent clumps from forming. Continuous stirring is crucial during this stage—I move the whisk in figure-eight patterns to thoroughly combine the ingredients. The mixture will gradually become smooth and uniform as the cocoa and sugar dissolve into the milk.
Enhancing Flavor Dimensions
To elevate my hot cocoa recipe, I incorporate subtle flavor enhancers:
- A splash of vanilla extract adds depth and warmth
- A tiny pinch of salt balances the sweetness and brings out the chocolate flavor
- A dash of cinnamon or nutmeg can add holiday flair (optional)
After adding these flavor boosters, I continue to simmer the mixture gently until it reaches my preferred drinking temperature. This slow heating process allows the flavors to meld beautifully. I’m careful never to let the mixture boil—boiling can give hot chocolate a scorched taste and change its smooth consistency.
The finished hot cocoa creation should steam gently with a rich aroma that fills the kitchen. I remove it from heat just as it reaches the perfect temperature, ensuring it’s hot enough to warm you from the inside out, but not so hot that you can’t enjoy it right away.
Common Mistakes to Avoid
Making delicious homemade hot chocolate seems straightforward, but small missteps can turn your potentially luxurious drink into a disappointing experience. I’ve made all these mistakes so you don’t have to. Let me share the most common hot chocolate pitfalls and how to avoid them.
Recipe-Ruining Errors
One of the biggest mistakes is using water instead of milk as your base liquid. While water might seem like a lighter option, it creates a thin, less satisfying drink. Milk provides essential fat content that creates that creamy richness we all crave in a proper hot chocolate. Even if you’re limiting dairy, plant-based alternatives like oat milk or almond milk will yield better results than plain water.
Another frequent error is adding cocoa powder directly to hot liquid. This typically results in those annoying, stubborn lumps that never quite dissolve. Instead, first mix your cocoa powder with a small amount of cold milk to create a smooth paste, then gradually add the rest of your warmed milk. This technique creates a perfectly smooth hot chocolate recipe without the grainy texture.
Heating too quickly is a mistake that can ruin your drink before it’s even served. When milk is heated too rapidly or at too high a temperature, it can scorch, creating an unpleasant burnt taste that’s impossible to mask. I always keep my heat medium-low and warm my milk slowly, which develops a better flavor and prevents that dreaded scorched taste.
Forgetting to stir constantly might seem like a minor oversight, but it’s crucial for even heating and preventing that skin from forming on top of the milk. Continuous stirring also helps incorporate ingredients perfectly, especially when adding chocolate pieces that need to melt evenly.
Many home cooks skip adding salt entirely, not realizing that a tiny pinch actually enhances the chocolate flavor dramatically. Salt acts as a flavor amplifier, making the chocolate taste more intense and balanced. You don’t need much—just a small pinch will transform your homemade hot cocoa from good to great.
Other Common Mistakes
- Using low-quality chocolate (the better the chocolate, the better your drink)
- Adding too many competing flavors at once
- Overloading with sweeteners before tasting
- Rushing the process (good hot chocolate takes patience)
- Serving in a cold mug (which cools your drink too quickly)
One often overlooked aspect is the consistency of your hot chocolate. Many people give up stirring too soon, resulting in chocolate settling at the bottom of the cup. For the perfect hot cocoa recipe, continue stirring until all ingredients are fully incorporated.
Texture problems often occur when using chocolate bars or chips. If you don’t chop them finely enough before adding to your milk, they’ll melt unevenly. The smaller the pieces, the more quickly and evenly they’ll incorporate into your drink.
Temperature control matters throughout the entire process. If you’re adding extras like whipped cream or marshmallows to finished hot chocolate that’s too hot, they’ll melt immediately instead of creating that perfect topping that slowly melts into your drink.
The key to exceptional hot chocolate lies in patience and attention to detail. Taking your time with each step makes all the difference between an ordinary drink and a memorable indulgence that warms you from the inside out.
Expert Tips for the Best Results
Creating delicious homemade hot chocolate isn’t complicated, but a few expert techniques can transform your drink from good to exceptional. I’ve discovered several methods that make a noticeable difference in the final result, and they’re simple enough for anyone to implement.
Preparation Techniques That Make a Difference
Sifting your cocoa powder is a game-changer. This easy step prevents those annoying lumps that can ruin the texture of your hot chocolate. I like to sift the cocoa directly into my mixing bowl, catching any small clumps before they have a chance to make it into the final drink. This creates a smoother, more velvety hot chocolate recipe that feels luxurious with each sip.
Working with room temperature ingredients helps everything blend together more uniformly. Cold milk can cause cocoa powder to seize up, creating those unwanted lumps we’re trying to avoid. I take my milk out of the refrigerator about 30 minutes before making hot chocolate, and this small step makes a big difference in achieving a silky-smooth texture.
For those who like to make hot chocolate mix in advance, proper storage is essential:
- Use an airtight container
- Opt for a mason jar with a tight-fitting lid
- Store in a cool, dry place
- Use within three months
This method maintains freshness and prevents moisture from creating clumps. It’s a convenient way to enjoy a quick cup of hot cocoa whenever the craving strikes.
The temperature of your mug matters more than you might think. I always warm my mugs by filling them with hot water for a minute or two before emptying and adding my hot chocolate. This prevents the drink from cooling too quickly when poured, letting you enjoy the perfect temperature from the first sip to the last. It’s a small detail that professional baristas use that makes a surprising difference.
Timing matters when it comes to toppings. Adding marshmallows while your homemade hot cocoa is still piping hot allows them to melt slightly on the surface, creating that iconic creamy layer that’s part of the classic hot chocolate experience. I find that mini marshmallows work best as they melt more evenly than larger ones.
If you’re serving hot chocolate at a gathering, consider setting up a toppings bar:
- Whipped cream
- Chocolate shavings
- Cinnamon sticks
- Flavored syrups
This lets everyone customize their drink while making the experience more interactive and fun.
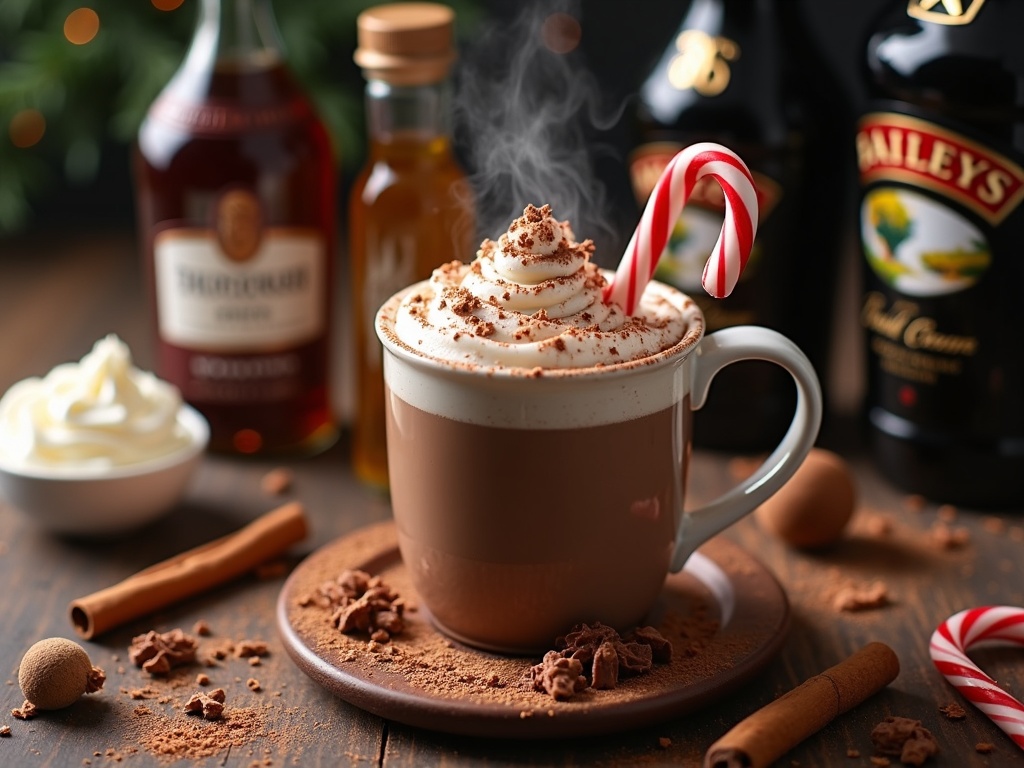
For an adult version, a splash of your favorite liqueur adds complexity. Baileys, Kahlúa, or Amaretto all pair beautifully with the chocolate flavors. Just add a tablespoon to your mug before pouring in the hot cocoa recipe mixture.
Don’t rush the heating process. Slowly warming your milk helps develop a richer flavor and prevents scorching. I use medium-low heat and stir frequently, which takes a bit longer but results in a noticeably better taste.
Lastly, consider the quality of your ingredients. Using high-quality cocoa powder and real chocolate makes a significant difference in the final taste of your hot chocolate recipe. While it might cost a bit more, the improvement in flavor is well worth the investment for this comforting treat.
Delicious Variations to Try
My hot chocolate experiments have led me to discover some incredible flavor combinations that transform a basic cup into something truly special. The beauty of homemade hot chocolate lies in its versatility – you can customize it to match any mood or occasion with just a few extra ingredients.
Flavor Enhancers That Make a Difference
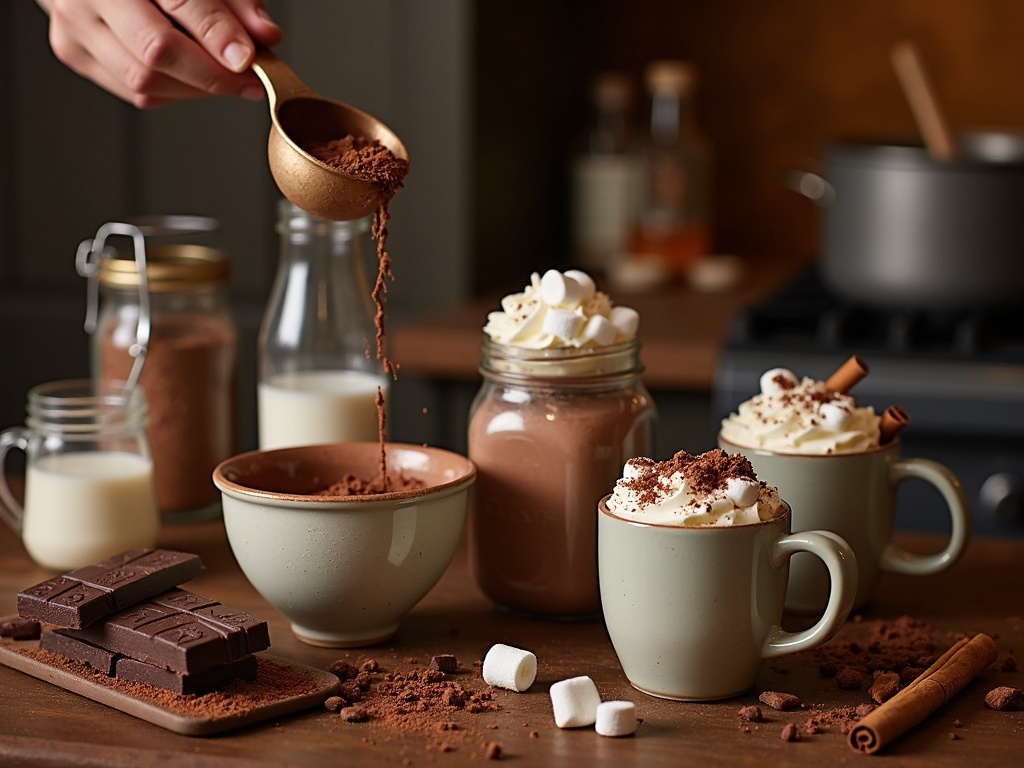
A sprinkle of warm spices can elevate your hot chocolate experience. I’ve found that adding just ¼ teaspoon of cinnamon creates a Mexican-inspired drink with a subtle warmth that pairs perfectly with the chocolate. For a festive twist, nutmeg adds a distinctive aroma that reminds me of holiday gatherings.
Mint and chocolate form a classic pairing that never disappoints. Adding 3–4 drops of peppermint extract to your hot cocoa recipe creates a refreshing contrast to the rich chocolate. For a visual treat, I love garnishing with a candy cane that slowly melts and intensifies the mint flavor.
Don’t underestimate the power of toppings!
- A dollop of freshly whipped cream creates a luxurious texture contrast while cooling down that first sip.
- A dusting of cocoa powder or chocolate shavings adds an extra touch of indulgence.
For those with a serious sweet tooth, stirring in a tablespoon of caramel sauce creates magical swirls of buttery sweetness throughout your hot chocolate recipe. The caramel adds complexity to the flavor profile and makes it feel like a dessert in a mug.
For adult gatherings, I’ve found that a splash of coffee liqueur adds sophisticated depth. The coffee notes complement the chocolate while the alcohol provides a pleasant warmth. Baileys Irish Cream or Kahlúa work beautifully, but remember this variation is strictly for grown-ups!
These simple additions transform an ordinary hot cocoa recipe into something memorable. The best part? Most of these ingredients are likely already in your pantry, making it easy to experiment with new flavor combinations whenever the mood strikes.
Storage and Make-Ahead Tips
Making delicious homemade hot chocolate doesn’t always have to be a spur-of-the-moment decision. With proper storage techniques, you can prepare the dry ingredients ahead of time and enjoy this comforting beverage whenever the craving strikes.
Creating a Hot Chocolate Mix for Later Use
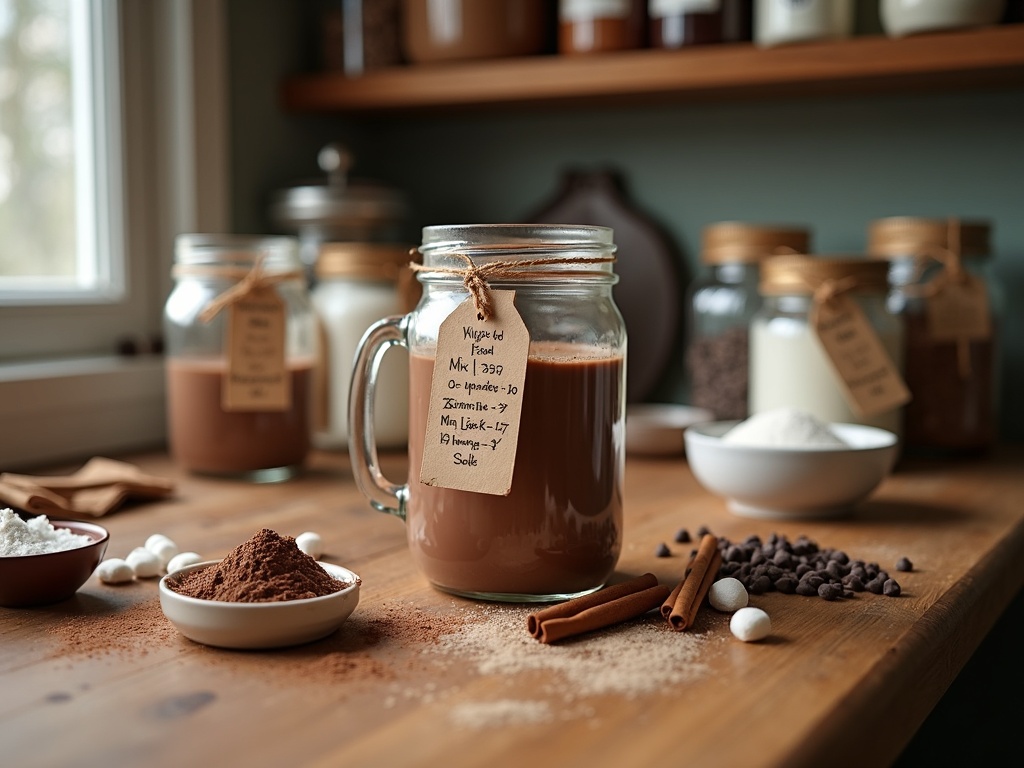
I’ve found that preparing a batch of hot chocolate mix in advance saves significant time, especially during busy holiday seasons. To create a mix that maintains its quality, combine all your dry ingredients thoroughly in a large bowl. This typically includes cocoa powder, sugar, salt, and any powdered milk or additional flavorings like vanilla powder or cinnamon.
Once combined, transfer the mixture to an airtight container. Mason jars work exceptionally well for this purpose, as do metal tins with tight-fitting lids. The key is selecting a container that completely seals out moisture and air, which are the main culprits behind flavor deterioration.
Don’t forget to attach clear instructions to your container. I like to include:
- The ratio of mix to liquid (typically 2–3 tablespoons per cup of milk)
- Any additional ingredients needed (marshmallows, whipped cream)
- Heating instructions
- The date the mix was prepared
This thoughtful touch makes your hot chocolate recipe even more convenient and ensures perfect results every time.
Proper Storage Conditions
The quality of your hot chocolate mix directly depends on how you store it. I store my premixed dry ingredients in a cool, dry place away from direct sunlight. A pantry or kitchen cabinet works perfectly, as long as it’s not above or near the stove where temperature fluctuations occur.
Your homemade mix can last up to three months when stored correctly. However, if your recipe includes powdered milk or other dairy products, the shelf life might be slightly shorter due to the fats in these ingredients eventually turning rancid.
For longest shelf life, avoid introducing moisture into your container. Always use a completely dry spoon when scooping out the mix, and close the container immediately after use. If you live in a particularly humid climate, consider adding a food-grade silica gel packet to the container to absorb any excess moisture.
I find it helpful to label containers with both the preparation date and expiration date. This simple step eliminates any guesswork about freshness. When making gift batches of hot cocoa mix, these labels add a professional touch that recipients appreciate.
Another smart approach is pre-measuring single servings into small ziplock bags or mini containers, making preparation even quicker. This works great for:
- Camping trips
- Office desk drawers
- Sending with kids to college
For an extra special touch, include small bags of mini marshmallows or chocolate chips alongside your mix. These can be added to the hot chocolate just before serving for that perfect finishing note.
With these storage techniques, you’re always just minutes away from enjoying a perfect cup of hot chocolate, no matter how hectic your schedule becomes. The convenience of a pre-made mix combined with the superior quality of homemade ingredients gives you the best of both worlds.
Serving Suggestions
Hot chocolate isn’t just a drink—it’s an experience that can be elevated with thoughtful presentation. I’ve discovered that serving homemade hot chocolate with style makes it even more delightful, especially during cold winter evenings or festive gatherings.
Creative Pairings and Presentation
Cookies and biscotti make perfect companions for a steaming cup of hot cocoa. The contrast between the warm, creamy drink and the crunchy texture of cookies creates a satisfying sensory experience. I particularly enjoy chocolate chip cookies or almond biscotti that can be dipped into the hot chocolate.
During the holiday season, adding a candy cane as a stirrer brings festive flair to your hot chocolate recipe. As it dissolves, it infuses a subtle mint flavor that complements the rich chocolate beautifully.
One trick that significantly enhances the hot chocolate experience is serving it in pre-warmed mugs. Simply fill your mugs with hot water for a minute, then empty and dry before pouring in your homemade hot chocolate. This keeps the drink warmer longer and feels cozier in your hands.
A variety of toppings allows everyone to customize their drink to taste. Consider offering:
- Whipped cream (both regular and flavored options)
- Marshmallows (mini, giant, or homemade)
- Chocolate shavings or curls
- Flavored syrups like caramel or hazelnut
- Cinnamon sticks for stirring
- Sprinkles for a fun touch
For entertaining guests, I’ve found that creating a hot cocoa recipe station turns a simple drink into an interactive activity. Set out your base hot chocolate in a slow cooker to keep it warm, then arrange toppings, mix-ins, and accompaniments in decorative containers. Add festive napkins and spoons, and you’ve created a memorable experience that guests will talk about long after the party ends.

