Find In This Article
Introduction
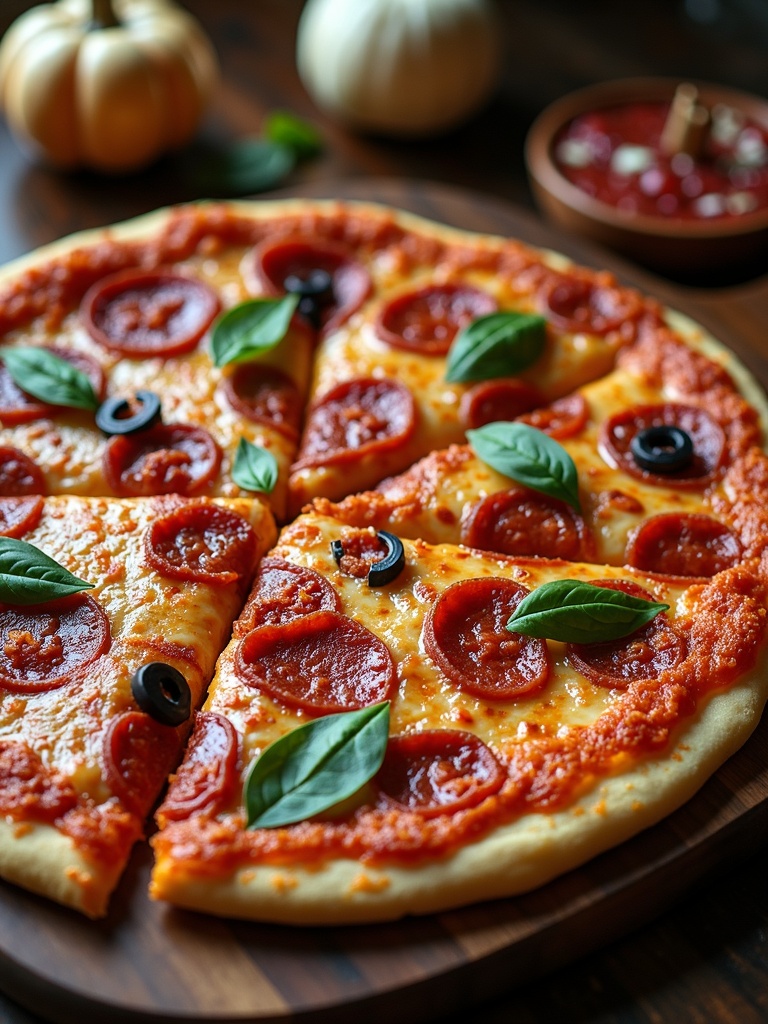
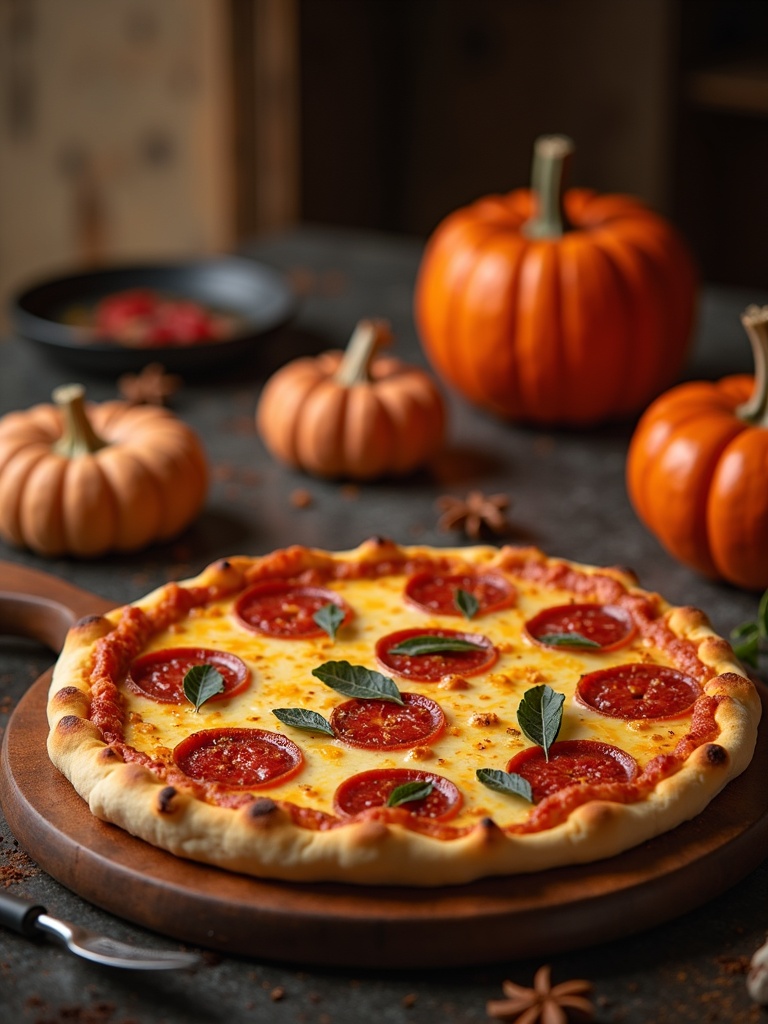
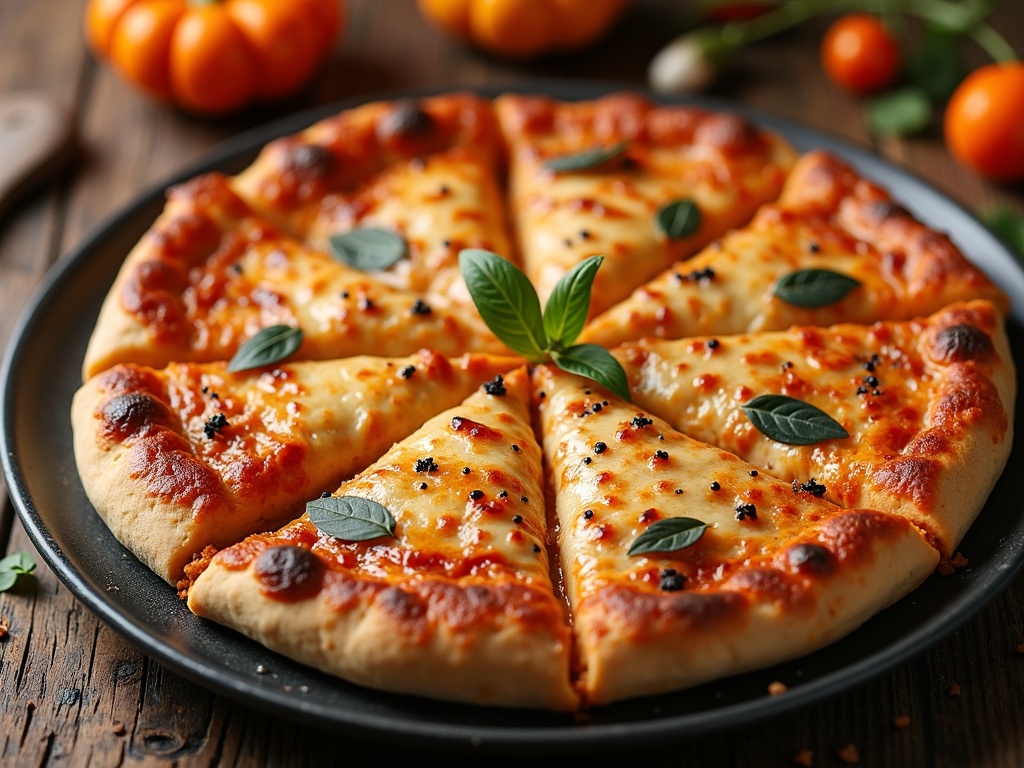
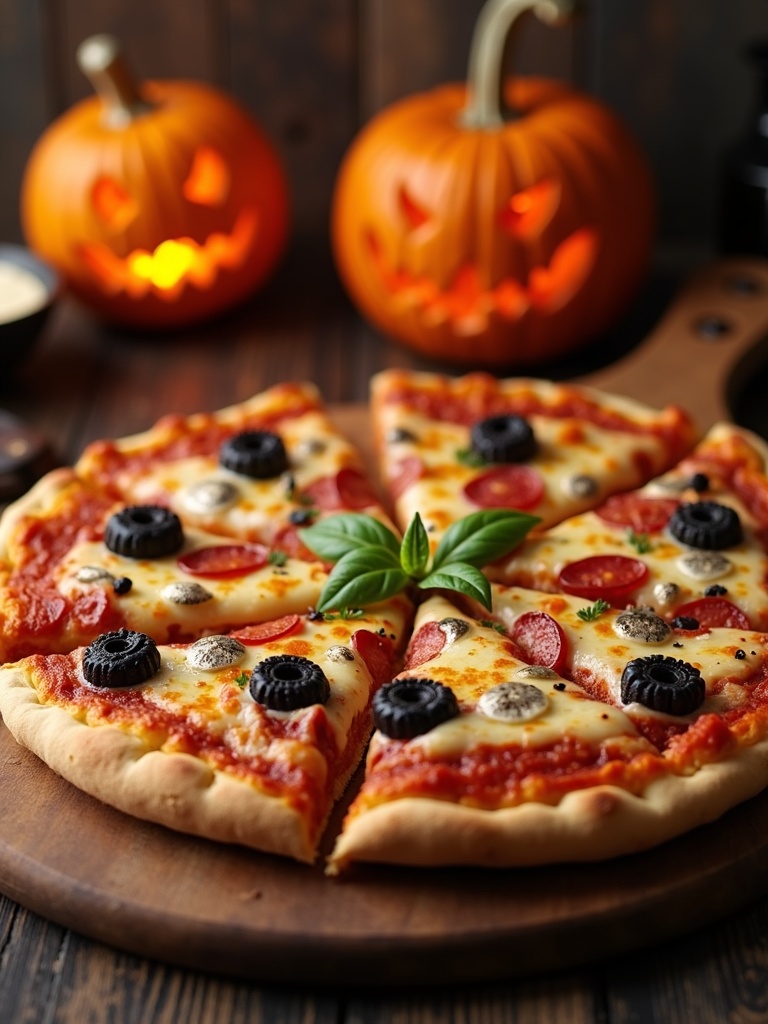
Halloween parties need a centerpiece that’s both delicious and on-theme, and halloween pizza delivers both spectacularly! These festive pizzas transform an everyday favorite into something wickedly fun that both kids and adults will love. I’ve been creating these spooky delights for years, and they’re always the first food to disappear at my Halloween gatherings. The beauty of halloween pizza lies in its versatility – you can go simple with ghost-shaped cheese toppings or elaborate with intricate spider web designs.
What Ingredients are needed for Halloween Pizza?

Creating frightfully delicious halloween pizza requires a mix of standard pizza ingredients and some creative additions to achieve those spooky effects:
For the base:
- Pizza dough (store-bought or homemade)
- Pizza sauce (tomato-based)
- Shredded mozzarella cheese
- Olive oil for brushing the crust
For Halloween decorations:
- Black olives (for spiders or bat eyes)
- Bell peppers in green, orange, and yellow (for pumpkin shapes or monster features)
- Pepperoni (for blood drops or mini pumpkins)
- Fresh basil leaves (for stems or monster hair)
- Cherry tomatoes (for eyeballs or bloody accents)
- Sliced mushrooms (for ghostly shapes)
- String cheese (for mummy wrappings or spider webs)
- Food coloring (natural options available for colored cheese or dough)
The beauty of halloween pizza is that you can substitute ingredients based on dietary preferences. Vegan cheese works wonderfully for dairy-free options, and gluten-free crusts can easily be used without compromising the spooky designs.
Timing
Creating the perfect halloween pizza is easier than you might think! Here’s the timing breakdown:
- Preparation time: 20 minutes (30% less than most themed food recipes)
- Cooking time: 12-15 minutes
- Total time: 35 minutes
This quick turnaround makes halloween pizza ideal for busy Halloween parties or last-minute dinner ideas during the spooky season. The short cooking time is particularly advantageous when feeding impatient little monsters who can’t wait to dive into their creepy creations!
How to Make Halloween Pizza Step by Step?

Step 1: Prepare Your Dough
Start with room temperature pizza dough to ensure it stretches easily. For extra Halloween flair, you can even tint your dough orange using a few drops of natural food coloring kneaded into the dough. Shape the dough into rounds for traditional pizzas or get creative with coffin or pumpkin shapes for an extra spooky touch.
Step 2: Create Your Base
Brush the shaped dough with olive oil and spread a thin layer of pizza sauce, leaving about half an inch around the edges for the crust. For mummy pizzas, leave strips of exposed dough to create the “bandage” effect.
Step 3: Add Cheese Foundation
Sprinkle mozzarella cheese evenly across the sauce layer. For ghost or spider web designs, consider using white cheese strategically placed to create the base of your design. Remember that cheese will melt and spread, so account for this in your design planning.
Step 4: Design Your Spooky Toppings
This is where the Halloween magic happens! Here are some popular designs:
- Spider pizzas: Place a black olive in the center with sliced olive “legs” radiating outward
- Jack-o-lantern pizzas: Arrange orange bell peppers in a pumpkin face design
- Mummy pizzas: Lay thin strips of string cheese or mozzarella across the pizza with olive “eyes” peeking out
- Monster faces: Use vegetables to create funny or scary monster features
- Bloody pizzas: Add droplets of extra sauce over cheese for a “bloody” effect
Step 5: Bake to Perfection
Place your decorated halloween pizza in a preheated oven at 425°F (220°C). Bake for 12-15 minutes or until the crust is golden and the cheese is bubbling and slightly browned in spots. Keep a close eye on your masterpiece as cooking times may vary depending on your oven and the thickness of your crust.
Step 6: Add Final Touches
Some elements are best added after baking. Fresh herbs like basil can burn in the oven, so add these as a finishing touch. For extra dramatic effect, you might add a few final drops of “blood” (pizza sauce) or position loose olive “spiders” that might have shifted during baking.

What is Nutritional Information?
Understanding the nutritional content of your halloween pizza helps you make informed choices. The exact values will vary based on your specific ingredients and portion sizes, but here’s a general breakdown per slice (based on a standard 8-slice pizza with traditional toppings):
- Calories: 250-300 per slice
- Protein: 12g
- Carbohydrates: 30g
- Fat: 10g
- Fiber: 2g
- Sodium: 600mg
- Sugar: 3g
The nutritional profile improves significantly when you load your halloween pizza with vegetable toppings rather than processed meats. Those colorful bell peppers and tomatoes aren’t just for decoration—they add valuable vitamins and antioxidants!
Healthier Alternatives for the Recipe
Making your halloween pizza more nutritious doesn’t mean sacrificing flavor or spooky appeal. Consider these healthier modifications:
- Use whole wheat or cauliflower crust for increased fiber and reduced carbohydrates
- Opt for part-skim mozzarella or reduce the cheese quantity by 25% while maintaining designs
- Load up on vegetable toppings to add nutrients and create colorful Halloween designs
- Try a lighter sauce option like a thin layer of pesto or olive oil with herbs
- Replace processed meat toppings with turkey pepperoni or grilled chicken cut into spooky shapes
- Add a protein boost with black bean “spiders” or edamame “monster teeth”
- Incorporate hidden vegetable purees into your sauce for added nutrition without affecting taste
- Use herbs like basil or oregano not just for flavor but as part of your Halloween design elements
These simple swaps can reduce calories by up to 30% while actually enhancing the visual appeal of your halloween pizza.
Serving Suggestions
Elevate your halloween pizza experience with these ghoulishly good serving ideas:
- Slice pizzas in unconventional patterns (zigzags, triangles) to enhance the spooky effect
- Serve alongside a “witches’ brew” salad with dark greens and colorful vegetables
- Create a pizza bar with pre-baked crusts and toppings so guests can design their own monsters
- Add small cups of extra “blood” (pizza sauce) for dipping crusts
- Pair with Halloween-themed fruit skewers (ghost bananas, orange pumpkins) for a balanced meal
- Use pizza cutters with Halloween designs for an extra festive touch
- Serve on black plates with orange napkins to enhance the Halloween aesthetic
- Create a dramatic presentation with dry ice (safely contained) for a smoky, spooky effect
- Offer “potion” dipping sauces like pesto, ranch, or garlic butter in small cauldrons
These serving suggestions transform your halloween pizza from merely a meal into an interactive Halloween experience.
What are the Common Mistakes to Avoid?
Even the most experienced pizza makers can fall into traps when creating halloween pizza. Avoid these common pitfalls:
- Overloading with toppings, causing soggy centers and design distortion (stick to 3-4 main decorative elements)
- Using too much sauce, which can make designs slide during baking (use 25% less than you normally would)
- Forgetting to precook certain vegetables like mushrooms or bell peppers, resulting in excess moisture
- Creating designs that are too intricate to survive the melting process (simpler is often better)
- Not accounting for cheese spread during melting (leave space between design elements)
- Using ingredients that burn easily, like thin slices of garlic or delicate herbs (add these after baking)
- Cutting the pizza too soon after removal from oven, causing toppings to slide (wait 3-5 minutes)
- Using food coloring too liberally, which can affect flavor (a little goes a long way)
- Not preheating the oven adequately, resulting in uneven cooking (always preheat for at least 15 minutes)
- Forgetting that the pizza will continue cooking slightly after removal from the oven (remove when it’s just short of your desired doneness)
By avoiding these mistakes, your halloween pizza will maintain its spooky appearance and delicious taste.
Storing Tips for the Recipe
Make the most of your halloween pizza with these storage and preparation strategies:
- Refrigerate leftover pizza in airtight containers for up to 3 days (not stacked, to preserve designs)
- Freeze unbaked, decorated pizzas for up to 1 month (place on cardboard, wrap in plastic, then foil)
- Prepare toppings and cutting them into Halloween shapes up to 2 days in advance
- Reheat refrigerated pizza in a 350°F oven for 5-8 minutes rather than microwaving to maintain crispness
- Store different colored/shaped toppings in separate containers to prevent color bleeding
- If making multiple pizzas, partially bake crusts ahead of time (par-baking) for 5 minutes to save time
- For make-ahead options, assemble pizzas up to the cheese layer and refrigerate, adding decorative toppings just before baking
- To revive refrigerated pizza dough, let it come to room temperature for 30 minutes before stretching
- Label any prepared elements clearly if you’re making different designs for different dietary needs
- Freeze leftover sauce in ice cube trays for perfect portions for future mini halloween pizzas
With these storage tips, you can prepare elements of your halloween pizza in advance, making the actual assembly quick and stress-free.
Conclusion
Halloween pizza represents the perfect marriage of delicious food and festive creativity. I’ve found that these spooky creations do more than just feed your guests—they become conversation starters and memory makers. What makes halloween pizza special is its accessibility—even culinary novices can create impressive designs with just a few simple ingredients and techniques.
The versatility of these pizzas means they work for elegant adult Halloween gatherings and chaotic kids’ parties alike. Whether you go all-in with elaborate designs or keep it simple with a few strategic toppings, the impact is the same: delighted guests and a memorable Halloween spread.
I encourage you to experiment with your own halloween pizza creations. Don’t worry about perfection—sometimes the slightly imperfect spider or lopsided ghost adds character! Share your creations on social media, start new traditions, and watch as your halloween pizza becomes an anticipated yearly treat that everyone looks forward to.
FAQs
How can I make Halloween pizza for guests with dietary restrictions?
For gluten-free guests, use cauliflower or commercially available gluten-free crusts. For dairy-free needs, numerous plant-based cheese alternatives melt well for spooky designs. Vegetarian versions can utilize mushrooms, olives, and peppers for creating monster faces or spiderweb patterns. The versatility of halloween pizza makes it easily adaptable for almost any dietary need.
Can I make Halloween pizza ahead of time for a party?
Absolutely! You have several options: prepare all toppings and store them separately up to 2 days ahead, par-bake crusts the morning of your party, or fully assemble pizzas and refrigerate them for up to 4 hours before baking. For the freshest results, bake your halloween pizza just 30-45 minutes before serving.
What’s the best way to create a black color for Halloween pizza without using artificial ingredients?
Activated charcoal powder creates dramatic black color naturally, though use sparingly as it can affect medication absorption. Squid ink is another excellent natural option for black coloring with a slight seafood flavor that works well with certain pizza styles. Black sesame seed paste can create gray-black elements perfect for spooky designs.
How do I prevent my Halloween pizza designs from shifting during baking?
Press decorative toppings slightly into the cheese to anchor them, use a very thin layer of sauce underneath to provide “grip,” and avoid overloading with heavy toppings. Additionally, positioning design elements with cheese both below and above helps secure them during the baking process.
What are some easy Halloween pizza designs for kids to help create?
Mummy pizzas with simple cheese strips and olive eyes, ghost pizzas using mozzarella slices cut into basic ghost shapes, and spider pizzas with an olive body and sliced olive legs are all kid-friendly designs. Creating jack-o-lantern faces with simple pepperoni features on a cheese background is another foolproof option kids can help assemble.

