Introduction
There’s something truly magical about creating a gingerbread house recipe from scratch. The spicy-sweet aroma of ginger, cinnamon, and molasses filling your kitchen, the focused concentration as you assemble the walls, and the pure joy of decorating with colorful candies – it’s a holiday tradition that creates lasting memories. Just like my favorite cherry chip cake recipe, this gingerbread creation brings smiles to everyone who sees it!
Table of Contents
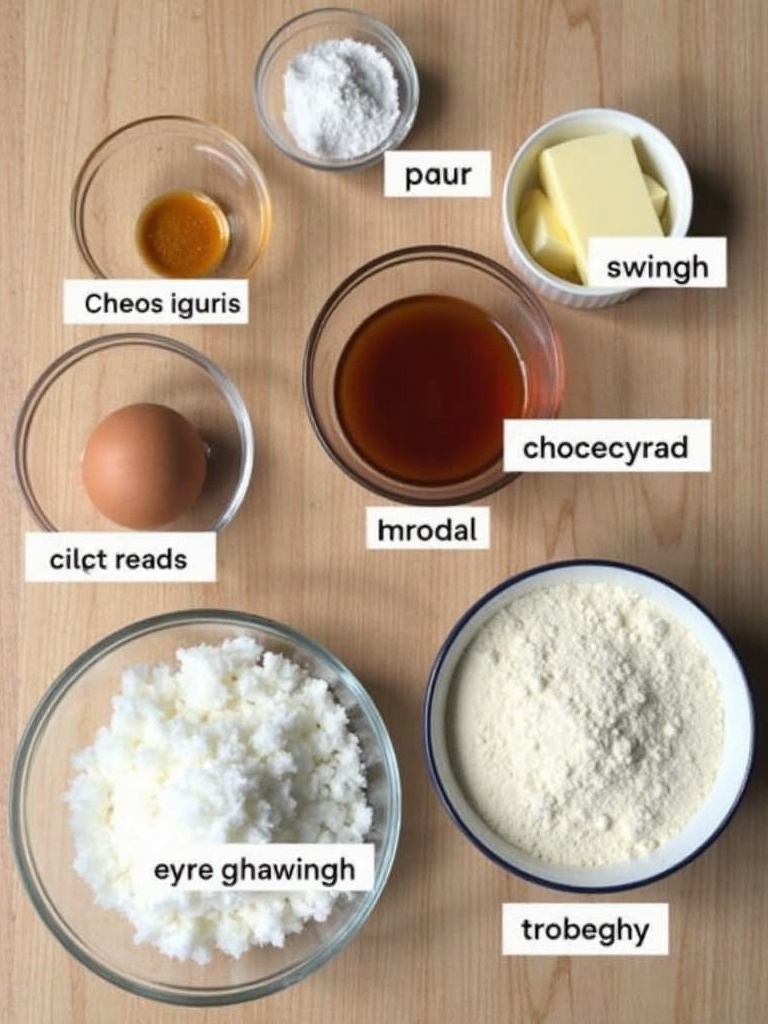
Ingredients You Will Need

For the Gingerbread Dough:
- 5½ cups all-purpose flour
- 1 tablespoon ground ginger
- 1 tablespoon ground cinnamon
- 1 teaspoon ground nutmeg
- 1 teaspoon ground cloves
- 1 teaspoon baking soda
- ½ teaspoon salt
- 1 cup unsalted butter, softened
- 1 cup packed dark brown sugar
- 2 large eggs, room temperature
- 1½ cups unsulfured molasses
- 2 tablespoons water
For the Royal Icing:
- 4 cups powdered sugar, sifted
- 3 tablespoons meringue powder
- 6-7 tablespoons warm water
- ½ teaspoon vanilla extract
For Decorating:
- Assorted candies (gumdrops, chocolate buttons, candy canes, peppermint discs)
- Colorful sprinkles
- Shredded coconut (for snow effect)
- Food coloring (if you want colored icing)
The rich combination of warming spices in this gingerbread house recipe creates that distinctive holiday aroma that’s instantly recognizable. I recommend using unsulfured molasses for its milder flavor, perfect for complementing the spices without overwhelming them. If you’re looking for alternative flavor combinations, you might draw inspiration from my zucchini bread recipe that also uses a delightful spice blend.
Timing
Preparing a gingerbread house recipe requires patience and planning, but the results are absolutely worth it! Here’s the timeline breakdown:
- Preparation time: 45 minutes (mixing dough and preparing templates)
- Dough resting time: 2 hours minimum (or overnight for best results)
- Baking time: 15-20 minutes per batch of cookies
- Cooling time: 30 minutes (minimum, longer is better)
- Assembly time: 1 hour (including drying time between steps)
- Decorating time: 1-2 hours (depending on complexity)
- Total time: 5-6 hours (spread over 1-2 days)
While this might seem lengthy compared to whipping up a batch of snickerdoodles, the extended process allows for proper drying and setting time, which is crucial for a structurally sound house. Plus, breaking the project into stages makes it more manageable and enjoyable!
Step-by-Step Instructions

Step 1: Create Templates
Before diving into the baking part of this gingerbread house recipe, I start by creating sturdy cardboard templates. You’ll need:
- 2 rectangular wall pieces (5½ × 4 inches)
- 2 rectangular gabled wall pieces (5½ × 4 inches with a triangle peak adding 3 inches height)
- 2 rectangular roof pieces (6 × 7 inches)
Cut these shapes from cardboard or thick paper – they’ll be your guides for cutting perfect gingerbread pieces.
Step 2: Prepare the Gingerbread Dough
In a large bowl, whisk together flour, spices, baking soda, and salt until well combined. In a separate large bowl, cream the butter and brown sugar until light and fluffy, about 3-4 minutes. Beat in eggs one at a time, then add molasses and water, mixing until smooth. Gradually add the dry ingredients to the wet ingredients, mixing on low speed until just combined.
Divide the dough into two portions, form into discs, wrap in plastic wrap, and refrigerate for at least 2 hours or overnight. This resting period is essential – similar to how the dough needs to rest in my cottage cheese cookie dough recipe for the best texture.
Step 3: Roll and Cut the Gingerbread
Preheat your oven to 350°F (175°C) and line several baking sheets with parchment paper. Working with one disc at a time, roll the dough on a floured surface to about ¼-inch thickness. Place your templates on the dough and carefully cut around them with a sharp knife. Transfer the cut pieces to baking sheets, leaving at least 1 inch between pieces.
For extra stability, refrigerate the cut pieces on the baking sheets for 15 minutes before baking. This helps prevent spreading and maintains the precise shapes needed for your house.
Step 4: Bake the Gingerbread Pieces
Bake the gingerbread pieces for 15-20 minutes until they’re firm to the touch and slightly darkened around the edges. Remember, structural gingerbread needs to be slightly harder than eating cookies, so don’t worry if they seem firm.
Once baked, let the pieces cool on the baking sheets for 5 minutes, then transfer to wire racks to cool completely. Allow at least 30 minutes for cooling – patience here is crucial for a successful gingerbread house recipe.
Step 5: Prepare the Royal Icing
In a stand mixer fitted with the paddle attachment, combine powdered sugar and meringue powder. Add warm water and vanilla extract, then beat on low speed until combined. Increase to medium-high speed and beat for 5-7 minutes until stiff peaks form. The icing should be thick enough to hold its shape but not so thick it’s impossible to pipe.
Transfer the icing to a piping bag fitted with a small round tip. Keep any unused icing covered with a damp cloth to prevent it from drying out. This royal icing will be your “cement” for construction and “snow” for decoration.
Step 6: Assemble the House Structure
On a cake board or sturdy serving plate, pipe a thick line of royal icing where the first wall will go. This creates a foundation. Place the first wall piece and hold it for about 30 seconds. Use a can or jar to prop it up while it sets.
Continue with the second wall, piping icing along the bottom and the connecting edge. Join the pieces at a right angle. Repeat with the remaining walls, creating a box structure. Let this foundation dry for at least 30 minutes before adding the roof.
For the roof pieces, pipe icing along the top edges of the walls and along the roof’s peak. Carefully position the roof pieces and hold until they start to set. Allow the entire structure to dry for at least 1-2 hours before decorating. I’ve found this approach much more successful than rushing the process, similar to how patience pays off when making banana bread without butter.
Step 7: Decorate Your Gingerbread House
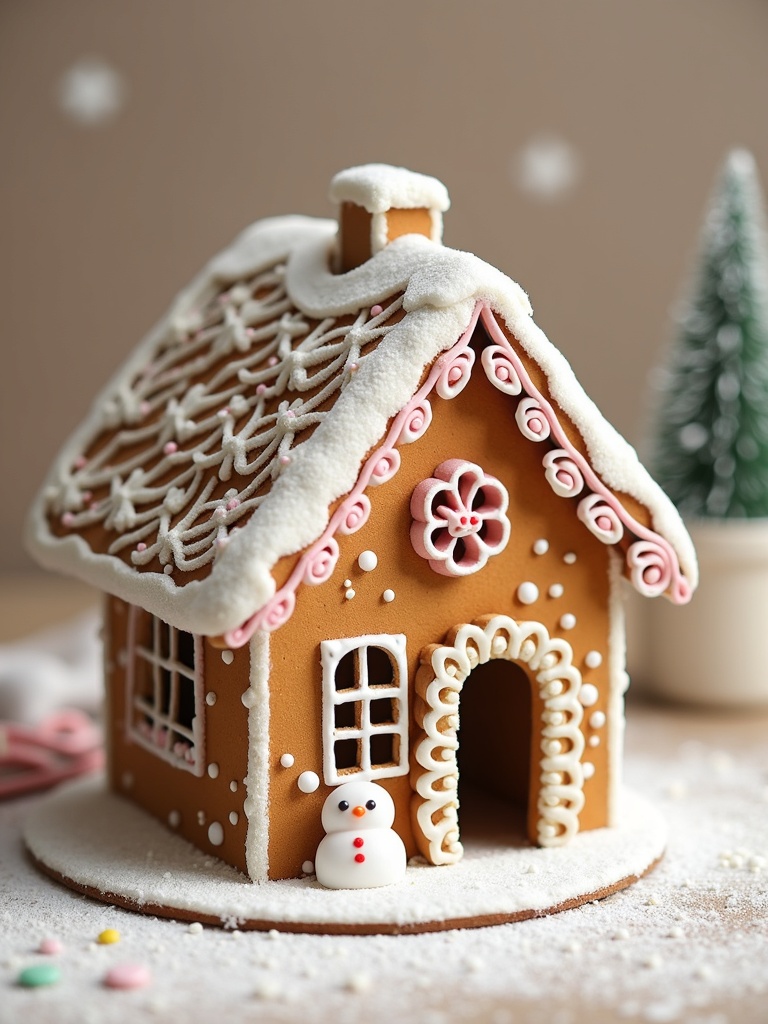
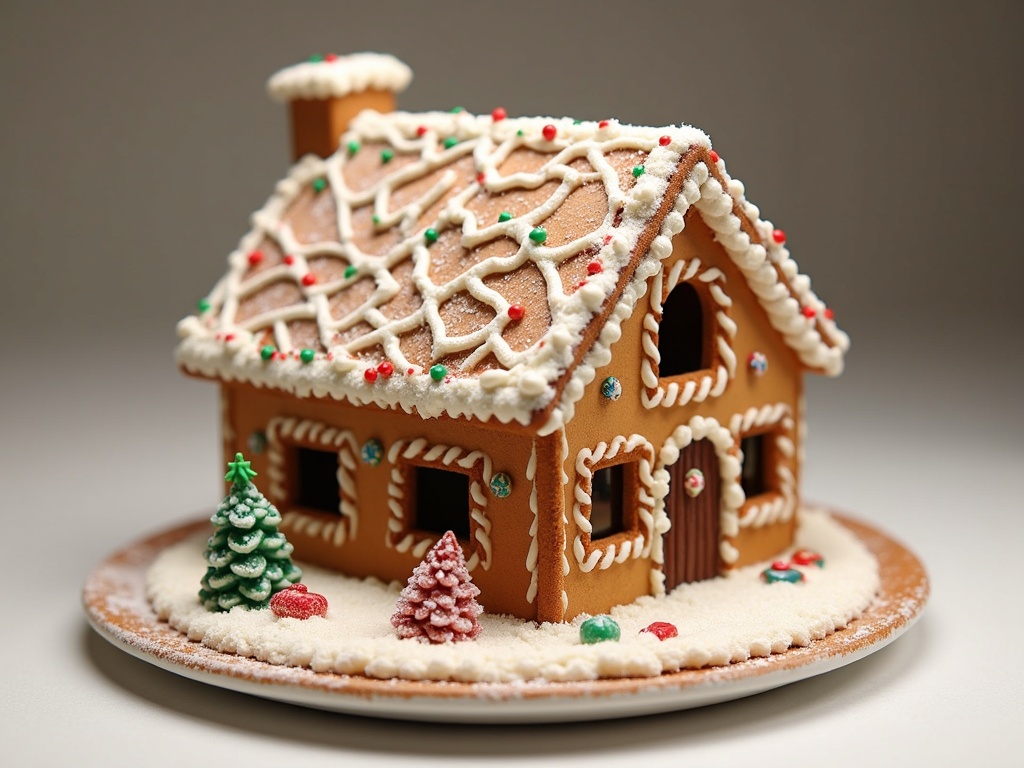
This is where the real fun begins in your gingerbread house recipe journey! Use royal icing as “glue” to attach candies and other decorations. Create icicles by piping icing along the roof edges and letting it drip slightly. Add a dusting of powdered sugar for a freshly fallen snow look.
Windows can be made with small yellow candies or even melted hard candies for a stained glass effect. Create a cobblestone path using chocolate buttons or colorful candies. The decoration possibilities are endless – let your creativity shine, just as when decorating Crumbl cookies with their elaborate toppings.

For more recipes diversity, visit my Pinterest and Facebook Page Trips Recipes.
Nutritional Information
While a gingerbread house recipe is primarily a decorative holiday craft, here’s the nutritional breakdown per serving (assuming you eat about 1/12 of the house):
- Calories: 475 per serving
- Total Fat: 12g
- Saturated Fat: 7g
- Cholesterol: 55mg
- Sodium: 225mg
- Total Carbohydrates: 85g
- Dietary Fiber: 2g
- Sugars: 45g
- Protein: 5g
Remember that most people don’t eat their entire gingerbread house, and many of the decorative candies add additional calories and sugar. Consider this more of a special holiday treat than an everyday dessert!
Healthier Alternatives for the Recipe
While maintaining the authentic charm of a traditional gingerbread house recipe, I’ve found several healthier modifications that don’t sacrifice stability or flavor:
- Substitute up to half of the all-purpose flour with whole wheat flour for added fiber and nutrients.
- Reduce the sugar in the dough by up to 25% – the structural integrity comes more from the flour and molasses.
- Use natural food coloring derived from vegetable powders for colored icing instead of artificial dyes.
- Decorate with dried fruits like cranberries, apricots, and raisins in place of some candies.
- Create “stained glass” windows using thinly sliced dried fruits instead of melted hard candies.
- Use unsweetened shredded coconut for snow instead of additional powdered sugar.
- Consider dark chocolate pieces for decoration, which offer antioxidant benefits compared to other candies.
- Make a smaller house to reduce overall calorie content while still enjoying the creative experience.
Serving Suggestions
Turn your gingerbread house recipe into a memorable centerpiece with these creative serving ideas:
- Display your gingerbread house as the centerpiece of your holiday dessert table, surrounded by fresh greenery and battery-operated fairy lights.
- Create a winter wonderland scene with powdered sugar “snow” and miniature evergreen trees made from ice cream cones covered in green-tinted frosting.
- Place the gingerbread house on a large serving platter surrounded by holiday cookies and candies for guests to enjoy.
- Add battery-operated tiny string lights inside the house (through a window or door) for a magical glowing effect during evening gatherings.
- Serve slices of the gingerbread house with a scoop of vanilla ice cream or whipped cream for dessert once the holidays are over.
- Create a hot chocolate station around your gingerbread house display, inviting guests to enjoy warm drinks while admiring your creation.
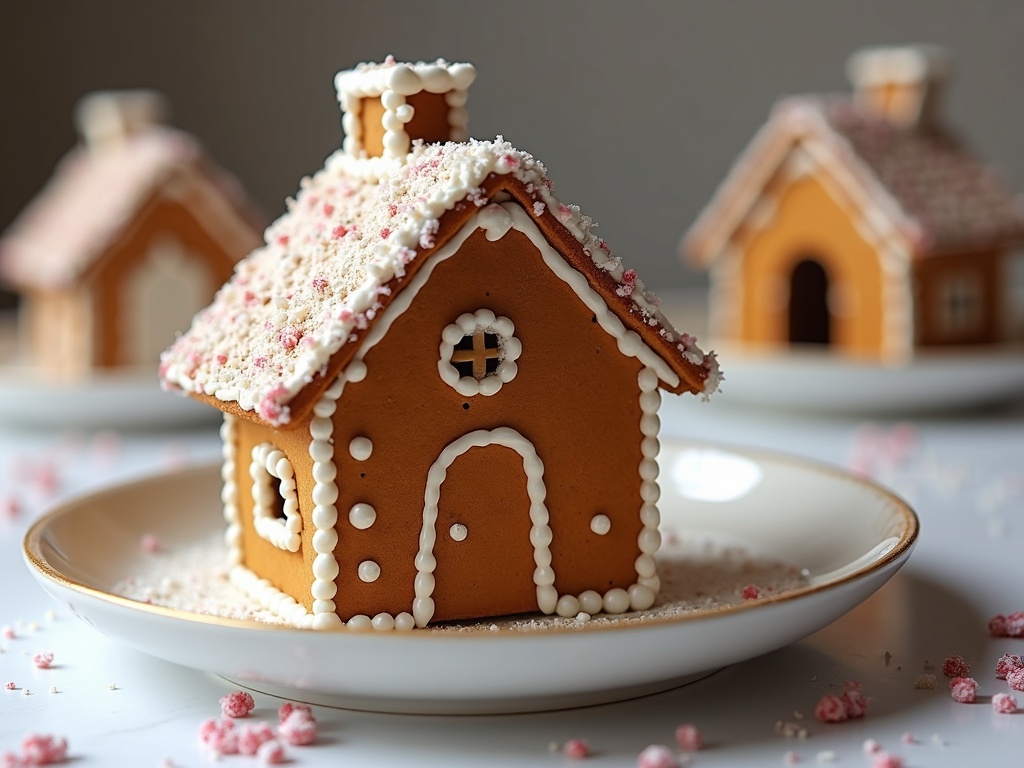
- Make individual mini gingerbread houses as place settings for a special holiday dinner.
Common Mistakes to Avoid
When crafting your gingerbread house recipe, watch out for these common pitfalls:
- Rushing the dough chilling process – this leads to spreading during baking and misshapen walls that won’t fit together properly.
- Rolling the dough too thin (less than ¼ inch), resulting in fragile pieces that crack or break during assembly.
- Using royal icing that’s too runny, which won’t hold the structure together effectively. The icing should hold a stiff peak.
- Trying to assemble all pieces at once instead of working in stages and allowing drying time between steps.
- Decorating too soon before the structure has fully set, resulting in walls that collapse under the weight of candies.
- Overloading the roof with heavy candies, which can cause structural failure – distribute weight evenly.
- Not building on a sturdy base – use a cake board or heavy platter that won’t bend.
- Forgetting to level your surface before starting construction, resulting in a leaning house.
- Using expired spices, which results in bland-tasting gingerbread lacking that signature holiday flavor.
- Working in a humid environment, which prevents the royal icing from setting properly (use a dehumidifier if needed).
Storing Tips for the Recipe
Preserve your gingerbread house recipe creation with these practical storage suggestions:
- Display your finished gingerbread house under a large glass dome or cake cover to protect it from dust and humidity while still showing it off.
- Store any unused gingerbread dough, tightly wrapped in plastic, in the refrigerator for up to 1 week or freeze for up to 3 months.
- Leftover royal icing can be stored in an airtight container with plastic wrap pressed directly onto its surface for up to 3 days.
- If you need to store assembled but undecorated gingerbread pieces, layer them between sheets of parchment paper in an airtight container at room temperature for up to 2 weeks.
- A completed gingerbread house will stay fresh for display for 2-3 weeks in a cool, dry place. After that, it may become too stale to eat but can still be displayed.
- To extend the life of your gingerbread house for display only, spray it lightly with clear acrylic sealer (not food-safe, so don’t eat it afterward).
- If you plan to eat your gingerbread house, do so within 1-2 weeks of making it, before the gingerbread becomes too hard.
- When the holidays are over, store your cardboard templates in a large envelope for next year’s gingerbread house recipe adventure.
Conclusion
Creating a gingerbread house recipe from scratch is more than just baking – it’s crafting a holiday tradition that can bring family and friends together in a shared creative experience. From the warming aroma of spices filling your kitchen to the focused concentration of assembly and the unbridled joy of decorating, each step offers its own special moments and memories.
I encourage you to adapt this recipe and make it your own family tradition. Take photos of your creation each year to document your improving skills and changing designs. The joy of gingerbread house making isn’t in perfection – it’s in the process, the togetherness, and the sweet satisfaction of creating something beautiful and delicious with your own hands.
Whether your house ends up looking professionally polished or charmingly homemade, it will carry the most important ingredient of all – the love and care you put into making it. Happy baking, happy building, and most importantly, happy holidays!
FAQs
How far in advance can I make a gingerbread house?
You can make the gingerbread pieces up to 2 weeks in advance if stored properly in an airtight container. The assembled house will stay fresh for display for 2-3 weeks, though it becomes less edible after the first week. For best results when planning to eat your creation, assemble no more than 5 days before serving.
Can I make gingerbread house dough without molasses?
While molasses is traditional in a gingerbread house recipe for both flavor and structure, you can substitute dark corn syrup or honey mixed with a tablespoon of brown sugar. Keep in mind this will alter the flavor profile and may affect the dough’s structural properties slightly.
Why is my gingerbread house falling apart?
The most common reasons include: using royal icing that’s too thin, not allowing sufficient drying time between assembly steps, rolling the dough too thin, or using pieces that warped during baking. Always ensure your royal icing holds stiff peaks and let each section dry completely before adding more weight.
How do I prevent my gingerbread from spreading during baking?
Chill the cut-out dough pieces for 15-20 minutes before baking, use the proper amount of flour in your gingerbread house recipe, and avoid adding too much leavening agent. Baking on parchment paper rather than directly on a greased cookie sheet also helps prevent spreading.
What can I use instead of meringue powder for royal icing?
You can use 2 egg whites instead of meringue powder, but be aware of food safety concerns with raw eggs. For a safer alternative, pasteurized egg whites work well. You’ll need approximately 3 tablespoons of pasteurized egg whites to replace the meringue powder in this recipe.
How do I transport a gingerbread house without damaging it?
Build your gingerbread house on a sturdy base like a cake board. When transporting, place the entire creation inside a box that’s slightly larger than the house, using crumpled paper or kitchen towels to fill gaps and prevent shifting. Avoid bumpy roads and sudden stops!
Can children help with making a gingerbread house?
Absolutely! Assign age-appropriate tasks: younger children can help decorate with candies and sprinkles, while older kids can help mix dough and hold pieces during assembly. The gingerbread house recipe creates a wonderful opportunity for family bonding and creativity.

Gingerbread House Recipe
- Total Time: PT5H
- Yield: 1 gingerbread house
- Diet: Vegetarian
Description
Classic gingerbread house with royal icing and candy decorations
Ingredients
For the Gingerbread Dough:
- 5½ cups all-purpose flour
- 1 tablespoon ground ginger
- 1 tablespoon ground cinnamon
- 1 teaspoon ground nutmeg
- 1 teaspoon ground cloves
- 1 teaspoon baking soda
- ½ teaspoon salt
- 1 cup unsalted butter, softened
- 1 cup packed dark brown sugar
- 2 large eggs, room temperature
- 1½ cups unsulfured molasses
- 2 tablespoons water
For the Royal Icing:
- 4 cups powdered sugar, sifted
- 3 tablespoons meringue powder
- 6–7 tablespoons warm water
- ½ teaspoon vanilla extract
For Decorating:
- Assorted candies (gumdrops, chocolate buttons, candy canes, peppermint discs)
- Colorful sprinkles
- Shredded coconut (for snow effect)
- Food coloring (if you want colored icing)
Instructions
1. Cut cardboard templates for walls and roof: two 5½ × 4 in walls, two 5½ × 4 in walls with 3 in peaks, and two 6 × 7 in roof pieces. Use them to guide gingerbread shapes.
2. Mix dry ingredients (flour, spices, baking soda, salt). In a separate bowl, cream butter and sugar, then add eggs, molasses, and water. Combine with dry mix, divide the dough, wrap, and chill for 2 hours or overnight.
3. Roll chilled dough to ¼ inch thick. Place templates on top, cut out pieces, transfer to baking sheets, and refrigerate for 15 minutes to help maintain shape.
4. Bake at 350°F (175°C) for 15–20 minutes until firm and slightly darkened. Cool 5 minutes on the sheet, then fully on wire racks for at least 30 minutes.
5. Beat powdered sugar, meringue powder, water, and vanilla until stiff peaks form. Transfer icing to a piping bag; keep covered when not in use.
6. Pipe icing on a board and assemble the walls, holding each in place briefly. Let dry for 30 minutes. Add roof pieces with icing and dry for 1–2 hours before decorating.
7. Use icing to attach candy and details. Pipe icicles along roof edges and dust with powdered sugar for a snowy effect.
Notes
Perfect holiday tradition for families
- Prep Time: PT45M
- Cook Time: PT20M
- Category: Dessert
- Method: Baking
- Cuisine: Holiday
