Southern-Inspired Fried Chicken Recipe
This Southern-inspired fried chicken recipe has been perfected through careful testing to create the perfect balance between a golden-brown, crackling exterior and tender, juicy meat inside.
Find In This Article
Key Takeaways
- Marinate the chicken in buttermilk for at least 4 hours (preferably overnight) to tenderize the meat and help the coating adhere better.
- Use a seasoned flour mixture that includes paprika, garlic powder, onion powder, and cayenne for depth of flavor.
- Maintain oil temperature between 325-350°F and avoid overcrowding the pan to ensure crispy results.
- Let the chicken rest for 10 minutes after frying on a wire rack to keep the crust crispy and allow juices to redistribute.
- Store leftovers properly in an airtight container and reheat in a 350°F oven (never microwave) to maintain crispiness.
For more tips on mastering fried chicken, check out this helpful guide on Serious Eats’ Fried Chicken Recipe.
What Makes This Recipe Special
I’ve perfected this fried chicken recipe after years of trial and error, and it’s become my family’s most requested meal. The magic lies in creating that perfect contrast between the golden-brown, crackling exterior and the tender, juicy meat inside. This isn’t just any fried chicken – it’s a celebration of flavor that brings people together around the table.
The Perfect Crispy-Juicy Balance
The hallmark of excellent southern fried chicken is achieving that ideal texture combination. My recipe delivers a crunchy, well-seasoned coating that shatters with each bite, revealing juicy, perfectly cooked meat beneath. The secret? A two-stage dredging process and precise temperature control during frying.
Unlike many restaurant versions that focus on the coating but leave you with dry meat, this recipe ensures the chicken stays moist. The traditional southern-style seasoning blend incorporates paprika, garlic powder, onion powder, and a hint of cayenne for subtle heat that doesn’t overwhelm the natural chicken flavor.
What sets this recipe apart is its accessibility. You’ll need:
- All-purpose flour for that perfect crunch
- Simple spices you likely already have in your pantry
- Buttermilk for tenderizing (regular milk with lemon juice works in a pinch)
- Chicken pieces of your choice (I recommend bone-in for maximum flavor)
This approach differs from homemade chicken nuggets which typically use boneless pieces and a different coating process. The bone-in approach helps maintain juiciness throughout the cooking process.
Don’t worry about fancy equipment or hard-to-find ingredients. Everything needed for this recipe can be found in most kitchens or with a quick trip to your local grocery store. This accessibility makes it perfect for weeknight dinners when you’re short on time but still want something delicious.
The versatility of this recipe also makes it special. While it’s substantial enough for a Sunday family dinner, it’s equally at home at special occasions. I’ve served it at birthday celebrations, holiday gatherings, and even casual backyard parties. The recipe scales easily whether you’re cooking for four or fourteen people.
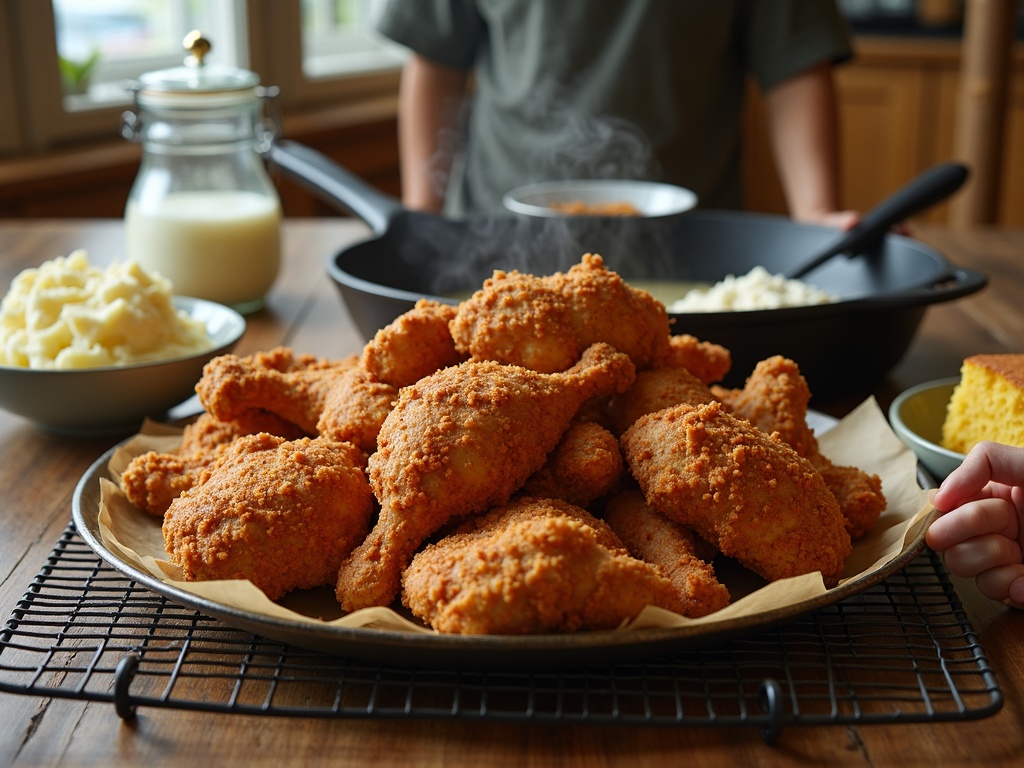
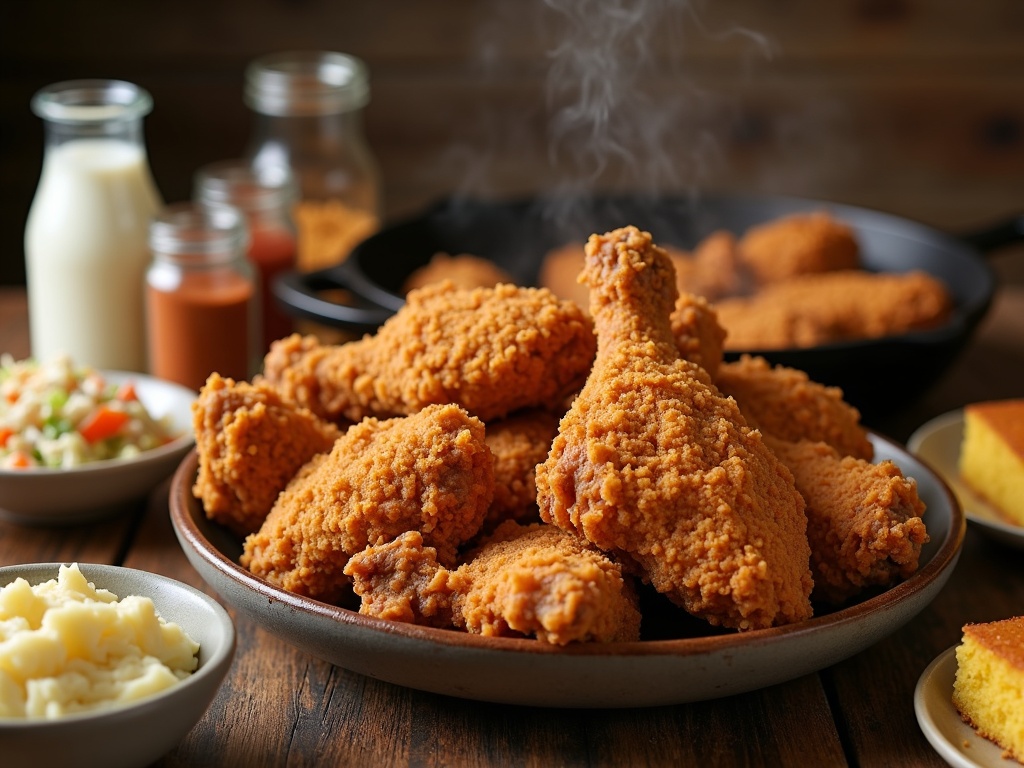
Unlike boiled chicken breast which serves mainly as a protein foundation, this fried chicken stands confidently as the star of any meal. It pairs beautifully with classic sides like mashed potatoes, coleslaw, or cornbread.
The recipe also creates memories. There’s something about the aroma of chicken frying that brings people into the kitchen, sparking conversation and togetherness. It’s the kind of dish that becomes associated with good times and comfort – making it much more meaningful than just another dinner option.
Children particularly love this recipe, making it more appealing than a standard chicken sandwich school lunch. The crispy exterior has converted even the pickiest eaters in my household into fried chicken enthusiasts.
The final touch that makes this recipe truly special is its balance of flavors. The seasoning blend provides depth without being complicated, letting the quality of the chicken shine through. Each piece delivers that satisfying crunch followed by tender, flavorful meat – the defining characteristic of truly great fried chicken.
Essential Ingredients for Success
Creating the perfect Southern fried chicken starts with gathering quality ingredients. I’ve found that using the right components makes all the difference between good and exceptional results. Let me walk you through what you’ll need.
The Foundation: Chicken and Buttermilk
For this recipe, you’ll need 3 pounds of chicken pieces. I prefer using a mix of thighs, drumsticks, and breasts for variety, though you can customize based on your preference. While whole pieces work best for classic fried chicken, the same seasoning principles apply if you’re making homemade chicken nuggets instead.
Buttermilk is crucial for tenderizing the chicken. The 2 cups of buttermilk called for in this recipe contain lactic acid that breaks down proteins in the meat, resulting in more tender chicken. I recommend marinating for at least 4 hours, though overnight works even better.
The Perfect Coating Blend
The coating is where the magic happens. Start with 3 cups of all-purpose flour as your base. To this, you’ll add a flavorful mix of spices:
- 2 tablespoons paprika for color and mild flavor
- 2 teaspoons garlic powder for savory depth
- 2 teaspoons onion powder for aromatic sweetness
- 1 teaspoon cayenne pepper for heat (adjust to your preference)
- Salt and black pepper to taste (I suggest 1 tablespoon salt and 1 teaspoon black pepper)
This seasoning blend creates the signature flavor profile that makes fried chicken so irresistible. Unlike boiled chicken breast, which relies on internal seasoning, fried chicken gets much of its flavor from this exterior coating.
For frying, vegetable oil is ideal because of its high smoke point and neutral flavor. You’ll need enough to fill your pan about 1-2 inches deep. Peanut oil is another excellent option if you don’t have dietary restrictions.
The quality of your ingredients directly impacts the final taste. Fresh chicken (not frozen and thawed) produces the juiciest results. If you’re planning to make chicken sandwiches with your fried chicken, consider cutting the breasts into thinner fillets for easier eating.
Remember to bring all ingredients to room temperature before starting. Cold chicken causes oil temperature to drop quickly, resulting in greasy, undercooked chicken rather than the crispy, golden perfection we’re aiming for.
Preparing Your Chicken
The foundation of exceptional Southern fried chicken begins with proper preparation. I’ve learned through countless batches that taking your time during these initial steps creates that perfect combination of juicy meat and crispy coating that makes homemade fried chicken so irresistible.
The Buttermilk Bath
Soaking chicken in buttermilk is an essential first step that transforms ordinary chicken into something special. I recommend submerging your chicken pieces completely in buttermilk for at least 4 hours, though leaving it overnight (up to 24 hours) yields even better results. This extended bath serves multiple purposes:
- The mild acidity in buttermilk gently tenderizes the meat by breaking down proteins
- It adds subtle tanginess that balances the savory flavors
- The thick consistency helps the coating adhere better during frying
- The calcium in buttermilk activates natural enzymes that make the meat more tender
For extra flavor, I sometimes add hot sauce, garlic, or herbs to the buttermilk. This infusion happens gradually as the chicken soaks, creating deeper flavor than just seasoning the outside.
From Soak to Sizzle
Once your chicken has finished its buttermilk bath, there are several critical steps before it hits the hot oil:
- Remove each piece from the buttermilk and pat thoroughly dry with paper towels. Any excess moisture will create steam, preventing that perfect crispy crust.
- Let the chicken rest at room temperature for about 30 minutes. Cold chicken straight from the refrigerator can lower oil temperature dramatically, resulting in greasy, undercooked chicken. This step ensures more even cooking.
- While the chicken comes to room temperature, prepare your flour mixture. I combine all-purpose flour with a generous blend of spices – salt, black pepper, paprika, garlic powder, onion powder, and cayenne for heat. The exact ratios depend on your preference, but don’t hold back – this coating provides the signature flavor.
- Heat your oil to exactly 350°F before introducing any chicken. I use a deep pot with at least 2 inches of oil and a reliable cooking thermometer. Temperature control makes the difference between perfectly fried chicken and disappointment. Too hot, and you’ll burn the outside before the inside cooks; too cool, and the chicken absorbs oil, becoming greasy.
This preparation process may seem involved compared to making quick homemade chicken nuggets, but the results justify the extra time. Unlike boiling chicken breast, which is a faster cooking method, fried chicken requires this methodical approach to achieve its iconic texture and flavor.
Remember that properly prepared chicken is the foundation for everything from classic Sunday dinner to spectacular chicken sandwiches that outshine anything from fast food establishments. The time invested in these preparation steps pays off with that first perfect, crispy bite.
Steps to Crispy Perfection
The journey to perfect fried chicken hinges on technique. I’ve found that following these steps carefully leads to chicken that’s crunchy outside and juicy inside every time.
The Frying Process
Start by dredging your chicken pieces in your seasoned flour mixture. Make sure each piece is completely coated, pressing the flour onto the chicken to create a solid foundation for that crispy skin. A common mistake is not coating the chicken thoroughly enough—don’t be afraid to really work that flour into all the nooks and crannies.
After dredging, give each piece a good shake to remove excess flour. This step is crucial as too much loose flour will burn in the oil and create a bitter taste. Just a light tap or gentle shake should do the trick.
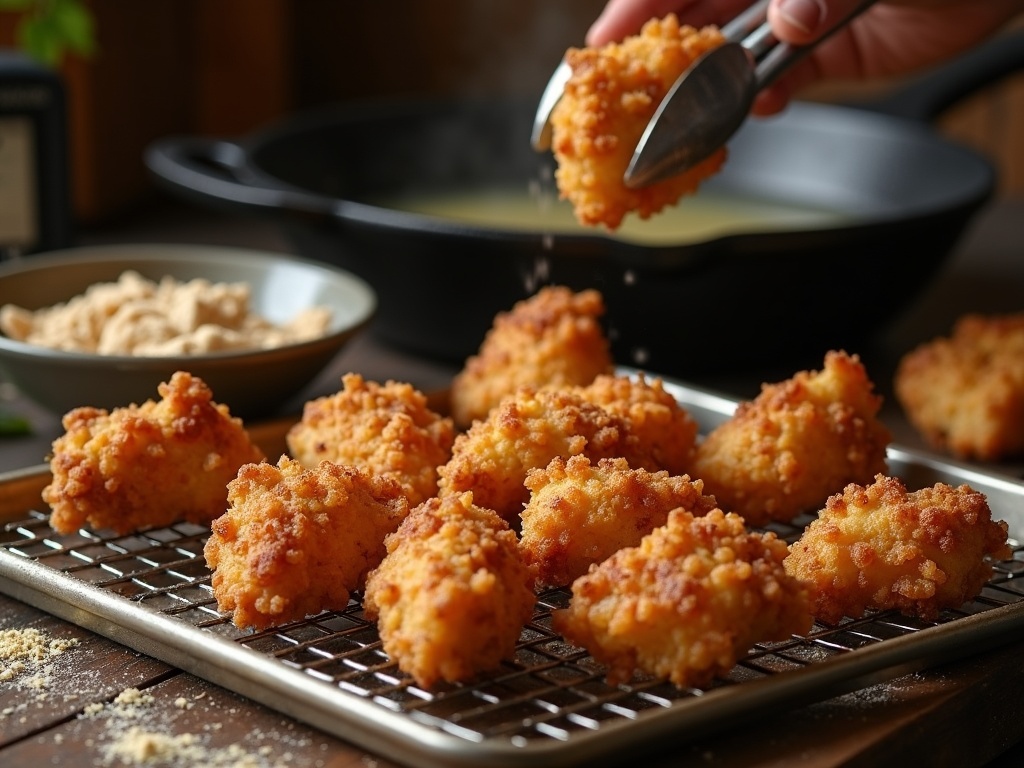
Next comes the moment of truth—adding your chicken to the hot oil. I always lower each piece in carefully using tongs, placing them away from me to prevent oil splashes. Don’t overcrowd the pan; leave space between pieces so they cook evenly. Overcrowding causes the oil temperature to drop dramatically, resulting in greasy rather than crispy chicken.
Fry the chicken for 12-15 minutes per side, depending on the size of your pieces. Larger pieces like breasts and thighs will need the full 15 minutes per side, while smaller pieces like wings might need less time. The chicken should turn a beautiful golden brown—not too dark and not too light.
The most reliable way to check doneness is with an instant-read thermometer. Insert it into the thickest part of the meat without touching bone. The magic number is 165°F—once you hit that, your chicken is food-safe. If you’re making homemade chicken nuggets, remember they’ll cook faster due to their smaller size.
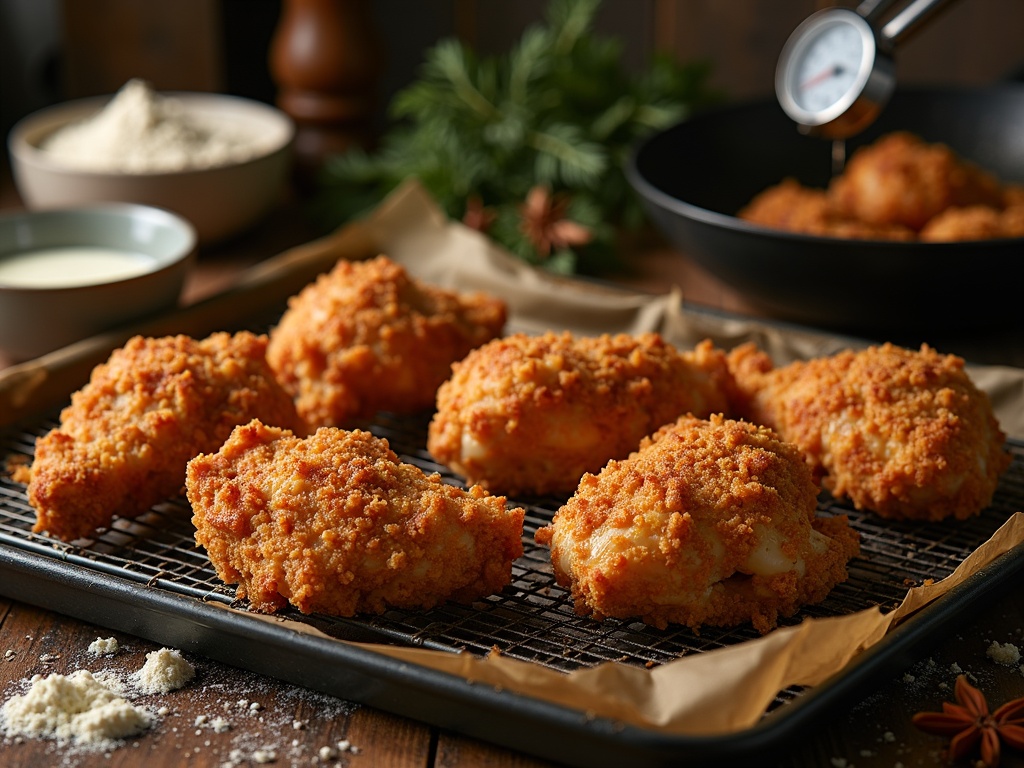
Once your chicken reaches the correct temperature, transfer it to a wire rack set over a baking sheet—never directly onto paper towels. The rack allows air to circulate around the entire piece, keeping that hard-earned crispiness intact. When chicken rests on paper towels, the bottom gets soggy from trapped steam.
If you’re cooking multiple batches, you can keep the finished pieces warm in a 250°F oven while you complete the rest. This maintains that fresh-from-the-fryer taste even when serving a crowd.
For larger cuts like bone-in breasts, I sometimes finish them with a quick stint in the oven after frying. This ensures they’re cooked through without burning the coating. After frying for about 10 minutes per side, transfer them to a 350°F oven for an additional 5-10 minutes until they reach 165°F internally.
The timing for frying chicken can vary based on your particular setup. If you’re wondering about other chicken cooking methods, my guide on how long to boil chicken breast provides helpful timing insights for comparison.
The technique you master here translates well to other southern classics too. Once you’ve got this method down, you might want to try making Southern fried chicken with its distinctive seasonings and buttermilk marinade.
Perfect fried chicken makes an excellent centerpiece for family dinners, but it’s also great the next day. Cold fried chicken is a classic for picnics or can be repurposed into a delicious chicken sandwich for school lunch that will make your kids the envy of the cafeteria.
Common Mistakes to Avoid
When making fried chicken at home, small errors can make the difference between crispy, juicy perfection and disappointing results. I’ve identified the most common pitfalls that can ruin your chicken and how to avoid them.
Critical Errors That Ruin Fried Chicken
Skipping the buttermilk marinade is a mistake I see frequently. The buttermilk does more than add flavor—it contains enzymes that tenderize the meat and help the coating stick properly. For the best results, marinate your chicken for at least 4 hours, though overnight is ideal. This simple step makes a huge difference in the final texture and taste of your homemade chicken.
Overcrowding the frying pan creates major problems. When too many pieces are cooking at once, the oil temperature drops dramatically, and your chicken ends up absorbing excess oil instead of cooking properly. I recommend frying in small batches, keeping about an inch of space between pieces. This might take longer, but the results are worth it.
Flipping chicken too frequently can cause the coating to fall off before it sets. I’ve learned to wait until one side is golden brown before turning it over—usually about 7–8 minutes per side for larger pieces. Patience pays off with a perfectly adhered crust.
Using oil that’s either too hot or too cold leads to disaster. If it’s too hot, the outside burns before the inside cooks; too cold, and you’ll get greasy, soggy chicken. I always use a thermometer to maintain the oil at 350°F. If you don’t have a thermometer, test with a small piece of bread—it should brown in about 60 seconds when the oil is ready.
Not letting chicken rest after cooking is a final common error. Just like with boiled chicken breast, fried chicken needs to rest for at least 10 minutes. This allows the juices to redistribute throughout the meat instead of running out when you cut into it. I place mine on a wire rack rather than paper towels to keep that coveted crispiness intact.
Avoiding these mistakes will significantly improve your chicken recipes and make your fried chicken the star of any meal. The extra attention to detail results in that perfect combination of crispy exterior and juicy, flavorful meat that makes fried chicken so irresistible.
Pro Tips for Better Results
Making truly exceptional fried chicken isn’t just about following a recipe—it’s about mastering techniques that elevate your results from good to unforgettable. I’ve learned through countless batches that small adjustments can make dramatic differences in the final product.
Equipment and Temperature Control
A cast-iron skillet is your best friend when frying chicken. This kitchen workhorse distributes heat evenly and maintains consistent temperature better than aluminum or stainless steel alternatives. The steady heat ensures your chicken develops that perfect golden crust without burning spots or undercooking. Cast iron also retains heat exceptionally well, which helps maintain oil temperature when you add cold chicken to the pan.
Monitoring oil temperature is possibly the most critical factor for perfect southern fried chicken. Too cold (below 325°F), and your chicken absorbs excess oil, resulting in greasy, soggy pieces. Too hot (above 350°F), and the exterior browns too quickly while leaving the interior raw. I use a deep-fry or candy thermometer to keep a consistent temperature between 325°F and 350°F throughout the cooking process.
Between batches, allow the oil to come back to temperature before adding more chicken. This patience pays dividends in crispness and even cooking. Dropping multiple pieces in at once can drastically lower the oil temperature, so work in small batches and give each piece room to swim.
Seasoning and Resting
Aggressive seasoning makes all the difference in creating memorable fried chicken. Many home cooks underseason both the chicken and the flour mixture. I season the chicken pieces at least an hour before cooking, allowing the salt and spices to penetrate beyond the surface. The flour mixture needs substantial seasoning too—it should taste well-seasoned on its own before it ever touches the chicken.
Some key seasoning tips that enhance flavor depth:
- Season chicken pieces with salt at least 1 hour before cooking, preferably overnight
- Add aromatic seasonings like garlic powder, onion powder, and paprika to both chicken and flour
- Use freshly ground black pepper for more vibrant flavor
- Include cayenne or hot sauce for a subtle heat that doesn’t overpower
- Consider adding herbs like dried thyme or oregano to the flour mixture
After frying, resist the temptation to bite into that hot, crispy chicken immediately. Letting the chicken rest for 10 minutes accomplishes two important things. First, it allows carryover cooking to finish the process, ensuring perfect doneness throughout. Second, it lets the crust set properly, preventing it from falling off when you take that first satisfying bite.
The resting period also makes homemade chicken nuggets and larger pieces juicier, as the internal moisture redistributes evenly through the meat. I place freshly fried chicken on a wire rack over a baking sheet rather than on paper towels, which can trap steam and soften the bottom crust.
These techniques work equally well whether you’re making traditional bone-in fried chicken or preparing chicken sandwiches for school lunch. Unlike boiling chicken breast, which is forgiving with timing, frying requires attention to detail at every step.
With these pro tips in your arsenal, you’ll create fried chicken with shatteringly crisp exteriors, juicy interiors, and flavor that will have everyone asking for seconds. The extra attention to detail transforms an everyday dish into something truly special.
Storage and Reheating
Proper storage and reheating methods can make all the difference between enjoying crispy leftovers or ending up with soggy disappointment. After putting in the effort to make perfect Southern fried chicken, I want to help you maintain that delicious texture and flavor for days to come.
Keeping Your Fried Chicken Fresh
I always store my leftover fried chicken in an airtight container lined with paper towels. The paper towels absorb excess moisture that would otherwise make the coating soggy. For best results, allow the chicken to cool completely before storing—about 30 minutes at room temperature is sufficient.
Once properly contained, keep your fried chicken refrigerated at all times. Properly stored fried chicken remains safe to eat for up to 4 days. If you’re not planning to enjoy it within that timeframe, freezing is an option, though the texture won’t be quite the same when thawed.
Never leave fried chicken at room temperature for more than two hours, as this enters the danger zone for bacterial growth.
Reheating Fried Chicken the Right Way
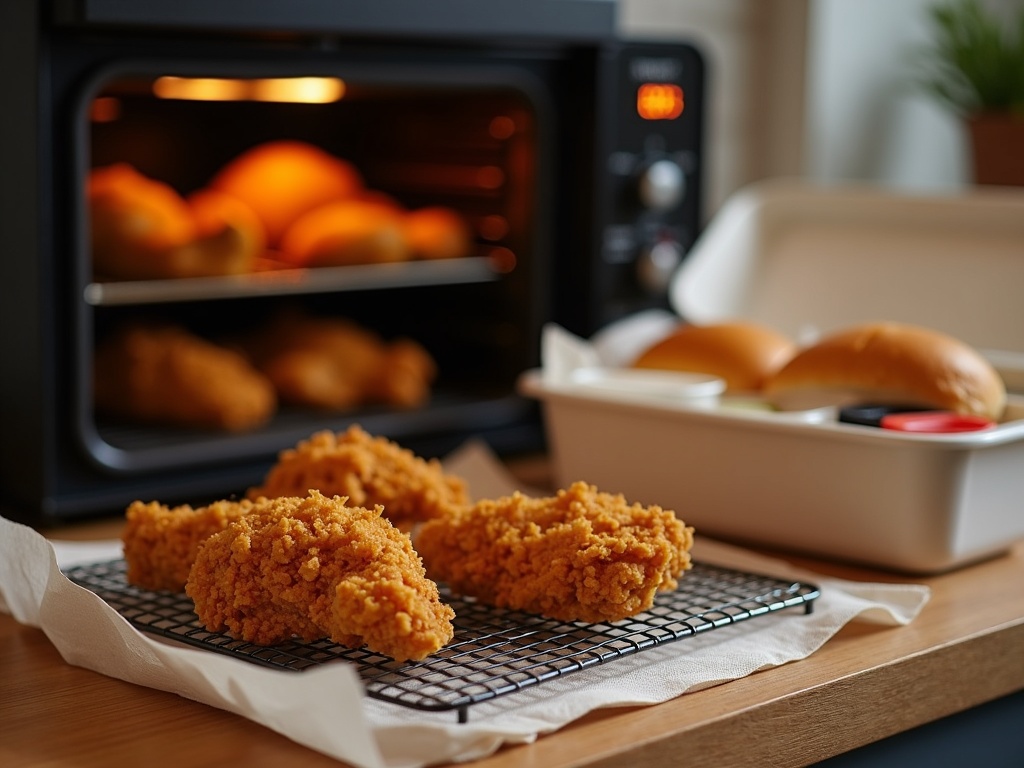
For reheating, I strongly recommend using your oven set to 350°F. This method helps restore that wonderful crispiness that makes homemade chicken nuggets and other fried chicken varieties so irresistible. Place the chicken pieces on a wire rack over a baking sheet to allow air circulation around the entire piece. Reheat for about 15–20 minutes until the internal temperature reaches 165°F.
The microwave is definitely a method to avoid when reheating fried chicken. It creates steam that quickly turns crispy coating into a soggy mess. If you’re short on time, even a toaster oven is preferable to microwaving.
Lunch Prep Tips
For lunch prep, many wonder how to maintain crispiness for a chicken sandwich school lunch. My trick is to pack the cold fried chicken separately from bread and condiments, then assemble just before eating.
If you’ve used a boiled chicken breast method before frying (for extra tenderness), the same storage principles apply, though these pieces might retain moisture differently.
Remember that properly reheated fried chicken won’t taste exactly like fresh, but with these methods, you’ll get remarkably close to that just-fried experience.
