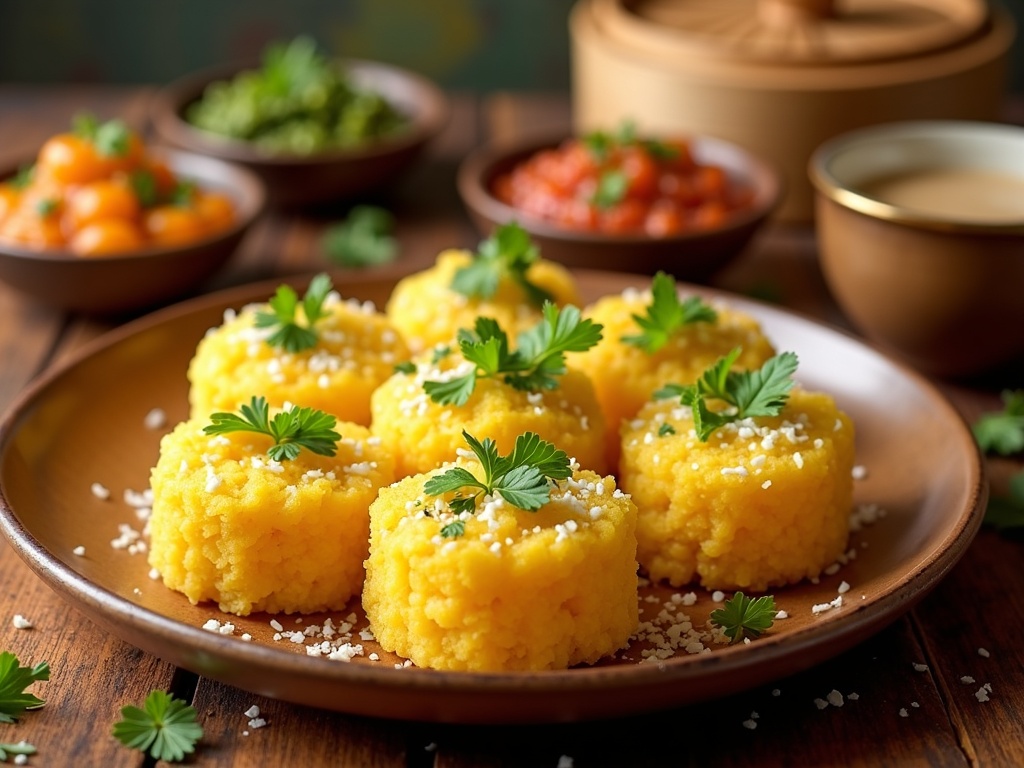
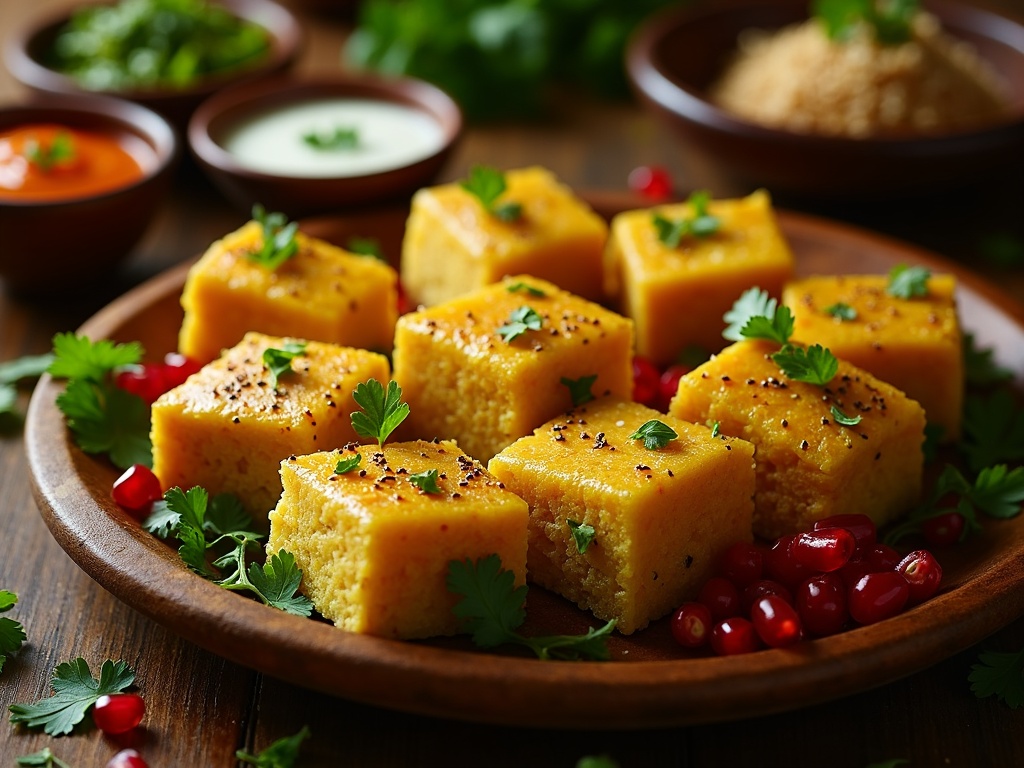
Dhokla recipe, a beloved Gujarati steamed savory cake, delivers a unique combination of spongy texture and layered flavors that shift from tangy to slightly sweet and savory. This versatile dish doubles as a nutritional powerhouse—being gluten-free with about 120 calories per serving—and fills multiple roles in Indian cuisine as breakfast, snack, appetizer, or light dinner option.
Find In This Article
Key Takeaways
- The magic of dhokla lies in its fermentation process, which creates its signature soft texture while enhancing flavor and improving digestibility.
- Traditional dhokla uses gram flour (besan) as its base ingredient, with essential additions like turmeric, mustard seeds, and Eno fruit salt for the perfect rise.
- Popular variations include Khaman Dhokla (made with gram flour), Rawa Dhokla (made with semolina), and Thepla Dhokla (incorporating whole wheat flour).
- For the best flavor experience, serve dhokla with complementary chutneys like green chutney, tamarind chutney, or coconut chutney.
- While best enjoyed fresh, dhokla can be stored in an airtight container in the refrigerator for 2-3 days and reheated by steaming or microwaving.
What Makes Dhokla a Beloved Indian Snack
I’ve found that dhokla holds a special place in Indian cuisine, particularly as a traditional steamed savory cake originating from Gujarat. This delightful dish has captured hearts across India and beyond, thanks to its unique texture and versatility.
The magic of dhokla lies in its fermentation process. Made primarily with gram flour (besan), the batter undergoes a natural fermentation that creates its signature soft, spongy texture. This process not only enhances the flavor but also improves digestibility, making it perfect for any time of day.
Nutritional Benefits and Versatility
Dhokla offers impressive nutritional value while remaining light on the stomach. As a gluten-free option, it’s accessible to those with dietary restrictions. Each serving contains approximately 120 calories, making it a satisfying yet light meal option. The protein content ranges from 7-10 grams per serving, while fat content stays between 3-5 grams, creating a balanced nutritional profile.
Many Indian households serve dhokla for:
- Morning breakfast alongside chai
- Afternoon snacks to curb hunger
- Party appetizers during festive celebrations
- Light dinner options on warm evenings
What makes dhokla truly special is its adaptability. While traditional recipes stick to the classic preparation, modern variations incorporate different flours, vegetables, and seasonings. The basic technique remains the same—creating a fermented batter that’s steamed to fluffy perfection, then seasoned with a tempering of mustard seeds, curry leaves, and green chilies.
I often recommend dhokla to friends looking for nutritious Indian snacks that don’t compromise on flavor. The combination of protein from the gram flour and the light cooking method makes it significantly healthier than many fried alternatives. For those interested in exploring more Gujarati delicacies similar to dhokla, authentic dhokla recipes can open the door to a whole new world of steamed savory treats.
The beauty of dhokla is that despite its simple ingredients, it delivers complex flavors—tangy, slightly sweet, and savory all at once. This balance makes it a crowd-pleaser at gatherings and a comforting snack at home.
Essential Ingredients and Kitchen Tools
Creating perfect dhokla at home requires a simple yet specific set of ingredients and tools. I’ve found that having everything prepared before starting makes the process much smoother.
Key Ingredients
The foundation of any good dhokla is gram flour (besan). I use 1 cup of besan as the base, which gives dhokla its distinctive flavor and texture. To enhance the taste profile, I add 1 teaspoon of turmeric powder for that lovely yellow color and mild flavor.
Seasoning is crucial in dhokla. I include 1 teaspoon of spluttered mustard seeds, which add a wonderful pop of flavor and texture. For balance, 1 tablespoon each of sugar and lemon juice creates that signature sweet-tangy taste that makes dhokla such a beloved snack across India.
The spice element comes from 1 teaspoon of ginger-green chili paste, giving just enough heat without overwhelming the dish. Salt is added to taste, usually about half a teaspoon works well.
The secret to dhokla’s fluffy texture lies in 1 teaspoon of Eno fruit salt (or baking soda), which creates the perfect rise. You’ll need enough water to form a smooth batter – typically around 3/4 cup, but this varies slightly.
For the tempering and preparation, keep 2 tablespoons of oil handy for greasing the steaming plate and creating the tempering.
Essential Tools
The most important tool for making dhokla is a steamer. I prefer using a traditional dhokla steamer, but any steamer that can accommodate your dhokla plate works perfectly. If you don’t have a dedicated steamer, a large pot with a tight-fitting lid can serve as an alternative.
You’ll need these basic items to prepare your dhokla:
- A large mixing bowl for preparing the batter
- A smaller bowl for the tempering ingredients
- A whisk or spoon for mixing
- A flat plate that fits in your steamer
- A knife for cutting the dhokla into pieces
For garnishing, I keep fresh coriander leaves and grated coconut on hand. These add freshness and visual appeal to the finished dish.
With these ingredients and tools ready, you’re all set to make delicious, fluffy dhokla that rivals any you’d find in a restaurant or street food stall.
Step-by-Step Preparation Guide
Creating the Perfect Dhokla Batter
I start my dhokla preparation by combining gram flour with essential spices and ingredients. In a large mixing bowl, I add 2 cups of gram flour (besan), followed by 1/2 teaspoon of turmeric powder for that signature yellow color. Next, I mix in 1 tablespoon of sugar which balances the savory notes, 2 tablespoons of lemon juice for tanginess, 1 tablespoon of ginger-chili paste for that subtle heat, and 1 teaspoon of salt.
The key to perfect dhokla lies in achieving the right batter consistency. I gradually add water to the dry mixture, stirring continuously to avoid lumps. The batter should flow smoothly but remain thick enough to coat the back of a spoon – similar to pancake batter.
Fermentation plays a crucial role in developing dhokla’s distinctive flavor and texture. I cover the batter and let it rest in a warm place for 30-60 minutes. In cooler climates, this might take longer, but patience here truly pays off.
Just before steaming, I add 1 tablespoon of Eno fruit salt to the fermented batter and stir gently. This creates air pockets that give dhokla its spongy texture. The batter begins to foam immediately – that’s my cue to work quickly.
I pour the batter into a greased steaming dish, ensuring it’s spread evenly. The dish goes into a preheated steamer for 15-20 minutes. During this time, the magic happens as the batter transforms into a fluffy cake-like consistency.
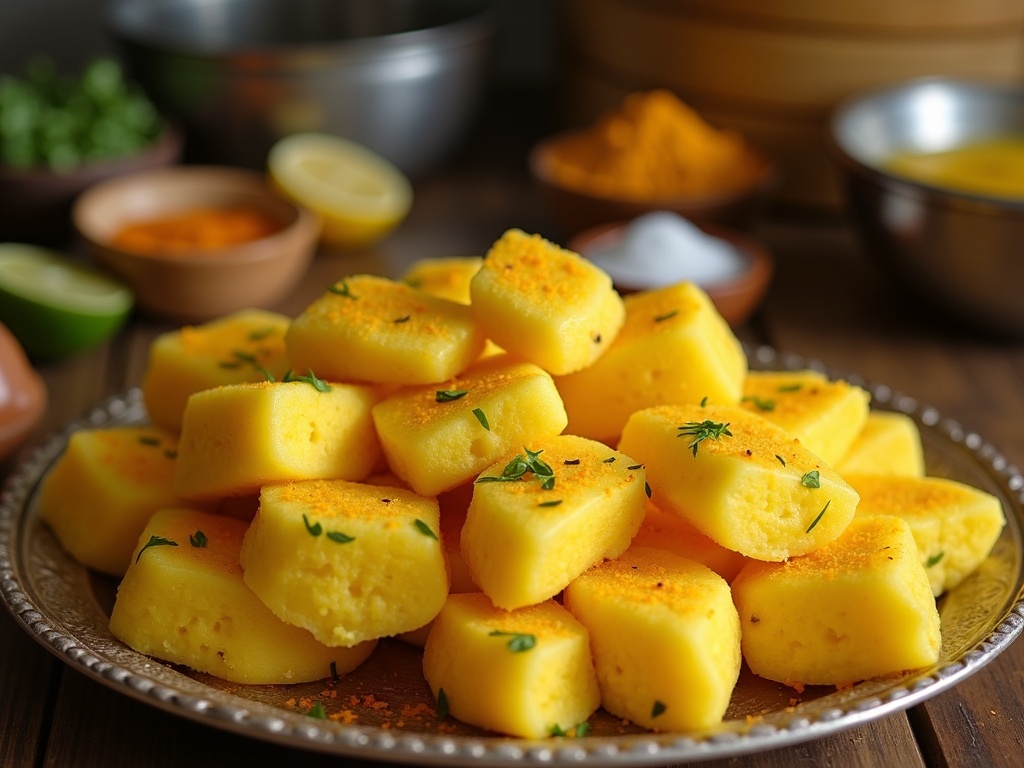
To check if my dhokla is done, I insert a toothpick into the center – it should come out clean. Once cooked, I let it cool for about 5 minutes before cutting it into diamond or square shapes.
This cooling period is essential as it helps the dhokla set properly, making it easier to cut without crumbling. The result is a soft, spongy treat ready to be garnished and served.
Popular Dhokla Variations You Can Try
The classic dhokla recipe can be transformed into different variations, each with its own unique flavor profile and texture. I’ve experimented with several versions that bring something special to the table, perfect for when you want to surprise your family with a twist on this beloved dish.
Must-Try Dhokla Varieties
Khaman Dhokla stands out as perhaps the most popular variation. Unlike traditional dhokla, it’s made using gram flour (besan) instead of fermented rice and lentil batter. The result is a softer, fluffier texture that practically melts in your mouth. The fermentation method differs slightly, making it quicker to prepare while still maintaining that characteristic tangy flavor. I love adding a tempering of mustard seeds, curry leaves, and green chilies for an extra flavor kick.
Rawa Dhokla offers a completely different texture experience. Made with semolina (suji) instead of gram flour, it has a slightly grainy consistency that many find appealing. The semolina creates tiny air pockets during steaming, resulting in a light yet substantial snack. This variation requires no fermentation time, making it perfect for those last-minute guests. I typically add grated carrots, peas, or finely chopped spinach to enhance both nutrition and visual appeal.
The Thepla Dhokla combines the best of two Gujarati specialties. This innovative variation incorporates whole wheat flour and additional spices like turmeric, red chili powder, and fenugreek leaves. The texture is slightly denser than traditional dhokla but incredibly satisfying. What I appreciate about this version is its heartiness – it makes for a more filling breakfast or snack option that keeps you energized longer.
Each variation brings something unique to your dining experience:
- Khaman offers a softer, melt-in-mouth texture with bright yellow color
- Rawa provides a quicker, no-fermentation option with a distinct grainy feel
- Thepla-style delivers a heartier, more robust flavor profile with added nutrition
The beauty of these variations lies in how they can be customized further with different temperings, chutneys, and garnishes. I often prepare dhokla variations when hosting gatherings since they appeal to different preferences while maintaining the authentic essence of this beloved Gujarati dish.
Serving and Storage Tips
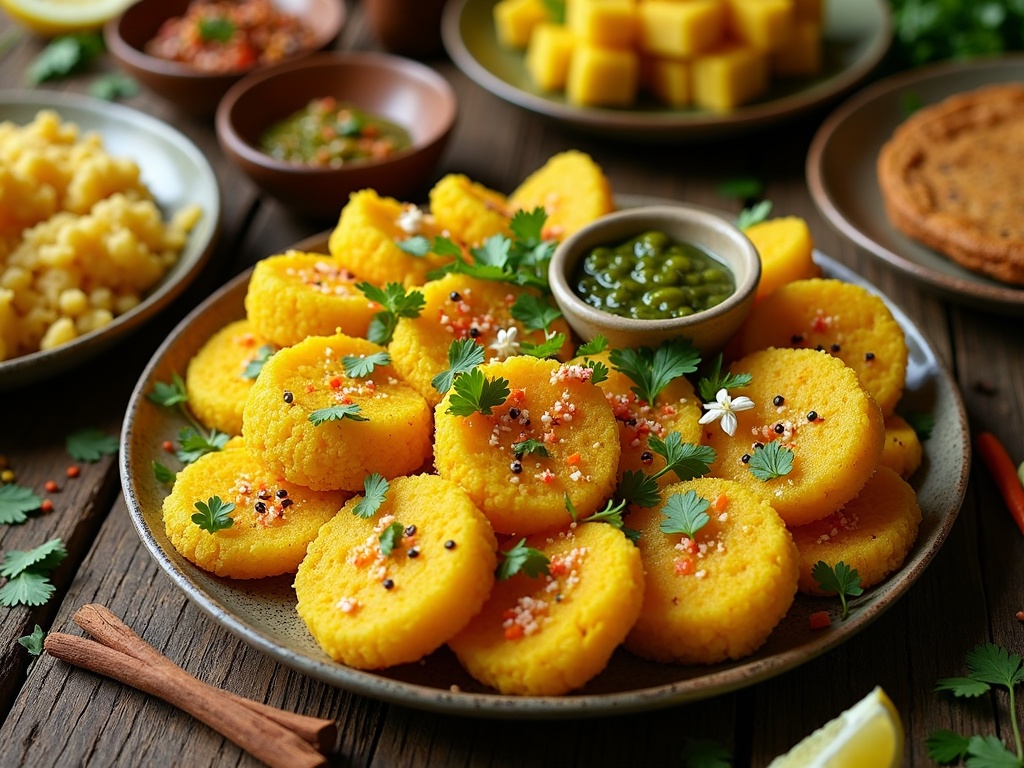
Serving dhokla with the right accompaniments elevates this already delicious snack to new heights. I’ve found that the tangy, spicy notes of green chutney create a perfect balance with dhokla’s soft, spongy texture. For the best green chutney, I blend fresh cilantro and mint leaves with green chilies, ginger, lemon juice, and a touch of salt – the brightness of this combination cuts through the subtle flavors of the dhokla beautifully.
Sweet tamarind chutney offers a delightful contrast to dhokla’s savory profile. The sweet-tangy flavor adds depth to each bite, making it impossible to stop at just one piece. I particularly enjoy drizzling a bit of both green and tamarind chutneys over the dhokla for a flavor explosion that satisfies all taste buds at once.
For something different, Kerala-style coconut chutney makes an excellent pairing option. The creamy coconut base with subtle hints of curry leaves and mustard seeds complements the light texture of homemade dhokla perfectly. This regional twist brings a unique flavor dimension that many of my guests have come to request specifically.
Storage and Reheating Guidelines
While dhokla tastes best when freshly made, proper storage can help maintain its quality for several days. I store leftover dhokla in an airtight container in the refrigerator, where it typically stays good for 2-3 days. The key is ensuring the container is truly airtight to prevent the dhokla from drying out or absorbing other food odors.
For optimal texture and flavor, I strongly recommend enjoying dhokla fresh, ideally within a few hours of steaming. The fluffy, spongy texture is at its peak when fresh, and the tempering spices retain their aromatic qualities best during this time.
When reheating stored dhokla, I’ve found two effective methods:
- Steaming: Place the dhokla in a steamer for 2-3 minutes until just heated through. This method helps restore some of the original moisture and texture.
- Microwave: For quick reheating, microwave individual portions for 15-20 seconds. I place a small cup of water alongside the dhokla in the microwave to add moisture during heating.
Before serving reheated dhokla, I often add a fresh tempering of mustard seeds, curry leaves, and a sprinkle of freshly grated coconut to revive its flavors. A squeeze of lemon juice just before serving adds back the bright notes that might have diminished during storage.
Remember that the texture of dhokla will change slightly after refrigeration. While reheating helps, it won’t completely restore the original freshness, which is why many traditional households prepare smaller batches more frequently rather than making large quantities for storage.
Perfect Pairings and Accompaniments
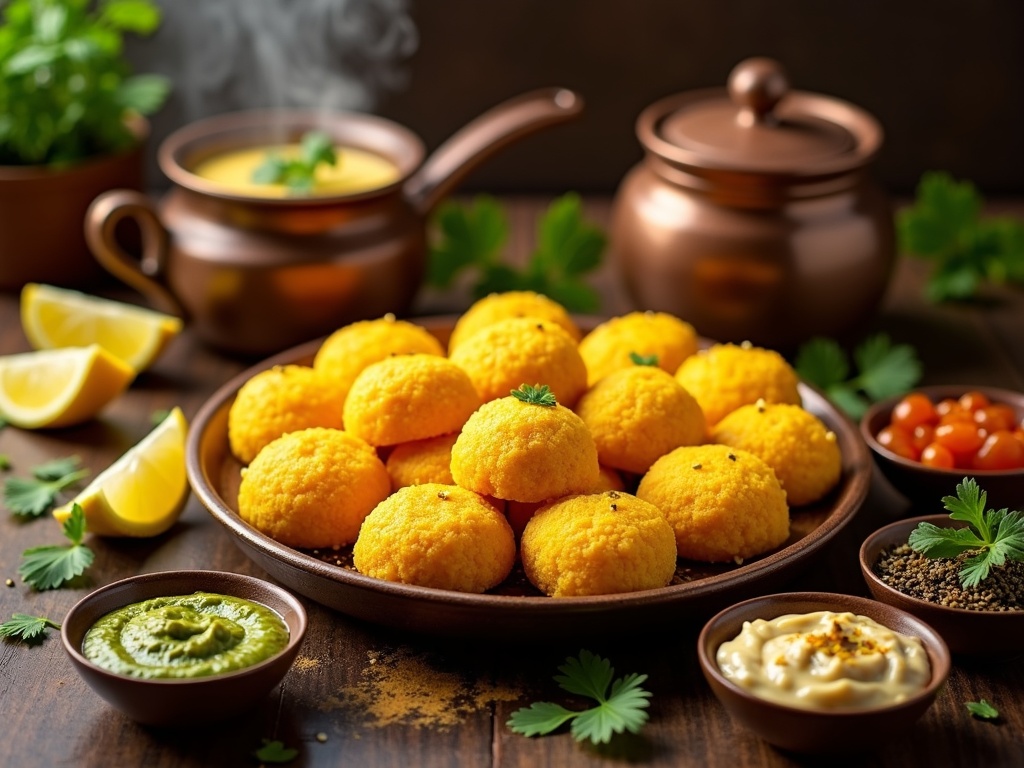
Dhokla, the famous savory cake from Gujarat, tastes even better when paired with the right chutneys and toppings. I’ve discovered that these accompaniments can transform a simple dhokla into an extraordinary culinary experience by adding layers of flavor that complement its soft texture and subtle spicing.
Chutneys That Elevate Dhokla
Traditional green chutney made with fresh coriander, mint, green chilies, and a hint of lemon juice creates a perfect balance to dhokla’s spongy texture. The bright, herbaceous flavor cuts through the savory cake, adding a refreshing zing to each bite. I typically blend these ingredients with a touch of ginger and garlic for depth, then adjust the consistency with water until it’s just right for dipping.
Sweet tamarind chutney offers a delightful contrast to dhokla’s savory profile. The sweet-tangy combination works wonders, especially when the chutney is prepared with jaggery instead of refined sugar. This gives a more complex sweetness that pairs beautifully with the mustard seed tempering of dhokla. For an authentic touch, I add roasted cumin powder and a pinch of black salt to enhance the flavor profile.
Kerala-style coconut chutney brings a creamy, cooling element that’s particularly enjoyable with spicier versions of dhokla. Unlike the more common coconut chutneys, this variation incorporates curry leaves, dried red chilies, and a tempering of mustard seeds and asafoetida. The result is a nuanced accompaniment that complements the fermented notes in dhokla.
A simple yogurt dressing can transform your dhokla experience. I whisk plain yogurt with a pinch of salt, roasted cumin powder, and sometimes a touch of sugar. This cooling condiment balances the spices in dhokla perfectly, especially when served chilled alongside warm, freshly steamed dhokla.
Garnishes That Make a Difference
The right garnishes can elevate dhokla from homely to restaurant-quality with minimal effort. Here are my favorite finishing touches:
- Fresh coriander leaves finely chopped and sprinkled generously just before serving add a pop of color and fresh herbaceous aroma.
- Grated coconut topping offers textural contrast and subtle sweetness that perfectly complements the savory cake.
- Finely chopped green chilies provide heat seekers with an option to adjust spiciness to taste.
- A light dusting of chaat masala for those who enjoy an extra tangy kick.
- Pomegranate seeds for a festive touch that adds bursts of sweet-tart flavor and visual appeal.
I’ve found that fresh coriander garnish is more than just decoration—it adds an aromatic element that enhances the overall eating experience. For special occasions, I toast the coriander leaves in a few drops of oil until they’re crispy before using them as a garnish, which adds a delightful crunch.
Grated coconut topping works wonderfully when paired with dhokla varieties like khaman dhokla. The subtle sweetness of fresh coconut complements the savory notes, while adding a pleasing textural contrast. For best results, I use freshly grated coconut rather than dried, as it has a more delicate flavor and moisture that blends seamlessly with the dhokla.
By thoughtfully pairing dhokla with these accompaniments, you’ll create a balanced meal that showcases the versatility of this beloved Gujarati dish. Each condiment and garnish has been carefully selected to enhance rather than overwhelm the delicate flavors of the dhokla itself.
Sources:
“Secrets of Gujarati Cuisine” by Rashmi Jain
“Healthy Indian Snacks” by Priya Bhattacharya
“The Art of Dhokla: Recipes and Techniques” by Akash Sharma

