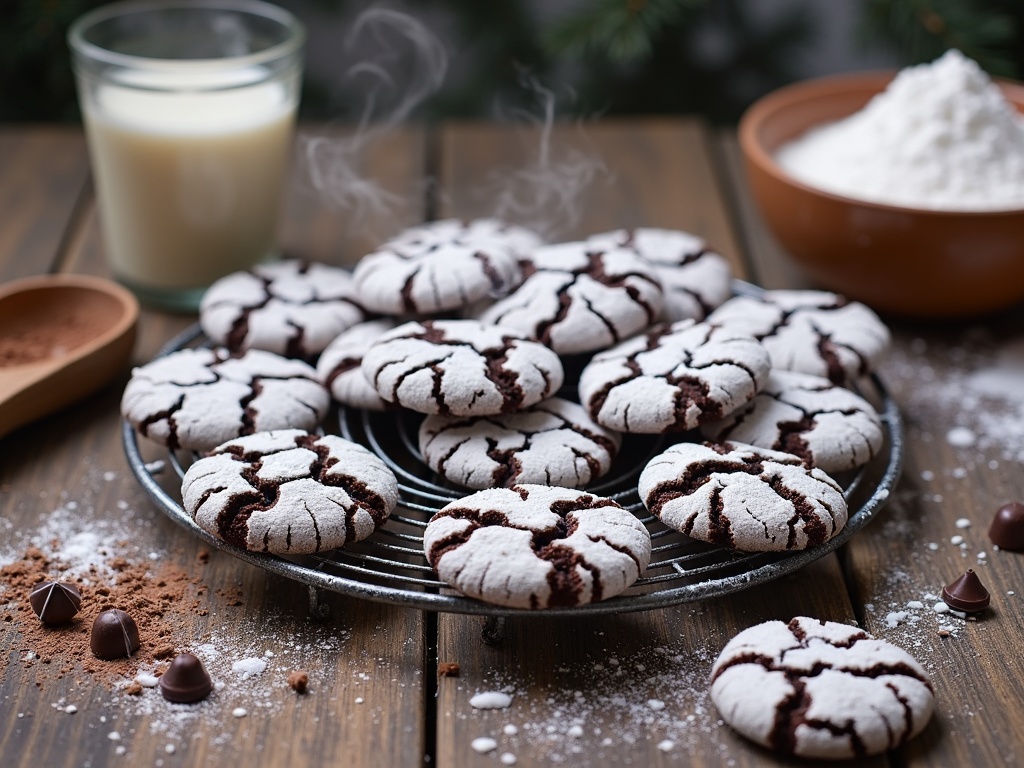
Crinkle cookies captivate dessert lovers with their distinctive crackled appearance and perfect textural balance of fudgy centers and crisp exteriors. The contrast between the dark chocolate cookie and bright white powdered sugar coating creates a visually stunning treat that’s become a holiday tradition while remaining delicious enough to enjoy year-round.
Find In This Article
Key Takeaways
- Crinkle cookies get their signature appearance from the tension created during baking, causing the surface to crack and reveal the dark chocolate beneath the powdered sugar.
- The perfect crinkle combines a soft, fudgy center with a slightly crisp exterior and sweet powdered sugar coating.
- Properly chilling the dough (at least 2 hours, preferably overnight) is crucial for achieving the characteristic crackled appearance.
- Double-coating the dough balls in powdered sugar ensures the dramatic white and dark chocolate contrast.
- While chocolate is traditional, creative variations include red velvet, lemon, and matcha flavors.
Whether you’re baking for the holidays or simply indulging a sweet craving, crinkle cookies offer a delightful balance of flavor, texture, and appearance. For more inspiration and flavor ideas, check out this chocolate crinkle cookie recipe from Sally’s Baking Addiction.
What Makes Crinkles Special
Crinkle cookies stand out in the cookie world with their eye-catching appearance and irresistible texture. These classic chocolate treats feature a stunning contrast between the dark cookie base and bright white powdered sugar coating. The name “crinkles” comes from their distinctive crackled surface that forms during baking, creating a beautiful pattern that’s instantly recognizable.
A Perfect Balance of Textures
The magic of crinkles lies in their perfectly balanced texture profile. When baked correctly, these cookies deliver:
- A soft, fudgy center that practically melts in your mouth
- A slightly crisp exterior that provides just the right amount of resistance
- A sweet powdered sugar coating that adds both visual appeal and textural contrast
- A rich chocolate flavor that satisfies even the most intense cravings
The secret to achieving this texture combination happens during the baking process. As the cookie dough heats up in the oven, it spreads and rises. The outside begins to set while the inside remains soft. This difference in cooking rates creates tension in the surface of the cookie, causing it to crack and reveal the dark chocolate beneath the powdered sugar coating.
I find that the best crinkles have that perfect balance between chewiness and tenderness. The powdered sugar isn’t just for looks – it adds a pleasant sweetness that complements the rich chocolate base. The contrast between dark cookie and white sugar creates a visually stunning effect that makes these cookies instantly recognizable.
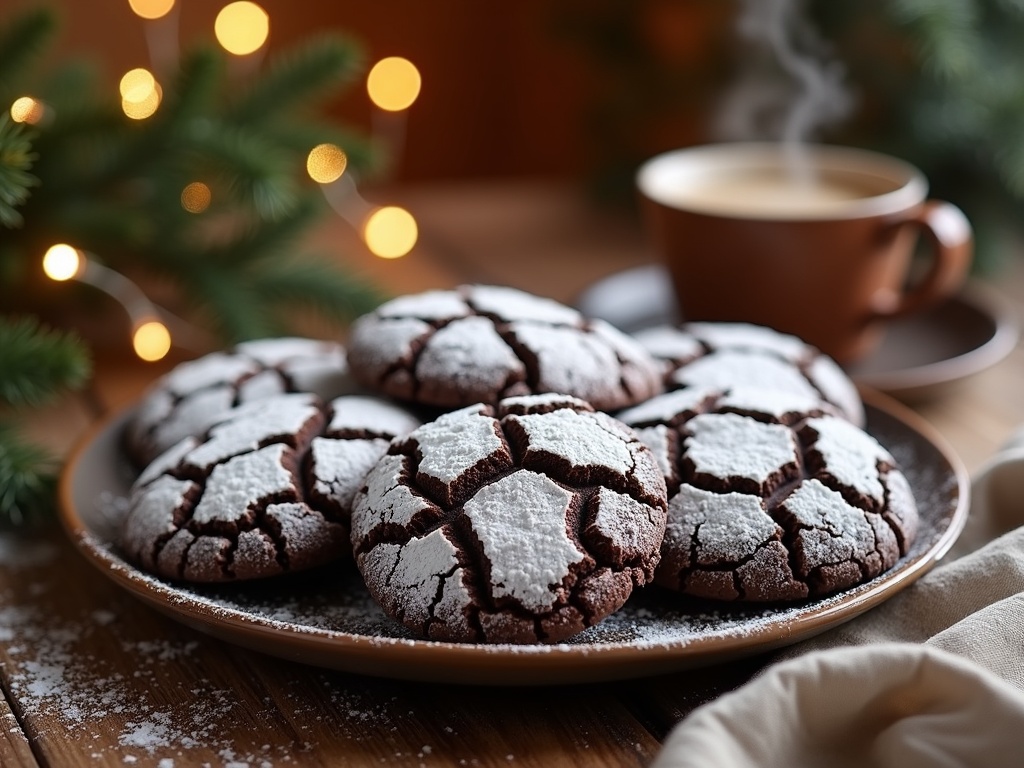
Crinkle cookies have become a holiday tradition in many households. Their snow-capped appearance makes them perfect for winter celebrations, though they’re delicious enough to enjoy year-round. During Christmas and other special occasions, these cookies frequently appear on dessert tables, bringing both visual appeal and chocolate satisfaction to any gathering.
While chocolate is the traditional flavor for crinkle cookies, creative bakers have developed numerous variations:
- Red velvet crinkles
- Lemon crinkles
- Matcha crinkles
However, the classic chocolate version remains the most beloved, with its deep flavor and stunning appearance.
If you’re interested in trying your hand at making these special cookies, I have a detailed recipe for crinkle cookies that breaks down the process step by step. The technique isn’t complicated, but paying attention to details like properly chilling the dough and generously coating with powdered sugar will help you achieve that picture-perfect crackled surface.
What makes crinkles truly special is their ability to delight both the eyes and the taste buds. Few cookies can match their visual impact combined with such satisfying texture and flavor. Whether you’re baking them for a holiday gathering or simply to enjoy with your afternoon coffee, crinkle cookies deliver a little moment of joy with every bite.
Everything You Need
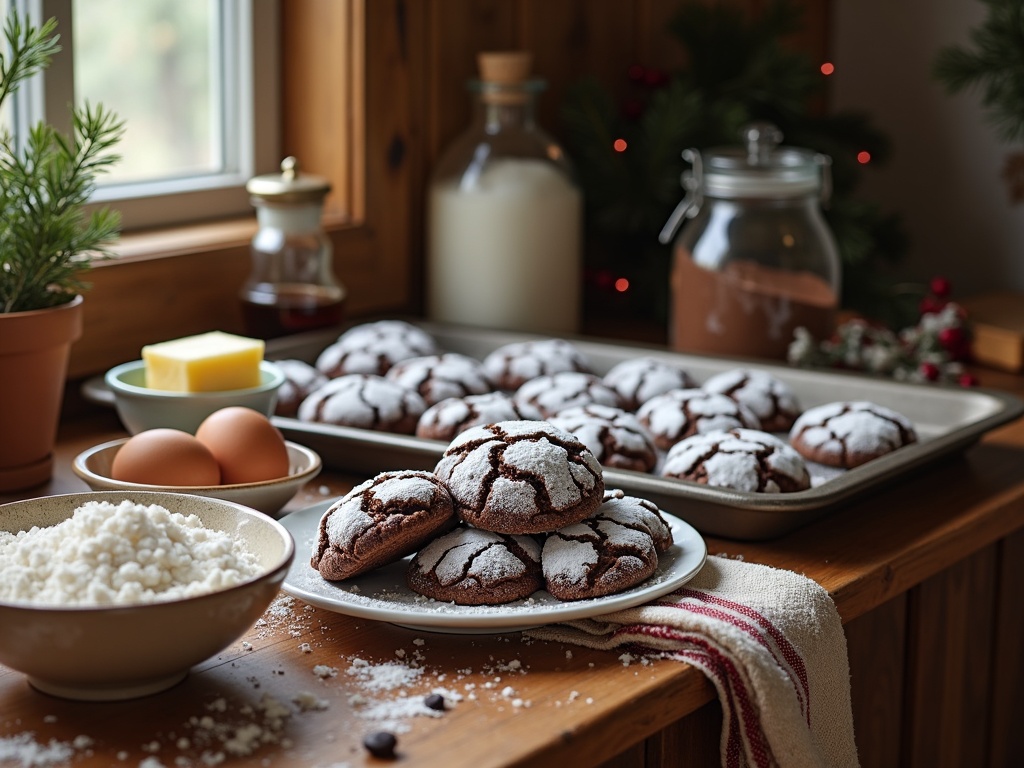
Getting ready to make chocolate crinkle cookies requires just a few basic ingredients that you likely already have in your pantry. These classic treats are known for their distinctive cracked appearance and rich chocolate flavor, making them a favorite for holidays and special occasions.
Essential Ingredients for Perfect Crinkles
All-purpose flour serves as the foundation for these cookies, providing structure while maintaining a soft texture. I recommend measuring it properly by spooning it into your measuring cup and leveling it off for the most accurate results.
Unsweetened cocoa powder gives these cookies their intense chocolate flavor. For the best results, use a high-quality cocoa powder – it makes a noticeable difference in the final taste.
Baking powder is crucial for helping your crinkles rise and develop those characteristic cracks. Make sure yours is fresh, as baking powder loses its potency over time.
A pinch of salt balances the sweetness and enhances the chocolate flavor. Even though it’s a small amount, don’t skip this ingredient!
Room temperature butter creates a creamy base when beaten with sugar. Taking the time to properly let your butter soften (but not melt) will yield the best texture in your final cookies.
Granulated sugar sweetens the dough and helps create the cookie structure. It also contributes to the crinkle effect as the cookies bake.
Eggs bind everything together while adding richness. I find that room temperature eggs incorporate more easily into the dough.
Vanilla extract complements the chocolate flavor beautifully. A good quality pure vanilla extract adds depth that imitation varieties simply can’t match.
Powdered sugar provides that distinctive coating that creates the dramatic cracked appearance crinkle cookies are famous for. Make sure to coat the cookies generously before baking for the most striking visual effect.
These simple ingredients combine to create a cookie that’s fudgy on the inside with a slightly crisp exterior and a beautiful snow-capped appearance. The contrast between the dark chocolate cookie and white powdered sugar makes these treats as visually appealing as they are delicious.
Creating Perfect Crinkles
I’ve mastered the art of baking those delightful, fudgy cookies with their characteristic crackled tops. The secret to great crinkles lies in understanding each step of the process and being patient during the chilling phase. Let me walk you through my tried-and-true method for creating these irresistible treats.
Preparing the Cookie Dough
The foundation of any good crinkle cookie starts with properly combining the ingredients. I begin by mixing all the dry ingredients in a bowl, ensuring they’re well incorporated. This creates a consistent base for the cookies and prevents any unexpected pockets of baking powder or salt.
Next, I cream together butter and sugar until the mixture becomes light and fluffy. This step is crucial because it incorporates air into the dough, giving the cookies their tender texture. Don’t rush this process—I typically beat for about 3-5 minutes until the mixture lightens in color.
After the butter and sugar are perfectly creamed, I beat in the eggs one at a time, followed by vanilla extract. This gradual addition helps maintain the emulsion you’ve created during the creaming process.
Then comes the careful addition of the dry ingredients to the wet mixture. I do this gradually, mixing just until combined. Overmixing at this stage can develop too much gluten, resulting in tough cookies rather than the soft, tender texture we’re aiming for.
One of the most overlooked yet vital steps is chilling the dough. I cover the bowl with plastic wrap and refrigerate for at least 2-4 hours, though overnight chilling works even better. This rest time allows the flour to hydrate fully and the fats to solidify, which helps the cookies maintain their shape during baking and enhances their flavor.
Shaping and Baking to Perfection
Once the dough is properly chilled, I’m ready to shape and bake. Here’s my process for getting that signature crinkle look:
- Remove the dough from the refrigerator and let it sit for 5-10 minutes to soften slightly
- Scoop dough using a cookie scoop or tablespoon for uniform sizing
- Roll each portion between my palms to form smooth balls
- Generously coat each ball in powdered sugar—don’t be shy here!
- Place the coated balls on a parchment-lined baking sheet, leaving about 2 inches between each
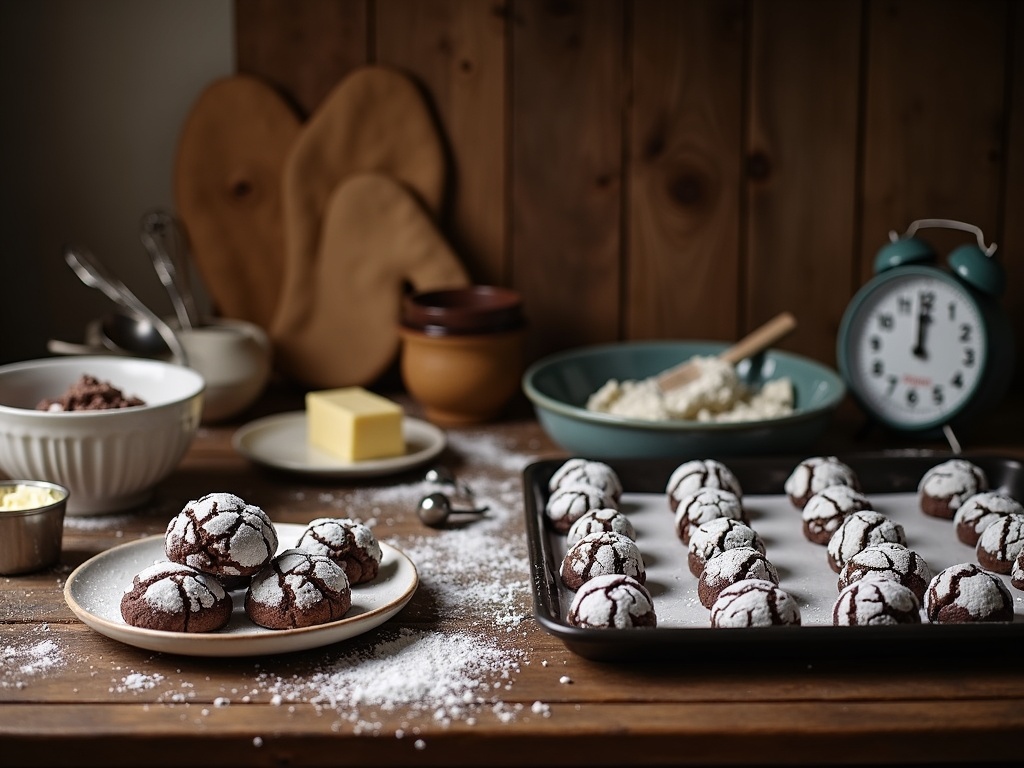
The powdered sugar coating is what creates that beautiful crackled effect as the cookies spread during baking. For the most striking contrast, I often double-coat the dough balls in powdered sugar.
I bake my crinkles in a preheated 350°F oven for 10-12 minutes. The cookies are done when the edges are set but the centers still look slightly underbaked. This ensures they’ll have that perfect fudgy center once cooled.
After removing from the oven, I let the cookies rest on the baking sheet for about 5 minutes before transferring them to a wire rack to cool completely. This resting period allows them to firm up enough to move without breaking.
The final result is a batch of gorgeous, crackly-topped cookies with a soft interior that’s sure to impress. If you’re looking for variations on this classic, check out my crinkle cookies collection for flavor options like chocolate mint, lemon, and red velvet.
Common Mistakes to Watch Out For
Baking the perfect crinkle cookies can be a bit tricky, especially if you’re new to making these delightful treats. I’ve made plenty of mistakes while perfecting my crinkle cookies recipe, and I’m sharing them so you can avoid these common pitfalls.
Preparation Problems
Skipping the chilling time is perhaps the biggest mistake you can make with crinkle cookies. The dough needs time to firm up in the refrigerator—at least 2 hours, but preferably overnight. Without proper chilling, the cookies will spread too much during baking, resulting in flat cookies instead of the signature puffy, cracked appearance that gives crinkles their name.
Using warm butter is another critical error. Your butter should be at room temperature—soft enough to cream with sugar but still cool to the touch. If your butter is too warm, it’ll create a greasy dough that spreads excessively in the oven. I always take my butter out of the fridge about 30 minutes before I plan to use it, which gives it just the right consistency.
Not coating thoroughly with powdered sugar can ruin the classic crinkle look. The powdered sugar needs to be generously applied in a thick layer before baking. A thin coating will disappear into the cookie as it bakes, eliminating those beautiful white cracks. I typically roll my cookie balls in powdered sugar twice to ensure complete coverage.
Here are some additional mistakes to watch out for:
- Making balls too large or uneven affects baking time and appearance
- Using old baking powder or soda can prevent proper rising
- Opening the oven door too early can cause deflation
- Measuring flour incorrectly (too much creates dry cookies)
- Using incorrect oven temperature
Baking Blunders
Overbaking the cookies is a common error that can turn your soft, chewy crinkles into hard, dry disappointments. Crinkle cookies should be removed from the oven when they appear set around the edges but still slightly soft in the center. They’ll continue to firm up as they cool on the baking sheet.
For chocolate crinkles, it’s particularly hard to tell when they’re done since you can’t rely on color change. I typically bake mine for 10-12 minutes and look for that perfect crackled top with a slight firmness around the edges.
The size and uniformity of your cookie balls also impact baking results. Making balls too large or uneven leads to inconsistent baking. Large cookies might remain underbaked in the center while the edges burn, and uneven sizes mean some cookies will be overdone while others aren’t ready. I use a small cookie scoop or measuring spoon to ensure all my cookies are the same size, typically about 1-inch in diameter.
Remember that patience is key when making crinkle cookies. The extra time spent chilling the dough, properly coating with powdered sugar, and watching the baking time carefully will result in picture-perfect crinkles that taste as good as they look. Taking shortcuts might save time initially, but you’ll likely end up disappointed with the results.
Pro Tips for Better Results
Want to take your crinkle cookies from good to extraordinary? I’ve gathered some key techniques that make all the difference in creating that perfect batch with beautiful crackled tops and fudgy centers.
Essential Techniques for Perfect Crinkles
Patience is crucial when making crinkle cookies. I always chill my dough overnight in the refrigerator before baking. This resting period allows the flavors to develop and the fats to solidify, resulting in cookies that hold their shape better during baking and have that ideal chewy texture everyone loves.
The temperature of your ingredients matters significantly. I make sure to use room temperature eggs which incorporate more smoothly into the batter. Cold eggs can cause the butter to re-solidify prematurely, leading to uneven mixing and ultimately affecting the texture of your crinkle cookies.
For that stunning snow-capped appearance, double-coating is my secret weapon. I roll each dough ball first in a light layer of powdered sugar, then immediately follow with a second, more generous coating. This two-step process ensures the sugar sticks properly and creates those dramatic cracks as the cookies expand in the oven.
Proper spacing on your baking sheet prevents cookies from merging into one another. I place my dough balls at least 2 inches apart to allow room for spreading. Overcrowding the pan can also create steam, preventing the cookies from developing their characteristic crackled tops.
Finally, I always let my crinkle cookies cool completely on the baking sheet for about 5 minutes before transferring them to a wire rack. This cooling time allows them to set properly before being moved. Once fully cooled, store them in an airtight container to maintain freshness and that perfect soft center.
By following these simple but effective techniques, you’ll create picture-perfect crinkle cookies that taste as amazing as they look.
Storage and Shelf Life
I’ve discovered that proper storage is key to maintaining the perfect texture and flavor of crinkle cookies. These chocolatey treats deserve the right conditions to stay fresh and delicious for as long as possible.
Room Temperature and Refrigeration
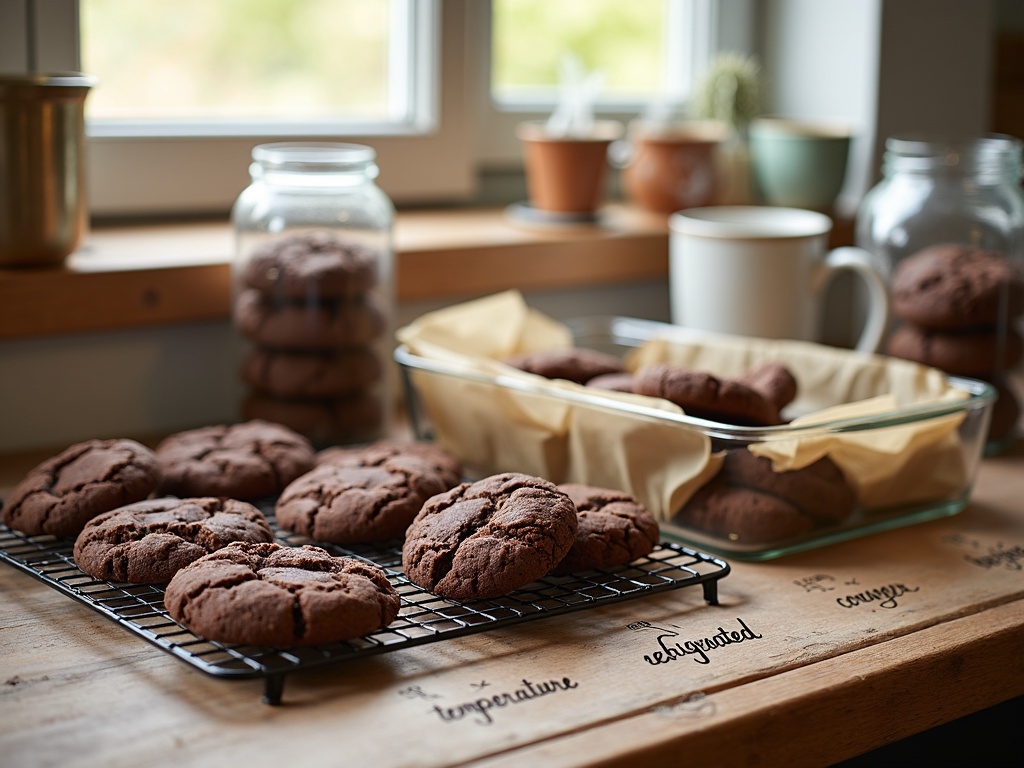
After baking your batch of crinkle cookies, allow them to cool completely before storing. Once cooled, place them in an airtight container with parchment paper between layers to prevent sticking. At room temperature, your cookies will maintain their best quality for up to 5 days.
For extended freshness, refrigeration works wonders. In the fridge, properly stored crinkle cookies can last up to 2 weeks. The cool temperature slows down the staling process while maintaining that perfect balance between the soft center and slightly crisp exterior that makes chocolate crinkle cookies so irresistible.
Freezing for Long-Term Storage
When I want to prepare crinkle cookies well in advance, freezing is my go-to method. Here’s how to freeze them effectively:
- Ensure cookies are completely cooled before freezing
- Place cookies in a single layer on a baking sheet and freeze until solid
- Transfer to freezer-safe containers or bags, adding parchment paper between layers
- Label with the date so you know when they were frozen
- Store for up to 3 months in the freezer
When you’re ready to enjoy your frozen cookies, simply remove them from the freezer and let them thaw at room temperature for about 1–2 hours. The thawing process allows the cookies to regain their original texture without becoming soggy.
I’ve found that frozen crinkle cookies can sometimes taste even better than fresh ones, as the freezing process can intensify the chocolate flavor. For special occasions or unexpected guests, having a batch of these crinkle cookies ready in the freezer has saved me countless times while still delivering that fresh-baked taste everyone loves.
