Crème Caramel: A Classic Dessert Delight
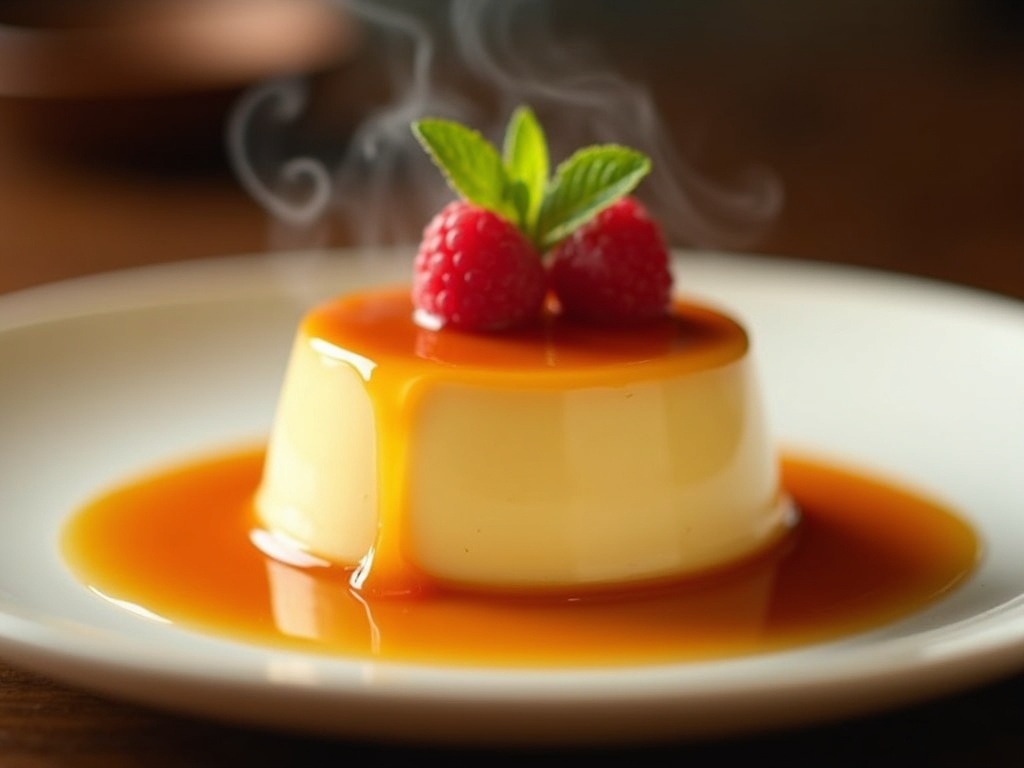
Crème caramel stands as a beloved global dessert known for its silky custard texture contrasted with a slightly bitter caramel sauce that runs down the sides when served.
This elegant yet simple treat calls for basic ingredients like eggs, milk, cream, sugar, and vanilla. The magic happens through precise techniques rather than complex components.
Table of Contents
Key Takeaways
- The caramelization method distinguishes crème caramel from other custards, with the caramel placed at the bottom during preparation but becoming the sauce on top when unmolded.
- A water bath (bain-marie) provides gentle, even cooking that prevents curdling and ensures the perfect trembling texture.
- The perfect caramel needs careful timing to achieve a deep amber color—too light lacks flavor, too dark tastes burnt.
- Room temperature ingredients and gentle mixing create a smooth custard without air bubbles or uneven texture.
- Proper chilling (at least 4 hours, preferably overnight) lets flavors develop fully before the dramatic unmolding reveals the signature flowing caramel.
For those interested in exploring this dessert further, you can find helpful guides and variations of crème caramel at many culinary websites, including Wikipedia’s Crème Caramel entry.
What Makes Creme Caramel Special
Creme caramel captivates dessert lovers with its velvety custard texture and signature golden caramel sauce that cascades down its sides when served. This classic dessert creates a magical contrast between the silky-smooth custard and the slightly bitter caramel that forms a delicious sauce as it melts. I’ve found that creme caramel consistently impresses guests while requiring relatively simple ingredients and techniques.
The Global Dessert That Transcends Borders
In Spanish-speaking countries, this dessert is widely known as flan, though the two are essentially the same treat with slight regional variations. The differences between creme caramel and flan are minimal, mostly relating to cultural traditions and subtle texture differences. While France claims creme caramel as part of its culinary heritage, variations exist across Latin America, the Philippines (leche flan), and Japan (purin).
What distinguishes creme caramel from its custard cousins is its caramelization method. Unlike creme brulee and traditional custard, where sugar is caramelized on top, creme caramel features the caramel at the bottom of the mold during preparation. When flipped for serving, this creates that signature sauce that flows over the dessert.
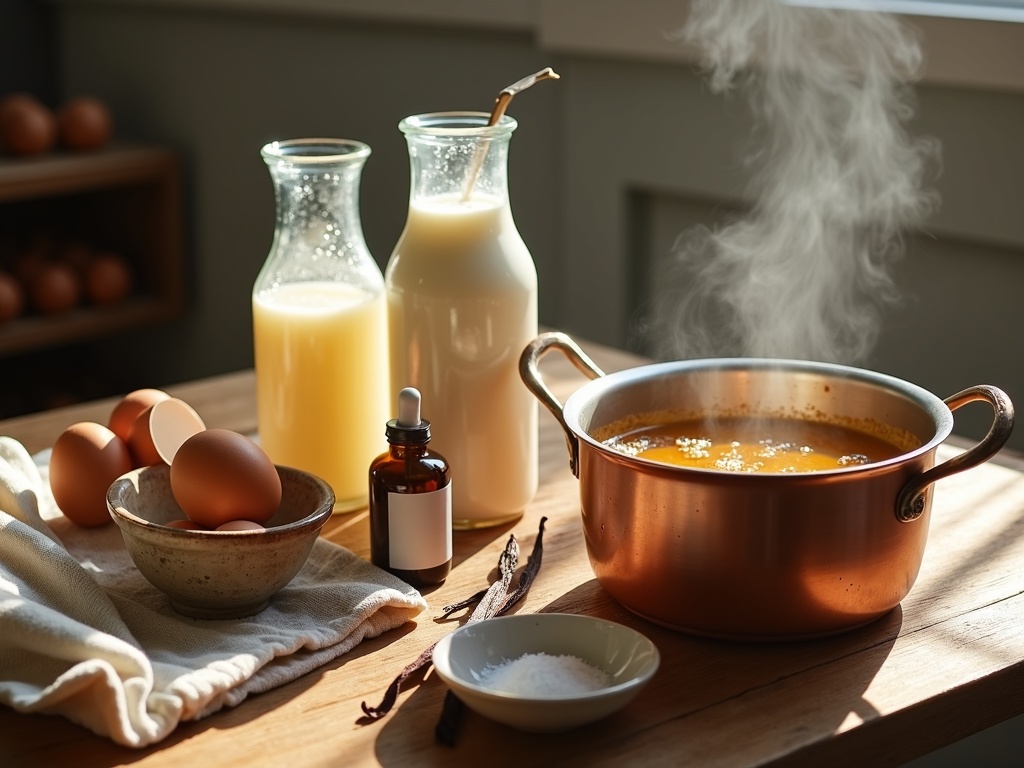
The ingredients list remains refreshingly simple:
- Eggs
- Milk and/or cream
- Sugar (for both the custard and caramel)
- Vanilla extract or bean
- A pinch of salt
The magic happens in the technique rather than complex ingredients. The caramel must reach that perfect amber color – not too light to lack flavor, not too dark to taste burnt. The custard requires gentle cooking in a water bath (bain-marie) to maintain that trembling texture that distinguishes exceptional creme caramel.
Part of this dessert’s global appeal comes from its elegant simplicity. When done right, creme caramel offers textural perfection – firm enough to hold its shape when unmolded but delicate enough to quiver with the slightest movement. This balance makes it different from creme brulee’s taste and texture, which features a hard caramelized top rather than a flowing sauce.
The unmolding process represents the most dramatic moment in serving creme caramel. That satisfying release as the dessert slips from its ramekin, followed by the gentle flow of amber caramel sauce, creates a presentation that feels far more complex than the sum of its parts. Unlike creme brulee’s topping which requires last-minute torching, creme caramel comes ready to wow directly from refrigeration.
I’ve noticed that creme caramel’s temperature adds another dimension to its appeal. While some custard desserts can be served warm, creme caramel demands chilling to achieve its perfect consistency and flavor marriage. This cold serving temperature enhances the contrast between the cool custard and room-temperature caramel sauce.
For home cooks, creme caramel offers an achievable pathway into French dessert-making without requiring specialized equipment beyond ramekins. The secrets to perfecting custard desserts apply equally here – patience with the caramel, straining the custard mixture, proper water bath technique, and adequate cooling time.
The dessert’s ability to be prepared ahead makes it ideal for entertaining, as it actually benefits from overnight refrigeration. This time allows flavors to meld and textures to perfect themselves, creating a dessert that appears far more time-intensive than it actually is.
Essential Ingredients for Success
Creating perfect crème caramel at home requires attention to quality ingredients. I’ve found that using premium components makes a significant difference in the final dessert’s texture and flavor. Let’s explore the key ingredients that will set your crème caramel apart.
Dairy Components
Whole milk forms the foundation of any good crème caramel. It provides essential fat content that contributes to the custard’s silky texture. I recommend using organic whole milk when possible for its clean flavor profile.
Heavy cream adds richness and body to the custard. The high fat content (around 36-40%) creates that luxurious mouthfeel that distinguishes a superior crème caramel from ordinary custard. While some recipes use all milk, the addition of cream elevates the dessert significantly.
Fresh eggs act as the binding agent in crème caramel. They create that perfect set that allows the custard to hold its shape while maintaining a delicate, trembling texture. For best results, I use room-temperature eggs from free-range chickens.
Flavoring Elements
Vanilla provides the signature aromatic base for crème caramel. You have two excellent options:
- Vanilla bean: Splitting and scraping a whole bean releases thousands of tiny seeds and intense flavor
- Pure vanilla extract: A convenient alternative that still delivers excellent results when using quality extract
Granulated sugar serves a dual purpose in crème caramel. It sweetens the custard and, more importantly, creates the golden caramel topping through the caramelization process. Regular white granulated sugar works perfectly, though some pastry chefs prefer superfine sugar for its quicker dissolution.
A small pinch of salt might seem trivial, but it’s actually crucial. Salt enhances the other flavors and balances the sweetness of the caramel. Just a quarter teaspoon can transform the entire dessert.
Water is needed specifically for making the caramel portion. Using filtered water ensures no unwanted minerals or impurities affect the caramelization process. The water helps control the cooking process and prevents the sugar from burning too quickly.
When selecting ingredients for crème caramel, I always choose the freshest options available. The simplicity of this classic dessert means there’s nowhere for subpar ingredients to hide. Each component plays a vital role in creating that perfect balance of firm yet creamy custard topped with silky caramel sauce that’s characteristic of this timeless dessert.
Creating the Perfect Caramel Base
The key to a stunning crème caramel dessert lies in its signature caramel layer. Making this amber liquid that transforms into a glossy, firm base requires attention and timing, but I’ve found it’s actually quite simple once you understand the process.
Mastering the Caramel Technique
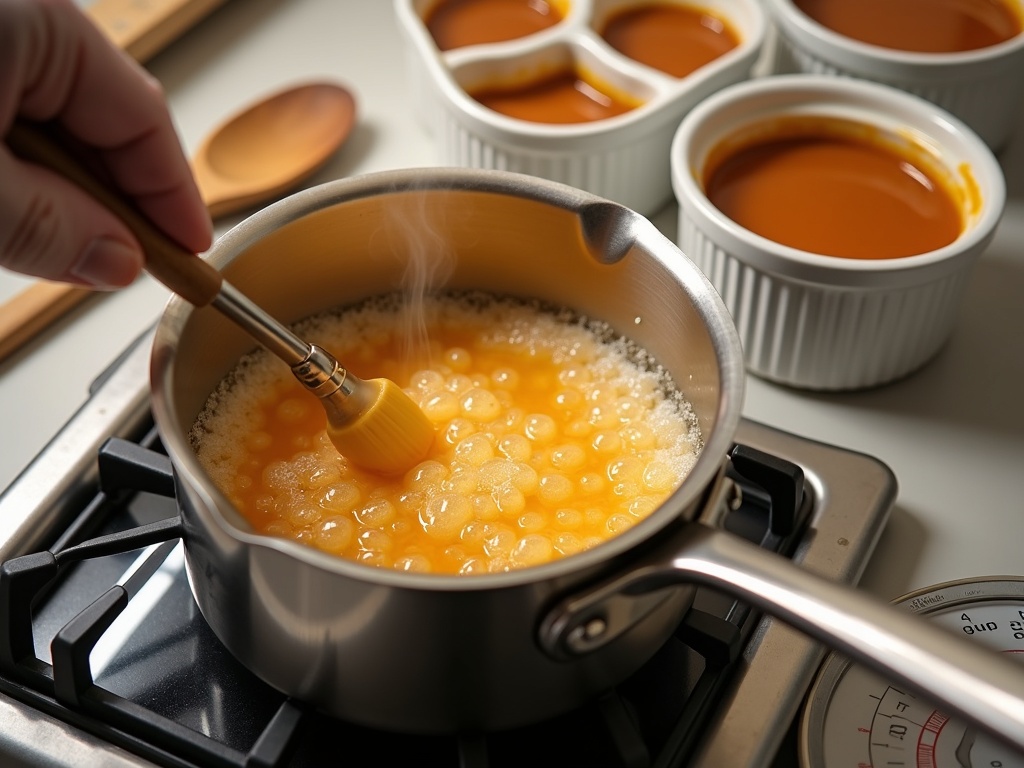
I start by combining granulated sugar and water in a heavy-bottomed saucepan—typically using a 2:1 ratio of sugar to water works perfectly. This mixture needs to be heated over medium heat until the sugar completely dissolves. At this point, I avoid stirring the mixture as this can cause crystallization. Instead, I gently swirl the pan occasionally to ensure even heating.
As the mixture continues to cook, it transforms through several stages. First, it bubbles vigorously as the water evaporates. Then, it begins changing color—from clear to a pale yellow, deepening to golden, and finally reaching that beautiful amber color. This color shift signals that the caramelization is happening, where the sugar molecules break down and create those complex, slightly bitter notes that balance the sweetness of the custard component.
The most critical moment is knowing when to remove the caramel from heat. I’ve learned to look for a deep amber color, similar to maple syrup. Too light and the flavor will be weak; too dark and it’ll taste burnt. This typically takes about 8-10 minutes from start to finish, but I never rely solely on timing—visual cues are far more reliable.
Once the caramel reaches the perfect color, I immediately remove it from heat. This is where timing becomes crucial as the cooking process doesn’t stop just because you’ve removed the pan from the burner. The residual heat continues to darken the caramel, so I work quickly for the next steps.
I pour the hot caramel into my ramekins right away. The liquid should be between 320-350°F at this point—extremely hot and ready to flow. Each ramekin gets enough caramel to coat the bottom completely, usually about 1-2 tablespoons depending on the size.
After pouring, I pick up each ramekin with heat-resistant gloves or a kitchen towel and gently tilt and rotate it to guide the caramel up the sides. This creates that distinctive caramel coating that will eventually form the sauce that cascades over your creamy dessert when inverted.
The caramel hardens remarkably quickly as it cools, often within minutes. I let the ramekins sit undisturbed until the caramel has completely hardened. You’ll hear crackling sounds as it cools—this is normal and actually a good sign that your caramel is creating a solid base.
The beauty of this process is in its transformation. What starts as a simple sugar solution becomes a hard, glass-like amber layer that will later dissolve back into a silky sauce as the custard bakes and rests. Unlike the crunchy bruléed topping of its cousin dessert, crème caramel’s base melts into a luscious sauce.
Common Caramel Mishaps and How to Avoid Them
- Crystallization: If sugar crystals form on the sides of your pan, brush them down with a pastry brush dipped in water.
- Burning: Use a light-colored pan if possible to better monitor color changes.
- Uneven hardening: Make sure to work quickly and maintain the caramel’s heat while coating the ramekins.
- Seizing: Never add cold ingredients to hot caramel—it will immediately harden.
Once the caramel base is properly set, it’s ready for the custard mixture to be poured on top. This foundation is what gives crème caramel its distinctive character and sets it apart from other custard desserts with its built-in signature sauce.
Crafting the Custard
Creating the perfect custard for creme caramel requires attention to detail and a gentle touch. This silky foundation balances delicate flavors and provides the signature creamy texture that makes this dessert so memorable. I’ll guide you through each critical step to achieve a velvety smooth custard that complements the amber caramel layer beautifully.
The Essential Mixing Technique
The first step in crafting your custard is warming the milk and cream with vanilla. I heat these ingredients over medium-low heat until small bubbles form around the edges of the pan—never allowing it to boil. This gentle warming process infuses the dairy with vanilla flavor, whether you’re using a whole bean split lengthwise or pure vanilla extract. The warmth also helps the custard ingredients combine more effectively later in the process.
While the dairy mixture warms, I whisk eggs and sugar in a separate bowl until they reach a pale yellow color. This incorporation of air creates a lighter custard texture while ensuring the sugar dissolves completely. The whisking technique matters—use a gentle but thorough motion to avoid creating excessive bubbles that might disrupt the smooth texture of your creme caramel’s distinctive taste.
The next step requires careful timing and technique. I slowly pour the warm dairy mixture into the egg mixture while continuously whisking. This gradual combination prevents the eggs from cooking prematurely, which would result in a scrambled texture rather than a smooth custard. The constant movement of the whisk ensures even temperature distribution throughout the mixture.
For an extra-smooth result, I always strain the combined mixture through a fine-mesh sieve. This essential step removes any small bits of cooked egg, undissolved sugar, or vanilla bean fragments. The result is a perfectly smooth custard base that will set with a flawless texture, similar to what you’d find in traditional creme brulee preparations.
The final step before baking involves carefully pouring the strained custard mixture into your caramel-lined ramekins. I do this slowly to avoid disturbing the caramel layer at the bottom. The caramel should be slightly cooled but still pliable when you add the custard mixture. This careful assembly ensures that when you eventually flip the dessert, the caramel topping will flow beautifully over the set custard.
For best results, fill each ramekin about three-quarters full to allow room for the custard to expand slightly during baking. The custard’s smooth surface will eventually become the base of your turned-out dessert, so I take care not to create bubbles during the pouring process.
Unlike its cousin creme brulee which can be served at different temperatures, creme caramel benefits from proper chilling after baking. This setting time allows the custard to firm up perfectly, creating that signature wobble when gently shaken.
The transformative magic of turning a simple mixture of eggs, sugar, milk, and vanilla into a silken custard is what makes creme caramel and similar desserts so satisfying to create. Following these carefully sequenced steps ensures you’ll achieve a professional-quality result with a texture that’s firm enough to hold its shape when unmolded, yet tender enough to melt in your mouth with each spoonful.
Mastering these techniques gives you access to the secrets behind perfect custard desserts that have delighted diners for generations across many culinary traditions.
Baking Your Creme Caramel
The baking process is where the magic happens for a perfect creme caramel. I’ll walk you through the essential steps to ensure your dessert achieves that delicate, silky texture without cracks or bubbles.
Setting Up the Water Bath
A water bath (also called a bain-marie) is non-negotiable when making creme caramel. This technique creates a gentle, humid environment that prevents the custard from cooking too quickly or unevenly.
To prepare your water bath:
- Select a baking dish large enough to hold all your ramekins with space between them
- Arrange your filled ramekins in the dish, making sure they don’t touch
- Heat water in a kettle or pot until hot but not boiling
- Carefully pour the hot water into the baking dish until it reaches halfway up the sides of the ramekins
The water bath serves as insulation, allowing the delicate custard base of creme caramel to cook gently and evenly. Without it, you risk a rubbery texture or cracks on the surface.
Perfect Baking Temperature and Timing
Baking creme caramel requires patience and precision. Set your oven to 325°F (165°C) – this moderate temperature is key for achieving that signature silky texture that distinguishes creme caramel from regular custard.
The baking time typically ranges from 35–45 minutes, depending on your oven and the size of your ramekins. The custard is ready when the edges have set but the center still has a slight jiggle when gently shaken. This slight wobble is crucial – if you wait until the center is completely firm, your creme caramel’s texture will be too firm after cooling.
I can’t stress enough the importance of not overbaking. Unlike some desserts where a few extra minutes won’t hurt, creme caramel becomes grainy and loses its velvety mouthfeel when overcooked. The custard will continue to set as it cools, so trust the jiggle test even if it seems slightly underdone.
After baking, remove the water bath carefully from the oven, but leave the ramekins in the water for about 10 minutes. This gradual cooling helps prevent the dreaded “skin” from forming on top and maintains that smooth finish that makes custard desserts so appealing.
Common Mistakes to Sidestep
Crafting a perfect crème caramel requires attention to detail and technique. I’ve identified several common pitfalls that can turn this elegant dessert into a disappointing experience. By avoiding these mistakes, you’ll be on your way to creating a silky-smooth crème caramel dessert that impresses your guests.
Caramel and Custard Errors
Burning the caramel is perhaps the most frequent mistake. When heating sugar for caramel, it can go from perfectly amber to bitter and burnt in seconds. I always keep a close eye on my caramel, swirling the pan gently rather than stirring. Once it reaches that golden copper color, I immediately remove it from heat to prevent burning.
Overcooking the custard creates a grainy, curdled texture instead of the velvety smoothness that makes crème caramel taste heavenly. The ideal custard should be just set with a slight wobble in the center. I check for doneness by gently shaking the ramekin — if the center jiggles slightly like gelatin, it’s ready.
Skipping the water bath (bain-marie) is a critical error. This step ensures gentle, even heating that prevents the custard from curdling. I always place my filled ramekins in a deep baking dish and add hot water halfway up their sides before baking.
Preparation Shortcuts to Avoid
Not straining the mixture might seem like a harmless time-saver, but it can ruin the texture of your crème caramel. Straining removes any cooked egg bits or undissolved sugar, ensuring a perfectly smooth custard base. I always pass my mixture through a fine-mesh sieve at least once before pouring it into ramekins.
Using cold ingredients directly from the refrigerator is another mistake that affects the final texture. Cold eggs and milk can cause the custard to cook unevenly and may even lead to curdling. I bring all ingredients to room temperature before starting, which helps create a smoother custard texture and allows for better integration.
These mistakes might seem basic, but they’re surprisingly common even among experienced home cooks. By paying attention to these details, you’ll avoid the disappointment of a flawed dessert and create a perfectly executed crème caramel every time.
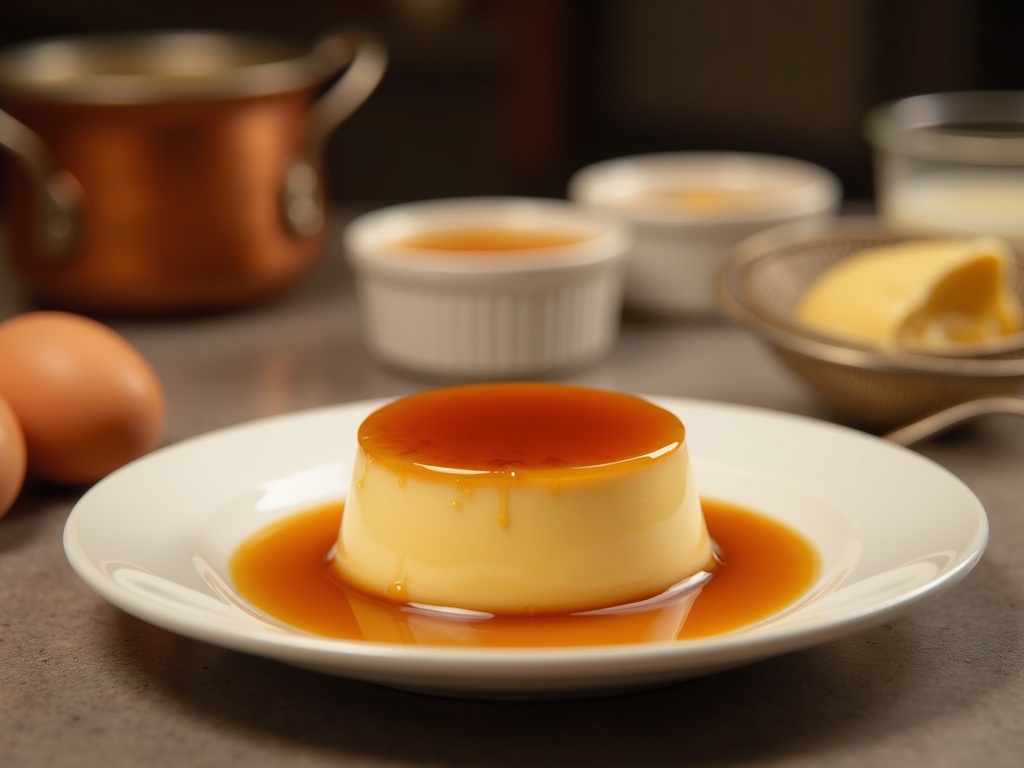
Pro Tips for Perfect Results
Creating the ideal crème caramel dessert requires attention to detail. I’ve learned that small adjustments in your technique can make a significant difference in the final result. Here are some expert tips I’ve gathered through years of making this classic dessert.
Preparation Secrets
Starting with room temperature ingredients is crucial for a smooth custard. Cold eggs and milk can create an uneven texture, while room temperature components blend together more harmoniously. I always take my eggs and dairy out of the refrigerator about 30 minutes before beginning.
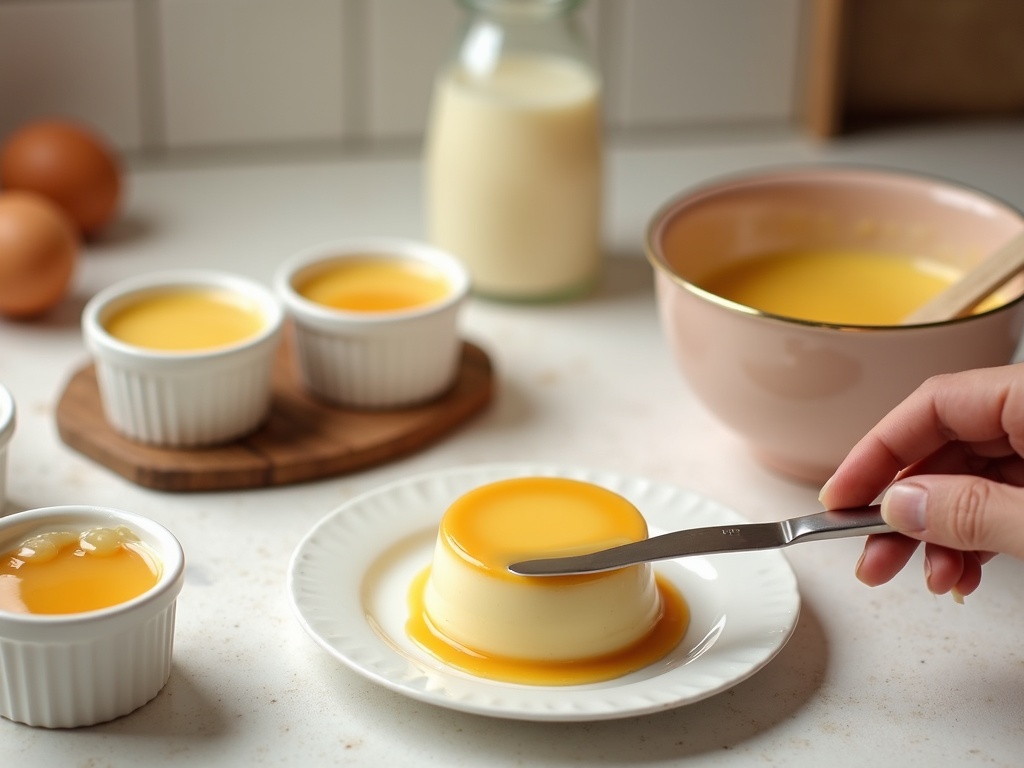
When mixing your ingredients, gentle handling makes all the difference. I stir slowly and deliberately to avoid incorporating air bubbles, which can create an unappealing porous texture in the finished dessert. If bubbles do form, let the mixture rest for a few minutes before pouring it into ramekins.
The cooking vessels you choose play a key role in success. These tips can help you achieve perfect results:
- Use shallow ramekins rather than deep ones – they allow for more even cooking from edge to center
- Choose ceramic over metal containers for better heat distribution
- Opt for individual portions rather than one large mold for more reliable results
Cooling properly is just as important as the cooking process. I never rush unmolding crème caramel – patience rewards you with clean, beautiful results. Allow the custards to cool completely to room temperature before transferring to the refrigerator.
Once in the refrigerator, always cover your custards. This prevents them from absorbing other flavors and developing a skin on top. I use plastic wrap pressed directly onto the surface or individual covers for each ramekin.
The chilling time is your friend, not just a suggestion. I find that overnight refrigeration yields the most flavorful results as it allows the caramel to soften slightly and infuse into the custard. This creates that signature sweet layer that makes crème caramel so irresistible.
When it’s finally time to unmold, run a thin knife around the edge of each custard, then quickly invert onto your serving plate. If the caramel doesn’t release immediately, don’t worry – a gentle tap or two should do the trick. Remember that proper preparation from the beginning gives you the best chance at that picture-perfect finish.
Serving and Storage
Perfect creme caramel requires proper chilling before serving. After preparing this delicate dessert, I’ve found that patience truly pays off. Let the custard rest in the refrigerator for at least 4 hours before attempting to serve it. This cooling period allows the caramel to fully set and infuse into the custard, creating that signature flavor that makes creme caramel distinctive from other custards.
Unmolding and Serving Tips
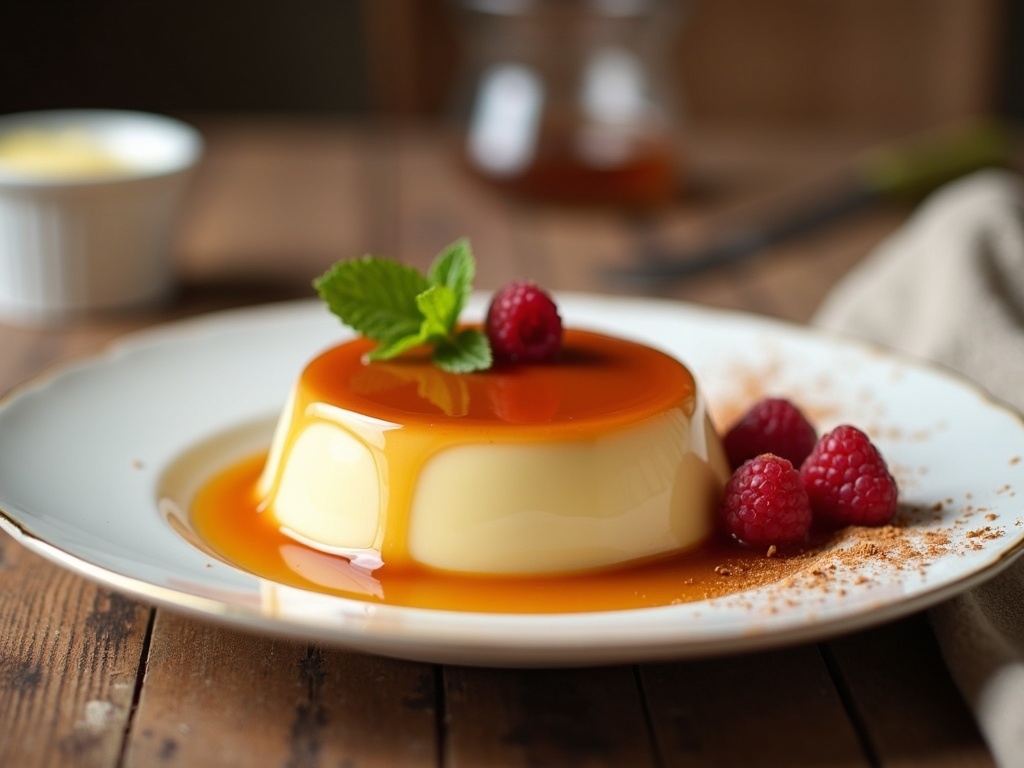
Unmolding creme caramel can be the most nerve-wracking part of the process, but it doesn’t need to be. When your dessert has properly chilled and you’re ready to serve, follow these simple steps for perfect presentation:
- Run a thin, sharp knife around the edges of the mold to break the seal between the custard and the dish
- Place your serving plate upside down over the top of the ramekin
- Hold the plate and ramekin firmly together and flip them in one quick, confident motion
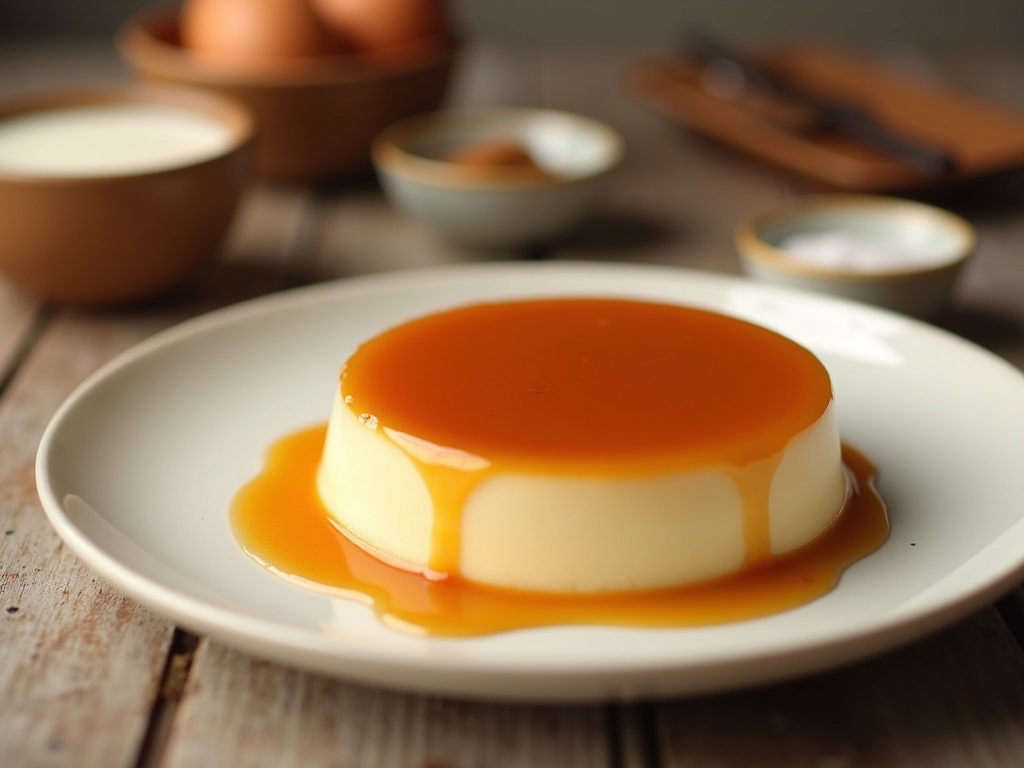
- Gently wiggle and lift the mold—the custard should release, and the caramel sauce will flow down the sides
I’ve discovered that creme caramel tastes best when served slightly chilled rather than cold from the refrigerator or at room temperature. About 10–15 minutes out of the fridge provides the perfect temperature for maximum flavor and that ideal silky texture that melts in your mouth.
Unlike traditional creme brulee with its hard sugar top, creme caramel features its caramelized goodness at the bottom during preparation, which becomes the top when served. This caramel creates a beautiful amber sauce that pools around the custard, making it both visually stunning and incredibly delicious.
For storage, keep your creme caramel refrigerated at all times. The dessert will remain fresh for up to three days when properly stored. I don’t recommend freezing creme caramel as it can damage the delicate texture and cause separation of the caramel sauce.
If you’re preparing this dessert for a dinner party, you can make it up to two days in advance. In fact, making it a day ahead often improves the flavor as it gives the caramel more time to infuse into the custard. Just keep the desserts in their molds until you’re ready to serve.
For a special touch, consider garnishing with:
- A sprig of mint
- Fresh berries
- A light dusting of cinnamon
Unlike creme brulee’s torched sugar topping, creme caramel relies on its sauce for decoration, but a thoughtful garnish can elevate the presentation.
If you notice any condensation forming on the surface while in storage, just gently blot it with a paper towel before serving. This helps maintain that beautiful, clean appearance that makes custard desserts so appealing.
When serving for guests, consider bringing the dessert out just before serving temperature, as watching the caramel sauce flow around the unmolded custard creates a theatrical element that adds to the dining experience.
Sources:

