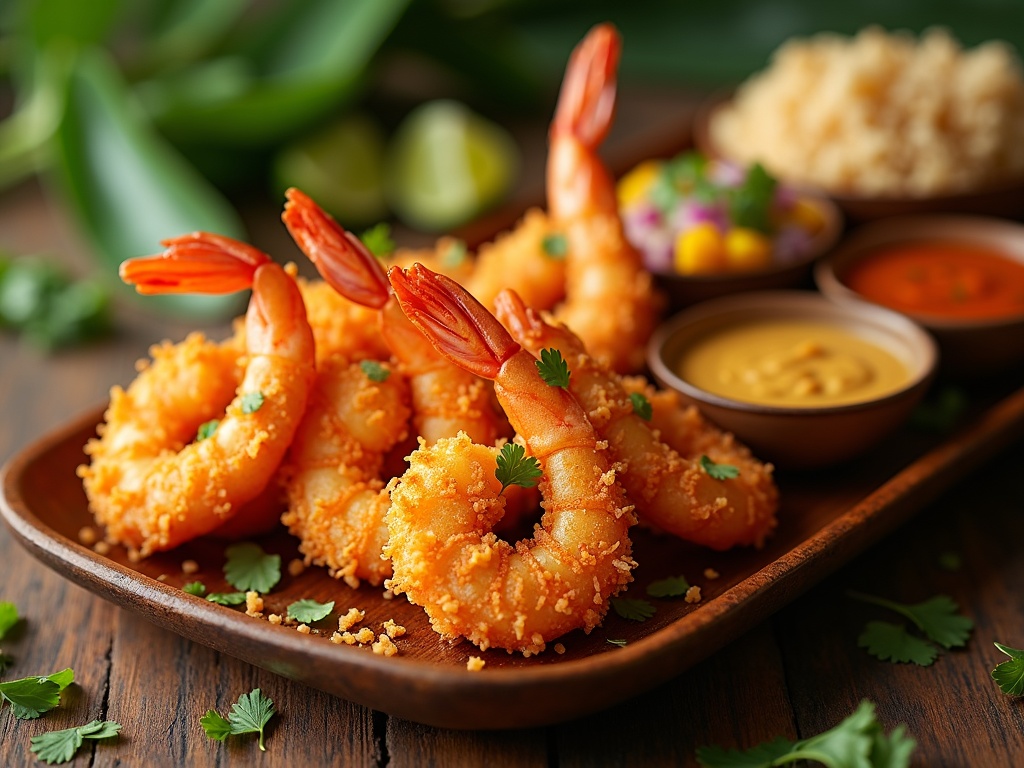
Coconut shrimp combines the sweet, toasted flavor of coconut with juicy shrimp to create a dish that’s both sophisticated and comforting while remaining surprisingly straightforward to prepare at home. The magical contrast between the crispy golden exterior and tender interior makes this tropical treat a consistent crowd-pleaser for everything from casual weeknight dinners to elegant entertaining.
Table of Contents
Key Takeaways
- Double-coating the shrimp ensures perfect coconut adhesion and creates the signature crispy texture.
- Maintaining oil temperature between 325°F–350°F is critical for achieving golden-brown coating without greasy results.
- Large or jumbo shrimp (16–20 count per pound) provide the best texture contrast between juicy interior and crispy exterior.
- Fresh coconut flakes deliver the best flavor — always check for freshness before using to avoid rancid notes.
- The dish pairs perfectly with dipping sauces like sweet chili sauce, mango salsa, or pineapple marmalade to enhance its tropical profile.
What Makes This Recipe Special
I’ve found that coconut shrimp stands out as one of those dishes that instantly elevates any dining experience. The magical combination of sweet, toasted coconut surrounding perfectly cooked, juicy shrimp creates a flavor profile that’s simultaneously sophisticated and comforting.
Restaurant-Quality Results at Home
Creating restaurant-quality coconut shrimp at home is surprisingly straightforward, yet the results are consistently impressive. The secret lies in a few key elements:
- The double-coating technique ensures the coconut adheres perfectly to each shrimp
- Using unsweetened coconut flakes allows the natural sweetness to shine without becoming cloying
- Ensuring oil temperature stays consistent delivers that golden exterior while keeping the shrimp tender
- Adding spices to the breading mixture creates depth that most restaurants can’t match
This recipe has become my go-to for entertaining because it consistently wows guests without requiring professional culinary skills. The visual appeal of golden-brown coconut shrimp arranged on a serving platter makes a statement before anyone takes their first bite.
What’s particularly special about these coconut shrimp is their versatility. They shine as an appetizer for cocktail parties when served with a tangy dipping sauce, but they can easily transition to a main course when paired with rice and vegetables.
For a complete meal experience, these coconut shrimp pair beautifully with a spicy dipping sauce that balances the sweetness. If you’re looking for another delicious shrimp option with a different flavor profile, you might enjoy trying my boom boom shrimp recipe which brings a creamy, spicy kick to the table.
The beauty of this recipe is its ability to feel special without being complicated. I’ve prepared it for casual weeknight dinners and elegant dinner parties alike. The combination of textures—crispy exterior giving way to succulent shrimp—creates a memorable eating experience that keeps everyone coming back for more.
What You’ll Need
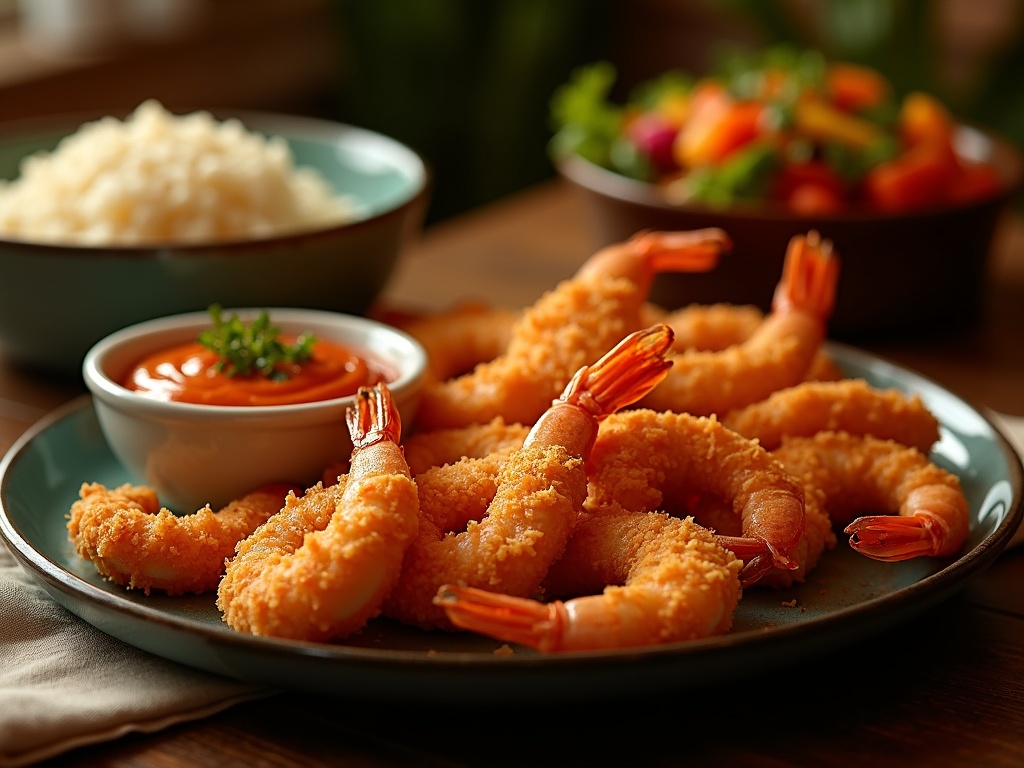
Getting your ingredients prepped and ready is the first step in making delicious coconut shrimp. I’ve put together this simple list of essentials that will help you create this tropical treat with ease.
Essential Ingredients
Before you start cooking, make sure you have these key items on hand:
- 1 pound large shrimp, peeled and deveined (leave the tails on for easier handling)
- 2 cups sweetened shredded coconut
- 1 cup all-purpose flour
- 2 beaten eggs
- 1/2 teaspoon salt
- 1/4 teaspoon black pepper
- Vegetable oil for frying
The size of the shrimp matters when making this dish. I recommend using large or jumbo shrimp for the best results – they create that perfect bite and impressive presentation. The sweetened coconut provides the signature tropical flavor, but you can use unsweetened if you prefer a less sweet version.
For the best texture, make sure your oil is at the right temperature (around 350°F) before frying. Too cold, and your shrimp will absorb too much oil; too hot, and the coconut might burn before the shrimp cooks through.
If you enjoy coconut shrimp, you might also want to try making boom boom shrimp for a spicier alternative that uses a similar cooking method.
Don’t forget to prepare a dipping sauce to complement your coconut shrimp – sweet chili sauce, pineapple salsa, or honey mustard all pair perfectly with the sweet coconut coating.
How to Make Perfect Coconut Shrimp
Crispy on the outside, tender on the inside—coconut shrimp is a crowd-pleaser that’s easier to make at home than you might think. I’ve perfected this technique over the years, and I’m excited to share my step-by-step process for creating restaurant-quality coconut shrimp in your own kitchen.
Preparing and Coating the Shrimp
First, pat your shrimp completely dry with paper towels. This crucial step removes excess moisture, which is the enemy of crispy coating. When shrimp are wet, the breading doesn’t adhere properly and can become soggy during frying.
Next, I set up a dredging station with three shallow dishes:
- Dish 1: All-purpose flour seasoned with a pinch of salt and pepper
- Dish 2: Beaten eggs (usually 2–3 eggs depending on how many shrimp you’re making)
- Dish 3: Shredded coconut mixed with panko breadcrumbs for extra crunch
The dredging process follows a specific order for the best results:
- Hold each shrimp by the tail and coat it lightly in flour, shaking off any excess
- Dip the floured shrimp into the egg mixture, allowing extra egg to drip off
- Finally, press it into the coconut mixture, ensuring the shrimp is completely covered except for the tail
This three-step coating creates the perfect layer that sticks to the shrimp throughout cooking and provides that signature crispy texture. For a flavor variation, I sometimes add a teaspoon of curry powder to the flour or some chile flakes for a spicy kick—similar to the heat you’d find in a boom boom shrimp recipe.
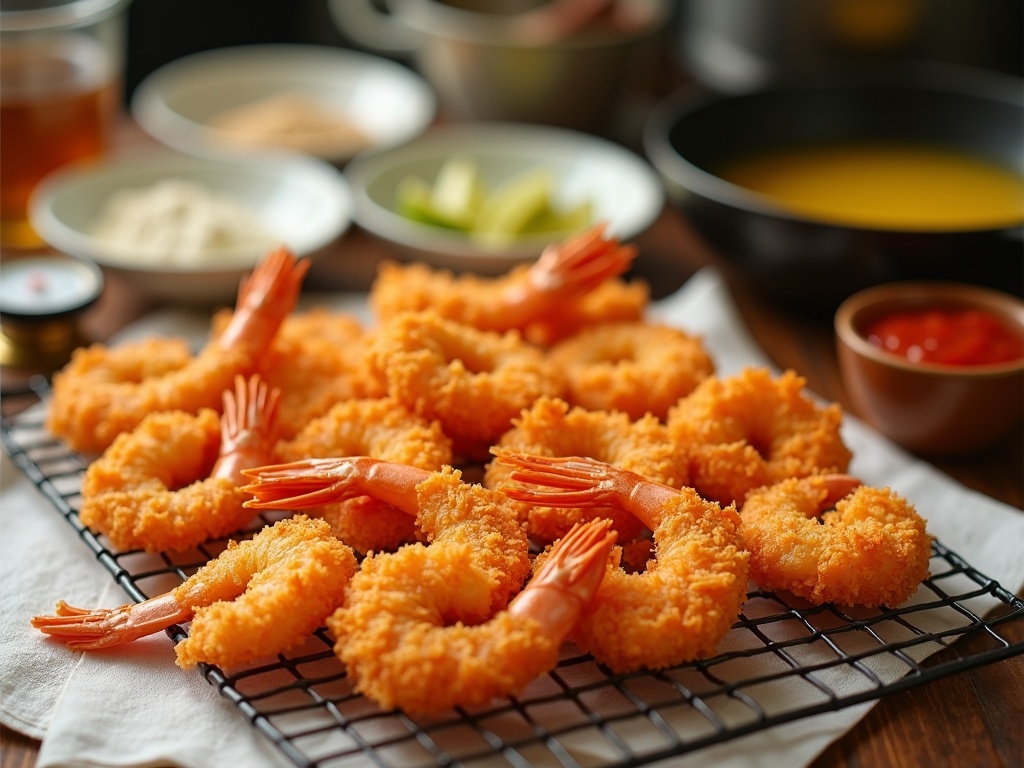
After coating all your shrimp, let them rest on a wire rack for about 5 minutes. This brief resting period helps the coating set, resulting in better adhesion during frying.
For frying, I heat vegetable or peanut oil in a deep pan or Dutch oven to exactly 350°F. Using a cooking thermometer is important here—oil that’s too cold will make greasy shrimp, while oil that’s too hot will burn the coconut before cooking the shrimp through.
Once the oil reaches temperature, carefully add a few shrimp at a time, being careful not to overcrowd the pan. Overcrowding causes the oil temperature to drop suddenly, leading to soggy results. The shrimp need about 2–3 minutes per side until they turn a beautiful golden brown.
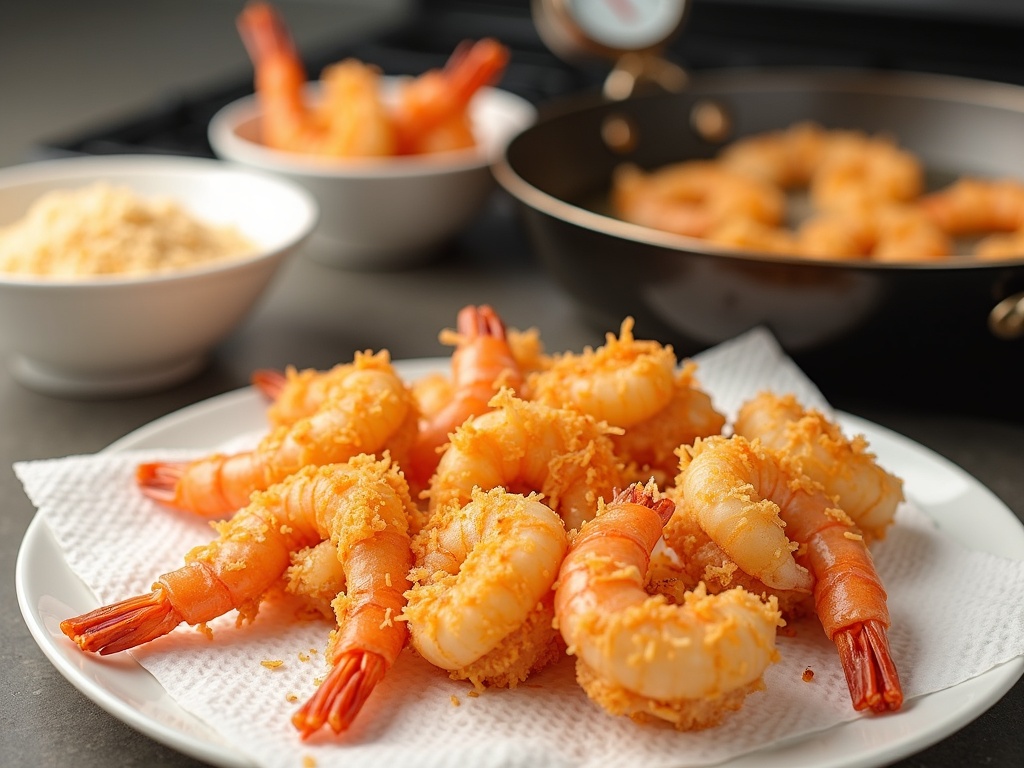
When they’ve reached that perfect color, I remove them with a slotted spoon and place them on paper towels to drain excess oil. I always sprinkle them with a tiny bit of salt while they’re still hot to enhance all the flavors.
The entire process from start to finish takes about 30 minutes, and the results are absolutely worth it. These homemade coconut shrimp have a delightful contrast between the sweet, crunchy exterior and the succulent shrimp inside.
Serve them immediately while still hot and crispy. They pair perfectly with a sweet chili sauce, mango salsa, or even a simple squeeze of lime juice for a tropical appetizer or main dish that’ll transport you to island time with every bite.
Essential Tips for Success
Making coconut shrimp at home might seem intimidating, but with a few key techniques, you’ll achieve restaurant-quality results. I’ve found these practical tips make all the difference between soggy disappointment and crispy perfection.
Temperature and Timing Control
Maintaining consistent oil temperature is absolutely critical. I always heat my oil to 350°F and monitor it with a thermometer throughout cooking. When you add shrimp to the oil, the temperature naturally drops. If it falls below 325°F, your coconut coating absorbs excess oil and turns soggy rather than crispy. Conversely, if your oil gets too hot (above 375°F), the coconut will burn before the shrimp cooks through.
Don’t rush the process by overcrowding your pan. Adding too many shrimp at once dramatically lowers the oil temperature and prevents proper browning. I cook in small batches of 4-5 shrimp at a time, giving each piece plenty of space. This approach ensures even cooking and that beautiful golden color on every piece.
Ingredient Selection and Technique
Size matters when making coconut shrimp. Large or jumbo shrimp (16-20 count per pound) give you the best texture contrast between the juicy interior and crispy exterior. I always choose fresh shrimp when possible, but properly thawed frozen shrimp work well too. Remember to devein them and leave the tails on for that classic presentation and convenient handling.
The coconut coating needs special attention. After dipping in your batter, press the coconut firmly onto each shrimp to help it adhere during frying. I find a gentle but firm pressing motion works best – you want that coconut to stay put! This technique ensures maximum crunch and flavor in every bite.
Once fried to golden perfection, drain your coconut shrimp recipe on paper towels immediately. This step removes excess oil and helps maintain that spectacular crispiness. I arrange them in a single layer rather than stacking, which can trap steam and soften your crunchy coating.
Following these straightforward techniques creates coconut shrimp with that ideal contrast of textures – crispy, golden exterior with tender, succulent shrimp inside. The effort is minimal compared to the impressive results you’ll achieve.
Common Mistakes to Avoid
Perfecting coconut shrimp takes practice, and I’ve noticed several critical errors that can turn this tropical delight into a disappointing dish. Learning to avoid these pitfalls will help you achieve that restaurant-quality coconut shrimp you’re aiming for.
Essential Preparation Steps
Using stale coconut is perhaps the most common mistake that ruins this dish before it even hits the oil. Fresh coconut flakes provide that signature sweet, tropical flavor and perfect crunch. When coconut sits too long on the shelf, it can develop a rancid taste that permeates the entire dish. I always smell the coconut before using it—it should have a sweet, pleasant aroma without any sour notes.
Skipping the flour coating might seem like a time-saver, but it’s actually a recipe for disaster. The flour layer serves as the glue that helps the egg wash and coconut adhere properly to the shrimp. Without this crucial step, you’ll end up with coconut that slides right off during frying, leaving you with naked shrimp and burnt coconut bits in your oil.
Temperature control makes or breaks your coconut shrimp. Frying at too low a temperature causes the shrimp to absorb excess oil, resulting in a greasy, soggy coating. Too high, and the coconut burns while the shrimp remains undercooked. I maintain my oil between 325°F and 350°F for that golden-brown exterior and perfectly cooked interior.
The deveining process is often rushed or skipped entirely by home cooks. This step isn’t just about appearance—the dark vein running along the back of the shrimp is actually the digestive tract, which can contain grit and impart a bitter taste. Taking an extra minute to remove it with a paring knife makes a significant difference in the final flavor profile.
These tips will help you avoid disappointment when making coconut shrimp at home. For another delicious shrimp option with a kick, check out my crispy boom boom shrimp recipe that pairs perfectly with these preparation techniques.
By avoiding these mistakes, you’ll create coconut shrimp that’s crispy on the outside, juicy on the inside, and packed with tropical flavor—rivaling any restaurant version you’ve tried.
Serving Suggestions
Coconut shrimp pairs beautifully with a variety of dipping sauces that enhance its tropical flavor profile. I’ve found that the right sauce can transform this appetizer from merely delicious to absolutely unforgettable. Let’s explore some perfect pairings that will make your coconut shrimp the star of any gathering.
Delicious Dipping Options
Sweet chili sauce offers the ideal balance of sweetness and spice that complements the coconut coating. The slight heat cuts through the richness of the fried shrimp while the sweetness echoes the tropical coconut notes. I keep a bottle in my refrigerator specifically for coconut shrimp nights.
Mango salsa brings a fresh, fruity dimension that elevates the dish. Fresh diced mango combined with red onion, jalapeño, lime juice, and cilantro creates a vibrant topping that adds both texture and bright flavor. The natural sweetness of mango perfectly balances the savory aspects of the shrimp.
Pineapple marmalade might be my favorite pairing for special occasions. This thick, sweet spread with chunks of pineapple creates a luxurious dipping experience. The tropical flavor connection between coconut and pineapple makes them natural partners on the plate.
Thai peanut sauce offers a more savory option with its creamy texture and complex flavor profile. The nutty richness pairs surprisingly well with coconut-crusted seafood, especially when the sauce includes hints of lime, ginger, and a touch of heat from red pepper flakes.
These coconut shrimp make an excellent appetizer on their own, but can also be transformed into a complete meal. For a full dinner presentation, I like to serve them:
- Atop a bed of jasmine rice with a drizzle of sweet chili sauce
- Alongside a crisp Asian-inspired slaw with sesame dressing
- In lettuce wraps with cucumber, carrots, and herbs
- As part of a tropical-themed dinner with grilled pineapple
If you’re looking for another fantastic shrimp option that pairs beautifully with many of these same sauces, boom boom shrimp delivers amazing flavor with a spicier kick.
When serving coconut shrimp at parties, I place each sauce in small individual bowls around a central platter. This arrangement encourages guests to try different flavor combinations while keeping the shrimp as the centerpiece of the display. For an extra touch, garnish your serving platter with lime wedges and fresh herbs to add color and freshness to the presentation.
Storage and Reheating
Coconut shrimp tastes best when served hot and fresh from the fryer or oven. The crispy texture and perfect balance of flavors shine when enjoyed immediately after cooking. However, I understand that sometimes you’ll have leftovers or want to prepare this dish ahead of time for convenience.
Proper Storage Techniques
If you find yourself with leftover coconut shrimp, don’t worry—they can still be enjoyable the next day if stored correctly. First, allow the shrimp to cool completely to room temperature. This prevents condensation from forming inside your storage container, which would make the coating soggy. Once cooled, place the shrimp in an airtight container, ideally with a paper towel on the bottom to absorb any excess moisture. The container should then go straight into the refrigerator.
Your coconut shrimp will stay good for up to 3 days when stored this way. I don’t recommend freezing already cooked coconut shrimp as the texture tends to deteriorate significantly, and the crispy coating often becomes chewy after thawing.
For those who want to prepare ahead, you can bread the raw shrimp and freeze them uncooked. Simply place them on a baking sheet in the freezer until solid, then transfer to a freezer bag. This method allows you to cook fresh, crispy coconut shrimp whenever the craving hits.
Reheating for Optimal Results
The key to enjoying leftover coconut shrimp is reheating them properly to restore that delightful crunch. Here are the best methods to bring your leftovers back to life:
- Oven reheating (preferred method) – Preheat your oven to 375°F and place the shrimp on a baking sheet lined with parchment paper.
- Heat for about 10 minutes, or until the coating becomes crispy again and the shrimp are heated through.
- For extra insurance against sogginess, place the shrimp on a wire rack over the baking sheet to allow air circulation.
- Check halfway through to ensure they don’t overcook.
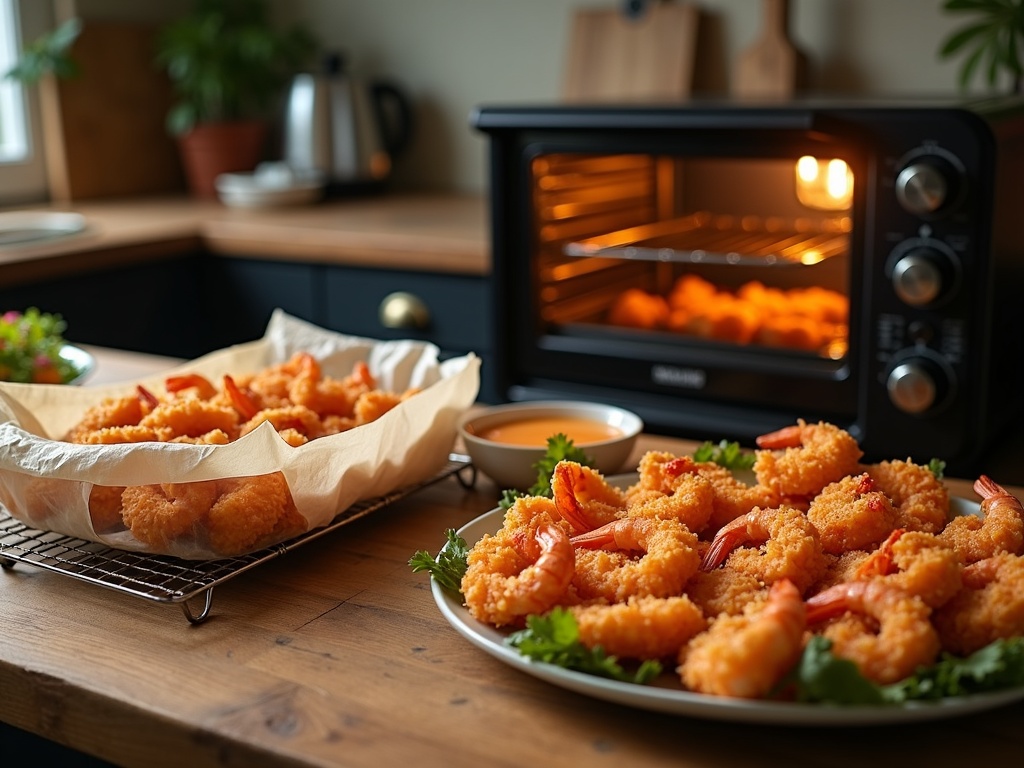
Avoid using the microwave to reheat coconut shrimp. Microwaves tend to create steam, which will make your once-crispy coating soft and rubbery. If you’re really in a hurry, a toaster oven works as a decent alternative to a conventional oven.
If you’re reheating coconut shrimp for a party or gathering, consider arranging them on a serving platter with fresh dipping sauce on the side. This presentation instantly refreshes the dish and makes your reheated leftovers look and taste nearly as good as freshly made ones.
For a complete meal experience, you might also want to try pairing reheated coconut shrimp with a fresh element like a citrus salad to balance the richness. Or transform them into something new by chopping the reheated shrimp and using them as a topping for tacos or a salad—similar to how you might use boom boom shrimp in various dishes.
With these storage and reheating tips, you can enjoy your coconut shrimp creation beyond just the initial serving, making the most of your cooking efforts and reducing food waste.
