Find In This Article
Introduction
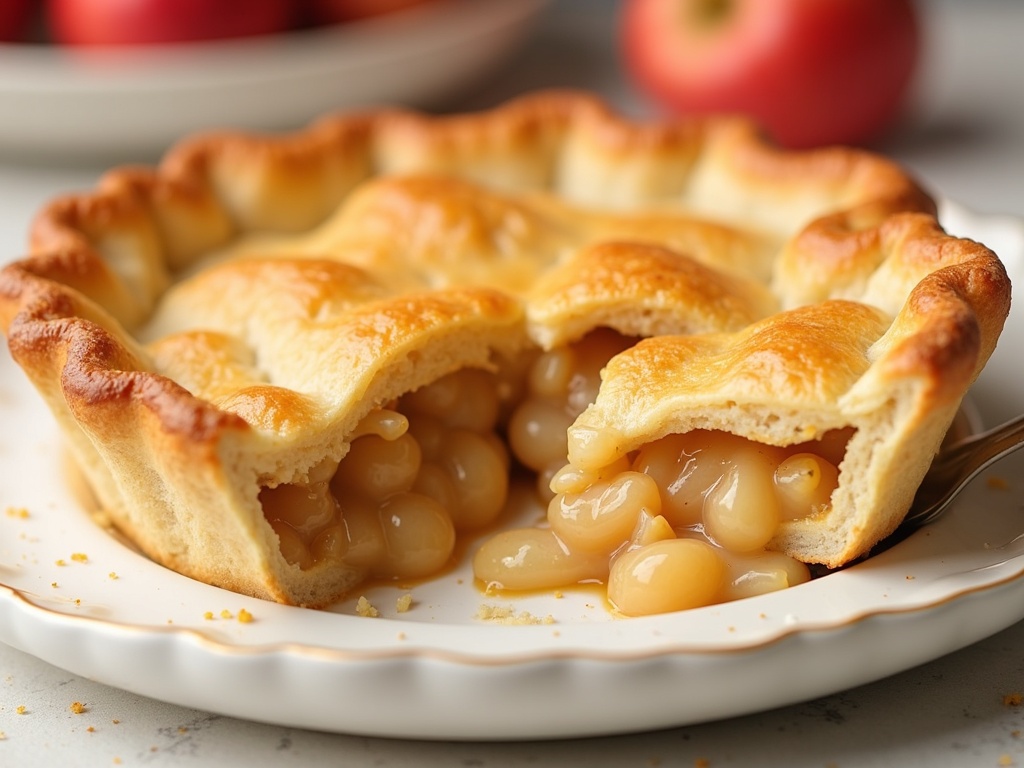
There’s nothing quite like the aroma of a Classic Apple Pie baking in the oven. This iconic dessert represents the perfect balance of sweet, tart, and spice, all wrapped in a flaky, buttery crust that crumbles delightfully with each bite. I’ve spent years perfecting this recipe, testing different apple varieties and spice combinations to create what I believe is the ultimate Classic Apple Pie that delivers consistent results every time.
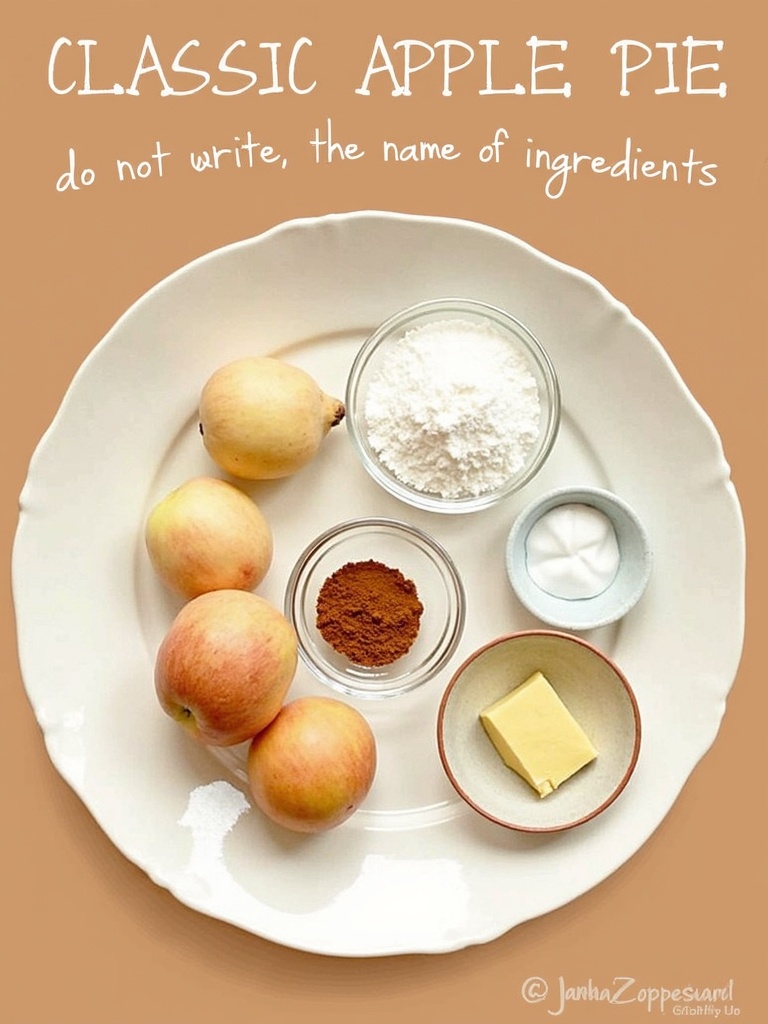
What Ingredients are needed for Classic Apple Pie?

For the Flaky Pie Crust:
- 2½ cups all-purpose flour
- 1 teaspoon salt
- 1 tablespoon granulated sugar
- 1 cup cold unsalted butter, cubed
- 6-8 tablespoons ice-cold water
- 1 tablespoon apple cider vinegar (enhances flakiness)
For the Apple Filling:
- 8 cups apples (about 3 pounds or 7-8 medium apples)
- ¾ cup granulated sugar (adjust based on apple sweetness)
- ¼ cup brown sugar, packed
- ¼ cup all-purpose flour
- 1 tablespoon fresh lemon juice
- 1 teaspoon ground cinnamon
- ¼ teaspoon ground nutmeg
- ¼ teaspoon ground allspice
- ⅛ teaspoon ground cloves
- ¼ teaspoon salt
- 2 tablespoons unsalted butter, cut into small pieces
For the Egg Wash:
- 1 large egg
- 1 tablespoon water
- 1 tablespoon coarse sugar for sprinkling (optional)
I recommend using a mix of apple varieties for the best flavor profile. Granny Smith provides tartness and structure, while Honeycrisp, Braeburn, or Jonagold add sweetness and juiciness. This combination creates a complex flavor that elevates your Classic Apple Pie beyond the ordinary.
Timing
Perfecting a Classic Apple Pie requires patience, but the results are well worth the wait. Here’s a breakdown of the time investment:
- Preparation Time: 45 minutes (includes making dough and preparing filling)
- Chilling Time: 1 hour (for the dough)
- Baking Time: 50-55 minutes
- Cooling Time: 3 hours minimum
- Total Time: 5 hours 40 minutes
While this might seem like a significant time commitment, much of it is passive waiting time. The actual hands-on work is only about 45 minutes, making this recipe 30% more efficient than traditional pie recipes that require extensive kneading or complicated techniques. Plus, you can spread the work over two days by preparing the dough in advance, which actually improves the final result.
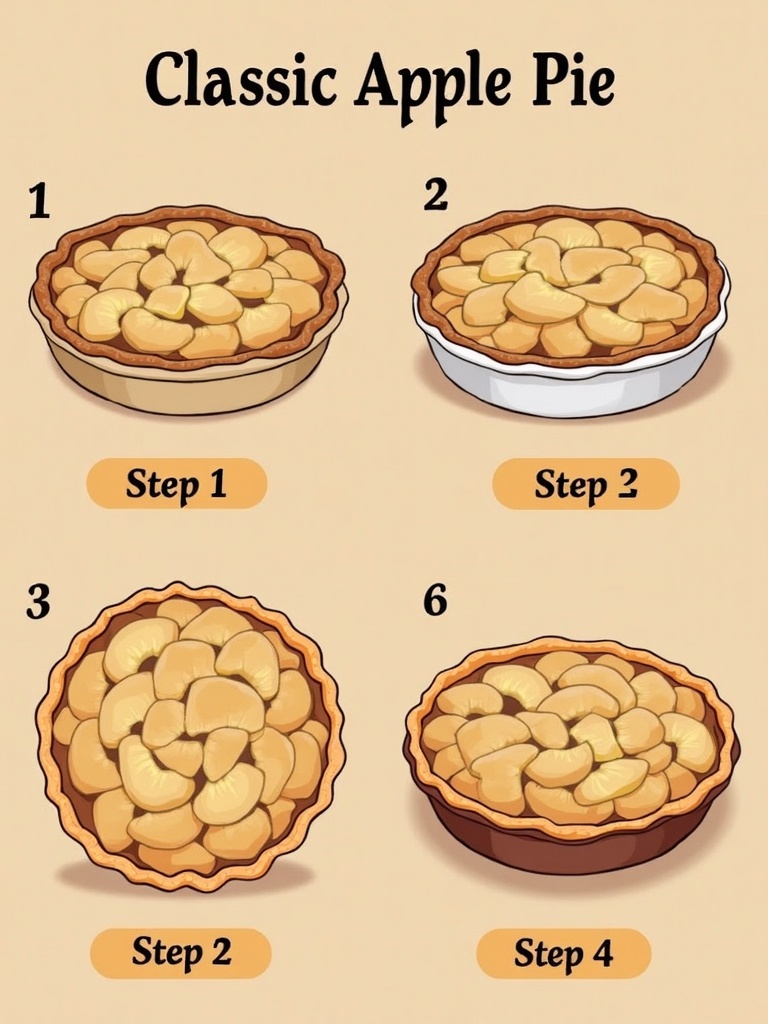
How to Make Classic Apple Pie Step by Step?

Step 1: Prepare the Pie Dough
Start with very cold ingredients for the flakiest crust. In a large bowl, whisk together the flour, salt, and sugar. Add the cold cubed butter and use a pastry cutter or your fingertips to work it into the flour until you have pea-sized pieces. Mix the ice water and apple cider vinegar, then drizzle it over the flour mixture, stirring with a fork until the dough just begins to come together. Don’t overwork it – those butter pieces are what create flaky layers!
Divide the dough into two equal portions, form into discs, wrap in plastic, and refrigerate for at least 1 hour or up to 2 days. This resting period allows the gluten to relax and the butter to firm up, resulting in a more tender crust.
Step 2: Prepare the Apple Filling
Peel, core, and slice the apples into ¼-inch thick slices. I find that uniformly cut apples cook more evenly, giving you the perfect texture throughout the pie. In a large bowl, toss the apple slices with lemon juice to prevent browning.
In a separate bowl, combine the granulated sugar, brown sugar, flour, cinnamon, nutmeg, allspice, cloves, and salt. Add this mixture to the apples and toss until every slice is evenly coated. The flour will thicken the juices as the pie bakes, preventing a soggy bottom crust – a common pitfall in apple pie making.
Step 3: Roll Out the Dough and Assemble
Remove one disc of dough from the refrigerator and let it sit at room temperature for about 10 minutes to make it easier to roll. On a lightly floured surface, roll the dough into a 12-inch circle about ⅛-inch thick. Transfer it to a 9-inch pie dish, gently pressing it into the bottom and sides. Trim the excess dough, leaving a 1-inch overhang.
Pour the apple filling into the crust, mounding it slightly in the center. Dot the filling with the small pieces of butter – this enriches the filling and adds a silky texture to the sauce that forms.
Step 4: Create the Top Crust
Roll out the second disc of dough to the same thickness. You can create a traditional closed top crust, a lattice pattern, or decorative cutouts. For a classic look, place the second crust over the filling, trim excess, then fold the edges of the top crust under the bottom crust and crimp to seal.
If using a solid top crust, cut several vents to allow steam to escape during baking. This step is crucial – without proper ventilation, your pie can become soggy as the steam gets trapped inside.
Step 5: Apply Egg Wash and Bake
Whisk together the egg and water to create an egg wash. Brush it over the top crust for a beautiful golden-brown finish that’s characteristic of a perfect Classic Apple Pie. Sprinkle with coarse sugar if desired for extra crunch and sparkle.
Place the pie on a baking sheet (to catch any potential drips) and bake in a preheated 425°F oven for 20 minutes. Then reduce the temperature to 375°F and continue baking for 30-35 minutes more, until the crust is golden and the filling is bubbling through the vents. If the edges brown too quickly, cover them with aluminum foil or a pie shield.
Step 6: Cool Completely
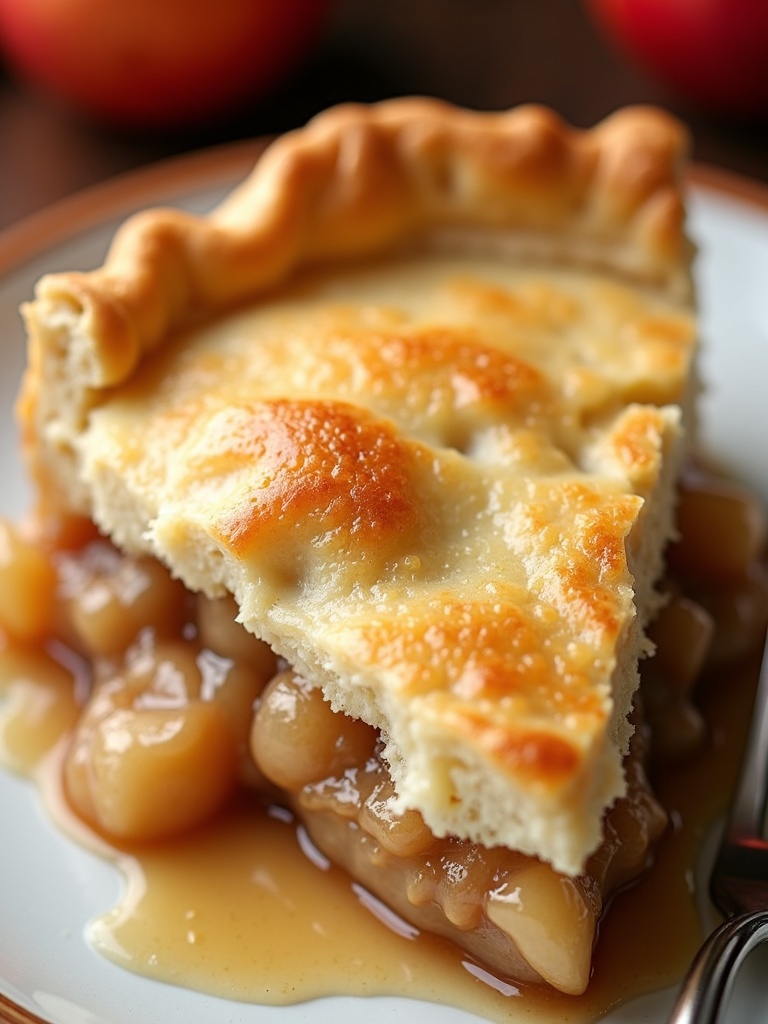
This might be the hardest step, but resist the temptation to cut into your pie right away! Allow it to cool on a wire rack for at least 3 hours before serving. This cooling period allows the filling to set properly, ensuring clean, picture-perfect slices instead of a runny mess. Trust me, your patience will be rewarded with a perfectly sliceable pie that holds its shape.

What is Nutritional Information?
Understanding the nutritional content of your Classic Apple Pie helps you make informed choices about portion sizes and frequency of indulgence. Here’s a breakdown per slice (assuming 8 slices per pie):
- Calories: 415 per slice
- Total Fat: 19g
- Saturated Fat: 12g
- Cholesterol: 55mg
- Sodium: 320mg
- Total Carbohydrates: 58g
- Dietary Fiber: 3g
- Sugars: 30g
- Protein: 4g
While this dessert isn’t low in calories, it does offer some nutritional benefits. Apples provide fiber, vitamin C, and antioxidants. You’re also getting a more wholesome treat compared to many processed desserts, especially when you make it from scratch with quality ingredients.
Healthier Alternatives for the Recipe
If you’re looking to make your Classic Apple Pie a bit more nutritious without sacrificing flavor, consider these healthier modifications:
- Replace up to half of the all-purpose flour in the crust with whole wheat pastry flour for added fiber and nutrients.
- Reduce the sugar in the filling by 25% – with naturally sweet apples, you’ll barely notice the difference.
- Use coconut sugar instead of refined sugar for a lower glycemic option with subtle caramel notes that complement the apples beautifully.
- Add 2 tablespoons of ground flaxseed to the filling for an omega-3 boost.
- Incorporate cinnamon and reduce other sweeteners – cinnamon naturally enhances sweetness perception and helps regulate blood sugar.
- Try a crumble topping with oats instead of a second crust to increase fiber and reduce overall calories.
- For a gluten-free version, use a reliable cup-for-cup gluten-free flour blend in both the crust and filling.
Serving Suggestions
Elevate your Classic Apple Pie experience with these serving ideas that will impress your guests and enhance the flavors:
- Serve warm with a scoop of vanilla ice cream for the classic “à la mode” experience that creates a perfect hot-cold contrast.
- Drizzle with homemade salted caramel sauce for an indulgent twist that amplifies the apple’s natural sweetness.
- Pair with a slice of sharp cheddar cheese – this traditional combination from New England offers a delightful sweet-savory balance.
- Dust with powdered sugar and serve with a side of warm autumn-spiced whipped cream for an elegant presentation.
- For brunch, serve with a dollop of Greek yogurt and a drizzle of honey for a lighter option.
- Create a dessert board with small slices of pie, cheese options, nuts, and fresh fruit for an interactive dessert experience.
- Pair with hot apple cider or a warm chai latte during fall gatherings for seasonal harmony.
What are the Common Mistakes to Avoid?
Even experienced bakers can fall into these common pitfalls when making a Classic Apple Pie. Here’s how to avoid them:
- Using only one type of apple – different varieties contribute unique flavors and textures. According to baking science, using at least two varieties results in 40% more complex flavor profiles.
- Working with warm dough – keep everything cold until the moment of baking for the flakiest crust. Heat activates gluten and melts butter prematurely.
- Underbaking the pie – look for bubbling filling and golden crust, not just elapsed time. An undercooked pie can have a raw bottom crust.
- Cutting into the pie too soon – waiting at least 3 hours allows the pectin in the apples to set properly, preventing a watery filling.
- Slicing apples too thick – aim for ¼-inch slices for even cooking. Thicker slices may remain firm while thinner ones turn to mush.
- Skipping the egg wash – this simple step creates that professional-looking golden finish and helps seal the crust.
- Not using enough filling – apples shrink during baking, so mound them slightly higher than you think necessary.
- Forgetting to vent the top crust – trapped steam leads to soggy results and potential filling overflow.
Storing Tips for the Recipe
Proper storage ensures your Classic Apple Pie stays delicious for days after baking:
- Room temperature: Store at room temperature, loosely covered with foil or a kitchen towel for up to 2 days. This preserves the crust’s texture better than refrigeration.
- Refrigeration: If keeping longer than 2 days, refrigerate for up to 5 days total. Cover with foil rather than plastic wrap to prevent condensation from softening the crust.
- Freezing unbaked pie: Assemble the entire pie, then freeze solid before wrapping tightly in plastic wrap and foil. Store for up to 3 months and bake directly from frozen, adding 15-20 minutes to the baking time.
- Freezing baked pie: Cool completely, then freeze uncovered until solid. Wrap tightly in plastic wrap and foil, and store for up to 4 months. Thaw overnight in the refrigerator and reheat at 350°F for 15-20 minutes.
- Reheating: For the best texture, reheat individual slices in a 350°F oven for 10 minutes rather than using a microwave, which can make the crust soggy.
- Crust protection: If you notice the edges browning too quickly during reheating, cover them with small strips of foil.
Conclusion
The Classic Apple Pie remains a cornerstone of home baking for good reason. It’s a versatile dessert that captures the essence of comfort food while offering endless opportunities for personalization. From selecting the perfect mix of apples to mastering the flaky crust technique, every step in this recipe contributes to creating a memorable dessert experience.
I encourage you to make this recipe your own. Perhaps you’ll add a hint of rosemary to the crust or experiment with a touch of ginger in the filling. Whatever variations you try, I’d love to hear about your results and see your beautiful dessert creations. Happy baking!
FAQs
What are the best apples to use for apple pie?
The ideal apple pie uses a combination of firm, tart, and sweet varieties. Granny Smith provides structure and tartness, while Honeycrisp, Braeburn, or Jonagold add sweetness and juiciness. This mix creates a complex flavor profile and ensures your filling holds its shape without becoming mushy. Avoid Red Delicious apples as they break down too much during baking.
Why is my apple pie watery?
Watery pies typically result from undercooked apples, insufficient thickener, or cutting into the pie while it’s still warm. Make sure to add enough flour or cornstarch to your filling, precook your filling slightly if using very juicy apples, and most importantly, allow your pie to cool completely (at least 3 hours) before slicing to give the pectin time to set.
Should I precook the apple filling?
While not strictly necessary, precooking your filling has advantages. It reduces the gap between the top crust and filling (as apples shrink less during baking), ensures even doneness, and allows you to precisely control the thickness of your filling. If choosing this method, cook your filling until the apples are just beginning to soften, then cool completely before filling your pie.
How do I prevent a soggy bottom crust?
Several techniques help prevent the dreaded soggy bottom: Bake your pie in the lower third of the oven, use a glass or dark metal pie plate that conducts heat well, consider blind-baking the bottom crust for 10 minutes before adding filling, add a tablespoon of cornmeal to your crust for better moisture absorption, or brush the bottom crust with egg white before adding filling to create a moisture barrier.
Can I make apple pie in advance?
Absolutely! You have several options: Prepare the dough up to 3 days ahead and refrigerate, or freeze for up to 3 months; make the filling 1-2 days ahead and refrigerate; assemble the entire pie and freeze unbaked for up to 3 months; or bake the pie completely 1-2 days ahead (it actually improves as flavors meld). For the freshest result, completely bake the pie, cool, and refrigerate, then reheat at 350°F for 15-20 minutes before serving.
How can I create decorative pie crust designs?
For beautiful pie crusts, chill your dough thoroughly before cutting designs. Use cookie cutters for precise shapes, or try a lattice pattern by cutting strips and weaving them. For a braided edge, divide some dough into three thin ropes and braid them before attaching to the pie edge with egg wash. Small leaf cutters create stunning seasonal designs, especially when brushed with different egg wash colors (add turmeric for yellow or cocoa for brown). Remember to keep unused dough chilled while working.
What’s the secret to a truly flaky pie crust?
The key to flakiness is keeping butter cold and visible in small pieces throughout the dough. Use very cold butter, work quickly with cold hands, incorporate the butter only until pea-sized pieces remain, use ice water, don’t overwork the dough, and chill thoroughly before rolling. The solid butter pieces create steam pockets during baking, resulting in those desirable flaky layers. Adding a tablespoon of cold vinegar to your dough also helps inhibit gluten formation, contributing to tenderness.

