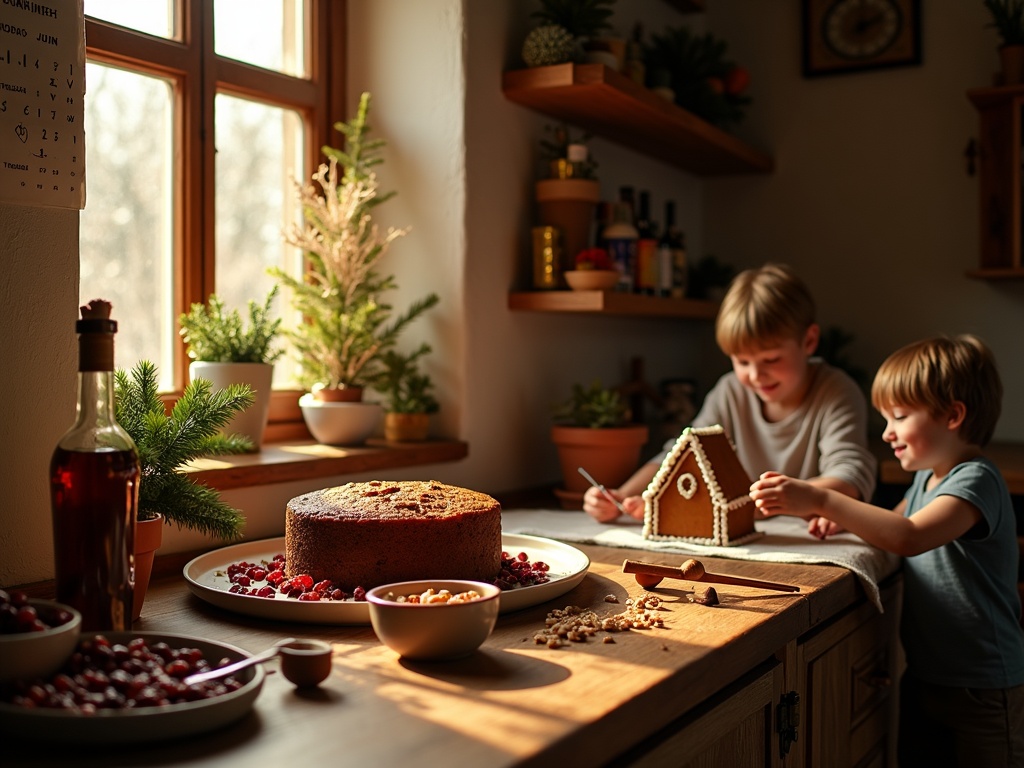
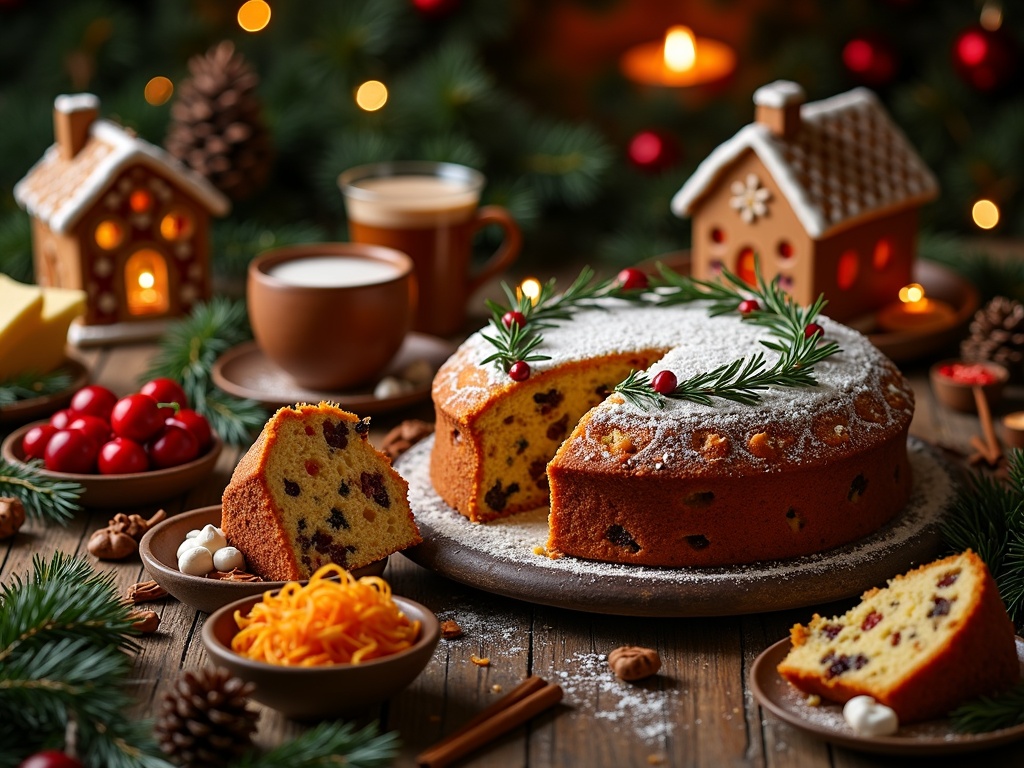
This classic Christmas cake recipe combines soaked dried fruits and warming spices to create a rich, aromatic centerpiece that gets better with time through the “feeding” process. The recipe balances traditional elements with practical simplicity, offering an authentic holiday experience while letting you prepare it well in advance.
Find In This Article
Key Takeaways
- Soaking dried fruits in brandy or rum overnight creates a naturally moist texture and infuses complex flavors throughout the cake.
- The ideal baking timeline is 2–3 months before Christmas, allowing flavors to mature through regular “feeding” with spirits.
- Proper storage in parchment paper and foil in a cool, dark place is essential for developing deep, rich flavors during maturation.
- A balanced blend of cinnamon, nutmeg, allspice, and cloves creates a sophisticated spice profile that complements the fruit without overwhelming it.
- The cake can be decorated traditionally with marzipan and royal icing or with simpler modern approaches like fresh seasonal garnishes.
What Makes This Christmas Cake Special
This Christmas cake creates the perfect centerpiece for holiday celebrations with its rich, deeply flavorful profile that immediately evokes fond memories of festive gatherings. I’ve perfected this recipe through years of holiday baking, focusing on achieving that ideal balance between traditional elements and practical simplicity that fits into modern busy schedules.
A Perfect Blend of Tradition and Flavor
The beauty of this cake lies in its carefully selected ingredients that work together harmoniously. The base combines plump, juicy dried fruits that have been soaked in brandy or rum, creating a naturally moist texture that doesn’t dry out. The fruits aren’t just tossed in; they’re allowed to absorb the spirit overnight, which infuses them with complex flavors and preserves their tenderness throughout the baking process.
What sets this Christmas recipe apart is the warming spice blend that permeates every bite. I’ve balanced cinnamon, nutmeg, allspice, and cloves to create a spice profile that’s distinctive without overwhelming the other flavors. Many family recipes tend to go heavy-handed with the spices, but I’ve found that moderation creates a more sophisticated flavor that appeals to a broader audience.
The cake’s structure strikes the perfect balance between density and tenderness. It’s substantial enough to hold up to the weight of dried fruits while maintaining a crumb that melts in your mouth rather than crumbling apart. This makes it ideal for both serving to guests and giving as thoughtful homemade gifts during the holiday season.
The Benefits of Advance Preparation
One of the most appealing aspects of this plum cake is that it actually improves with time. Making this cake months ahead of Christmas allows the flavors to mature and meld together in remarkable ways. The initial baking creates delicious but distinct flavor notes that, over time, transform into a harmonious blend that can’t be achieved with last-minute preparation.
After baking, I recommend “feeding” the cake with additional brandy or rum every few weeks. This process serves multiple purposes:
- It maintains the cake’s moisture throughout the storage period
- It develops deeper, more complex flavor profiles as the spirits interact with the fruit and spices
- It acts as a natural preservative, extending the cake’s shelf life considerably
- It intensifies the warm, comforting flavors associated with Christmas celebrations
The advance preparation also relieves holiday stress. While other desserts demand your attention during the busiest time of the year, this cake will already be waiting, perfectly matured and ready to serve or decorate according to your preferences.
You can finish the cake simply with a light dusting of powdered sugar, or take it to the next level with marzipan and royal icing for a more traditional presentation. The cake pairs wonderfully with a variety of holiday beverages, from mulled wine to hot chocolate.
For those feeling more adventurous, this cake also forms an excellent foundation for creating a spectacular gingerbread house centerpiece that combines two classic Christmas baking traditions.
The recipe’s flexibility means you can adjust certain elements to suit your taste preferences while maintaining the essential character that makes it special. Whether you prefer your Christmas cake alcohol-free, studded with different dried fruits, or topped with a specific decoration style, the core recipe adapts beautifully to personalization without sacrificing its festive charm.
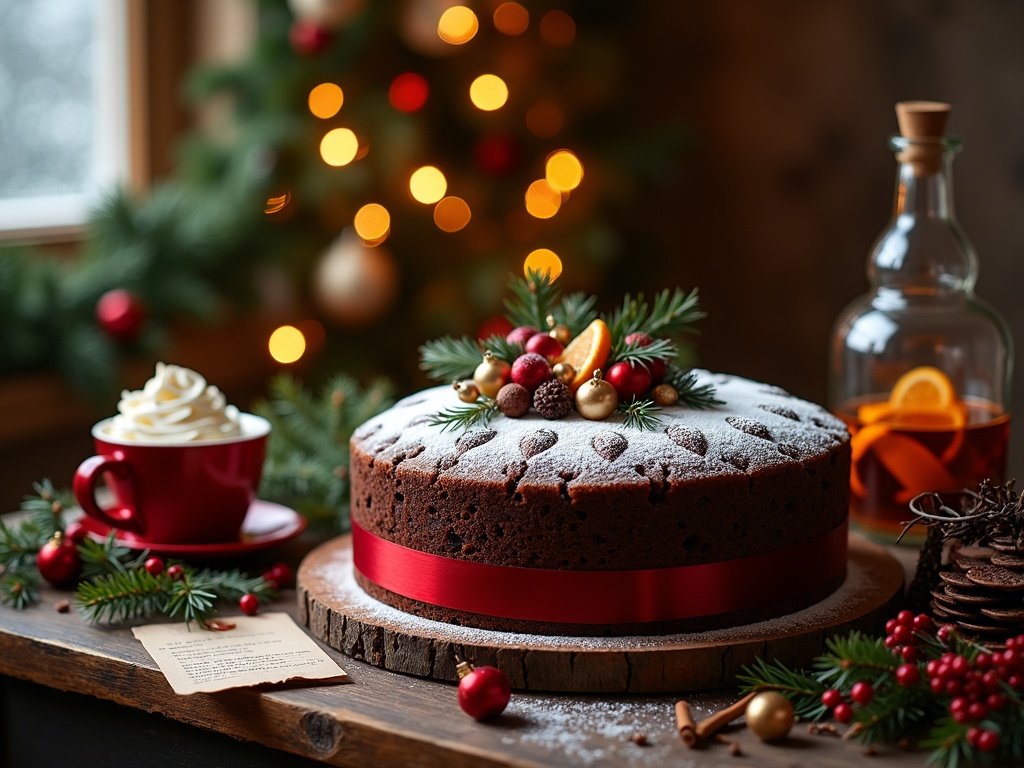
Essential Ingredients for Your Cake
Making a Christmas cake requires gathering quality ingredients that will create those rich, festive flavors we all associate with holiday baking. I’ve found that preparing everything ahead of time makes the process much smoother.
The Foundation Ingredients
The star of any Christmas cake is undoubtedly the dried fruit mixture. You’ll need 1kg of mixed dried fruits including raisins, currants, and sultanas. These provide the signature texture and sweetness that makes plum cake so special during the holidays.
For the cake structure, gather:
- 250g of softened butter (not melted)
- 200g of dark brown sugar for that caramel-like depth
- 4 large eggs to bind everything together
- 250g of all-purpose flour to provide structure
The spice combination truly defines the Christmas cake character. You’ll need:
- 2 teaspoons of mixed spice
- 1 teaspoon of cinnamon
- Zest of 1 lemon and 1 orange for that citrus brightness
The Secret Flavor Enhancer
The element that elevates a simple fruit cake to a proper Christmas cake is the addition of spirits. I recommend 100ml of brandy or rum, which adds complexity and helps preserve the cake. This is what gives traditional desserts like Christmas cake their distinct aroma and flavor profile.
Many bakers brush additional brandy or rum over the cake during the weeks leading up to Christmas. This “feeding” process intensifies the flavor and maintains moisture. If you’re making a gingerbread house alongside your cake, you can even use some of the same spices for a cohesive holiday flavor theme.
The quality of your ingredients matters significantly. I’ve discovered that organic dried fruits without added sulfites offer better flavor, while grass-fed butter contributes a richer taste to the final cake. When selecting your brandy or rum, choose something you’d enjoy drinking – the flavor will concentrate as the cake matures.
Step-by-Step Baking Instructions
The magic of a perfect Christmas cake recipe lies in the careful execution of each step. I’ve broken down the process to help you create that rich, moist cake that’s packed with festive flavor.
Preparation
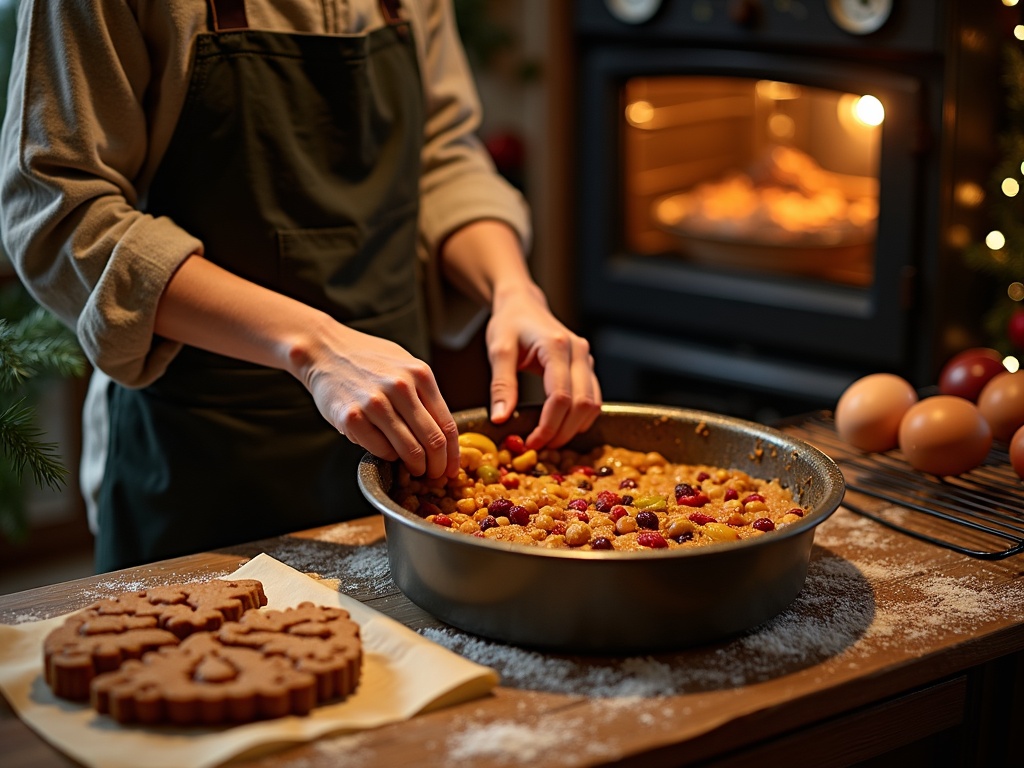
Soaking your dried fruits overnight in brandy is the crucial first step. This process plumps up the fruits and infuses them with that signature boozy flavor. Pour enough brandy to just cover the fruits, stir well, and cover with cling film.
Before starting the batter, I recommend preparing your cake tin properly. Line a deep, round cake tin with two layers of parchment paper, extending about 2 inches above the rim. This extra collar prevents the cake from burning during the long bake time.
Making the Batter
Start by creaming butter and sugar until you achieve a light, pale mixture with a fluffy texture. This typically takes 5–7 minutes with an electric mixer and incorporates air for a better rise.
Add eggs one at a time, beating well after each addition. If the mixture looks like it’s curdling, add a tablespoon of your measured flour to stabilize it.
Next, fold in the flour and spices gently using a metal spoon or silicone spatula. Movement should be light and come from the wrist, cutting down through the mixture, across the bottom, and folding over the top to maintain air in the batter.
Here’s what goes into the final mixing stage:
- Add the soaked fruits (with any remaining liquid) gradually
- Incorporate orange and lemon zests for brightness
- Stir until evenly distributed but avoid overmixing
- Pour the mixture into your prepared tin and level the surface
Bake at 150°C for 3–4 hours, checking after 3 hours by inserting a skewer into the center. If it comes out clean, your cake is done. For added moisture, I sometimes pierce the top several times with a skewer while still warm and drizzle with extra brandy.
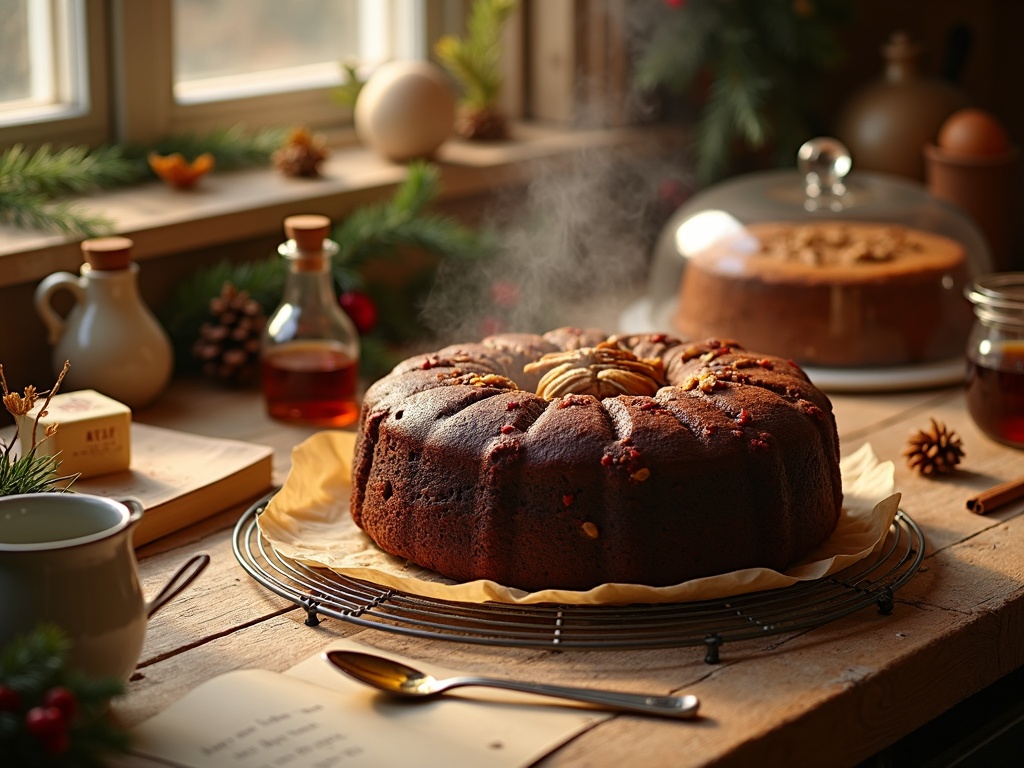
The low, slow bake ensures even cooking throughout the dense mixture, developing those complex plum cake flavors. A properly baked Christmas cake should have a deep, burnished color and firm texture, with a slight spring when pressed.
For those feeling creative, this batter also works beautifully in smaller tins for desserts or can be adapted for a stunning gingerbread house recipe base with a few modifications to the spice quantities.
Decorating Your Festive Masterpiece
Once your Christmas cake has cooled completely, it’s time for the really fun part – decorating! I’ve found that this stage truly transforms a simple fruitcake into a showstopping centerpiece worthy of your holiday table. There are several approaches you can take, from traditional to contemporary, depending on your personal style and taste preferences.
Classic Christmas Cake Decoration
The traditional approach to decorating a Christmas cake involves multiple layers that create a beautiful finish that’s stood the test of time.
Marzipan forms the essential first layer on any traditional Christmas cake. I always start by warming apricot jam and brushing it over the entire cake to help the marzipan adhere properly. Then I roll out the marzipan to about 5mm thickness and carefully drape it over the cake, smoothing gently to remove air bubbles. This creates a smooth foundation for the icing and adds a delicious almond flavor that perfectly complements the rich Christmas recipes fruitcake beneath.
After allowing the marzipan to dry for 24-48 hours, it’s time for royal icing. I mix egg whites, confectioners’ sugar, and a splash of lemon juice until stiff peaks form. You can opt for a perfectly smooth finish by using a palette knife dipped in hot water, or create a snow-like effect by gently lifting the icing with the back of a spoon to form peaks. For a professional touch, I sometimes pipe additional decorations like snowflakes or holly leaves directly onto the dried royal icing.
For those who enjoy a simpler decoration, glazed fruits make a stunning topping. Here’s what you’ll need:
- Assorted dried fruits (apricots, figs, cherries)
- Nuts (almonds, walnuts, pecans)
- Clear apricot glaze
- Edible gold leaf or dust (optional)
Arrange the fruits and nuts in an attractive pattern on top of your cake, then brush with warmed, strained apricot jam for a beautiful shine. This approach works wonderfully on plum cake variations as well, highlighting the natural beauty of the ingredients.
Modern Cake Decorating Approaches
The naked cake style has gained popularity in recent years, and it works beautifully for Christmas cakes. Instead of covering the entire cake, I apply a thin layer of buttercream frosting and scrape most of it off, allowing the dark, rich cake to show through. This creates a rustic yet elegant appearance that’s perfect for contemporary holiday gatherings.
For a striking naked cake finish, I garnish with fresh seasonal elements like:
- Rosemary sprigs
- Fresh cranberries
- Cinnamon sticks
- Star anise
- Orange slices
These natural decorations not only look beautiful but also hint at the flavors within. This approach is particularly effective if you’re making a gingerbread house recipe alongside your cake, as they share similar aromatic spices.
Another modern option is to use fondant for a perfectly smooth finish, then add hand-painted designs or edible printed images. I’ve created everything from winter landscapes to festive patterns using food coloring mixed with a tiny bit of vodka (which evaporates, leaving just the color).
For families with children, decorating can become a fun group activity. Roll out fondant in different colors and use cookie cutters to create Christmas shapes like trees, stars, and candy canes. Attach these to the cake with a small amount of water or edible glue for an adorable finish that kids will love.
Whether you prefer the traditional marzipan and royal icing approach or something more contemporary, the decoration phase transforms your fruit-filled creation into a true desserts centerpiece. Don’t be afraid to experiment and let your creativity shine through – after all, that personal touch is what makes holiday baking so special.
Storage and Feeding Tips
Proper storage and regular feeding are crucial for developing the rich, deep flavors in your Christmas cake. I’ve found that these techniques make all the difference between an ordinary fruitcake and an extraordinary festive centerpiece.
Optimal Storage Conditions
After baking your Christmas cake recipe, let it cool completely before beginning the storage process. The ideal environment for maturing your cake is somewhere cool, dark, and away from fluctuating temperatures. A pantry or cellar works perfectly—avoid refrigerators as they can dry out your cake.
For the best protection, I recommend double-wrapping your cake. First, wrap it tightly in parchment paper to maintain moisture, then create an outer layer of aluminum foil to seal in flavors and aromas. This dual-layer approach prevents the cake from drying out while allowing it to mature properly.
The Art of Feeding
“Feeding” your plum cake involves adding small amounts of alcohol to intensify flavors and help with preservation. Here’s my tried-and-tested feeding routine:
- Every two weeks, unwrap your cake and flip it upside down
- Use a skewer to poke several holes across the surface
- Slowly spoon 1-2 tablespoons of brandy over the cake, allowing it to soak in
- Re-wrap in fresh parchment and foil before returning to storage
This process can continue for up to three months before serving, though even a month of feeding will create a wonderfully mature cake. For those creating a gingerbread house recipe or other non-alcoholic treats, you’ll skip this step, but traditional Christmas cake benefits immensely from this maturation technique.
The feeding process gradually transforms your cake, creating deeper flavors and that characteristic moist, dense texture that makes Christmas cakes so special. The alcohol doesn’t just add flavor—it acts as a natural preservative, extending your cake’s shelf life considerably.
For families with a sweet tooth, you might consider making both a traditional Christmas cake and some faster desserts that don’t require this long maturation period.
When the big day approaches, I recommend stopping the feeding process about a week before you plan to serve or ice the cake. This allows the surface to dry slightly, making it easier to add marzipan and icing if desired.
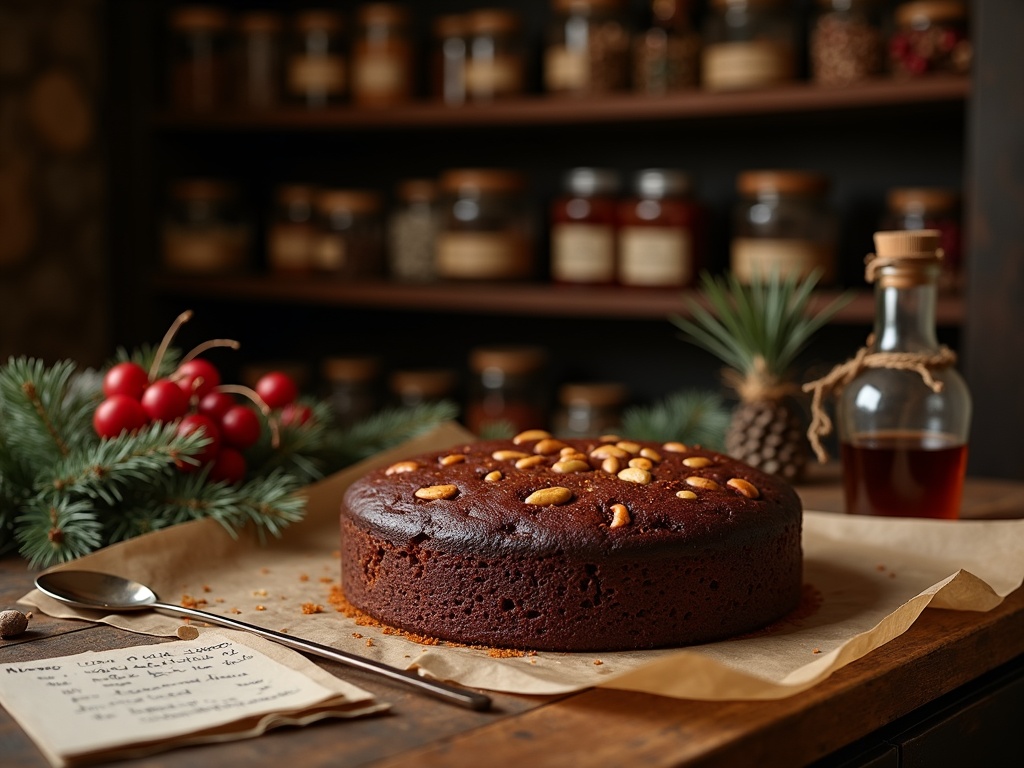
Common Mistakes to Watch Out For
Making a Christmas cake can be tricky if you’re not aware of the potential pitfalls along the way. I’ve learned through many holiday baking sessions that avoiding these common errors can make the difference between a cake that’s remembered for years and one that’s quickly forgotten.
Before Baking Preparations
Skipping the fruit soaking step is perhaps the most critical mistake I see new bakers make. Soaking dried fruits in alcohol or juice isn’t just a fancy tradition – it’s essential for creating that rich, moist texture that defines a proper Christmas cake recipe. Dry fruits that haven’t been soaked won’t properly hydrate during baking, resulting in a cake with hard, chewy bits instead of soft, juicy morsels.
Not lining the tin properly can also lead to disaster. Christmas cakes are dense and take a long time to bake, so proper lining prevents the edges from burning. I recommend using double layers of parchment paper, with the paper extending about 2 inches above the rim of the tin to protect the top of the cake as it rises.
Baking Process Problems
Incorrect oven temperature ranks high on the list of Christmas cake failures. These cakes need to bake slowly at a lower temperature (usually around 275–300°F / 135–150°C). Setting your oven too high will result in a cake that’s burned on the outside but uncooked in the center. Always use an oven thermometer to verify the temperature, as many ovens run hotter or cooler than their displays indicate.
Over-mixing the batter is another common error that can ruin the texture of your plum cake. Once you add the flour, minimal mixing is required – just enough to incorporate all ingredients. Too much mixing develops the gluten, creating a tough rather than tender crumb. I follow the “fold, don’t beat” rule after adding flour to ensure a delicate texture in the finished cake.
If you’re looking to expand your holiday baking skills beyond traditional Christmas cake, trying your hand at a gingerbread house recipe or other festive desserts can be a wonderful way to create more holiday memories in the kitchen. Many of these same principles apply across different holiday baking projects.
Expert Baking Tips
Getting your Christmas cake just right involves more than just following a recipe. I’ve learned through years of holiday baking that small techniques can make an enormous difference in the final result. Let me share some practical advice that’ll help elevate your Christmas cake recipe from good to spectacular.
Preparation Techniques
Starting with room temperature ingredients is absolutely crucial for a well-mixed, evenly textured cake. Cold ingredients don’t combine properly, leaving you with a lumpy batter that won’t rise correctly. I always set my butter, eggs, and milk on the counter about an hour before I plan to start baking. This simple step makes creaming butter and sugar much easier and creates a smoother, more consistent cake batter.
Checking for doneness is another critical skill in Christmas cake baking. Because these cakes are dense and packed with fruit, the traditional toothpick test needs a slight modification. Instead, use a long skewer or thin knife inserted into the center of the cake. When it comes out clean or with just a few moist crumbs (not wet batter), your cake is perfectly baked. If you’re making a traditional dark plum cake, remember that it should feel firm to a gentle touch and have slightly pulled away from the sides of the pan.
Post-Baking Care
The care you provide after baking is just as important as the mixing and baking process itself. Patience plays a key role here. Always let your Christmas cake cool completely before attempting to store it. I typically leave mine in the pan for about 20–30 minutes, then transfer to a wire rack to finish cooling entirely. Rushing this process can cause your cake to crumble or lose its structure.
For fruit-filled Christmas cakes that benefit from aging, the “feeding” process adds flavor and moisture. The first feeding should happen while the cake is still slightly warm, not hot. This initial feeding allows the cake to absorb the spirits more effectively as the warmth opens up the cake’s pores. To properly feed your cake:
- Make small holes in the top using a skewer or toothpick
- Drizzle 1–2 tablespoons of your chosen spirit (brandy, rum, or whiskey work well)
- Allow it to soak in completely before wrapping
- Continue feeding weekly until about a week before serving
After the initial feeding and cooling, wrap your cake tightly in parchment paper followed by foil or place it in an airtight container. Store in a cool, dark place—not the refrigerator, which can dry it out. This proper storage helps develop the deep, rich flavors that make Christmas desserts so special.
If you’re making a cake that will be decorated, such as with marzipan and royal icing or as part of a gingerbread house recipe display, ensure it’s completely cool and has finished its feeding schedule before applying any coverings.
The most common mistake I see bakers make is cutting into their Christmas cake too soon. These cakes benefit tremendously from resting time—ideally at least a week, though traditional fruit cakes can mature beautifully for months. This resting period allows flavors to meld and deepen, transforming your cake from simply tasty to truly memorable.
By paying attention to these details throughout the process, you’ll create a Christmas cake that becomes a cherished part of your holiday tradition, worthy of being passed down through generations.
Helpful Time-Saving Tricks
The holiday season gets busy, and making a Christmas cake shouldn’t add stress to your celebrations. I’ve discovered several shortcuts that save precious time without compromising on flavor or quality.
Smart Preparation Strategies
Prepare fruits days ahead to give yourself a head start. I like to chop and soak dried fruits in rum or brandy up to a week before baking. This not only distributes the workload but also enhances the flavor as the fruits absorb the alcohol. Simply store them in an airtight container in a cool, dark place, stirring occasionally to ensure even soaking.
Mix dry ingredients beforehand to eliminate measuring on baking day. I combine flour, spices, salt, and leavening agents in a labeled container up to three days ahead. This simple step saves surprising amounts of time when you’re ready to mix your final batter.
Consider making multiple small cakes instead of one large one. Smaller cakes require less baking time and cool faster. They also make perfect gifts! I’ve found that dividing the batter between four 4-inch cake pans instead of one 8-inch pan cuts the baking time almost in half.
Using pre-soaked dried fruits can be a game-changer. Many specialty stores offer dried fruits that have already been macerated in spirits, ready to use. While slightly more expensive than plain dried fruits, they eliminate the 24-48 hour soaking period typically needed for a rich plum cake.
I’ve found these shortcuts particularly helpful when making traditional desserts during the busy holiday season. They work equally well whether you’re making a classic fruit cake or experimenting with a gingerbread house recipe alongside your cake.
The key to successful Christmas cake baking isn’t spending more time but using your time wisely. By breaking down the process into manageable steps spread across days, you’ll find the experience much more enjoyable and less rushed – leaving you more energy to focus on other holiday preparations.
When to Start Baking
I always tell people that timing is essential when it comes to creating the perfect Christmas cake. The rich flavors need time to develop, making advanced preparation one of the secrets to a truly memorable holiday centerpiece.
The Ideal Timeline
For the best results, I recommend starting your Christmas cake 2–3 months before the big day. This extended maturation period allows the dried fruits to fully absorb the alcohol and release their complex flavors throughout the cake. The earliest I typically start is late September or early October, which gives plenty of time for the cake to develop those deep, rich notes that make Christmas recipes so special.
During this maturation period, I “feed” the cake by periodically adding small amounts of brandy, rum, or whiskey. This process not only enhances the flavor but also helps preserve the cake naturally. Every week or two, I simply poke small holes in the top of the cake with a skewer and drizzle 1–2 tablespoons of spirits over it before rewrapping.
The transformation is remarkable—what starts as a good cake becomes extraordinary with proper aging. The texture softens, the flavors meld, and the entire cake develops that characteristic Christmas depth that can’t be rushed.
Working With Limited Time
If you can’t manage the full 2–3 months, don’t worry—your cake will still be delicious! The minimum time I suggest for decent maturation is about 3 weeks before Christmas. While this shorter timeframe won’t develop quite the same depth of flavor, it’s sufficient to create a cake that’s moist and flavorful.
With a 3-week timeline, I increase the feeding frequency slightly, perhaps every 3–4 days instead of weekly. This helps accelerate the maturation process as much as possible. I also ensure the initial soaking of dried fruits is thorough—letting them sit overnight in alcohol before baking helps jump-start the flavor infusion.
For those truly pressed for time, you can make a last-minute Christmas cake. While it won’t have the same matured character, there are several techniques to enhance the flavor:
- Use pre-soaked dried fruits (many specialty stores sell these during the holiday season)
- Opt for a recipe specifically designed for shorter maturation periods
- Choose a recipe with more fresh citrus zest and juice for immediate flavor impact
- Consider including plum cake elements, which can taste wonderful even when freshly baked
Even without extended aging, a freshly baked dessert made with quality ingredients will still be enjoyable. After all, not every Christmas tradition needs to start months in advance—sometimes the joy is in the spontaneous baking session just days before the celebration.
Regardless of when you start, proper storage is crucial. I wrap my cakes in parchment paper followed by foil, then store them in an airtight container in a cool, dark place. This protects the cake during maturation and helps the flavors develop consistently.
For families with children who enjoy holiday baking activities, you might consider using some of your time to create a gingerbread house recipe alongside your Christmas cake preparations. While the cake matures, these quicker projects provide immediate satisfaction and build holiday excitement.
