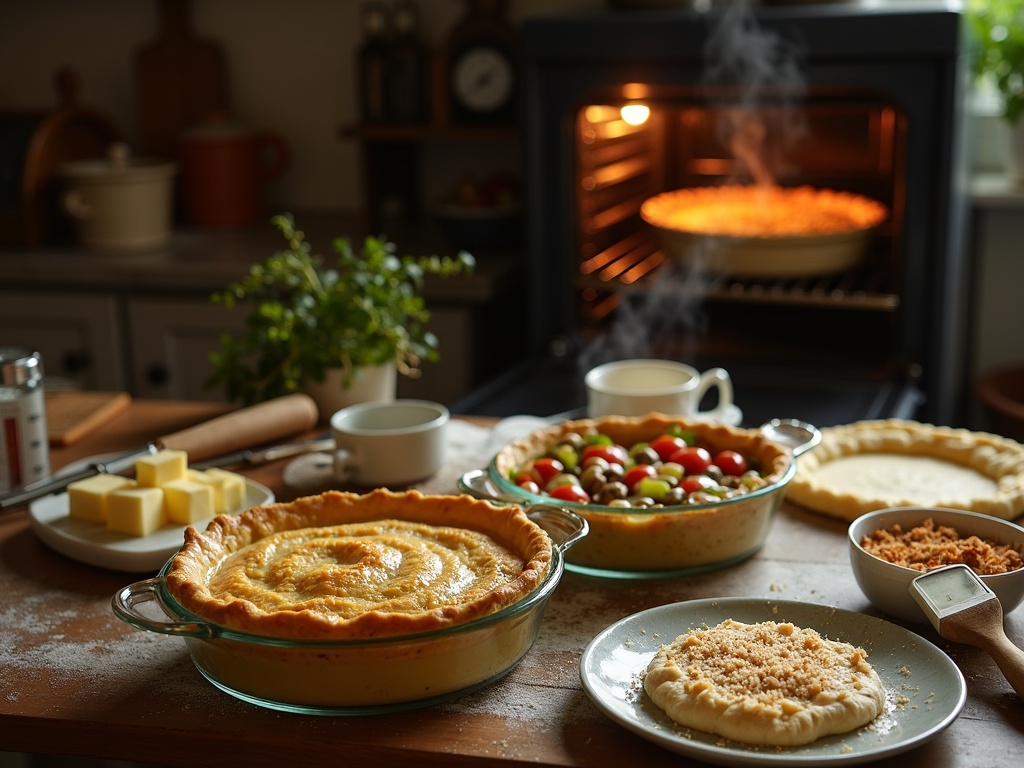
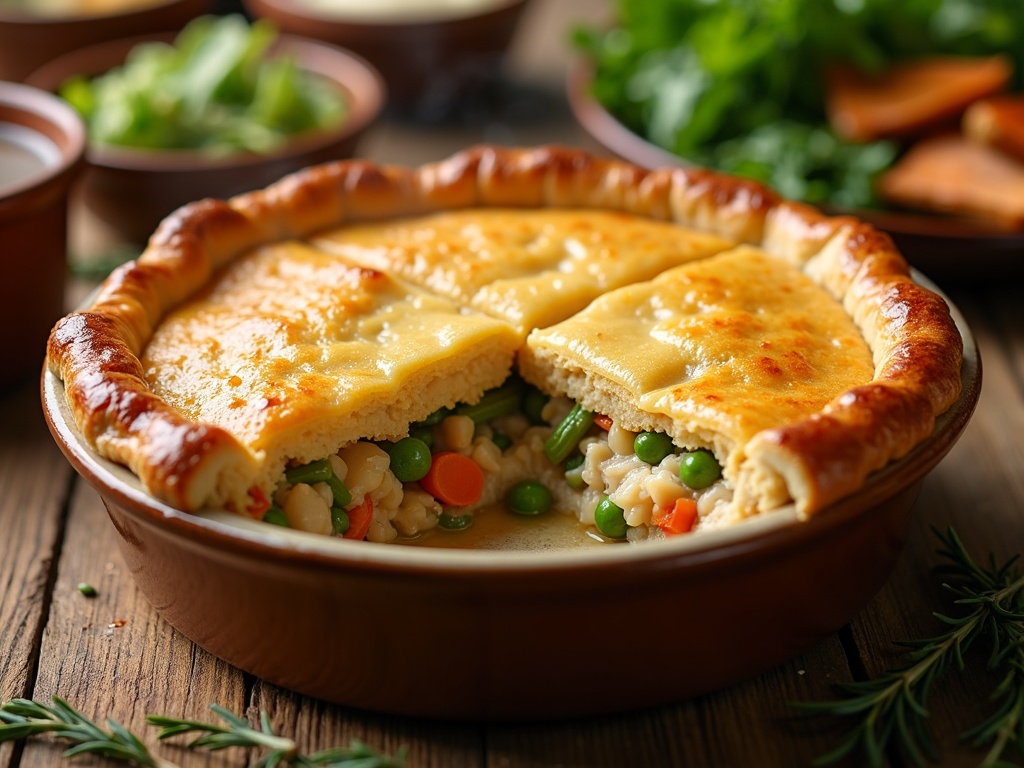
This classic chicken pie recipe combines a buttery, flaky crust with a creamy chicken filling, creating a comforting dish that’s perfect for both weeknight dinners and special gatherings. The magic happens when the golden crust meets the velvety sauce and tender chicken chunks, delivering a texture contrast that makes each bite irresistibly satisfying.
Find In This Article
Key Takeaways
- The recipe comes together in less than 90 minutes, making it quick enough for weeknights while impressive enough for gatherings.
- For the perfect flaky crust, use cold ingredients and consider blind baking the bottom crust to prevent sogginess.
- Let the filling cool completely before assembly to avoid a soggy bottom, and cut vents in the top crust to release steam.
- The pie can be prepared ahead of time and refrigerated for up to 24 hours or frozen for up to 3 months.
- Customize with alternative crusts like puff pastry or phyllo dough, and experiment with different vegetables such as leeks, mushrooms, or butternut squash.
Why This Recipe Will Become Your Family Favorite
I’ve created this chicken pie recipe to satisfy both traditionalists and those looking for something with a contemporary twist. The magic happens when the flaky, buttery crust meets the creamy chicken filling – creating a texture contrast that’s simply irresistible. Each bite delivers that comforting sensation that only homemade dishes can provide.
Perfect Balance of Texture and Flavor
The crust bakes to golden perfection, with layers that shatter delicately with each forkful. Inside, you’ll find tender chunks of chicken swimming in a velvety sauce that’s seasoned just right – not too rich, but flavorful enough to make you close your eyes in appreciation with each bite. If you enjoy this balance of textures, you might also love my hearty cottage pie recipe which features a similar contrast between topping and filling.
The filling incorporates fresh vegetables that provide both color and nutritional value, making this more than just an indulgent meal. I’ve carefully balanced the seasoning to complement the chicken without overpowering it.
Quick Enough for Weeknights, Special Enough for Gatherings
What makes this recipe particularly appealing is that it comes together in less than 90 minutes from start to finish. That’s quick enough to prepare on a busy weeknight when you’re craving something homemade but short on time. The steps are straightforward:
- Prepare the crust while the chicken mixture simmers
- Assemble the pie in about 10 minutes
- Bake for 35-40 minutes while you handle other tasks
The results rival dishes that take twice as long to prepare, making this an efficient addition to your recipe collection. When serving, I like to pair it with a simple green salad for a complete meal that satisfies everyone at the table.
This recipe bridges the gap between classic comfort food and modern convenience. I’ve taken traditional elements that make Southern fried chicken so beloved and transformed them into a complete meal. The aromatics – onions, garlic, and herbs – create a fragrance that will draw family members to the kitchen before the pie even comes out of the oven.
Give this recipe a try when you want to serve something that feels like a warm hug on a plate. After mastering this savory option, you might want to explore making a peach pie recipe for dessert to create a memorable pie-themed dinner experience.
Everything You’ll Need for This Pie
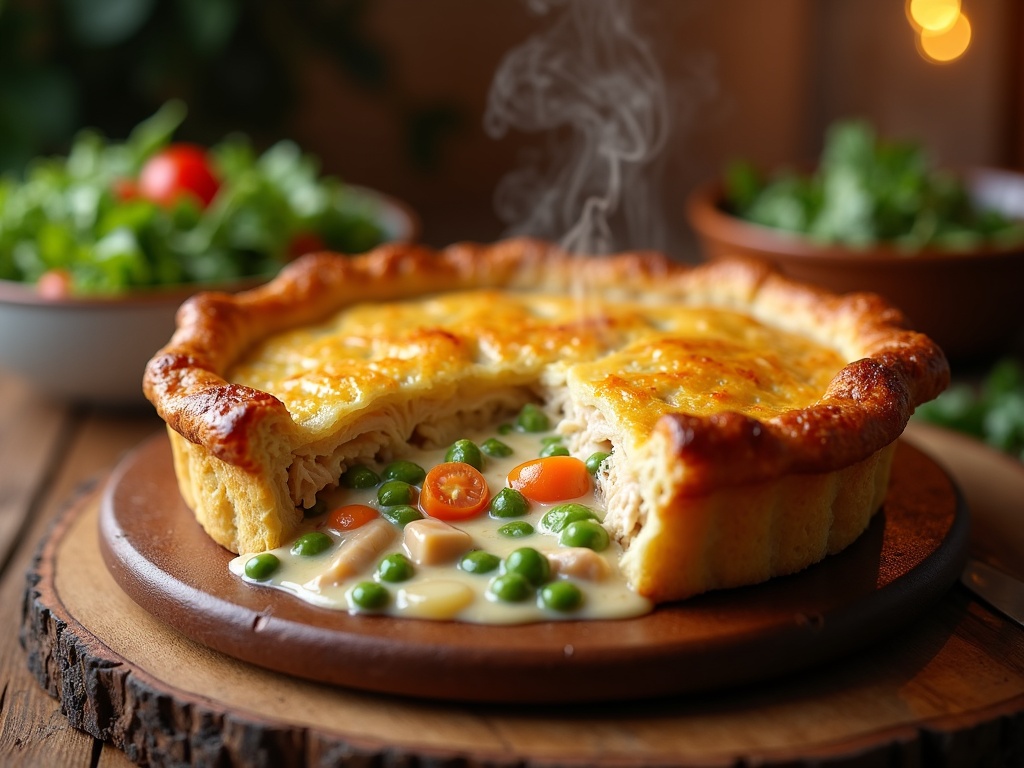
Crafting a delectable chicken pie doesn’t require fancy ingredients or special equipment. I’ve put together a straightforward list of everything you’ll need to create this comforting dish at home.
Ingredients
The heart of any great chicken pie lies in its quality ingredients. For this recipe, I recommend gathering:
- 2 pie crusts (homemade or store-bought) – Using pre-made crusts saves time, but a homemade pie crust adds that special touch
- 3 cups cooked, shredded chicken – Leftover roasted chicken works perfectly here
- 2 cups mixed vegetables (carrots, peas, corn, green beans) – Frozen mixed vegetables work great in a pinch
- 1 cup chicken broth – Low-sodium options give you better control of the final flavor
- 1 cup heavy cream – This creates the rich, velvety sauce that binds everything together
- Seasonings and herbs (salt, pepper, thyme, rosemary, garlic powder) – Don’t skimp here as they bring the flavors to life
The beauty of this recipe is its flexibility. You can easily substitute ingredients based on what you have on hand. For instance, leftover chicken from another dinner works wonderfully, saving both time and reducing food waste.
Kitchen Tools
You don’t need specialized equipment for a fantastic chicken pie. Here’s what will help you get the job done:
- 9-inch pie dish – Glass or ceramic works best for even heating
- Large mixing bowl – For combining filling ingredients
- Medium saucepan – To create your creamy sauce
- Whisk – Essential for a lump-free filling
- Rolling pin (if making homemade crust)
- Pastry brush – For that golden egg wash finish
- Sharp knife or pizza cutter – For venting and cutting the finished pie
If you’re inspired to try other savory pies after mastering this recipe, many of these same ingredients and tools can be used to create a delicious cottage pie or a summer tomato pie.
The preparation is straightforward, and I’ve found that organizing ingredients ahead of time (mise en place) makes the assembly process smooth and enjoyable. Now that you’ve gathered everything, you’re ready to create a chicken pie that’s sure to become a family favorite.
Step-by-Step Preparation Guide
Preparing the Filling and Sauce
I start my chicken pie by preparing a flavorful filling that forms the heart of this classic comfort food. First, I season boneless chicken pieces with salt, pepper, and a touch of garlic powder before searing them in a hot pan until golden brown. The caramelization adds depth to the overall flavor profile.
Next, I sauté diced onions, carrots, and celery in the same pan, allowing them to soften and absorb the chicken flavors. This classic mirepoix creates a foundation similar to what you might find in a hearty cottage pie recipe but with different protein. For extra flavor, I often add mushrooms and peas during the last few minutes of cooking.
For the sauce, I make a simple roux by melting butter and whisking in flour until it forms a paste. Then I gradually add chicken broth while continuously whisking to prevent lumps. The sauce should coat the back of a spoon when it reaches the right consistency. A splash of cream, some fresh herbs (thyme and parsley work wonderfully), and a bit of lemon zest brighten up the sauce. This rich, velvety sauce binds all the filling components together, creating that signature chicken pie texture that’s moist but not soggy.
Assembly and Baking
Assembly is where this pie truly comes together. I start with a pie dish lined with a sheet of flaky pastry. The key is to avoid a soggy bottom, so I partially blind bake the bottom crust at 375°F for about 10 minutes.
Once the bottom crust has set, I add the cooled filling mixture, making sure it’s evenly distributed. Trying to add hot filling to raw pastry is a common mistake that leads to disappointing results. After filling the dish, I cover everything with the top pastry, sealing the edges by crimping them with a fork or creating a decorative pattern. Don’t forget to cut vents in the top crust to allow steam to escape during baking – this technique is also important when making a traditional peach pie or any covered pie.
For that irresistible golden finish, I brush the top with an egg wash (one beaten egg with a tablespoon of water). The pie then goes into a preheated oven at 375°F for 30–35 minutes until the crust turns golden brown and the filling bubbles around the edges.
The temptation to cut into the pie immediately after baking is strong, but patience yields better results. I let the pie rest for at least 15 minutes before serving, which allows the filling to set and makes for cleaner slices. This cooling period is crucial as it prevents the filling from spilling out when cut.
For serving, I pair the chicken pie with simple sides like:
- A green salad with vinaigrette
- Steamed vegetables
The contrast between the rich pie and fresh vegetables creates a balanced meal. If you’re looking for inspiration for other chicken dishes, this approach to protein preparation can be adapted for recipes like chicken biryani or Southern fried chicken with different seasonings.
The pie keeps well in the refrigerator for up to 3 days and can be reheated in a 350°F oven until warmed through. For the best results when reheating, cover the pie with foil to prevent the crust from burning while the filling heats up.
Common Mistakes to Watch Out For
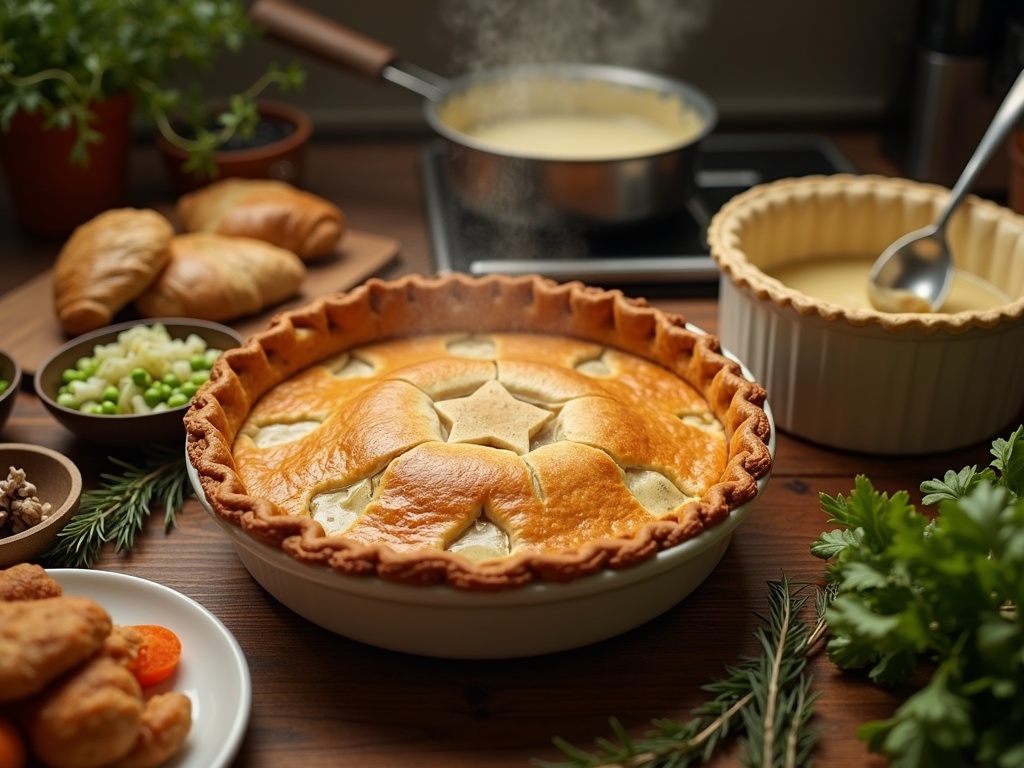
Making a chicken pie might seem straightforward, but there are several pitfalls that can turn your delicious creation into a kitchen disaster. I’ve learned these lessons the hard way so you don’t have to. Let’s dive into some common mistakes and how to avoid them for a perfect chicken pie every time.
Pie Assembly Errors
Overfilling the pie is perhaps the most tempting mistake to make. I understand the desire to pack in as much of that delicious chicken filling as possible, but this often leads to disaster. When the filling heats up and expands during baking, an overfilled pie will bubble over, creating a messy oven and potentially a soggy bottom crust. Instead, fill your pie to about ¾ capacity, leaving room for the filling to bubble and expand without escaping. This restraint pays off with a perfectly balanced pie that maintains its structural integrity.
Skipping the egg wash is another common oversight. That golden, glossy crust doesn’t happen by accident! An egg wash (typically one beaten egg mixed with a tablespoon of water or milk) brushed onto the top crust creates that magazine-worthy finish. Beyond appearances, it also helps seal the edges of the pie and gives the crust a slightly firmer texture. Don’t skip this simple step—it takes just seconds but makes a world of difference in your final presentation.
Not venting the top crust properly can lead to steam buildup and a soggy pie. Those decorative slits aren’t just for show—they serve the crucial function of releasing steam during baking. Without proper vents, pressure builds inside your pie, potentially causing the filling to burst through weak points in the crust. For a standard 9-inch homemade pie, create at least 4-5 small slits or a decorative pattern that allows steam to escape.
Timing and Temperature Issues
Rushing the cooling process is a mistake that can ruin even the most perfectly baked pie. I know it’s hard to resist cutting into that fragrant, golden chicken creation as soon as it comes out of the oven, but patience truly is a virtue here. A pie needs time to set—at least 15-20 minutes of cooling allows the filling to thicken and the structure to stabilize. Cut too soon, and you’ll end up with a flood of filling that runs all over your plate rather than staying neatly within each slice.
Temperature management extends to your ingredients as well. Starting with cold ingredients, particularly cold butter in your pastry, is crucial for achieving that flaky crust that makes a homemade pie special. On the flip side, using hot filling can melt your carefully crafted pastry before it even hits the oven. Let your chicken filling cool completely before assembling your pie.
Undercooking your chicken before it goes into the pie can lead to safety concerns and texture issues. Since pies have limited baking time, the chicken should be fully cooked in your preparation stage. This ensures food safety and the perfect texture in your finished dish. The pie baking process is more about bringing flavors together and cooking the crust than cooking the filling.
By avoiding these common mistakes, your chicken recipe will transform into a showstopping pie that’s worthy of center stage at any meal. With practice and attention to detail, you’ll master the art of pie-making and create consistent, delicious results every time.
Pro Tips for the Perfect Chicken Pie
Creating a showstopping chicken pie doesn’t happen by accident—it’s all about mastering the details. I’ve found that with a few expert techniques, your homemade pie can rival anything from a bakery. Let me share some game-changing tips that’ll take your chicken pie from good to unforgettable.
Smart Preparation Strategies
Make-ahead options can be a lifesaver when you’re short on time. I prepare the filling up to two days in advance and store it in an airtight container in the refrigerator. This not only saves time but actually improves the flavor as the ingredients meld together. For the ultimate convenience, you can fully assemble the pie, cover it tightly with plastic wrap, and refrigerate for up to 24 hours before baking.
When it comes to freezing, chicken pie is remarkably freezer-friendly. I recommend freezing it unbaked—assemble the pie completely, wrap it tightly in foil, then plastic wrap, and freeze for up to three months. When you’re ready to enjoy it, there’s no need to thaw—simply add about 20 minutes to the baking time and cover with foil for the first half of cooking.
Creative Crust Alternatives
Crust alternatives can completely transform your traditional pie experience. Beyond classic pastry, consider these options:
- Puff pastry for an extra flaky, buttery top
- Mashed potato topping for a cottage pie twist
- Phyllo dough sheets brushed with butter for a crispy, lighter crust
- Herb-infused biscuit topping for a comforting, rustic finish
Vegetable Variations
Don’t feel limited by traditional vegetable choices. While carrots, peas, and celery are classics, I’ve had great success substituting:
- Leeks instead of onions for a more delicate flavor
- Butternut squash for a subtle sweetness
- Mushrooms for an earthy depth that pairs perfectly with chicken dishes
- Spinach or kale stirred in just before filling the pie
Take Control of the Seasoning
Seasoning is where you can truly make the pie your own. For a classic flavor profile, I rely on thyme, rosemary, and a bay leaf. To add unexpected dimension, try incorporating:
- A dash of smoked paprika
- A spoonful of Dijon mustard
- A splash of white wine into your filling
Fresh herbs added at the finish make all the difference—chopped parsley, thyme, or tarragon sprinkled over the finished pie adds both visual appeal and flavor brightness.
The Finishing Touch
For an extra-golden crust that’ll make your guests swoon, brush the top with egg wash before baking. This simple step transforms a homemade pie into something that looks professional and tastes even better than it looks.
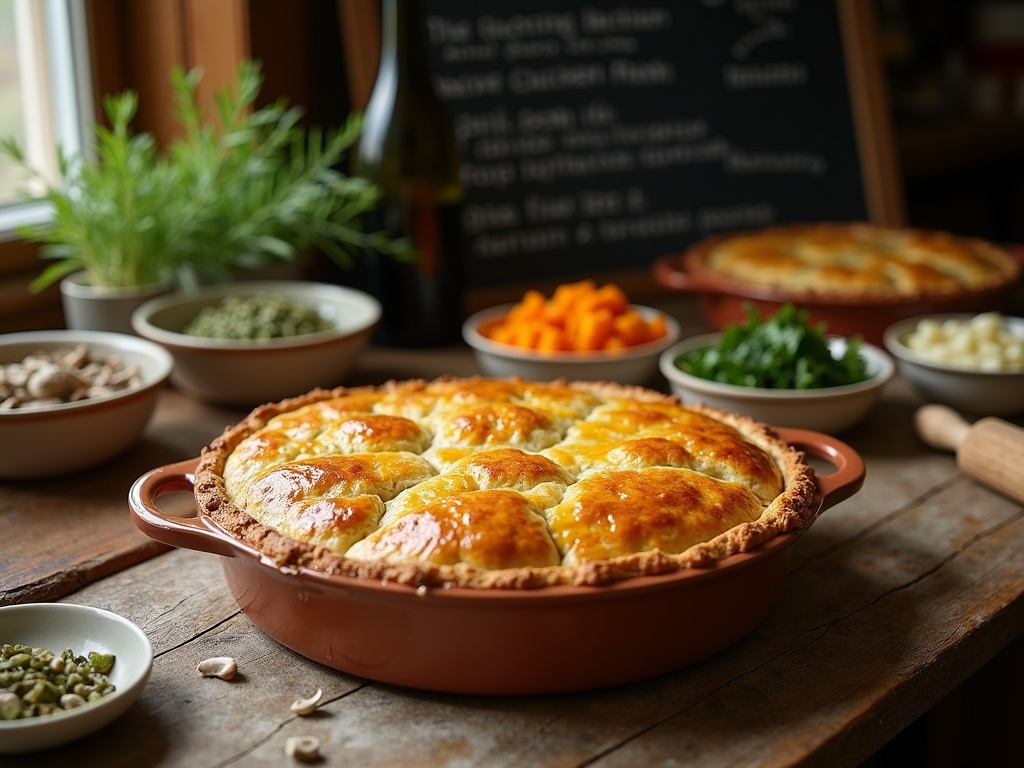
Storing Your Chicken Pie
Refrigeration and Freezing for Freshness
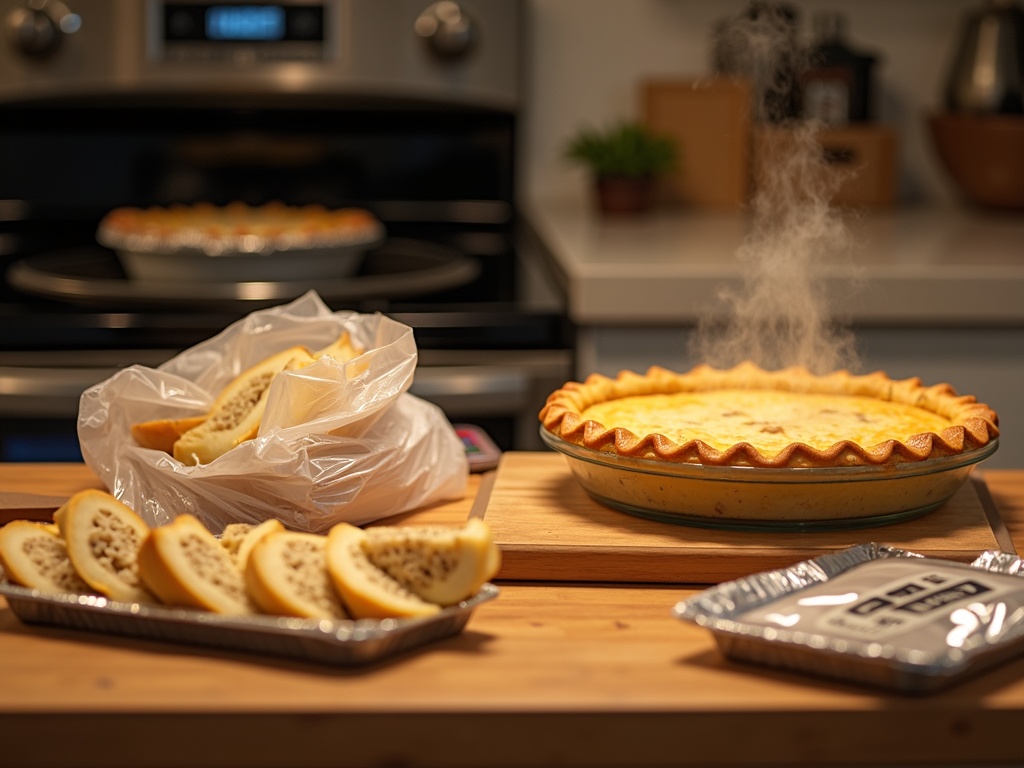
Proper storage is key to enjoying your chicken pie beyond the initial serving. I’ve found that a freshly baked chicken pie can be refrigerated for 3-4 days when properly stored. To maintain its quality, let the pie cool completely before covering it tightly with plastic wrap or aluminum foil. For individual portions, I recommend storing them in airtight containers to prevent them from absorbing other flavors in your fridge.
Freezing your chicken pie is a fantastic option for longer-term storage. For best results, follow these simple steps:
- Allow the pie to cool completely before freezing
- Wrap the entire pie or individual portions tightly in plastic wrap
- Add a layer of aluminum foil for extra protection
- Label with the date and contents
- Freeze for up to 3 months
If you plan to make chicken dishes ahead of time, freezing unbaked pies is also an excellent option. Just add about 15-20 minutes to your baking time when cooking from frozen.
Reheating for Optimal Flavor
Reheating your chicken pie properly makes all the difference in maintaining its delicious flavor and texture. For refrigerated pies, preheat your oven to 350°F and heat for 15-20 minutes or until thoroughly warmed. I like to cover the edges with foil to prevent over-browning.
For frozen pies, you have two options. Either thaw overnight in the refrigerator before reheating as above, or reheat from frozen at the same temperature for 30-45 minutes. Using a food thermometer to ensure the center reaches 165°F is always a good practice.
Microwave reheating works in a pinch, but the crust tends to lose its crispness. If you’re short on time, try reheating individual portions at 50% power for 2-3 minutes, checking frequently.
The quality of your pie will gradually decrease over time. Refrigerated pies taste best within the first 2 days, while frozen pies maintain good quality for about 2-3 months before flavor deterioration begins. For the best eating experience, I recommend enjoying your homemade pie sooner rather than later.
When properly stored and reheated, your chicken pie can be just as delicious as when freshly baked, making it an ideal make-ahead meal for busy weeknights or unexpected guests.
Special Diet Modifications
Making dietary adjustments to classic recipes doesn’t mean compromising on flavor. I’ve experimented with several modifications to traditional chicken pie recipes that cater to various dietary needs while maintaining that comforting, homey taste we all crave.
Adapting to Dietary Restrictions
For those avoiding gluten, creating a delicious chicken pie is absolutely achievable. I’ve found that cup-for-cup gluten-free flour blends work wonderfully for the crust. Brands containing xanthan gum provide the best structure, preventing that dreaded crumbly texture. For the filling, cornstarch makes an excellent gluten-free thickener instead of flour. Adding a touch more herbs like thyme and rosemary can enhance flavor complexity that might otherwise be missing from gluten-free crusts.
Creating dairy-free chicken pies requires thoughtful substitutions. I’ve had great success using:
- Coconut cream instead of heavy cream (the subtle sweetness actually complements the savory chicken)
- Olive oil or dairy-free butters in place of regular butter for the crust
- Nutritional yeast to add that cheesy flavor without actual cheese
- Cashew cream as a rich base for white sauces
For those watching their calorie intake, several smart swaps can lighten up a chicken pie without sacrificing its essential character:
- Using phyllo dough instead of traditional pie crust can slash calories dramatically while adding a delightful crispy texture.
- Increasing the vegetable-to-chicken ratio bulks up the filling with fewer calories. Vegetables such as leeks, mushrooms, and celery add tremendous flavor with minimal calories.
Egg washes can be replaced with a light brush of olive oil or chicken broth for a golden crust without the additional fat from egg yolks. For a lighter sauce, I substitute half the cream with chicken stock thickened with cornstarch.
When making lower-calorie versions, herbs become even more important. Adding fresh herbs like parsley, thyme, and tarragon at the end of cooking brightens up the flavor profile of lighter pies.
For those following specific carb-restricted diets, consider trying a “topless” pie or using mashed cauliflower as a topping, similar to how you might prepare a cottage pie with a vegetable topping rather than pastry.
Many people don’t realize that frozen vegetables work perfectly in modified chicken pies. They’re already blanched, maintaining better texture in the baking process than fresh vegetables sometimes do, especially when making gluten-free versions that might require longer cooking times.
Batch cooking modified chicken pies can be a time-saver. I often make several individual portions with different dietary adjustments and freeze them unbaked. This technique works particularly well with protein-focused meals like chicken pie, where the components freeze beautifully.
For a fruit-forward dessert to complement your savory chicken pie dinner, consider trying a peach pie recipe that can be similarly modified for dietary restrictions.
When making dairy-free chicken pies, coconut milk provides richness but can sometimes overpower. I’ve found that a blend of coconut milk with another non-dairy option like oat milk creates a more neutral creamy base that lets the chicken flavor shine through.
For those who enjoy a bit of spice, adding curry powder to modified chicken pie recipes can enhance flavor without adding calories or disturbing dietary restrictions. This approach works particularly well in dairy-free versions where you’re looking to replace the richness that butter and cream typically provide.
Serving Suggestions
Making a delicious chicken pie is only half the battle – how you serve it can elevate the entire dining experience. I’ve discovered that thoughtful accompaniments, proper portioning, and strategic garnishing can transform this comfort food into something truly special.
Complementary Side Dishes
Chicken pie pairs beautifully with vegetables that balance its rich, savory profile. These sides enhance the meal without overshadowing the main attraction:
- Fresh green salads dressed with light vinaigrettes cut through the richness of the pie
- Steamed seasonal vegetables like broccoli, green beans, or carrots add color and nutrition
- Roasted root vegetables (parsnips, carrots, sweet potatoes) echo the comfort food element
- Mashed potatoes offer extra indulgence for those who can’t get enough starch
- Buttered peas with mint provide a refreshing contrast to the savory filling
For a complete meal that impresses guests, I like to serve a vibrant tomato side dish that adds acidity to balance the rich chicken pie.
When choosing sides, consider texture contrast – something crisp alongside the tender pie filling creates a more interesting eating experience. If your chicken pie already has potatoes mixed into the filling, skip starchy sides and focus on vegetables or salads instead.
Different Ways to Serve
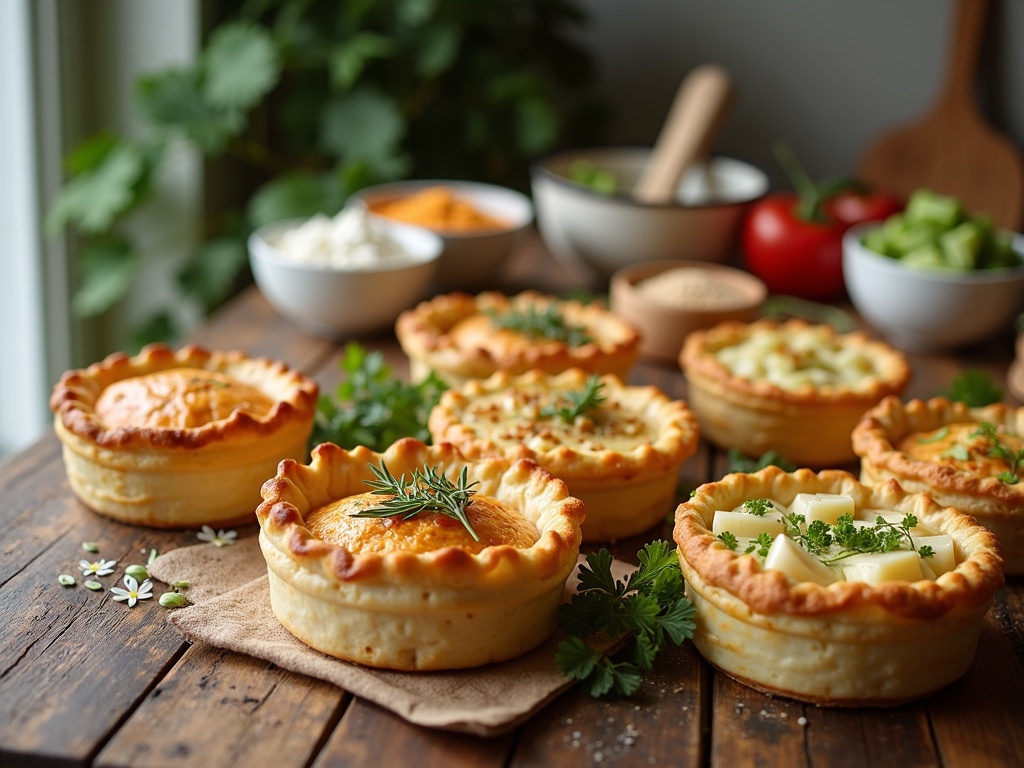
Chicken pie makes a welcome appearance at numerous gatherings. For casual family dinners, I serve it directly from the baking dish for that homestyle charm. For more formal occasions, individual ramekins create an elegant presentation that avoids messy serving. Winter gatherings particularly benefit from this warming dish, though it’s versatile enough for year-round enjoyment.
I’ve found classic comfort food recipes like chicken pie particularly shine at potlucks, where they can be prepared ahead and travel well. They’re also perfect for meal trains for new parents or recovering friends, as they reheat beautifully.
Portion Sizes & Plating Tips
When it comes to portion sizing, a standard 9-inch pie typically serves 6 adults as a main course. For heartier appetites or when it’s the sole dish, plan for 4 servings instead. When making individual pies, 5-6 inch ramekins work perfectly for a single serving with a bit of room for sides.
For children’s portions, I cut smaller slices or make mini pies using muffin tins for kid-friendly serving sizes. This approach is especially handy for family gatherings with mixed age groups.
Garnishing & Presentation
Garnishing transforms a simple chicken pie into something more refined. A light sprinkle of fresh herbs before serving adds color and fragrance – thyme, parsley, or chives all work wonderfully. For special occasions, a few drops of truffle oil or a sprinkle of flaky sea salt elevate the dish without much effort.
I like to serve chicken dishes like my chicken pie with a light drizzle of good quality olive oil or a spoonful of crème fraîche for added luxury. A small pitcher of additional gravy on the side ensures nobody suffers a dry portion.
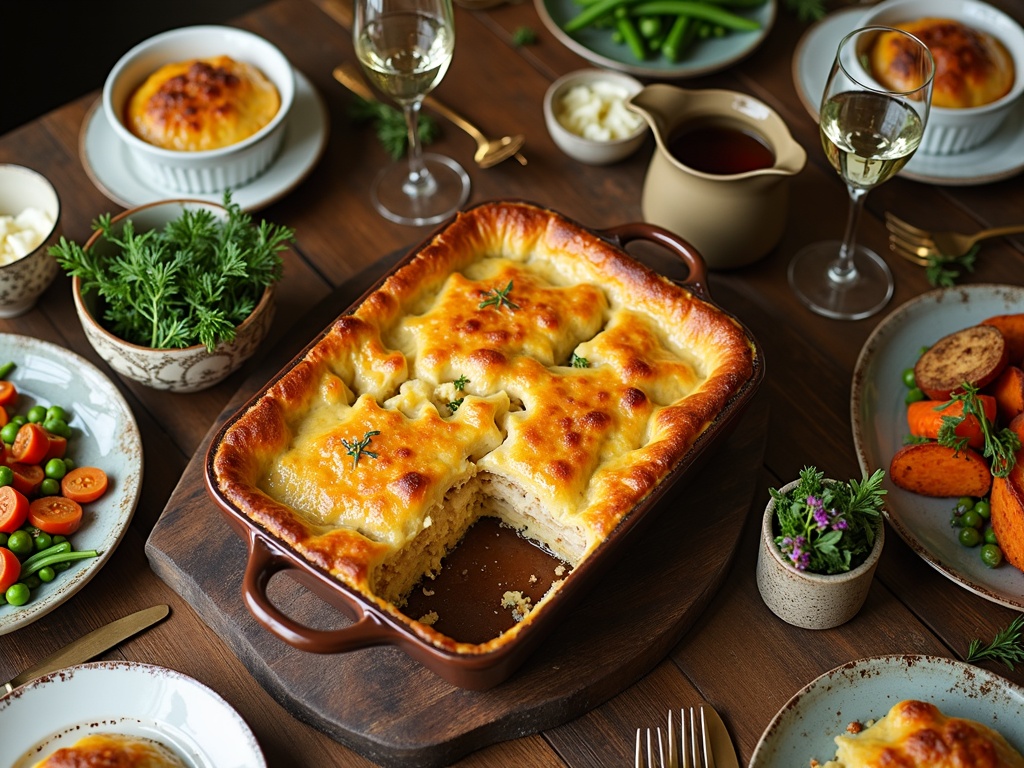
For a beautiful table presentation, place the pie on a wooden board surrounded by small bowls containing different sides and garnishes. This creates an interactive experience where guests can customize their plates. A sprig of fresh herbs or edible flowers beside each serving plate adds an elegant touch for dinner parties.
Beverage & Dessert Pairings
Don’t forget about beverage pairings – a crisp white wine or light beer complements chicken pie perfectly, while sparkling water with a squeeze of lemon refreshes the palate between bites. For a sweet finish to contrast with savory pie, consider serving a light fruit-based dessert afterward.
Troubleshooting Guide
Creating the perfect chicken pie can sometimes involve a bit of trial and error. I’ve encountered plenty of pie problems over the years and learned how to overcome common issues. Let’s tackle these challenges so your next chicken pie comes out flawless.
Common Chicken Pie Problems and Solutions
Fixing a Soggy Bottom
Nothing disappoints quite like cutting into your chicken pie to discover a soggy, undercooked bottom crust. Here’s how I fix this persistent problem:
- Blind bake your bottom crust for about 10–15 minutes before adding filling
- Add a sprinkle of breadcrumbs, cornmeal, or even a thin layer of egg wash to create a barrier between your filling and crust
- Let your filling cool completely before adding it to the crust – hot filling releases steam and creates moisture
- Use a glass pie dish which conducts heat better and allows you to check the bottom
- Place your pie on the bottom rack of the oven where the heat is most intense
A soggy-proof technique I swear by is brushing the bottom crust with beaten egg white before pre-baking. This creates a protein seal that helps keep moisture from the chicken and savory ingredients from seeping into the crust.
Preventing Dried-Out Filling
Dry, flavorless filling can ruin an otherwise perfect pie. To keep your chicken filling moist and tender:
- Add a bit more liquid to your filling mixture if it tends to dry out
- Cover your pie loosely with foil during part of the baking to prevent excessive moisture loss
- Don’t overcook your chicken before it goes into the pie
- Include ingredients that retain moisture, like mushrooms or leeks
- Add a splash of heavy cream to your filling for richness and moisture
I’ve found that incorporating vegetables with high moisture content, like tomatoes or other juicy ingredients, helps maintain the ideal consistency throughout baking.
Addressing Crust Issues
Crust problems can plague even experienced bakers. Here’s how I handle common issues:
- For crumbly crust that won’t roll out: add a few more drops of ice water
- For tough crust: avoid overworking the dough and use cold ingredients
- For crust that shrinks during baking: let it rest in the refrigerator before baking
- For uneven browning: rotate your pie halfway through baking
- For decorative edges that lose shape: chill the shaped pie before baking
I always keep my butter and tools cold when making pie crust. Working with chilled ingredients prevents the butter from melting before baking, which is crucial for achieving that perfect flaky texture similar to a classic savory pie crust.
Temperature Adjustments
Sometimes the solution lies in simply adjusting your oven temperature:
- If your crust browns too quickly but filling isn’t cooked: lower temperature by 25°F and bake longer
- If the filling bubbles but crust remains pale: increase temperature by 25°F
- For overall even cooking: start at 425°F for 15 minutes, then reduce to 350°F for the remaining time
- Use an oven thermometer to verify your actual oven temperature
- Allow your oven to fully preheat before baking
I’ve saved many pies by using the dual-temperature approach. This technique gives you the high initial heat needed to set the crust structure (preventing sogginess), similar to how properly cooked chicken dishes benefit from careful temperature control.
Remember that every oven has its personality. Pay attention to how your particular oven performs and make notes for future baking sessions. With these solutions in your cooking arsenal, you’ll be serving picture-perfect chicken pies that taste as good as they look.
