Cheese scones blend the simple charm of classic scones with mature cheddar’s deep flavor, creating an irresistible savory treat perfect anytime. These baked goods solve mealtime dilemmas from fancy brunches to casual snacks, offering a crispy exterior and fluffy interior in each bite.
Find In This Article
Key Takeaways
- Cheese scones can be prepared in under 30 minutes, making them ideal for impromptu gatherings or quick meals when time is limited.
- Using cold ingredients and minimal handling of the dough are crucial techniques for achieving light, flaky texture with proper rise.
- The versatility of cheese scones makes them perfect companions for soups, salads, or enjoyed simply with butter while still warm from the oven.
- Optional flavor enhancers like herbs, mustard powder, or cayenne pepper can customize the basic recipe to complement different meals.
- Properly stored cheese scones last up to two days at room temperature and freeze exceptionally well for up to three months, making them perfect for meal prep.
Why These Cheese Scones Are Irresistible
I’ve tested dozens of scone recipes over the years, and these cheese scones consistently outshine the rest. They offer a delicious savory alternative to sweet varieties, delivering rich cheesy flavor in every bite. The combination of sharp cheddar with subtle herbs creates a perfectly balanced taste that keeps you reaching for more.
Quick and Simple Preparation
One of the biggest advantages of these cheese scones is how quickly they come together. I can have a batch ready in under 30 minutes from start to finish – perfect for those mornings when I need something substantial but don’t have hours to spend in the kitchen. The simple ingredients list likely includes items already in your pantry, making these an excellent option for impromptu gatherings or delicious savory brunch options.
The preparation technique is straightforward too. The key lies in handling the dough minimally to maintain that perfect texture. I’ve found that grating cold butter directly into the flour mixture creates those essential pockets of air that give scones their characteristic rise and flakiness.
Irresistible Texture and Versatility
These cheese scones boast the ideal contrast between textures – a gloriously crispy golden exterior that gives way to a tender, fluffy interior. Each bite provides that satisfying crunch followed by soft, cheesy goodness. I’ve discovered that brushing the tops with a little milk before baking enhances that beautiful golden color while the high oven temperature ensures the perfect rise.
The versatility makes these scones truly special. I’ve served them:
- Warm from the oven with a pat of butter
- Split and filled with homemade herb pesto and tomatoes
- Alongside soups and stews as an elevated alternative to bread
- Cut into smaller portions for afternoon tea accompaniments
- As the base for breakfast sandwiches with eggs
The robust flavor stands up well to hearty accompaniments while the scone itself remains light enough not to overwhelm more delicate pairings. I’ve found they store beautifully for a day or two in an airtight container, though nothing beats enjoying them fresh from the oven when that cheese is still slightly molten and the exterior maintains maximum crispness.
What You’ll Need to Make These Scones
Creating perfectly fluffy cheese scones requires just a handful of quality ingredients. I’ve found that using the right components makes all the difference between an ordinary scone and one that melts in your mouth with cheesy goodness.
Basic Ingredients
Self-rising flour forms the foundation of these delicious treats, saving you the step of adding separate leavening agents. For the richest flavor, cold butter is essential—the colder the better! The butter needs to be cut into small cubes before incorporating it into the flour.
Mature cheddar cheese delivers that distinctive sharp flavor that makes these scones irresistible. I recommend grating the cheese yourself rather than using pre-grated options, as freshly grated cheese melts better and provides superior flavor. Whole milk adds moisture and richness to the dough, helping to create that tender texture we’re after.
Don’t forget the seasoning—salt and pepper are absolute musts to enhance the cheesy flavor. I typically use a generous pinch of each, adjusting to taste.
Optional Flavor Enhancers
For those looking to add extra dimension to their cheese scones, consider these optional additions:
- Dried herbs like thyme, rosemary, or chives complement the cheese beautifully
- A pinch of cayenne pepper adds a subtle warmth without overwhelming heat
- Mustard powder (about half a teaspoon) can enhance the cheese flavor
- Finely chopped spring onions for a fresh, aromatic quality
- A sprinkle of paprika on top before baking for color and mild flavor
These flavor enhancers work particularly well with heartier meals like homemade chicken pie or can transform your scones into a standalone lunch option.
The beauty of this recipe lies in its simplicity—with just a few basic ingredients, most of which you likely already have in your kitchen, you can create bakery-quality cheese scones in under 30 minutes. The key is keeping everything cold until the moment the scones go into the oven, which ensures those lovely flaky layers develop during baking.
Step-By-Step Baking Instructions
Making cheese scones is straightforward when you follow a clear process. I’ve broken down each step to help you create perfectly risen, golden-brown scones with minimal fuss.
Preparing and Baking Your Cheese Scones
First, preheat your oven to 425°F (220°C) and line a baking sheet with parchment paper. This high temperature is crucial for creating that initial rise and developing a crisp exterior.
In a large bowl, combine your dry ingredients – typically flour, baking powder, salt, and a pinch of mustard powder for extra flavor. Sift these together to ensure even distribution and avoid lumps in your finished scones.
Add cold butter to your flour mixture and rub it in using your fingertips until the mixture resembles fine breadcrumbs. The key here is using cold butter straight from the fridge and working quickly so it doesn’t warm up too much.
Next, fold in the grated cheese – I recommend a sharp cheddar for the best flavor punch. Reserve a small handful to sprinkle on top before baking for an extra cheesy finish.
Pour in the milk gradually, stirring with a knife until the mixture forms a soft, slightly sticky dough. Be careful not to overwork it – this is one of the secrets to light, fluffy savory baked goods that rise beautifully.
Turn the dough onto a lightly floured surface and gently pat it down to about 1-inch thickness. Avoid using a rolling pin as this can compress the dough too much. Cut rounds using a floured cutter, placing them on your prepared baking sheet.
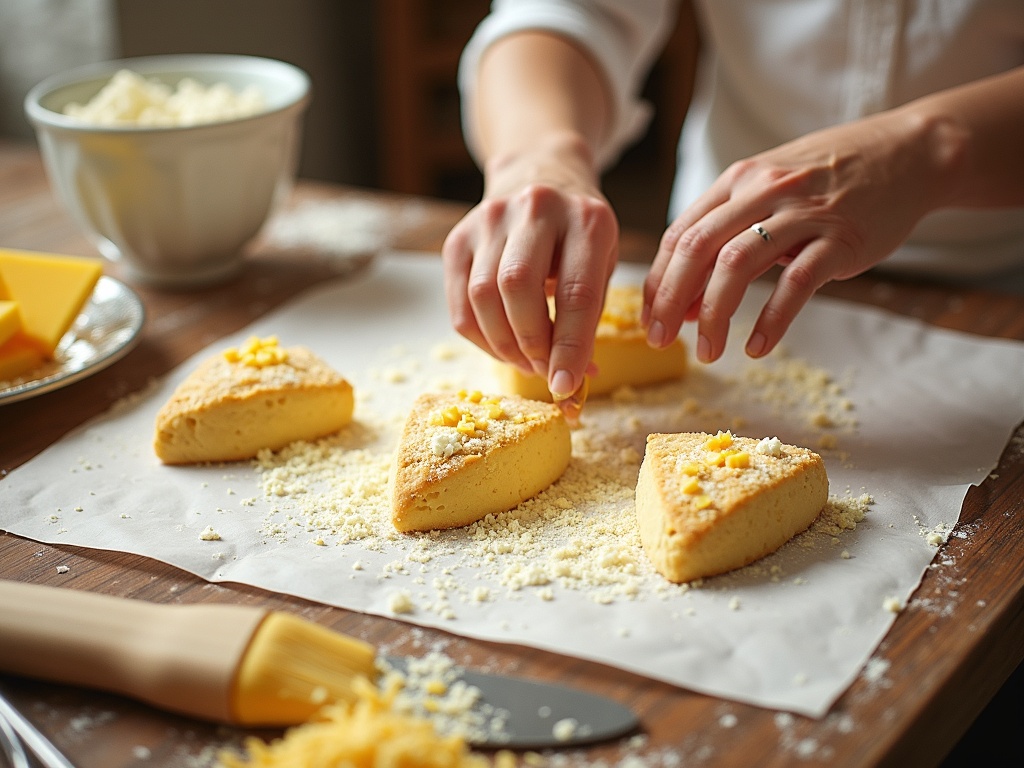
For a professional finish, brush the tops with a beaten egg wash, which gives them that appealing golden color. Sprinkle with the reserved cheese and a crack of black pepper.
Bake in the preheated oven for 12-15 minutes until well-risen and golden brown. The scones should sound hollow when tapped on the bottom. Transfer to a wire rack to cool slightly before serving warm with butter for the most delightful homemade treat that’ll impress family and friends.
Common Mistakes to Watch Out For
Creating perfect cheese scones isn’t rocket science, but there are several pitfalls that can turn your potentially flaky, cheesy delights into hockey pucks. I’ve learned these lessons through plenty of trial and error in my kitchen, and I’m sharing them so you can avoid the same mistakes.
Handling the Dough
Overworking the dough is perhaps the most common error when making cheese scones. When you handle the mixture too much, you develop the gluten in the flour, resulting in tough, dense scones rather than light, fluffy ones.
The secret is to mix ingredients just until they come together, then stop. Your dough should look slightly shaggy rather than perfectly smooth. Think of it as a gentle introduction between ingredients rather than forcing them into a relationship. This gentle approach also applies when making other baked goods like delicious strawberry shortcake where texture is key.
Cold ingredients are essential for successful scones. Using warm butter or milk prevents those lovely pockets of steam from forming during baking. These steam pockets are what create the flaky texture we all crave.
Keep these tips in mind for cold ingredient success:
- Chill your butter in the freezer for 15 minutes before grating
- Use milk straight from the refrigerator
- Consider chilling your mixing bowl if your kitchen is warm
- Work quickly to prevent ingredients warming from handling
Cutting and Baking Missteps
The way you cut your scones matters tremendously. When cutting scones with a biscuit cutter, press straight down and lift straight up. Twisting the cutter seals the edges, preventing proper rising. It’s similar to the technique needed when preparing mini quiches where clean cuts make all the difference.
Patience during baking is crucial. Opening the oven door while scones are baking causes a temperature drop that can collapse your carefully crafted creations. The sudden temperature change disrupts the rising process, resulting in flat, dense scones instead of tall, fluffy ones.
The perfect cheese scone requires discipline – set your timer and resist peeking until at least 3/4 of the baking time has passed. Your patience will be rewarded with scones that have risen beautifully and developed that golden-brown crust that makes them irresistible alongside a warm dessert for contrast.
Pro Tips for Perfect Cheese Scones
Making cheese scones might seem straightforward, but a few expert techniques can transform good scones into exceptional ones. I’ve learned these tricks through years of baking, and they’ve consistently helped me create cheese scones with perfect rise, texture, and flavor.
Temperature and Ingredients Matter
Cold ingredients are absolutely crucial for producing light, flaky cheese scones. I always refrigerate my butter until it’s very firm and cold before starting. This ensures the butter doesn’t fully incorporate into the flour but instead creates those delicious pockets of air as it melts during baking. I’ve found that chilling the flour for 30 minutes before using can also make a significant difference in the final texture.
The cheese itself deserves special attention too. Finely grated cheese incorporates more evenly throughout the dough, creating a consistent flavor in every bite. I prefer using a microplane grater for the perfect consistency rather than pre-shredded cheese, which often contains anti-caking agents that can affect texture.
Technique and Baking Approach
How you handle the dough dramatically impacts your scones’ texture. I’ve learned to mix ingredients just until they come together – overmixing activates the gluten, resulting in tough scones. When incorporating butter, I use my fingertips rather than my whole hands to keep the butter cool.
When cutting your scones, a sharp-edged cutter makes all the difference. I press straight down without twisting, as twisting seals the edges and prevents proper rising. If you don’t have a cutter, a knife works well – just clean it between cuts for cleaner edges.
On the baking tray, I always leave at least an inch between each savory scone for proper heat circulation. This spacing allows them to rise evenly and develop those crisp golden edges that contrast beautifully with the soft interior.
For an extra professional touch, I brush the tops with milk or beaten egg before baking, and sometimes add a sprinkle of extra cheese on top for a beautifully browned, flavorful crust.
Following these simple but effective tips has transformed my cheese scones from decent to delectable. The difference is noticeable in both texture and taste – with minimal effort, you’ll achieve bakery-quality results every time.

Serving Suggestions
Fresh from the oven, cheese scones offer versatility that few baked goods can match. I’ve found that the rich, savory flavor profile makes these treats perfect companions for various meals or as standalone snacks.
Perfect Pairings
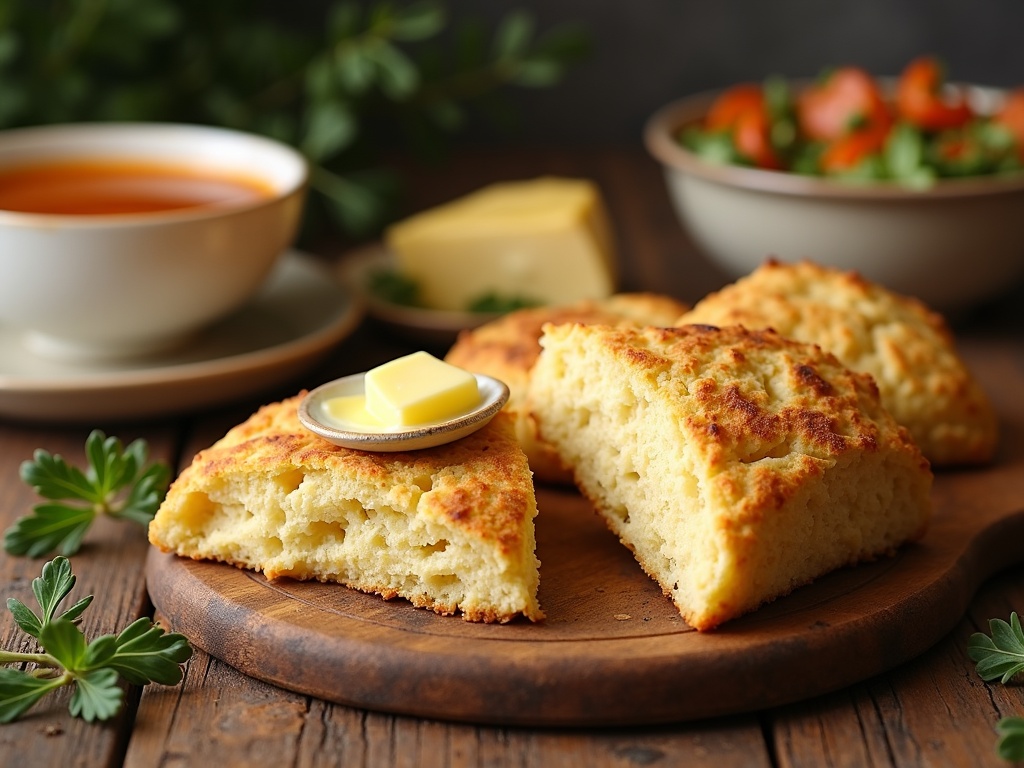
Nothing beats the simple pleasure of a warm cheese scone slathered with good quality butter. The heat from the freshly baked scone causes the butter to melt slightly, creating a delicious combination that highlights the cheesy goodness. For an extra special touch, try adding a small dollop of chutney or relish on top.
These savory treats also transform into delightful sandwiches. Split them horizontally and add slices of turkey or beef for a protein-packed meal that’s both satisfying and portable. They’re particularly good when paired with a light salad for a balanced lunch option.
Cheese scones make excellent companions to soups as well. Their crumbly texture provides the perfect contrast to a hearty chicken dish or creamy vegetable soup. I particularly enjoy dunking the edges into tomato soup – the tangy soup complements the rich, cheesy flavor beautifully.
Don’t worry about making too many scones at once. These treats freeze exceptionally well, allowing you to enjoy them whenever the craving strikes. To freeze properly, wait until they’ve completely cooled, then wrap individually in plastic wrap and store in a freezer bag. When you’re ready to enjoy them again, simply thaw at room temperature and warm briefly in the oven or microwave.
For an elegant brunch presentation, arrange your cheese scones on a wooden board alongside fresh fruit and a selection of jams. This creates a visually appealing spread that’s sure to impress guests while showing off your culinary versatility.
Remember that cheese scones are best enjoyed on the day they’re baked, but proper storage can extend their freshness. Keep any leftovers in an airtight container, and reheat briefly before serving to restore that just-baked texture and aroma.

Storage and Reheating
Fresh cheese scones taste incredible straight from the oven, but sometimes I need to save a few for later. Proper storage is key to maintaining their flavor and texture. An airtight container is essential for keeping cheese scones fresh—it prevents them from drying out and protects their delicate texture. When stored correctly, these savory treats stay enjoyable for up to 2 days at room temperature.
Reheating for Maximum Enjoyment
Nothing beats reviving day-old scones to near-fresh-baked quality. For the best results, I reheat cheese scones in the oven for about 5 minutes at 350°F (180°C). This quick blast of heat crisps up the exterior while warming the interior to bring back that just-baked texture. Avoid using the microwave as it can make the scones soggy and unappetizing.
If I’ve made a larger batch than I can consume within two days, freezing is an excellent option. Cheese scones freeze remarkably well for up to 3 months without losing much of their flavor or texture. I wrap each scone individually in plastic wrap before placing them in a freezer bag to prevent freezer burn. When I’m ready to enjoy them, I thaw them at room temperature and then reheat in the oven.
For those who love meal prep, you might consider making a double batch of savory baked goods including these cheese scones. The ability to freeze and reheat means you can have homemade scones ready whenever the craving hits—perfect for unexpected guests or busy mornings.


