Introduction
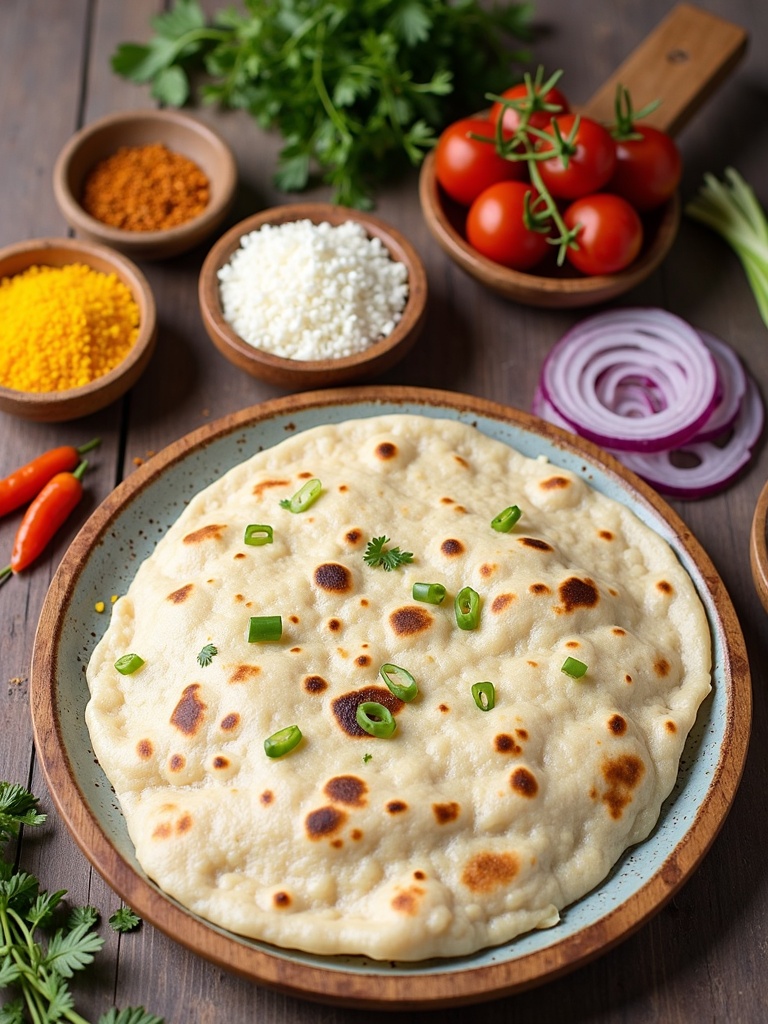
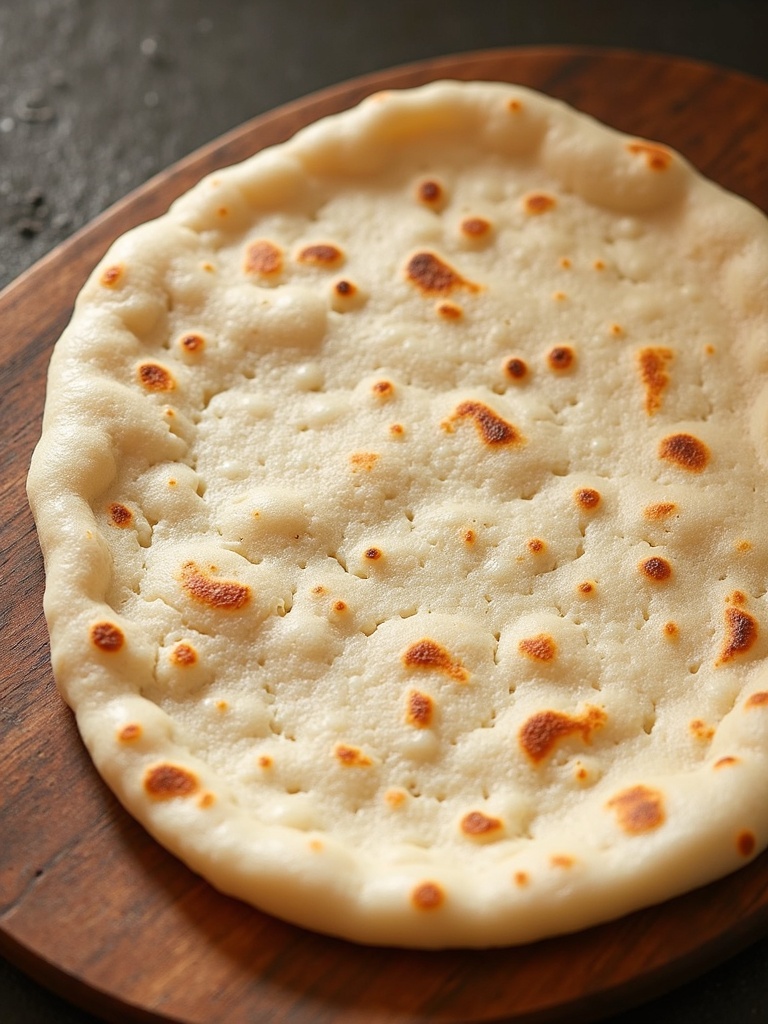
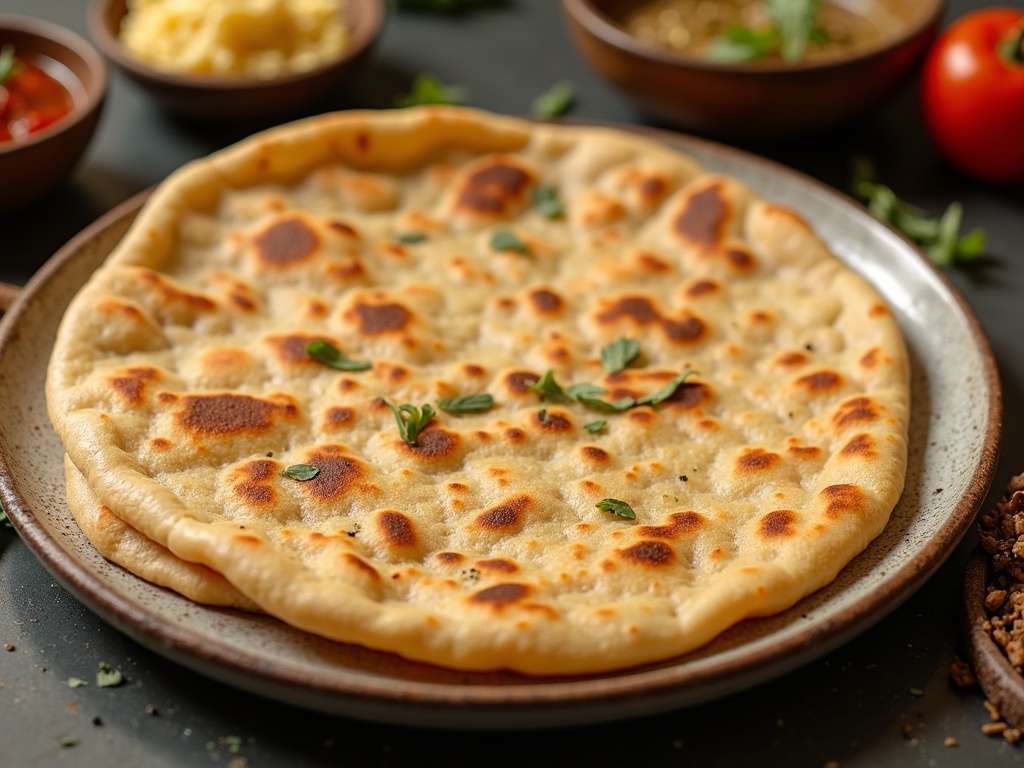
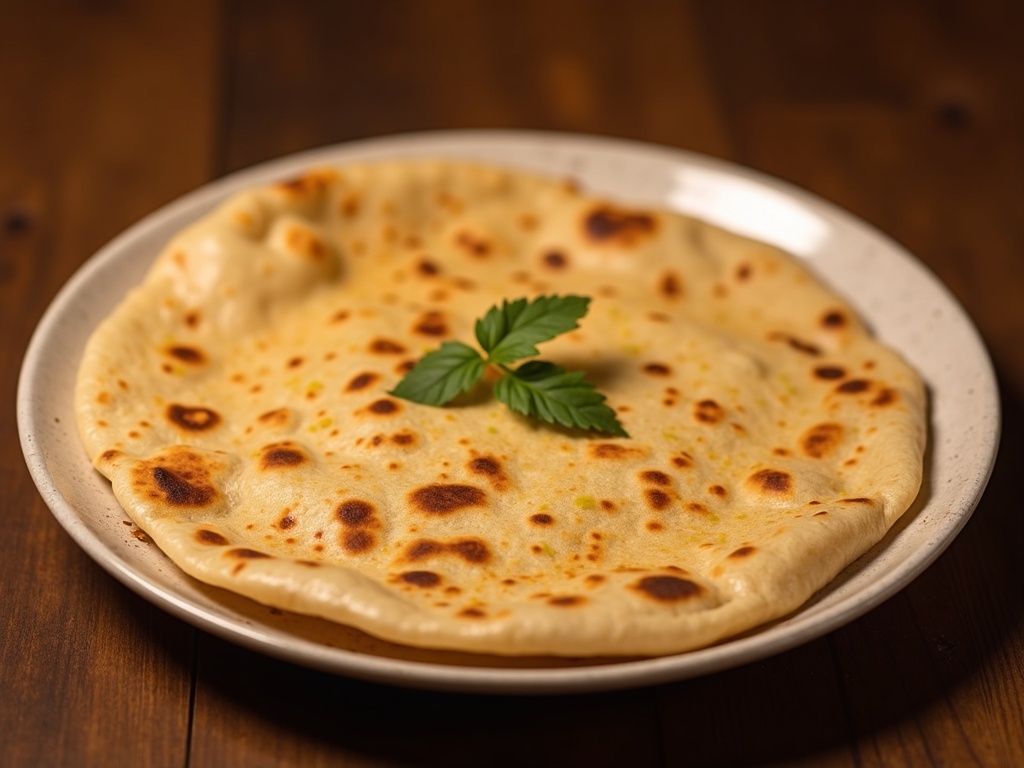
Chapati is one of the most beloved staples in Indian cuisine, a simple yet versatile unleavened flatbread that has been nourishing families for centuries. This soft, pliable bread made from whole wheat flour has found its way into homes across the globe due to its simplicity and delicious taste.
Table of Contents
Ingredients You Will Need

The beauty of chapati lies in its simplicity. You’ll need just a few basic ingredients:
- 2 cups whole wheat flour (traditionally called atta)
- ¾ to 1 cup warm water
- ½ teaspoon salt (optional)
- 1 tablespoon ghee or vegetable oil (optional, for softer texture)
- Additional flour for dusting
- Additional ghee or butter for brushing (optional)
The quality of flour significantly impacts your recipe. Traditional Indian atta is finely ground whole wheat flour with a high protein content, which creates the perfect texture. If you can’t find atta, regular whole wheat flour works well too, though you may need to adjust the water ratio slightly. The warm water helps activate the gluten in the flour, creating that perfect chewy yet tender texture that makes chapati so satisfying.
Similar to how you might prepare a toast sandwich with simple ingredients, chapati proves that sometimes the most basic recipes yield the most delicious results. The optional ghee or oil adds richness and helps keep the bread soft even after cooling, much like how butter enhances many baked goods.
Timing
Making chapati is relatively quick once you’ve developed the skill, but it’s worth noting the time breakdown:
- Preparation time: 15 minutes (including dough resting)
- Cooking time: 10-15 minutes (for 8-10 chapatis)
- Total time: 25-30 minutes
This is approximately 40% faster than making most yeast-based breads, making chapati perfect for weeknight meals. The dough doesn’t require long proofing periods like leavened breads, and each recipe cooks in less than a minute once the dough is prepared. With practice, you’ll find your efficiency improves, and you can prepare a stack of fresh chapati in the same time it takes to finish cooking your main dish.
Step-by-Step Instructions

Step 1: Prepare the Dough
Start by sifting the whole wheat flour into a large mixing bowl. Add salt if using, and mix well. Create a well in the center of the flour and gradually add warm water. Begin with ¾ cup, adding more if needed. Using your fingertips, mix the flour and water, incorporating small amounts of water at a time until the dough comes together.
If you’re adding ghee or oil, do so now. Knead the dough on a lightly floured surface for 8-10 minutes until smooth and pliable. The dough should be soft but not sticky – similar to the consistency needed for many breakfast items like egg muffins, where texture is crucial to success.
Step 2: Rest the Dough
Form the dough into a ball and lightly coat it with oil to prevent drying. Cover with a damp cloth or plastic wrap and let it rest for at least 15 minutes (or up to 30 minutes if time allows). This resting period allows the gluten to relax, making the dough easier to roll and resulting in softer chapati.
The resting time is non-negotiable – it’s what separates good chapati from great ones. During this time, you can prepare your curry or side dishes, or even make a refreshing iced tea recipe to accompany your meal.
Step 3: Divide and Shape
After resting, knead the dough again briefly. Divide it into 8-10 equal portions (about golf ball-sized) and roll each into a smooth ball. Flatten each ball slightly with your palm, then dip into flour to coat both sides.
Working with one portion at a time, use a rolling pin to roll each piece into a thin circle about 6-7 inches in diameter. Aim for even thickness throughout – too thick and the chapati will be doughy; too thin and it may become crisp rather than soft.
Step 4: Cooking
Heat a tawa (flat skillet) or non-stick pan over medium-high heat. When hot, place one rolled chapati on the surface. Cook for about 30 seconds until small bubbles form on the surface. Flip it using tongs.
On the second side, cook for another 30 seconds. The chapati should begin to puff slightly. At this point, if you’re using a gas stove, you can place the partially cooked chapati directly over the flame for a few seconds, which causes it to puff up beautifully. If using an electric stove, press gently with a clean cloth or spatula to encourage puffing.
Step 5: Finish and Serve
Remove the cooked chapati from heat and place it in a cloth-lined container to keep warm. Optionally, brush with a little ghee or butter for extra flavor and softness.
Repeat the process with the remaining dough portions. Stack the cooked chapati and keep covered to ensure they stay warm and soft. Just like preparing a batch of pickled red onion, making multiple chapatis becomes a rhythmic process once you get the hang of it.

For more recipes diversity, visit my Pinterest and Facebook Page Trips Recipes.
Nutritional Information
Chapati is a nutritious bread option, especially when made with whole wheat flour. Per plain chapati (approximately 6 inches in diameter):
- Calories: 70-80 kcal
- Carbohydrates: 15g
- Protein: 3g
- Fat: 0.5g (more if brushed with ghee/butter)
- Fiber: 2g
- Sodium: 50mg (varies based on salt added)
Whole wheat chapati provides complex carbohydrates and dietary fiber, making it more nutritious than white flour alternatives. The fiber content helps with digestion and creates a feeling of fullness, making chapati a satisfying addition to meals without excessive calories.
Healthier Alternatives for the Recipe
While traditional chapati is already relatively healthy, here are some modifications to enhance its nutritional profile:
- Replace part of the whole wheat flour with millet, ragi (finger millet), or amaranth flour for additional nutrients and a lower glycemic index
- Add finely chopped spinach, fenugreek leaves, or other greens to the dough for added vitamins and a flavor boost
- Include ground flaxseeds or chia seeds for omega-3 fatty acids
- Use olive oil instead of ghee for heart-healthy fats
- Add cumin or ajwain (carom) seeds to the dough for digestive benefits
- Skip the salt entirely for a sodium-free version
- Include a tablespoon of wheat bran for extra fiber content
These alternatives maintain the authentic taste and texture while adding nutritional benefits, similar to how you might modify a peach crisp recipe to make it healthier without sacrificing flavor.
Serving Suggestions
Chapati is incredibly versatile and pairs well with numerous dishes:
- Serve with dal (lentil curry) for a complete protein-rich meal
- Pair with vegetable curries for a balanced dinner
- Use as a wrap for kebabs, grilled vegetables, or paneer
- Serve alongside raita (yogurt dip) for a light meal
- Brush with ghee and sprinkle with cinnamon sugar for a sweet treat
- Use as a base for Indian-style “tacos” with spiced fillings
- Tear into pieces and dip into chutney as an appetizer
- Create a quick breakfast by filling with scrambled eggs or potato masala
- Serve with butter chicken or other rich curries to soak up the sauce
- Cut into triangles, lightly oil and bake for “chips” to serve with dips
For a fusion approach, you could even wrap chapati around a corn dog recipe filling for §!:::!:!an interesting multicultural dish that combines American and Indian flavors.
Common Mistakes to Avoid
Making perfect chapati takes practice. Here are the most common mistakes and how to avoid them:
- Using cold water instead of warm water, which prevents proper gluten development
- Skipping the resting period, resulting in tough, chewy chapati
- Adding too much flour while rolling, making the chapati dry and hard
- Rolling unevenly, causing parts to overcook while others remain raw
- Cooking on a pan that’s not hot enough, preventing proper puffing
- Pressing down too hard while cooking, which inhibits the characteristic puffing
- Over-kneading or under-kneading the dough, affecting texture
- Adding too much water, creating sticky dough that’s difficult to handle
- Not covering the cooked chapati, allowing them to dry out quickly
- Using the wrong type of flour (all-purpose instead of whole wheat)
About 70% of first-time chapati makers report issues with puffing, which improves dramatically with practice and attention to temperature control.
Storing Tips for the Recipe
Chapati is best enjoyed fresh, but there are several ways to store them effectively:
- Stack freshly made chapati with a paper towel between each one and wrap in aluminum foil, then a kitchen towel to keep warm for up to 2 hours
- Store completely cooled chapati in an airtight container at room temperature for 1-2 days
- Refrigerate in a sealed container for up to 3 days, though texture may change slightly
- Freeze cooked chapati separated by parchment paper in a freezer bag for up to 3 months
- Reheat refrigerated chapati by lightly sprinkling with water and heating on a skillet
- Reheat frozen chapati directly on a hot skillet or in a microwave for 15-20 seconds
- Store uncooked, rolled-out chapati with parchment paper in between for up to 24 hours in the refrigerator
- Prepare the dough ahead and refrigerate for up to 2 days, bringing to room temperature before rolling
Storing techniques preserve about 85% of the original texture quality, with fresh always being the preferred option.
Conclusion
Chapati may seem simple at first glance, but mastering this staple Indian bread opens up a world of culinary possibilities. From its humble ingredients to its satisfying texture, chapati exemplifies how traditional cooking techniques can transform basic ingredients into something truly special. The versatility of this flatbread means it can complement almost any meal, whether traditional Indian fare or fusion creations of your own design.
With practice, you’ll develop a feel for the perfect dough consistency and cooking time, allowing you to create batches of soft, pillowy chapati that will elevate your home cooking to new heights. Whether you’re exploring Indian cuisine for the first time or looking to perfect your technique, chapati is a rewarding addition to your cooking repertoire.
I encourage you to try this recipe and experiment with the variations suggested. Don’t be discouraged if your first few attempts aren’t perfect – like any skill worth mastering, chapati-making improves with practice. Share your experiences, adaptations, and photos of your creations!
FAQs
Why doesn’t my chapati puff up while cooking?
The most common reasons are insufficient kneading, dough that’s too dry, cooking temperature that’s too low, or rolling the dough unevenly. Make sure to knead thoroughly, use adequate water, cook on medium-high heat, and maintain even thickness when rolling.
Can I make chapati with all-purpose flour instead of whole wheat?
Yes, though it won’t be traditional chapati. All-purpose flour will create a softer texture similar to tortillas. For more authentic results, use at least 50% whole wheat flour in your mixture.
How do I keep chapati soft for longer periods?
Brush them lightly with ghee or butter while still hot, stack them, and wrap tightly in aluminum foil, then in a kitchen towel. The steam and fat help maintain softness. When storing, make sure they’re completely cool before placing in an airtight container.
Why is my chapati tough and chewy?
Tough chapati usually results from overworking the dough, using too little water, or skipping the resting period. Make sure to rest the dough for at least 15 minutes and keep it soft but not sticky.
Can I make chapati dough in advance?
Absolutely. You can prepare the dough up to 24 hours in advance and store it in the refrigerator in an airtight container. Bring it to room temperature before rolling and cooking.
What’s the difference between chapati, roti, and naan?
Chapati and roti are often used interchangeably, both referring to unleavened whole wheat flatbreads. Naan is a leavened bread made with all-purpose flour, yogurt, and sometimes eggs, typically baked in a tandoor oven.

Chapati Recipes
- Total Time: PT30M
- Yield: 8-10 chapatis
- Diet: Vegetarian
Description
Authentic whole wheat Indian flatbread that’s soft, pliable and perfect for scooping up curries.
Ingredients
- 2 cups whole wheat flour (traditionally called atta)
- ¾ to 1 cup warm water
- ½ teaspoon salt (optional)
- 1 tablespoon ghee or vegetable oil (optional, for softer texture)
- Additional flour for dusting
- Additional ghee or butter for brushing (optional)
Instructions
-
Prepare the Dough
Sift whole wheat flour and salt, then gradually mix in warm water. Add oil or ghee if using, and knead for 8–10 minutes until smooth and soft. -
Rest the Dough
Form into a ball, coat with oil, and cover. Let rest for 15–30 minutes to relax the gluten for easier rolling and softer chapati. -
Divide and Shape
Knead briefly, divide into 8–10 balls, flatten, and roll into 6–7 inch circles. Keep thickness even for proper cooking. -
Cook the Chapati
Cook on a hot tawa or skillet 30 seconds per side. Puff over an open flame or press gently if using an electric stove.
-
Finish and Serve
Transfer to a cloth-lined container. Brush with ghee or butter if desired. Serve warm with curry or any favorite side.
Notes
This traditional unleavened bread requires just a few ingredients but proper technique is key for perfect results.
- Prep Time: PT15M
- Cook Time: PT15M
- Category: Bread
- Method: Stovetop
- Cuisine: Indian
