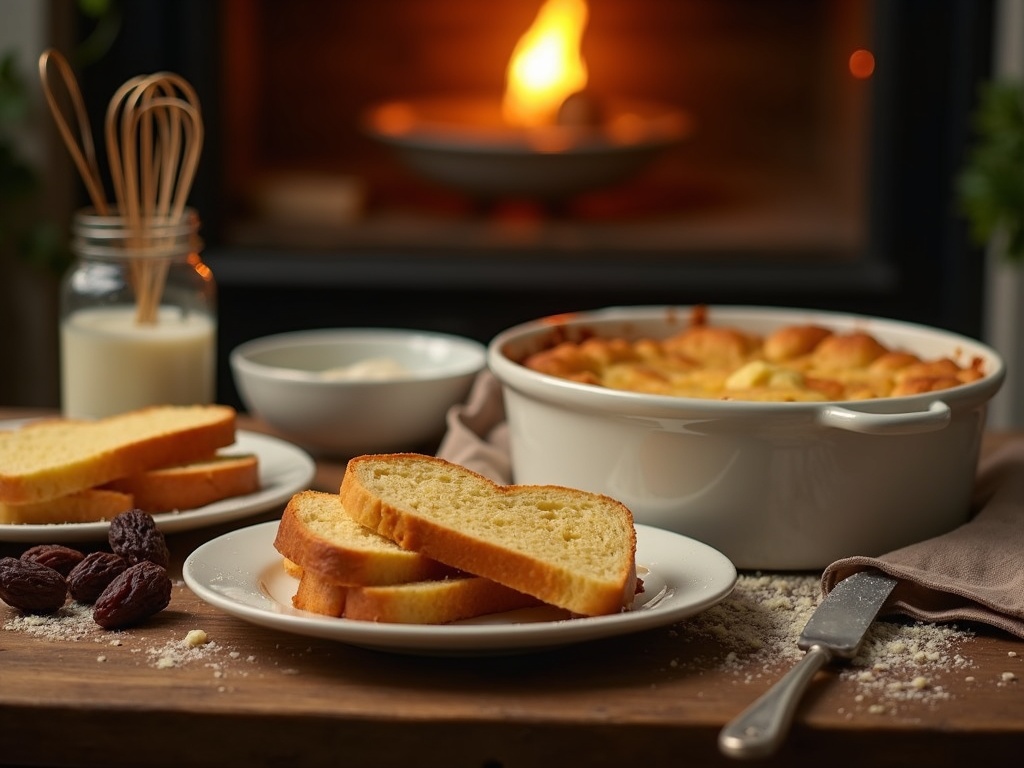
Bread and butter pudding transforms stale bread into a luxurious, custard-soaked dessert that’s been popular since its origins in 13th century Britain. This comforting classic shows clever frugality by turning basic pantry staples into a dessert with perfect texture balance—soft, creamy interior against a caramelized, crispy top.
Find In This Article
Key Takeaways
- Day-old bread works best as it absorbs the custard mixture better, creating the ideal texture for this dessert.
- The pudding benefits from a proper soaking time (at least 30 minutes) to allow the bread to fully absorb the custard mixture.
- Generously buttering each slice of bread is crucial for creating rich flavor and delicious crispy edges.
- Baking at a moderate temperature (around 325°F/165°C) ensures even cooking without curdling the custard.
- The finished pudding can be stored in the refrigerator for up to 3 days and reheated using various methods while maintaining its quality.
Why This Classic Dessert Never Gets Old
Bread and butter pudding has stood the test of time for good reason. Dating back to the 13th century, this British comfort food has found its way into countless family recipe collections across generations. I’ve always appreciated how this dessert transforms humble ingredients into something truly special.
A Rich History in Every Bite
The genius of bread and butter pudding lies in its origins as a frugal solution to avoid food waste. When bread began to go stale, resourceful cooks would layer it with butter and spices, then pour a sweet custard mixture over the top before baking. This practical approach to cooking resulted in one of the most beloved classic desserts that continues to grace tables today.
What makes this pudding extraordinary is how it elevates basic pantry staples into a luxurious treat. The transformation of day-old bread into a soft, custardy delight with crisp, caramelized edges showcases the ingenuity of traditional British cooking. Much like a delicious rhubarb crumble or sticky toffee pudding, it proves that the most satisfying desserts often come from the simplest ingredients.
Timeless Appeal for Modern Tastes
The versatility of bread and butter pudding keeps it relevant in today’s culinary landscape. Here’s why it continues to captivate:
- It’s infinitely adaptable – add chocolate chips, dried fruits, or a splash of vanilla for different flavor profiles
- The perfect balance of comfort and elegance makes it suitable for both family dinners and special occasions
- Its make-ahead nature fits perfectly with busy modern lifestyles
- The contrast of textures – soft interior with crispy top – creates a satisfying sensory experience
- It’s budget-friendly yet impressive enough for entertaining
I find that bread and butter pudding shares similarities with other beloved classics like banana loaf – both transform humble ingredients into something greater than the sum of their parts. The pudding’s ability to evolve while maintaining its core identity speaks to its timelessness.
Unlike more complex desserts, bread and butter pudding welcomes experimentation. From brioche to sourdough, white bread to croissants, each bread type creates a slightly different experience while maintaining the dessert’s comforting essence. It’s this perfect balance between tradition and innovation that ensures this classic crumble alternative will continue to delight for centuries to come.
Everything You Need to Make It
Making bread and butter pudding at home requires simple ingredients that create a delicious, comforting dessert. I’ve created countless versions of this classic treat, and the beauty lies in its straightforward preparation with readily available components.
Essential Ingredients
The foundation of any good bread and butter pudding starts with the right type of bread. Day-old bread works perfectly because it absorbs the custard mixture better than fresh bread. I prefer using brioche for its rich, buttery flavor, but white bread makes an excellent alternative. You’ll need to spread each slice with butter to enhance the richness of the final dish.
The custard mixture forms the heart of this classic dessert and requires:
- Whole milk and heavy cream for creaminess
- Large eggs to bind everything together
- Granulated sugar for sweetness
- Vanilla extract for depth of flavor
- Ground cinnamon for warmth
Golden raisins add bursts of sweetness throughout the pudding, though they’re optional if you’re not a fan. I often soak them in warm water for 10 minutes before adding them to the mixture, making them plumper and juicier.
Tips for Ingredient Selection
The quality of your ingredients can transform your traditional pudding from good to exceptional. I’ve found that using free-range eggs creates a richer custard base, while vanilla extract rather than essence gives a more authentic flavor.
For a twist on the classic recipe, try using banana bread instead of regular bread, which adds natural sweetness and moisture. The butter should be softened but not melted for easy spreading across your bread slices.
The finishing touch comes from a light dusting of nutmeg on top before baking. This subtle spice complements the cinnamon and adds visual appeal to your finished dish. Some cooks also add a splash of alcohol like brandy to the custard mixture, but I find the dessert equally delicious without it.
For variety, you can also swap raisins for other dried fruits like cranberries or chopped apricots. If you enjoy contrasting textures in your pudding recipes, consider adding chopped nuts like pecans or walnuts to the mixture before baking.
Turning Simple Ingredients into Something Special
I’ve always found that bread and butter pudding exemplifies how everyday ingredients can transform into something extraordinary. This classic dessert takes stale bread and elevates it into a comforting, custard-soaked treat that’s both economical and delicious.
The Perfect Assembly
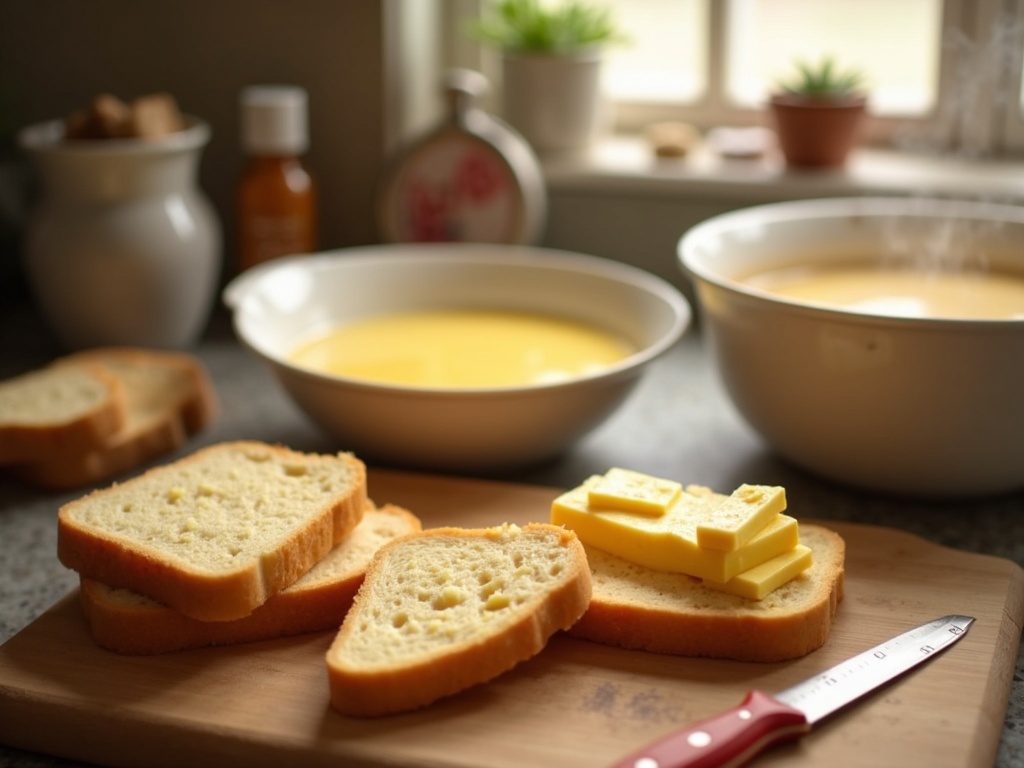
The magic begins with butter—lots of it. I generously butter each bread slice on both sides, making sure to reach the corners. This step is crucial as it creates a rich foundation that infuses throughout the pudding during baking. After buttering, I arrange the slices in a baking dish, slightly overlapping them to create a solid base.
Between each layer of bread, I scatter plump raisins that will become little pockets of sweetness. The raisins aren’t just for flavor—they absorb the custard mixture and become wonderfully juicy during baking. If you’re not a fan of raisins, you can substitute with other dried fruits or even chocolate chips for a modern twist.
The custard mixture is where the transformation truly happens. I whisk together milk, cream, eggs, and a splash of vanilla until perfectly combined. This mixture gets poured slowly over the layered bread, allowing each slice to absorb the liquid. For the best results, I gently press down on the bread to help it soak up the custard evenly.
The Finishing Touches
Patience pays off with this classic dessert recipe. I let the assembled pudding rest for at least 30 minutes—this soaking time is non-negotiable as it allows the bread to fully absorb the custard mixture. For an even richer result, you can leave it in the refrigerator overnight.
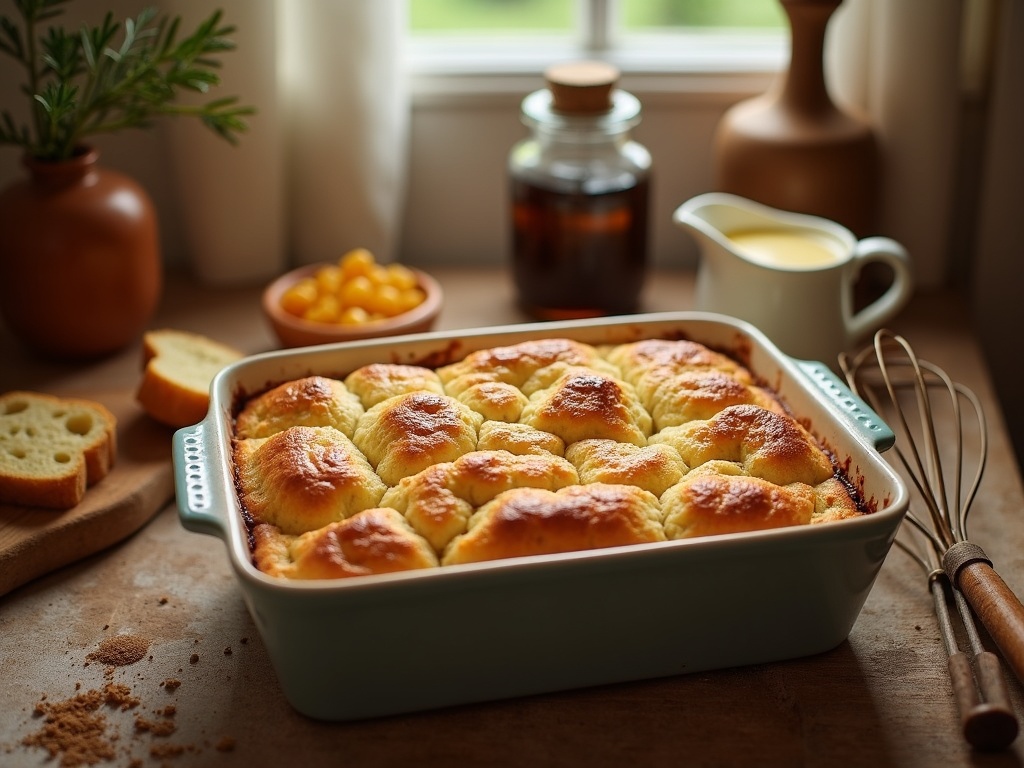
Before baking, I sprinkle the top with a generous coating of sugar and a light dusting of nutmeg. This creates a beautiful caramelized crust that contrasts wonderfully with the soft, custardy interior. The pudding then bakes until it’s golden brown on top and just set in the middle—still with a slight wobble that indicates its creamy perfection.
The humble bread and butter pudding proves that spectacular dessert creations don’t require fancy ingredients or complicated techniques. I’ve served this alongside other traditional favorites like sticky toffee pudding at dinner parties, and it consistently receives just as many compliments as more complex desserts.

Common Mistakes That Ruin Your Pudding
I’ve made plenty of errors when preparing bread and butter pudding over the years. There’s something deeply comforting about this classic dessert that transforms humble ingredients into something magical. But the path to pudding perfection is littered with potential pitfalls that can leave you with a disappointing result. Let me guide you through the most common mistakes I’ve encountered and how to avoid them.
Critical Errors to Watch Out For
Using fresh bread instead of stale bread is perhaps the most frequent mistake I see. Fresh bread simply doesn’t have the structural integrity to properly absorb the custard mixture without turning to mush. Stale bread, on the other hand, has lost much of its moisture, creating the perfect sponge-like texture to soak up all that delicious custard. I always plan ahead when making bread and butter pudding, leaving my bread slices out overnight or lightly toasting them if I’m in a hurry.
Skipping the soaking time can ruin your pudding before it even reaches the oven. The magic of bread and butter pudding happens during this crucial resting period when the bread fully absorbs the egg and milk mixture. I’ve found that a minimum 30-minute soak is essential, but for the best results, I let it rest for an hour or even overnight in the refrigerator. This patience pays off with a consistently creamy texture throughout your pudding rather than dry spots.
Overcrowding the baking dish creates another common problem. When I cram too many bread slices into my dish, some pieces don’t get properly soaked with the custard mixture, resulting in an uneven texture. I make sure to arrange my bread slices with small gaps between them, allowing the custard to flow around each piece. This approach creates a pudding with the perfect balance of soft, custardy bread and slightly crisp, golden edges – similar to what you might find in a good crumble.
Setting the oven temperature too high often leads to a pudding that’s burnt on top but undercooked in the middle. I’ve learned that bread and butter pudding benefits from gentle cooking at a moderate temperature – usually around 325°F (165°C). This slower baking allows the custard to set gradually without curdling or separating. I also place my baking dish in a water bath (bain-marie) for particularly consistent results, as this regulates the temperature even further.
Not adding enough liquid is another pitfall I’ve encountered. A good bread and butter pudding should be moist and creamy, not dry and bland. The bread should be fully submerged in the custard mixture before baking. I’ve found that using a ratio of about 2 cups of milk or cream to 3-4 eggs creates the perfect custard base for a medium-sized pudding.
Forgetting to butter the bread is also a mistake that affects both flavor and texture. The “butter” in bread and butter pudding isn’t just part of the name – it’s crucial for creating those delicious crispy edges and adding richness to the dessert. I make sure each slice is generously buttered before arranging them in the dish.
Just as with banana loaf or sticky toffee pudding, timing is everything. Overbaking dries out your pudding and can cause the custard to separate. I check my pudding about 5 minutes before the recipe suggests it should be done, looking for a slight wobble in the center when the dish is gently shaken. The pudding will continue to set as it cools.
By avoiding these common mistakes, you’ll be well on your way to creating a bread and butter pudding that rivals those served in the finest restaurants – comforting, delicious, and perfectly executed every time.

Make It Perfect Every Time
Creating the perfect bread and butter pudding requires attention to a few key details that can transform your dessert from good to exceptional. I’ve found that mastering these simple techniques ensures consistent results every time.
Perfecting the Soaking Process
When assembling your pudding, gently press the bread slices down into the custard mixture. This seemingly small step makes a huge difference in the final texture. By pressing down, you’re helping the bread absorb the custard evenly, eliminating dry spots and creating that luxurious, melt-in-your-mouth consistency that makes classic desserts so satisfying.
Don’t rush this process – give your bread time to soak properly. Each slice should be submerged enough to absorb the custard, but not so much that it disintegrates. I typically use my fingertips to press down lightly, checking that each piece has contact with the liquid while maintaining its structure.
Nailing the Bake and Serve
Knowing when your bread and butter pudding is perfectly done can be tricky. Look for that slight wobble in the center – this indicates the custard has set but remains creamy rather than rubbery. The top should be golden brown and crisp, creating a delightful textural contrast with the soft interior.
After removing your perfect pudding from the oven, resist the temptation to serve immediately. Let it rest for at least 15 minutes. This resting period allows the custard to stabilize and the flavors to develop fully. During this time, the temperature becomes more comfortable for eating while the pudding maintains its warm, comforting quality.
For the best experience, serve your bread and butter pudding warm rather than hot or cold. At this temperature, the aromas are most pronounced, and the texture is at its prime – soft, custardy, and utterly comforting. It pairs beautifully with a dollop of vanilla ice cream or a light drizzle of cream, enhancing the pudding experience without overwhelming its delicate flavor.
Following these simple techniques will elevate your bread and butter pudding from a humble dessert to a standout treat your family and guests will remember.
Delicious Ways to Serve It
I’ve discovered that bread and butter pudding isn’t just about the baking—it’s also about the presentation. This classic dessert transforms from wonderful to extraordinary with just a few serving suggestions. The perfect finishing touches can elevate this humble pudding into a showstopper at your dinner table.
Classic Accompaniments
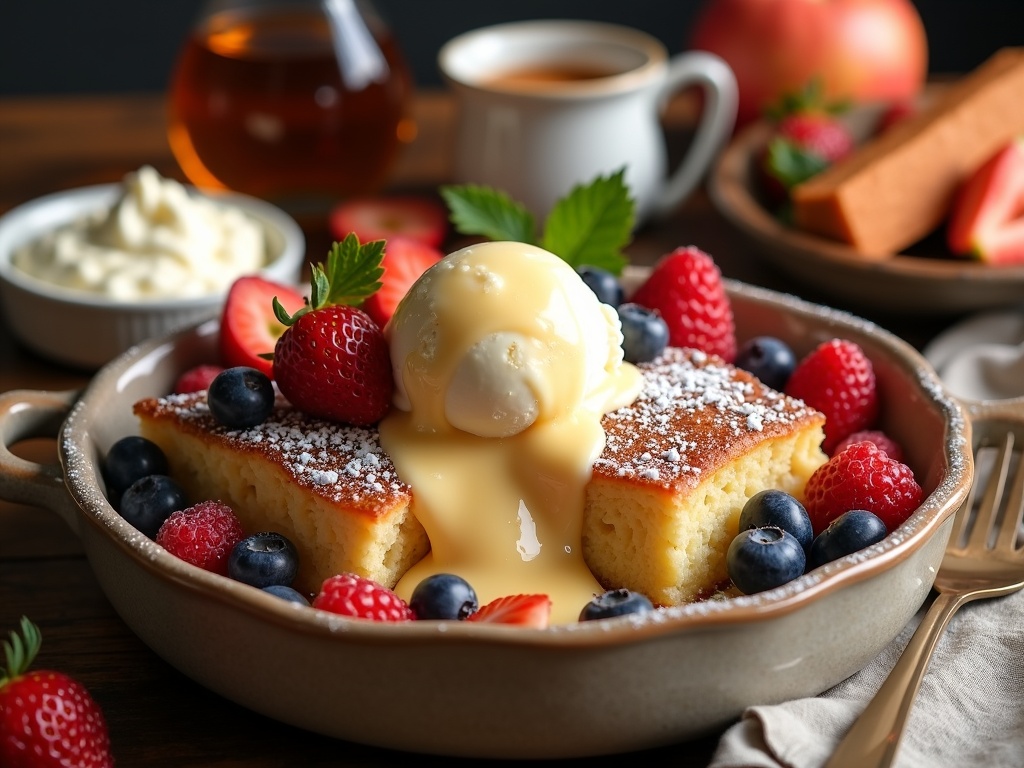
Drizzling warm custard sauce over bread and butter pudding creates a match made in heaven. The silky custard adds moisture and enhances the vanilla notes already present in the pudding. For an even more luxurious experience, a scoop of vanilla ice cream on top of a warm portion creates that magical hot-cold contrast that makes desserts so satisfying. The ice cream slowly melts, creating a creamy sauce that infuses into every bite.
If you’re looking for something lighter, a simple dusting of powdered sugar adds sweetness and visual appeal without overpowering the pudding’s delicate flavors. It’s a quick finish that makes the dish look polished and ready for guests.
Fresh and Fruity Additions
Fresh berries provide a bright, tart contrast to the rich, sweet pudding. I particularly love adding strawberries, blueberries, or raspberries as they bring color and a burst of flavor to each spoonful. The acidity cuts through the richness perfectly, creating a balanced dessert experience.
For something a bit different, try serving your crumble or bread and butter pudding with a dollop of lightly whipped cream and a drizzle of maple syrup. The combination creates a dessert that feels both homey and special.
During autumn, I add sliced apples and cinnamon to my bread and butter pudding before baking, then serve it with a caramel sauce for a seasonal twist that pairs beautifully with the base pudding recipe.
These serving suggestions work equally well with other baked puddings like sticky toffee pudding or banana loaf. The key is finding combinations that complement rather than compete with your pudding’s flavor profile.
Whether you’re making a traditional bread and butter pudding or trying variations like a chia pudding or rhubarb crumble, these serving ideas will enhance your dessert experience and impress your guests with minimal extra effort.

Storage and Reheating
Proper storage and reheating techniques are essential for maintaining the delicious flavor and texture of bread pudding desserts after they’ve been prepared. I’ve found that bread and butter pudding actually develops deeper flavors after sitting for a few hours, making it perfect for preparing ahead of time.
Refrigeration Guidelines
After your bread and butter pudding has cooled completely, cover it tightly with plastic wrap or aluminum foil to prevent it from absorbing other odors in your refrigerator. When stored properly, you can keep your pudding fresh in the refrigerator for up to 3 days. However, for the best taste experience, I recommend consuming it within 48 hours when the flavors and texture are still at their peak.
If you’ve made a large batch of delicious baked treats like bread and butter pudding, you might consider portioning it before refrigerating. This makes it easier to reheat only what you need and helps maintain the quality of the remaining portions.
Reheating Methods
There are several effective ways to reheat bread and butter pudding while preserving its creamy interior and slightly crisp top:
- Microwave: For individual portions, place a serving on a microwave-safe plate and heat for 30-45 seconds. If it needs more time, continue in 15-second intervals until warm throughout.
- Oven: Preheat your oven to 325°F (165°C) and cover the pudding with aluminum foil to prevent the top from burning. Heat for about 15-20 minutes for a whole dish, or 10 minutes for smaller portions.
- Add moisture: Sometimes bread pudding can dry out during storage. I like to sprinkle a few drops of milk over the top before reheating to restore moisture.
- Serve with extras: A dollop of fresh cream or a scoop of ice cream can elevate reheated pudding recipes and mask any slight texture changes.
Remember that bread and butter pudding should be heated until it reaches a safe internal temperature, especially if it contains eggs and dairy. The pudding should be hot throughout but not overcooked to avoid drying it out.

