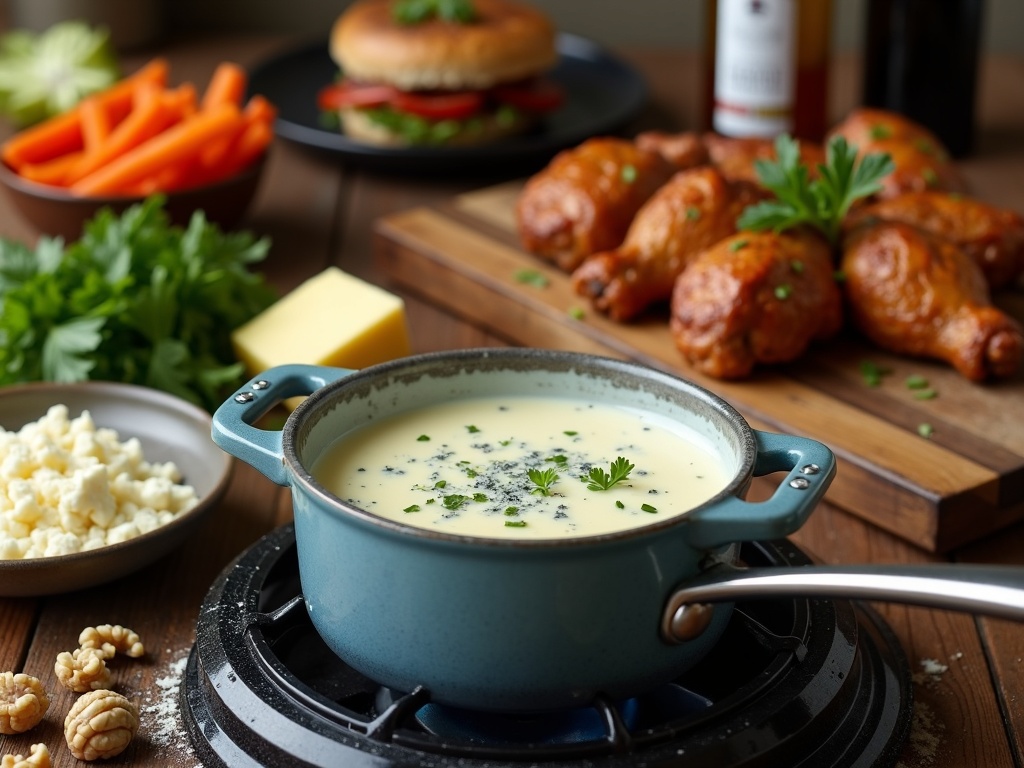
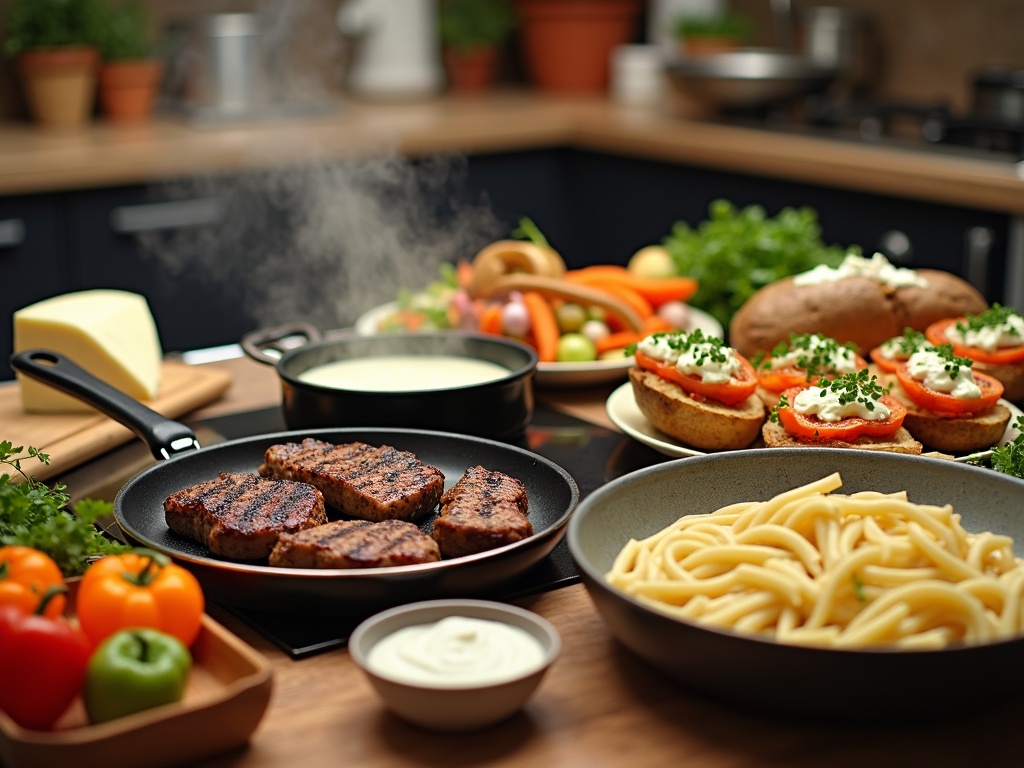
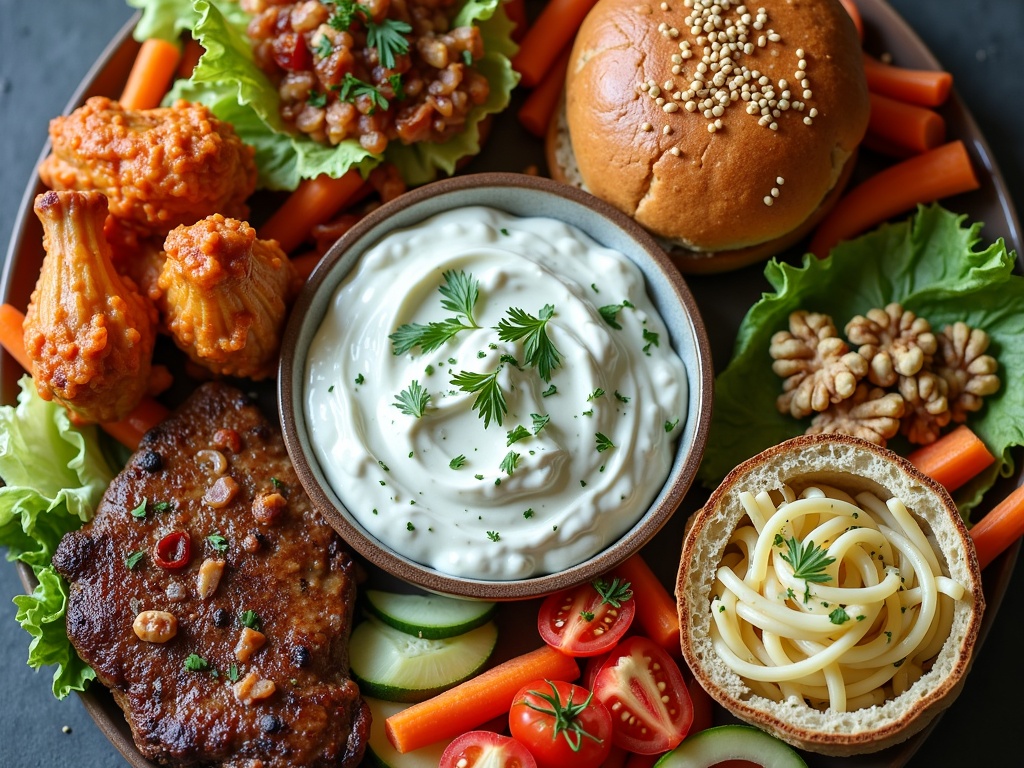
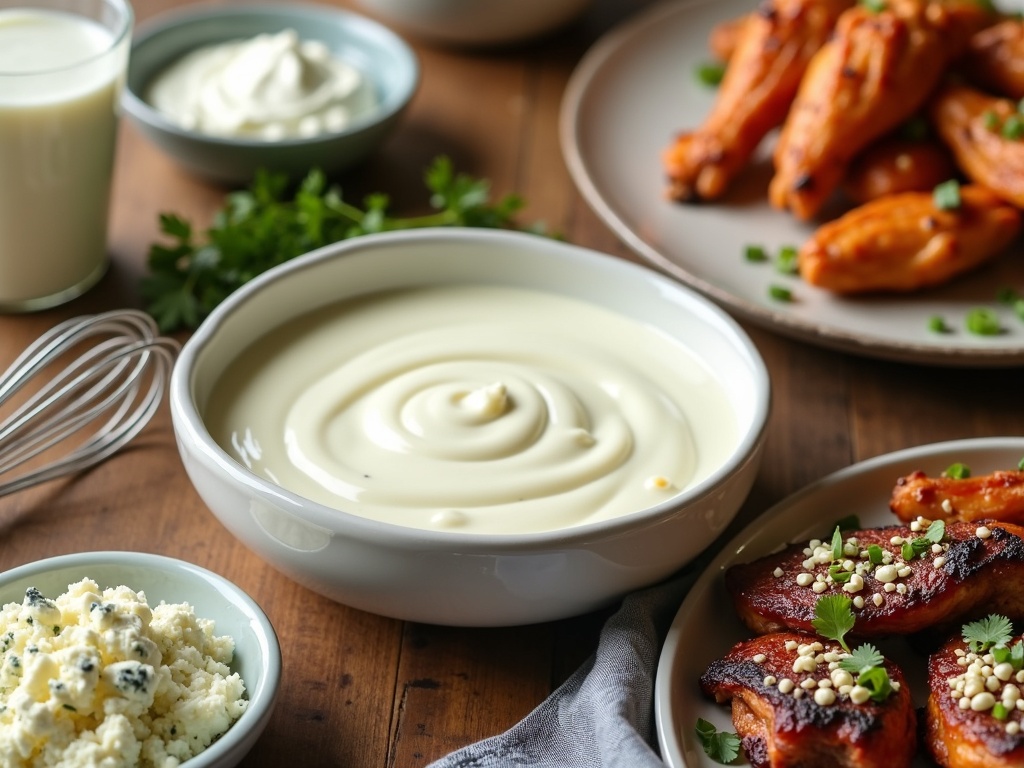
Blue cheese sauce delivers a tangy, rich flavor that transforms ordinary meals into gourmet dishes quickly. This adaptable condiment blends the sharp pungency of aged blue cheese with creamy ingredients, making it perfect for buffalo wings, steaks, pasta, and fresh vegetables.
Find In This Article
Key Takeaways
- Quality blue cheese selection matters significantly—options like Roquefort, Gorgonzola, or Stilton provide more complex flavors than milder varieties.
- The sauce comes together in under 10 minutes and can be adjusted in thickness by varying the ratio of liquid to cheese.
- Blue cheese sauce keeps well in the refrigerator for up to 5 days, with flavors actually improving after the first day.
- Using full-fat dairy products and avoiding high heat are crucial to preventing the sauce from becoming grainy or separated.
- Room-temperature ingredients incorporate more smoothly, and allowing the finished sauce to rest for at least 30 minutes helps the flavors fully develop.
What Makes Blue Cheese Sauce Special
Blue cheese sauce offers a uniquely rich and tangy flavor profile that transforms ordinary dishes into extraordinary culinary experiences. I’ve found that the pungent, creamy nature of this sauce creates the perfect companion for grilled steaks, buffalo wings, and fresh vegetables. The depth of flavor comes from the blue cheese itself, with its characteristic blue veins that develop during the aging process when good bacteria interact with the cheese.
Standout Features of Blue Cheese Sauce
The versatility of blue cheese sauce is what makes it a staple in my kitchen. I can adjust the thickness to match whatever dish I’m preparing:
- For dipping wings or vegetables, I make it thicker by using less liquid and more cheese
- When drizzling over a perfectly cooked homemade burger, a thinner consistency works better
- For a balanced sauce for pasta, I aim for a medium consistency that clings to the noodles without being too heavy
One of the biggest advantages is how quickly blue cheese sauce comes together. Unlike some complex sauces that require lengthy reducing or tempering, this sauce is ready in under 10 minutes. I simply melt butter, add flour to create a roux, pour in milk or cream, then fold in crumbled blue cheese until it reaches my desired consistency. This quick preparation makes it perfect for weeknight meals when I don’t have hours to spend in the kitchen.
The convenience factor extends to preparation timing as well. I often make a batch ahead of time and store it in the refrigerator for up to 5 days. The flavors actually develop and improve over time, making it even more delicious on day two or three. When I need to reheat it, I just warm it gently on the stove or in the microwave, adding a splash of milk if it’s thickened too much during storage.
Blue cheese sauce pairs beautifully with so many dishes. While it’s commonly associated with buffalo wings, I’ve found it elevates everything from chicken and mushroom pie to roasted vegetables. It’s a fantastic alternative to standard dressings on salads and provides a flavor-packed twist when used instead of traditional white sauce for pasta.
The complexity of blue cheese sauce comes from the cheese itself—whether you choose a milder Gorgonzola or a more assertive Roquefort or Stilton will dramatically change the final result. I like to customize my sauce based on who I’m serving: a milder version for those new to blue cheese, and a stronger, more pungent version for blue cheese enthusiasts.
For texture variations, I sometimes add extras like chopped walnuts for crunch or a bit of lemon zest to brighten the richness. A dash of Worcestershire sauce can add depth, while a touch of honey balances the tanginess with subtle sweetness.
What I appreciate most about blue cheese sauce is how it turns simple ingredients into something special. With just a few pantry staples and some good blue cheese, I can create a sauce that makes dinner guests think I’ve spent hours in the kitchen, when in reality, it’s one of the quickest components of the meal.

Everything You Need to Make It
Creating a delicious blue cheese sauce is simpler than you might think. I’ve found that having quality ingredients on hand makes all the difference between an average sauce and one that’ll have everyone asking for your secret recipe. Let me share exactly what you’ll need to whip up this creamy, tangy delight.
Essential Ingredients for Perfect Blue Cheese Sauce
The foundation of any great blue cheese sauce starts with the cheese itself. You’ll need 4 ounces of blue cheese crumbles as your star ingredient. I prefer using a good quality Roquefort or Gorgonzola for their complex flavors, but Danish blue works wonderfully too if you want something milder.
The creamy base is what gives this sauce its luxurious texture. For this, you’ll need:
- 1 cup of heavy cream or sour cream (heavy cream creates a thinner, pourable sauce while sour cream makes it thicker)
- 1/2 cup of mayonnaise to add richness and help bind everything together
- 1/4 cup of buttermilk to thin the sauce slightly and add tanginess
What truly elevates your homemade sauce is the careful seasoning. The essential seasonings include:
- 1/2 teaspoon of garlic powder for depth (fresh minced garlic works too)
- Black pepper to taste (freshly cracked offers the best flavor)
- Salt to taste (I usually start with 1/4 teaspoon and adjust)
I’ve discovered that adding a tiny splash of lemon juice can brighten the sauce considerably, though this is optional. For a hint of heat, a dash of cayenne pepper works wonders, especially if you’re serving this with juicy burgers or buffalo wings.
The quality of your blue cheese matters tremendously. Room-temperature cheese blends more smoothly than cold cheese straight from the refrigerator. If you prefer a chunkier texture, reserve some of the blue cheese crumbles to fold in at the end after blending the rest of the ingredients.
For equipment, you’ll need a medium mixing bowl, a whisk or fork for combining, and if you want a super-smooth sauce, a food processor or blender comes in handy. If you’re planning to serve it as a dipping sauce alongside vegetables or chicken wings, having a nice serving bowl with a spoon makes presentation more appealing.
Storage containers are important too – this sauce keeps well in an airtight container in the refrigerator for up to a week, though the flavors are most vibrant in the first 3-4 days.
While making this sauce isn’t complicated, the proportions can be adjusted to suit your preference. If you like a stronger blue cheese flavor, don’t hesitate to add an extra ounce. For a thinner consistency perfect for drizzling over a savory pie or roasted vegetables, add a splash more buttermilk.
The beauty of this versatile sauce is how well it pairs with everything from crispy chicken wings to crunchy vegetables. I’ve even used it as a spread for chicken dishes with fantastic results. The tangy richness makes ordinary foods extraordinary with minimal effort on your part.
Step-by-Step Preparation
Creating a delicious blue cheese sauce is simpler than you might think. I’ve perfected this recipe over time, and it’s become a staple in my kitchen for everything from homemade burgers to vegetable platters. Let me walk you through the process.
Mixing the Base
I start by combining cream and mayonnaise in a medium-sized bowl. This creates the perfect creamy foundation for the sauce. The ratio depends on your preference – I typically use equal parts for a balanced flavor, but you can adjust based on how rich you want the final product.
Next, I whisk these ingredients together until completely smooth. This step is crucial as it ensures there are no lumps in your base. A good whisking also incorporates air into the mixture, giving your sauce a lighter texture similar to what you’d find in a white sauce pasta recipe.
Once my base is ready, I gently fold in the blue cheese crumbles. The key word here is “fold” – not stir or whisk. This preserves the chunky texture of the cheese while allowing some pieces to break down and flavor the sauce. For a milder flavor, I crush some of the larger chunks with the back of a spoon.
Perfecting Consistency and Flavor
After incorporating the cheese, I gradually add buttermilk to achieve my desired consistency. The amount varies depending on how I plan to use the sauce:
- For a dipping sauce (perfect with chicken kiev or vegetable sticks), I add less buttermilk for a thicker consistency
- For a salad dressing, I add more buttermilk for a pourable texture
- For a topping for grilled meats or chicken and mushroom pie, I aim for a medium consistency
The seasoning makes all the difference in this sauce. I add garlic powder for depth, salt to enhance the cheese flavor, and a generous crack of black pepper for slight heat. The measurements aren’t strict – I taste and adjust as needed. Remember that blue cheese is already salty, so I’m careful not to overdo the added salt.
For those who enjoy herb-forward sauces like pesto or tzatziki, you can add chopped fresh herbs at this stage. Chives, parsley, or dill complement the tangy cheese beautifully.
The final step is crucial yet often overlooked – letting the sauce rest. I cover the bowl and let it sit in the refrigerator for at least 30 minutes before serving. This resting period allows the flavors to meld together and the blue cheese to further infuse into the cream base.
During this waiting period, the sauce will thicken slightly. If it becomes too thick after resting, I simply stir in a splash more buttermilk before serving. The finished sauce should coat the back of a spoon but still flow slowly when poured.
Common Mistakes to Watch For
I’ve made plenty of blue cheese sauce blunders in my kitchen adventures. Learning from these mistakes has helped me perfect this rich, tangy sauce that pairs beautifully with juicy homemade burgers or as a dipping sauce for vegetables.
Ingredient Selection Errors
Using low-fat dairy products is perhaps the most common mistake when making blue cheese sauce. The full-fat versions provide essential richness and help the sauce maintain its proper consistency. Low-fat alternatives simply don’t melt the same way and often result in a grainy, separated sauce. When I switched to full-fat cream and sour cream, the difference was immediately noticeable – my sauce became silky smooth with a luxurious mouthfeel.
Over-mixing and breaking down cheese chunks happens more often than you’d think. Blue cheese has those wonderful pockets of flavor that should remain somewhat intact. I gently fold the cheese into the base rather than aggressively stirring it. This preserves those distinctive blue cheese pockets that burst with flavor when you bite into them. If making a creamy pasta sauce, you’ll want some of those blue cheese chunks to remain visible.
Technique and Timing Issues
Not letting flavors develop before serving is a mistake I used to make constantly. Blue cheese sauce needs time for the flavors to meld together properly. I’ve found that letting the sauce rest for at least 30 minutes before serving makes a remarkable difference. For even better results, making it a day ahead allows the tangy, complex flavors to fully develop.
Adding too much liquid at once can quickly ruin your sauce. I’ve learned to add liquid ingredients gradually while continuously stirring. This prevents the sauce from becoming too thin or separating. If your sauce does become too thin, don’t panic – you can fix it by gently simmering to reduce it or adding small amounts of additional cheese.
Temperature control is another critical factor often overlooked. Blue cheese is sensitive to high heat and can become grainy or separate. I keep the heat low and stir frequently, removing the sauce from heat before adding the blue cheese. This technique works similarly when making a flavorful pesto sauce, where maintaining the integrity of delicate ingredients is equally important.

Pro Tips for the Perfect Sauce
Creating a stellar blue cheese sauce isn’t rocket science, but a few professional techniques can elevate it from good to extraordinary. I’ve perfected these methods through years of experimentation and can share exactly what makes the difference.
Ingredient Selection and Preparation
Starting with room temperature ingredients makes a dramatic difference in achieving a smooth, lump-free sauce. Cold ingredients often lead to uneven incorporation and can cause your sauce to split. I recommend taking your blue cheese and buttermilk out of the refrigerator at least 30 minutes before preparation.
The quality of blue cheese you select forms the foundation of your sauce. For an exceptional creamy sauce with depth of flavor, opt for aged varieties like Roquefort, Gorgonzola, or Stilton. These cheeses deliver complex flavor profiles that cheaper alternatives simply can’t match. Crumbling the cheese finely also helps it melt more evenly into your sauce.
Consistency matters tremendously with blue cheese sauce. If your sauce turns out too thick for your liking, don’t panic – simply add extra buttermilk, one tablespoon at a time, until you reach your desired thickness. This small adjustment can transform a heavy dipping sauce into a perfect drizzle for homemade burgers or wings.
For those who prefer a chunkier texture with visible pieces of cheese, I suggest holding back about a quarter of your crumbled blue cheese. Stir it in at the very end of cooking for delightful pockets of intense flavor that burst in your mouth.
Proper storage extends the life and quality of your blue cheese sauce. After cooling completely, transfer it to an airtight container and refrigerate. Unlike many other sauce recipes which last only a day or two, a properly stored blue cheese sauce remains good for up to five days, making it perfect for meal prep.
When serving refrigerated sauce, patience pays off. Allow it to sit at room temperature for 15-20 minutes before serving. Cold sauce straight from the refrigerator will be too thick and won’t properly coat your food. For hot applications, like drizzling over a freshly baked pie or roasted vegetables, gently warm the sauce in a small saucepan over low heat, stirring frequently to prevent separation.
Consider these serving applications to showcase your perfect blue cheese sauce:
- Drizzled over grilled steak or roasted vegetables
- As a dipping sauce for fresh vegetable crudités
- Tossed with hot pasta for a quick weeknight dinner
- Spooned into a baked potato with chives
- Used as a spread for chicken dishes or gourmet sandwiches
While many people think blue cheese sauce is difficult to master, I’ve found that these simple techniques make the process straightforward. The key lies in respecting the ingredients and understanding how temperature affects the final texture. By following these professional tips, you’ll create a versatile sauce that transforms ordinary meals into memorable dining experiences.

Delicious Ways to Use It
Blue cheese sauce has transformed my kitchen experiments into culinary triumphs. This versatile condiment adds a bold, tangy punch to numerous dishes, elevating simple meals into gourmet experiences. Let me share some of my favorite applications that’ll have you reaching for this sauce regularly.
Perfect Pairings for Main Dishes
As a dip for buffalo wings, blue cheese sauce creates the ultimate flavor combination. The cool, creamy texture balances the fiery heat of spicy wings perfectly. I’ve found that letting the sauce chill for at least an hour before serving helps the flavors meld together beautifully. For a complete meal, try serving your wings and blue cheese sauce alongside some homemade burgers for a feast that’ll impress any guest.
When drizzled over a perfectly cooked steak, blue cheese sauce adds a luxurious dimension that transforms an ordinary meal into something special. The sauce gently melts into the warm meat, creating pockets of creamy goodness in every bite. For steak, I prefer a slightly thicker consistency—just reduce it a bit more on the stove before serving.
Blue cheese sauce also works wonders as a burger spread. I’ve replaced standard mayo or ketchup with this flavorful alternative countless times. The tang cuts through the richness of the beef, creating a balanced flavor profile that’s simply irresistible. For an extra touch, mix in some caramelized onions to create a spread that’ll make your homemade burgers restaurant-quality.
Lighter Applications and Sides
Don’t limit this versatile sauce to meat dishes alone. A thinned-out version makes an incredible salad dressing that’ll have you actually looking forward to eating your greens. I simply add a splash of buttermilk or regular milk to reach the desired consistency, then toss with crisp romaine, cherry tomatoes, and bacon bits for a quick yet impressive side. This approach pairs wonderfully with a chicken Kiev recipe as the main course.
As a vegetable dip, blue cheese sauce turns ordinary crudités into an exciting appetizer. Carrots, celery, bell peppers, and cucumber sticks all benefit from a generous dunk in this creamy concoction. For parties, I serve this dip in a hollowed-out bread bowl surrounded by fresh vegetables for a presentation that’s as appealing as it is delicious.
For pasta lovers, adding blue cheese sauce creates a rich alternative to traditional white sauce pasta recipes. I fold it through hot pasta and add toasted walnuts for a quick weeknight dinner that feels fancy without the fuss.
Here are some additional quick ways to incorporate blue cheese sauce into your meals:
- Spread inside a chicken breast before baking for a flavor-packed chicken dish similar to chicken Kiev
- Mix with mashed potatoes for an upgraded side dish
- Use as a topping for baked potatoes instead of sour cream
- Swirl into scrambled eggs just before they finish cooking
- Add a dollop to tomato soup for a creamy twist
- Use as a sandwich spread with roast beef and arugula
I’ve found that homemade blue cheese sauce keeps well in the refrigerator for up to a week, making it perfect for meal prep. The flavors actually deepen after a day or two, similar to how pesto sauce develops over time. This versatility makes it worth keeping a batch on hand for quick flavor enhancements to almost any meal.


