Find In This Article
Introduction
Looking for a ghoulishly good Halloween treat that’s both easy to make and guaranteed to impress your guests? Bloody Finger Breadsticks are the perfect spooky addition to your Halloween party spread! These creepy yet delicious breadsticks are shaped to look like severed fingers with almond nail tips and “bloody” marinara dipping sauce.
What Ingredients are needed for Bloody Finger Breadsticks?

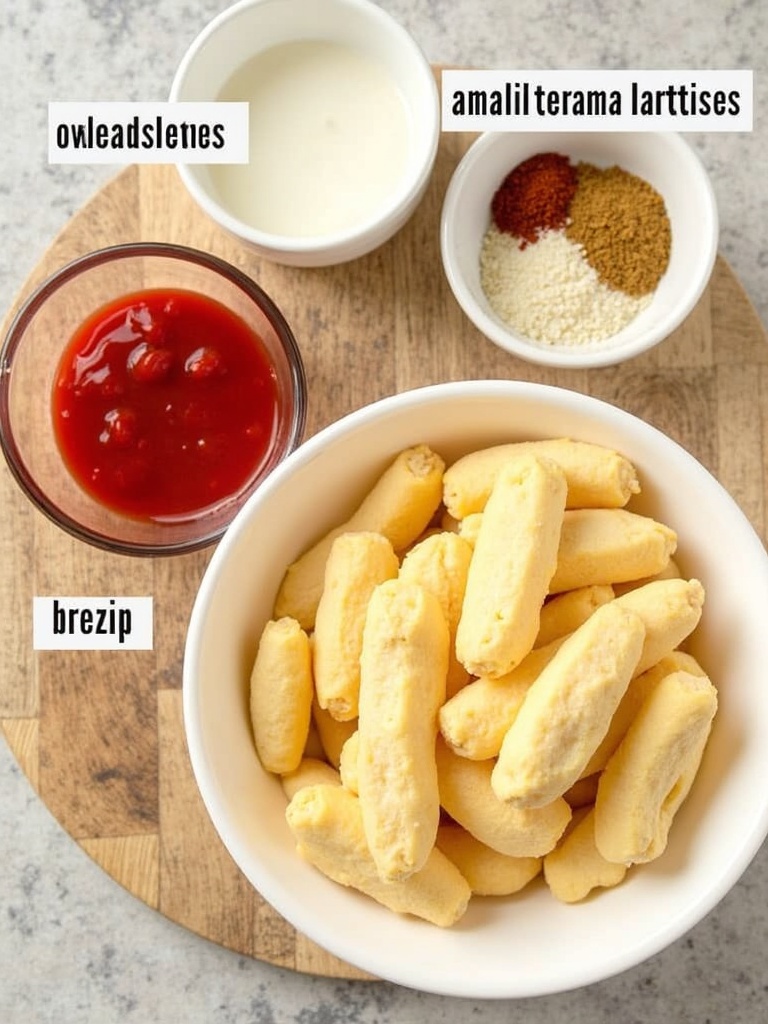
To create these eerie Bloody Finger Breadsticks, you’ll need:
For the breadsticks:
- 1 package (16 oz) refrigerated pizza dough
- 2 tablespoons melted butter
- 1 teaspoon garlic powder
- 1/2 teaspoon Italian seasoning
- 1/4 teaspoon salt
- 24-30 whole blanched almonds
- 1 egg, beaten (for egg wash)
For the “bloody” dipping sauce:
- 1 cup marinara sauce
- 1 tablespoon tomato paste (for thicker consistency)
- 1 teaspoon red food coloring (optional for extra “bloodiness”)
- 1/2 teaspoon dried oregano
- 1/4 teaspoon garlic powder
Possible substitutions:
- Use homemade pizza dough instead of store-bought for a more artisanal taste
- Replace blanched almonds with sliced almonds or even shaped pieces of mozzarella cheese
- For a sweeter version, use strawberry jam instead of marinara sauce
- Try breadstick or crescent roll dough as alternatives to pizza dough
- For a spicier dip, add a dash of hot sauce or red pepper flakes to the marinara
The combination of soft, garlicky dough with the realistic almond “fingernails” creates a tactile experience that’s equally delicious and disturbing – exactly what Halloween treats should be!
Timing
Preparing these spooky Bloody Finger Breadsticks is surprisingly quick:
- Preparation time: 20 minutes
- Cooking time: 12-15 minutes
- Total time: 35 minutes
This is significantly faster than many other themed Halloween treats, which can take hours to complete. The efficiency-to-impact ratio is excellent – you’ll spend just over half an hour but create a memorable centerpiece for your Halloween spread. The quick cooking time also means you can prepare these shortly before guests arrive, ensuring they’re served warm and at their most realistic appearance.
How to Make Bloody Finger Breadsticks Step by Step?

Step 1: Prepare Your Work Area
Before diving in, preheat your oven to 375°F (190°C) and line a large baking sheet with parchment paper. Having everything ready creates a smoother workflow when shaping your spooky fingers. I like to set up a small station with the dough, almonds, and egg wash to streamline the process.
Step 2: Prepare the Dough
Unroll the pizza dough onto a lightly floured surface. Using a sharp knife or pizza cutter, slice the dough into approximately 24-30 strips, each about 1/2 inch wide and 4-5 inches long. The exact number will depend on how thick you want your fingers to be – thinner strips create more realistic, bony fingers while thicker ones offer a heartier bite.
Step 3: Shape the Fingers
This is where the fun begins! Roll each strip between your palms to create a rounded finger shape. Vary the thickness slightly to make some fingers skinnier than others for a more realistic effect. For extra detail, use a knife to make small horizontal cuts at the knuckle areas – about 1/3 and 2/3 of the way down each finger.
Step 4: Create Knuckles
To create realistic knuckles, pinch the dough gently at the knuckle marks you made. This simple technique creates an incredible difference in how authentic your fingers look. I’ve found that slightly pinching at an angle rather than straight on gives the most realistic appearance.
Step 5: Add the Fingernails
Press a blanched almond firmly into one end of each breadstick to create the fingernail. Position it so about half of the almond is embedded in the dough. For extra creepiness, you can position some of the almonds at slight angles as if the fingers were damaged – perfect for that zombie aesthetic!
Step 6: Apply the Egg Wash and Seasonings
In a small bowl, combine the melted butter, garlic powder, Italian seasoning, and salt. Brush each finger with the beaten egg first (this helps them brown nicely), then lightly brush with the seasoned butter mixture. The egg wash creates a realistic sheen while the butter mixture adds delicious flavor.
Step 7: Bake to Perfection
Place your creepy creations on the prepared baking sheet, leaving about an inch between each finger. Bake for 12-15 minutes or until the breadsticks are golden brown. Keep a close eye on them after the 10-minute mark – you want them cooked through but not overly browned or they’ll lose their pale, dead-finger appearance.
Step 8: Prepare the “Blood” Dip
While the fingers are baking, prepare your bloody dip by combining marinara sauce, tomato paste, food coloring (if using), oregano, and garlic powder in a small saucepan. Heat over medium-low heat until warmed through. Transfer to a serving bowl – preferably something dark colored or clear glass to showcase the vibrant red “blood.”
Step 9: Final Bloody Touch
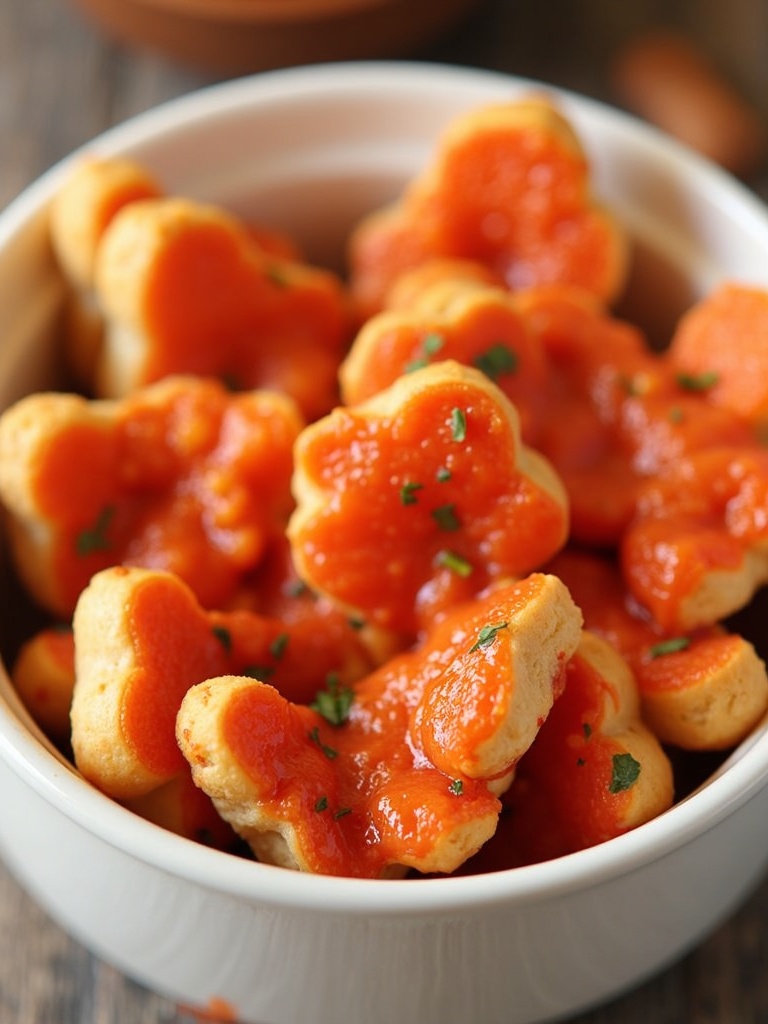
For an extra gruesome effect, once the fingers have cooled slightly, dip the torn end (opposite the fingernail) into the sauce and place on your serving platter. This creates the impression of freshly severed fingers with blood still dripping from them – delightfully disturbing!

What is Nutritional Information?
Each Bloody Finger Breadstick (based on a yield of 24 breadsticks) contains approximately:
- Calories: 70 per breadstick
- Total Fat: 2.5g
- Saturated Fat: 0.8g
- Cholesterol: 10mg
- Sodium: 180mg
- Total Carbohydrates: 10g
- Dietary Fiber: 0.5g
- Sugars: 1g
- Protein: 2g
The dipping sauce adds approximately:
- 15 calories per tablespoon
- 0.5g fat
- 3g carbohydrates
- 0.5g protein
These nutritional values make the Bloody Finger Breadsticks a relatively lighter option compared to many Halloween treats which often contain high amounts of sugar. The protein content, while modest, is higher than typical sweet Halloween offerings, making these a more satisfying choice for hungry party guests.
Healthier Alternatives for the Recipe
Looking to make your Bloody Finger Breadsticks a bit more nutritious without sacrificing the scare factor? Try these healthier modifications:
- Use whole wheat pizza dough instead of regular for added fiber and nutrients
- Substitute Greek yogurt-based dough (2 cups Greek yogurt mixed with 2.5 cups self-rising flour) for a higher protein alternative
- Reduce sodium by making homemade marinara sauce with no added salt
- Add finely minced vegetables like spinach or carrots to the dough for hidden nutrients (the spinach creates a greenish tint perfect for zombie fingers!)
- Use olive oil instead of butter for heart-healthier fats
- Skip the egg wash and use a light spray of olive oil instead
- Add nutritional yeast to the seasoning mix for a cheesy flavor without actual cheese
- For a gluten-free version, use a cauliflower-based pizza dough
- Add ground flaxseed to the dough for omega-3 fatty acids
- Create a yogurt-based “blood” dip using Greek yogurt with beet juice for color
Serving Suggestions
Make your Bloody Finger Breadsticks the star of your Halloween spread with these creative serving ideas:
- Arrange the fingers reaching out from a hollowed-out bread bowl filled with the “bloody” dipping sauce
- Create a “severed hand” display by positioning five fingers in a hand shape on a dark platter
- Serve alongside my spooky bat Oreo truffles for a sweet and savory contrast
- Place fingers sticking out of a “graveyard” made from black olive tapenade
- Use as edible stirrers in a thick tomato soup served in cauldron-style bowls
- Place standing upright in a tall glass for a dramatic centerpiece effect
- Serve with a cheese dip dyed green (using spinach or food coloring) labeled “witch’s brew”
- Create a “specimen jar” presentation by placing fingers in a clear glass container
- Pair with eyeball cake pops for a complete body parts buffet
- Serve alongside vegetable crudités arranged to look like a skeleton for a balanced offering
What are the Common Mistakes to Avoid?
Even the most experienced cooks can face challenges when making Bloody Finger Breadsticks. Here are common pitfalls to avoid:
- Rolling the dough too thin, which causes the fingers to puff up and lose their shape during baking
- Not securing the almond “fingernails” firmly enough, resulting in them falling off during baking
- Overcrowding the baking sheet, which prevents even browning and can cause the fingers to bake together
- Overbaking, which makes the breadsticks too hard and less realistic-looking (pale is better for dead fingers!)
- Underbaking, leaving doughy centers that collapse when cooled
- Making all fingers identical in size and shape, which reduces the realistic effect (real hands have varied finger sizes)
- Using too much egg wash, which creates a shiny, less corpse-like appearance
- Not letting the breadsticks cool slightly before adding the blood effect, causing the sauce to be absorbed rather than remaining visible
- Making the “blood” sauce too thin, which doesn’t cling well to the breadsticks
- Forgetting to create knuckle indentations, which are crucial for realistic-looking fingers
Storing Tips for the Recipe
Keep your Bloody Finger Breadsticks fresh and ready for your Halloween festivities with these storage tips:
- Store baked and cooled breadsticks in an airtight container at room temperature for up to 2 days
- For longer storage, place in a freezer-safe container and freeze for up to 1 month
- When ready to serve frozen breadsticks, thaw at room temperature and then reheat in a 300°F oven for 5-7 minutes to restore crispness
- Store the “blood” dipping sauce separately in the refrigerator for up to 5 days
- For make-ahead preparation, shape the dough fingers and freeze them unbaked on a baking sheet, then transfer to a freezer bag once solid
- Bake frozen unbaked fingers directly from the freezer, adding 3-4 minutes to the baking time
- If preparing a day ahead, slightly underbake the breadsticks by 2 minutes, then refresh in a hot oven right before serving
- Keep almond “fingernails” in a separate container if preparing components ahead of time, and attach them just before baking
- For transport to parties, place breadsticks in a single layer in a shallow container with a tight-fitting lid
- If breadsticks soften during storage, crisp them up in a 350°F oven for 3-5 minutes before serving
Conclusion
Bloody Finger Breadsticks are the perfect blend of creepy and delicious for your Halloween celebration. I love how this recipe transforms simple ingredients into something spectacularly spooky that never fails to elicit reactions from guests. The contrast between the warm, garlicky breadsticks and the cool, “bloody” marinara creates a sensory experience that’s both satisfying and seasonally appropriate.
What makes these breadsticks special is their versatility – they work equally well at children’s Halloween parties, adult gatherings, or as part of a movie night spread during spooky season. They’re substantial enough to serve as an appetizer but fun enough to be considered a themed treat.
I encourage you to embrace the creative aspects of this recipe. Don’t worry about making perfect fingers – the more varied and imperfect they look, the more realistic and frightening the final display will be! And if you’re looking for more Halloween inspiration, try pairing these with my black cat cupcakes for a complete Halloween dessert table.
Give this recipe a try, and I guarantee your guests will be both delighted and disgusted – exactly the reaction you want for a memorable Halloween celebration!
FAQs
Can I make Bloody Finger Breadsticks ahead of time?
Yes! You can prepare the breadsticks up to 2 days in advance and store them in an airtight container. Reheat them in a 350°F oven for 5 minutes before serving to restore their freshness. The “blood” sauce can be made up to 5 days ahead and stored in the refrigerator.
What can I use instead of almonds for the fingernails?
If you have nut allergies or prefer alternatives, try using sliced cheese cut into nail shapes, pieces of water chestnuts, or even shaped pieces of white chocolate for a sweet version. Pumpkin seeds can also work well when positioned correctly.
How do I make these Bloody Finger Breadsticks vegan?
For vegan Bloody Finger Breadsticks, use a vegan pizza dough (many store-bought ones are accidentally vegan), replace the egg wash with plant milk or aquafaba, and use plant-based butter or olive oil for brushing. Ensure your marinara sauce is vegan-friendly.
Why did my breadstick fingers puff up too much and lose their shape?
This typically happens when the dough is too thick or the oven temperature is too high. Try rolling the fingers thinner and longer than you think they should be, as they’ll puff and shorten during baking. Also, make deeper knuckle indentations to help them maintain their shape.
Can I use homemade pizza dough instead of store-bought?
Absolutely! Homemade pizza dough works beautifully and often produces even better results. Just make sure it’s not too wet or sticky, as this can make shaping the fingers difficult. A slightly drier dough holds its shape better for this particular recipe.
How can I make the blood sauce more realistic?
For extra-realistic “blood,” mix your marinara with a small amount of chocolate syrup to darken it slightly and add thickness. A drop of blue food coloring along with the red creates a deeper, more blood-like hue. For texture, consider adding tiny bits of finely minced red bell pepper.
Are Bloody Finger Breadsticks appropriate for young children?
While the concept might seem scary, most children actually love the playful grossness of these treats. If you’re concerned, you can rename them “witch finger breadsticks” or “monster fingers” for a less graphic description. You can also reduce the realism by skipping the blood-dipped ends.
Can I make these breadsticks gluten-free?
Yes, substitute the regular pizza dough with your favorite gluten-free pizza dough. Many grocery stores now carry gluten-free pizza dough, or you can make your own using a gluten-free flour blend. The rest of the ingredients are naturally gluten-free.
What other dipping sauces work well with these breadsticks?
Beyond the classic “blood” marinara, these breadsticks pair wonderfully with pesto (green “slime”), alfredo sauce (labeled as “bone marrow”), or even melted cheese dip. For sweet versions, try chocolate sauce, caramel, or raspberry coulis.
How many Bloody Finger Breadsticks should I make per person?
Plan for 3-4 breadsticks per person if these are part of a larger spread, or 5-6 per person if they’re a main appetizer. Remember that their gruesome appearance might make some guests take fewer initially, but most people come back for seconds once they taste how delicious they are!

