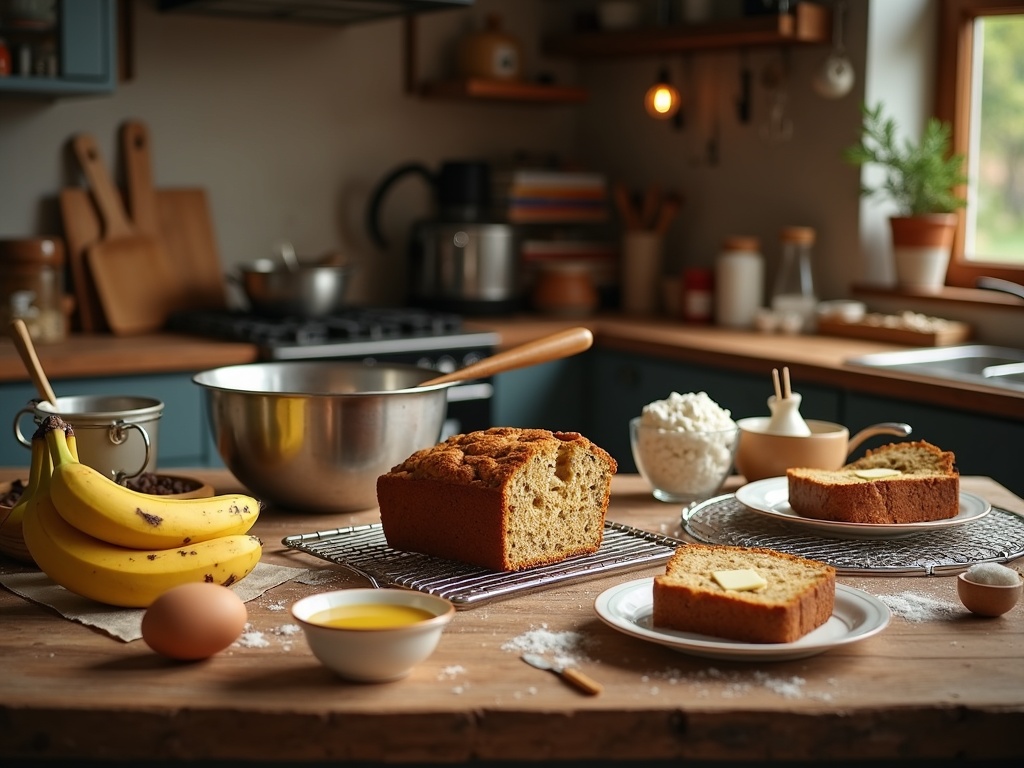
This classic banana loaf recipe combines overripe bananas with simple pantry staples to create a moist, flavorful quick bread that fills your kitchen with an irresistible aroma. Whether you’re a baker just starting out or experienced in the craft, this versatile recipe offers endless opportunities for customization while delivering consistently delicious results through proper technique and ingredient preparation.
Find In This Article
Key Takeaways
- Use overripe bananas with plenty of brown spots for maximum sweetness and moisture in your banana bread
- Proper preparation of kitchen tools and precise measurements of ingredients are crucial for banana loaf success
- Avoid overmixing the batter to prevent a tough texture—stir just until ingredients are combined
- Look for visual cues of doneness: golden-brown top, clean toothpick test, and slight cracking along the center
- Store properly wrapped banana bread at room temperature for 3–4 days, refrigerated for up to a week, or frozen for up to 3 months
Kitchen Essentials You’ll Need
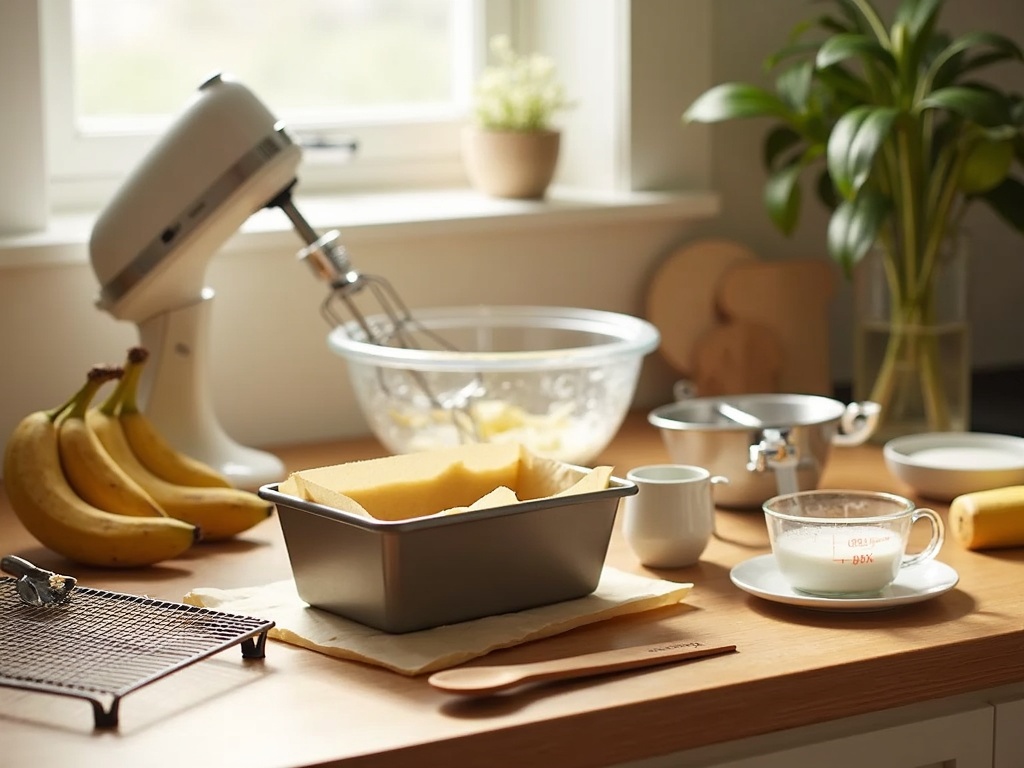
Making the perfect banana loaf doesn’t only require quality ingredients – having the right tools on hand makes the baking process smooth and enjoyable. I’ve found that gathering all necessary equipment before starting helps me avoid scrambling for items mid-recipe.
Basic Equipment for Banana Bread Success
A large mixing bowl is essential as your primary workspace for combining the wet and dry ingredients. Look for a bowl with enough capacity to handle vigorous mixing without spilling. I prefer glass or stainless steel bowls for their durability and non-reactive properties.
The star of the show is your loaf tin – a 9×5 inch pan works perfectly for most banana bread recipes. If you’re planning to make delicious desserts like banana loaf regularly, invest in a heavy-duty non-stick tin with slightly flared sides for easy release.
An electric mixer saves time and effort when creaming butter and sugar or beating eggs. Both hand mixers and stand mixers work great – choose based on your kitchen space and budget. For a more rustic approach, a wooden spoon works well for folding in mashed bananas and creating that homemade texture that makes quick breads so special.
Precise measurements are crucial in baking, so gather your measuring cups and spoons. I recommend having:
- 1 set of dry measuring cups (¼, ⅓, ½, and 1 cup)
- 1 set of measuring spoons (¼ tsp, ½ tsp, 1 tsp, and 1 tbsp)
- 1 liquid measuring cup with clear markings
Once your banana loaf is baked to perfection, you’ll need a wire cooling rack to prevent soggy bottoms. Proper air circulation is key to achieving that perfect texture found in classic fruit-based bakes.
Optional but helpful tools include:
- Parchment paper for easy removal
- Potato masher for bananas
- Toothpick for testing doneness
While not strictly necessary, these extras can elevate your banana bread experience from good to exceptional.
With these kitchen essentials ready to go, you’re well-equipped to create a moist, flavorful banana loaf that rivals those from the best bakeries. The right tools complement your skills and help transform simple ingredients into something truly special.
Must-Have Ingredients
Making a perfect banana loaf starts with gathering the right ingredients. I’ve found that using ingredients at the right ripeness and in proper proportions creates that unmistakable moist texture and deep banana flavor that makes this classic dessert so comforting.
Essential Components for Banana Bread Success
Ripe bananas form the foundation of any good banana bread. You’ll need 3 bananas with plenty of brown spots—the riper, the better for maximum sweetness and flavor. I pair these with 1/3 cup of melted butter, which adds richness and helps create that tender crumb you’re looking for.
For sweetness, 1/2 cup of granulated sugar provides just the right balance without overpowering the banana flavor. A large egg acts as the binding agent, while 1 teaspoon of vanilla extract enhances all the other flavors in your quick bread recipe.
The dry ingredients are equally important for structure and rise:
- 1 teaspoon baking soda gives your loaf the perfect lift
- 1/4 teaspoon salt balances the sweetness
- 1 1/2 cups all-purpose flour provides the structure
I often customize my banana loaf with add-ins. Consider these optional but delicious additions:
- 1/2 cup chopped walnuts or pecans for crunch
- 1/2 cup chocolate chips for a sweet surprise
- A handful of dried fruit like cranberries or raisins
- A sprinkle of cinnamon or nutmeg for warmth
The beauty of this fruity bake lies in its simplicity. Each ingredient plays a specific role: bananas provide moisture and flavor, butter adds richness, sugar sweetens, egg binds, and the dry ingredients create structure and texture.
For a twist on the classic, try incorporating a streusel topping or a swirl of chocolate ganache before baking. My favorite variation includes both walnuts and dark chocolate chips for a perfect balance of textures.
Remember that room temperature ingredients mix more evenly than cold ones, so plan ahead for the best results. This fool-proof ingredient list will set you up for a delicious homemade treat that fills your kitchen with the most inviting aroma.
Step-By-Step Baking Guide
Creating a perfect banana loaf is simpler than you might think. With the right steps and a bit of patience, you’ll have a delicious treat that fills your home with an irresistible aroma. I’ve broken down this process into easy-to-follow steps that will guide you through making an amazing banana bread dessert from start to finish.
Preparing Your Banana Loaf
I always start by preheating my oven to 350°F (175°C). This ensures the oven reaches the perfect temperature while I’m preparing the batter. There’s nothing worse than having your batter ready with a cold oven!
Next, I take my overripe bananas and mash them thoroughly in a large mixing bowl. The riper the bananas, the sweeter and more flavorful your loaf will be. I then add melted butter to the mashed bananas and stir until well combined. This mixture forms the moist base of your quick bread recipe that keeps it from drying out.
After combining the bananas and butter, I stir in sugar, a beaten egg, and vanilla extract. This is where the magic happens – these ingredients bring sweetness and structure to the loaf. The egg acts as a binding agent while the vanilla enhances all the flavors.
Sprinkle baking soda and salt over the mixture and stir them in. These ingredients are crucial – baking soda helps the loaf rise properly, while salt balances the sweetness and enhances the overall flavor profile.
The final mix-in is the flour, which I fold in gradually using a rubber spatula. It’s important not to overmix at this stage – I stop stirring as soon as the flour is incorporated. Overmixing develops gluten, which can make your fruit-based cake tough rather than tender.
Once the batter is ready, I pour it into a greased loaf tin. I find that a 9×5 inch loaf pan works perfectly, but you can adjust based on what you have available. For easy removal, I often line the pan with parchment paper with some overhang on the sides.
The loaf needs to bake for 50-60 minutes in the preheated oven. I check for doneness by inserting a toothpick into the center – it should come out clean with just a few moist crumbs attached. If you notice the top browning too quickly during baking, loosely cover it with aluminum foil.
This basic recipe is incredibly versatile. You can easily transform it into a seasonal fruity dessert by adding chocolate chips, nuts, or dried fruits. For a crunchy top, sprinkle some brown sugar or oats before baking.
After removing from the oven, I let the banana loaf cool in the pan for about 10 minutes before transferring to a wire rack. This cooling period is crucial as it allows the loaf to set properly. Though it’s tempting to slice into it right away, allowing it to cool completely results in cleaner slices and better texture.
The finished banana loaf pairs perfectly with a spread of butter, cream cheese, or even a drizzle of honey. It’s similar to other comforting desserts like fruit crumbles or decadent cakes in the way it brings simple joy to any table.
Signs Your Loaf Is Perfect
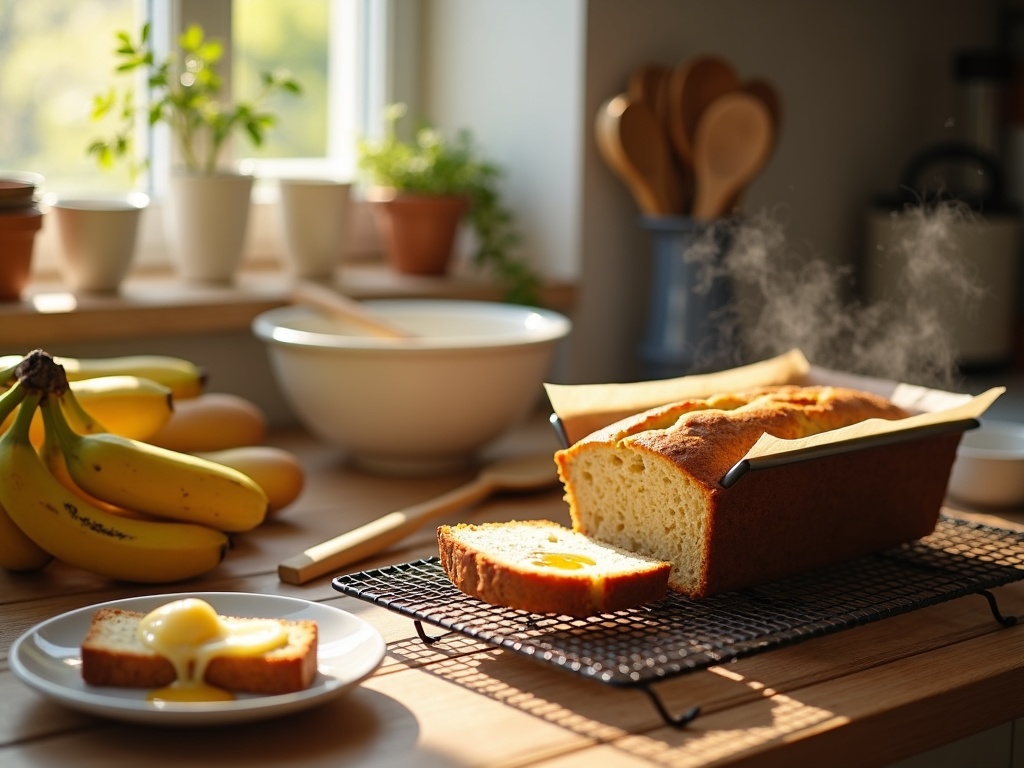
I’ve baked countless banana loaves over the years and learned to recognize the telltale signs of perfection. Nothing beats the satisfaction of pulling a flawless loaf from the oven after patiently watching it rise and fill your kitchen with that sweet, comforting aroma.
Visual and Texture Indicators
A perfectly baked banana loaf will have a golden brown top that’s evenly colored across the entire surface. This caramelization isn’t just visually appealing—it signals that the sugars in your batter have properly developed, creating that characteristic depth of flavor that makes homemade desserts so irresistible.
The clean toothpick test remains the most reliable method to check doneness. Insert a wooden toothpick into the center of your loaf—when it comes out clean or with just a few moist crumbs (not wet batter), your banana bread is perfectly baked. If you see wet batter, give it another 5–10 minutes before testing again.
A slight crack down the center of your loaf isn’t a flaw—it’s actually a good sign! This natural splitting occurs as the exterior sets while the interior continues to rise. Many quick bread recipes like zucchini bread share this characteristic with banana loaf.
Don’t forget to check the springiness. Gently press your finger on the top of the loaf—a perfectly baked banana bread will spring back, indicating the structure has set correctly. If your finger leaves an impression that doesn’t bounce back, your loaf needs more time in the oven.
The indicators of a perfect banana loaf include:
- Even golden-brown coloration across the top surface
- Toothpick inserted in the center comes out clean
- Natural crack along the center of the loaf
- Springy texture that bounces back when pressed
The edges should pull away slightly from the pan, similar to what you’d see in a well-baked plum cake. This separation happens as the structure sets and the moisture redistributes throughout the loaf.
Trust your senses when determining if your loaf is ready. The kitchen should be filled with the sweet scent of banana and vanilla, and the loaf should feel solid yet tender when you gently shake the pan. These sensory clues, combined with the visual indicators, will help you achieve banana bread perfection every time.
Common Mistakes To Dodge
Even the simplest banana dessert recipes can go wrong if you’re not careful. I’ve made my fair share of banana loaf blunders over the years, but these mistakes have taught me valuable lessons. Let me share some common pitfalls you should avoid to ensure your banana bread turns out perfect every time.
Ingredient and Preparation Errors
Using underripe bananas is perhaps the most frequent mistake bakers make. Those firm, yellow bananas might look appealing, but they lack the sweetness and soft texture needed for a flavorful loaf. For the best results, wait until your bananas are heavily speckled with brown spots or even mostly black. These overripe fruits release more natural sugars and mash more easily, creating that moist, sweet banana flavor we all love.
Overmixing the batter is another classic error that can ruin your quick bread recipe. When you mix flour with wet ingredients, gluten develops — and too much gluten leads to tough, rubbery bread. I’ve learned to mix just until the ingredients are combined, with perhaps a few small streaks of flour still visible. This gentle approach keeps your banana bread tender and light.
Don’t forget to properly grease your pan before pouring in the batter. I’ve experienced the heartbreak of a perfect banana loaf that refuses to release from the pan. For foolproof removal:
- Grease the pan thoroughly with butter or cooking spray
- Line it with parchment paper
- Allow extra parchment to overhang and create “handles”
This extra step takes just seconds but saves so much frustration later.
Baking Missteps
The baking process itself presents several opportunities for error. One of the most tempting mistakes is opening the oven door too early during baking. I know it’s difficult to resist peeking at your creation, but that quick look can cause a temperature drop that affects the rise of your loaf. This often results in a dense, sunken center — not the light, fluffy texture you’re aiming for.
Wait until at least two-thirds of the baking time has passed before checking on your banana bread. Even then, try to be quick about it. Most cake recipes, including banana bread, need consistent heat to rise properly.
Temperature issues can also derail your banana bread success. Many ovens don’t heat exactly to the temperature shown on the dial. I’ve found it helpful to use an oven thermometer to verify the actual temperature. Keep in mind:
- A loaf baked at too high a temperature will burn on the outside while remaining undercooked inside
- Too low a temperature can result in a pale, dense loaf
Timing your banana bread correctly can be tricky. The standard toothpick test isn’t always reliable with banana bread because the moisture from the bananas can make the center seem undercooked. I’ve discovered that banana bread is done when:
- The internal temperature reaches about 200-205°F (93-96°C)
- The top springs back slightly when touched
Another common error is not allowing your banana bread to cool properly before slicing. I know that fresh-from-the-oven smell is irresistible, but cutting into hot banana bread causes it to become gummy and fall apart. Let your loaf cool:
- In the pan for about 10 minutes
- Then remove it to a wire rack to finish cooling for at least 30 minutes
By avoiding these common mistakes, your fruit-based baked goods will turn out beautifully every time. With practice, you’ll develop an intuition for the perfect banana bread, adjusting your technique based on your specific ingredients, oven, and preferences.
Pro Tips For Best Results
Baking the perfect banana loaf isn’t just about following a recipe—it’s about understanding the little details that make a big difference. I’ve learned through countless banana bread sessions that these professional tips can transform your loaf from good to exceptional.
Ingredient Preparation Matters
Freezing overripe bananas is my secret weapon for always having the perfect banana bread ingredient on hand. When those bananas on your counter reach the spotty, too-ripe-to-eat stage, don’t trash them—freeze them! Simply peel the bananas and store them in an airtight container or freezer bag. When you’re ready to bake, thaw them at room temperature for about an hour. The freezing process actually intensifies their sweetness and makes them even more perfect for banana-based desserts than fresh overripe ones.
Room temperature ingredients make a significant difference in the texture of your final loaf. Cold eggs and dairy don’t incorporate as smoothly into your batter, potentially leading to overmixing (which makes for a tough loaf). I take my eggs, butter, and any other refrigerated ingredients out about 30 minutes before I start baking. This simple step creates a more homogeneous batter that rises evenly during baking.
Perfecting Your Technique
Once your banana bread batter is in the pan, give it a good tap—or three! Tapping the filled loaf pan firmly on the counter helps release any trapped air bubbles that could create unwanted holes in your finished quick bread recipe. I usually tap the pan about 2-3 times, which is enough to see small bubbles rise to the surface and pop.
Patience truly pays off when it comes to cooling your banana loaf. I know it’s tempting to slice into that warm, fragrant bread right away, but cooling completely is crucial for the perfect texture. When you cut into hot bread, it can become gummy and collapse. I let my loaf cool in the pan for about 10 minutes, then transfer it to a wire rack to finish cooling completely—usually about an hour. This patience results in clean slices and prevents the dreamy texture from being compromised.
Additional tips that enhance your banana bread experience include:
- Using a light-colored metal pan rather than glass or dark metal to prevent over-browning
- Storing banana bread wrapped in plastic wrap and then foil for maximum freshness
- Testing for doneness with a toothpick inserted in the center—it should come out with a few moist crumbs but no wet batter
- Adding a tablespoon of sour cream or yogurt to the batter for extra moisture
- Tossing mix-ins like chocolate chips or nuts in a little flour before adding to prevent them from sinking
These small adjustments can make a significant impact on your final baked treat. The beauty of banana bread is that while it’s forgiving enough for beginners, there’s always room to refine your technique for even better results.
I find that the difference between an ordinary banana loaf and an extraordinary one often comes down to these seemingly minor details. The extra care taken with ingredient temperature, the quick tap of the pan, and the patience shown during cooling all contribute to that perfect slice of banana bread—moist on the inside with that slightly crisp, caramelized exterior that makes homemade cakes so irresistible.
Storage Secrets
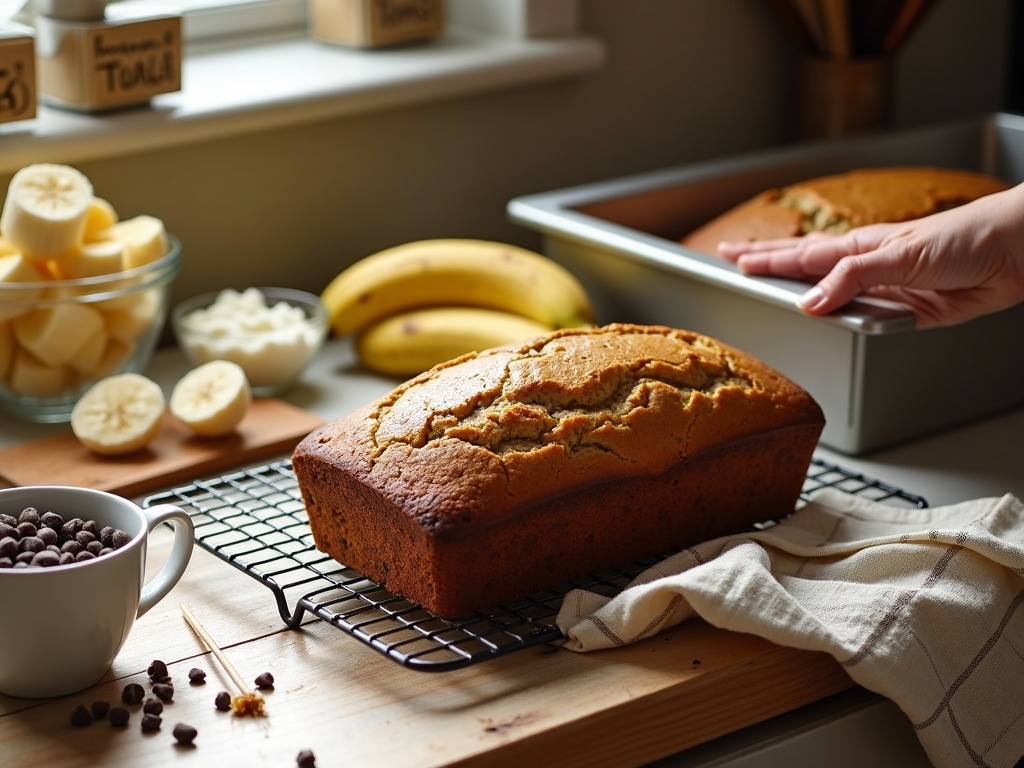
I’ve discovered that proper storage is essential for maintaining the freshness and flavor of a delicious banana bread after baking. Getting the storage right means you can enjoy your banana loaf longer without compromising on taste or texture.
Best Storage Methods for Every Timeframe
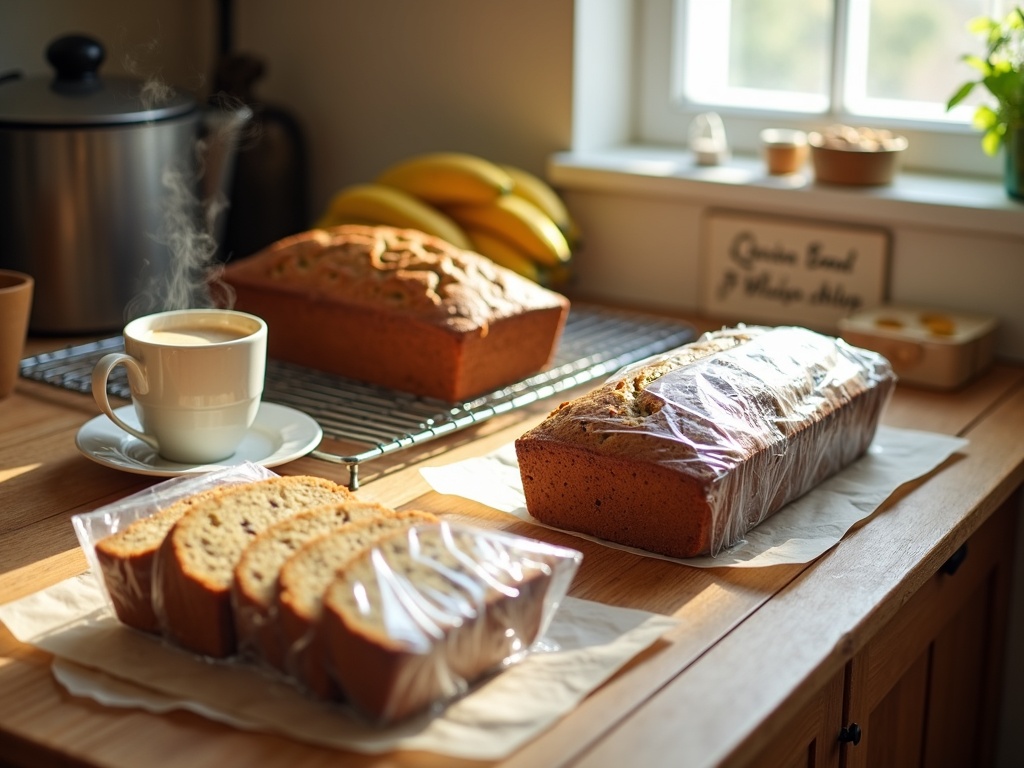
For short-term enjoyment, room temperature storage works perfectly. Simply wrap your cooled banana loaf tightly in aluminum foil or plastic wrap to lock in moisture. This method keeps your bread fresh for 3-4 days while maintaining its soft texture. I find placing it in a cool, dry spot in the kitchen (away from direct sunlight) gives the best results.
If you’re planning to enjoy your banana bread over a longer period, refrigeration is your friend. A properly wrapped loaf stays fresh in the refrigerator for up to a week. The key is ensuring it’s completely sealed to prevent it from drying out or absorbing other flavors from your fridge. Before eating refrigerated banana bread, I suggest letting it come to room temperature for about 10 minutes to restore its soft texture.
For long-term storage, freezing is incredibly effective. Here’s how I handle freezing my quick bread recipes like banana loaf:
- Wrap the completely cooled loaf in plastic wrap, then a layer of foil
- Label with the date (easy to forget otherwise!)
- Store flat in the freezer for up to 3 months
- Thaw overnight in the refrigerator or for several hours at room temperature
For maximum convenience, I sometimes slice the loaf before freezing, placing parchment paper between slices. This allows me to thaw individual portions whenever I crave that sweet treat with my morning coffee.
The importance of proper wrapping can’t be overstated. Air is the enemy of freshness, so whether storing at room temperature, in the refrigerator, or freezer, make sure your wrap is airtight. Double-wrapping with plastic wrap followed by foil or using a sealed container provides excellent protection against both drying out and absorbing unwanted odors.
Creative Variations
I’ve found that a basic banana loaf recipe serves as an excellent canvas for creative experimentation. By incorporating a few additional ingredients or toppings, you can transform your traditional loaf into something truly special and tailored to your taste preferences.
Flavor-Enhancing Add-ins
Warming spices add depth and complexity to a banana loaf. Adding 1-2 teaspoons of cinnamon and a quarter teaspoon of freshly grated nutmeg creates a comforting, aromatic loaf perfect for cool autumn mornings with your coffee.
Dried fruits introduce bursts of flavor and interesting texture to banana bread. I recommend mixing in half a cup of any of these options:
- Raisins or sultanas soaked in rum for an adult twist
- Chopped dates for natural sweetness
- Dried cranberries for tartness
- Apricots for a tangy surprise
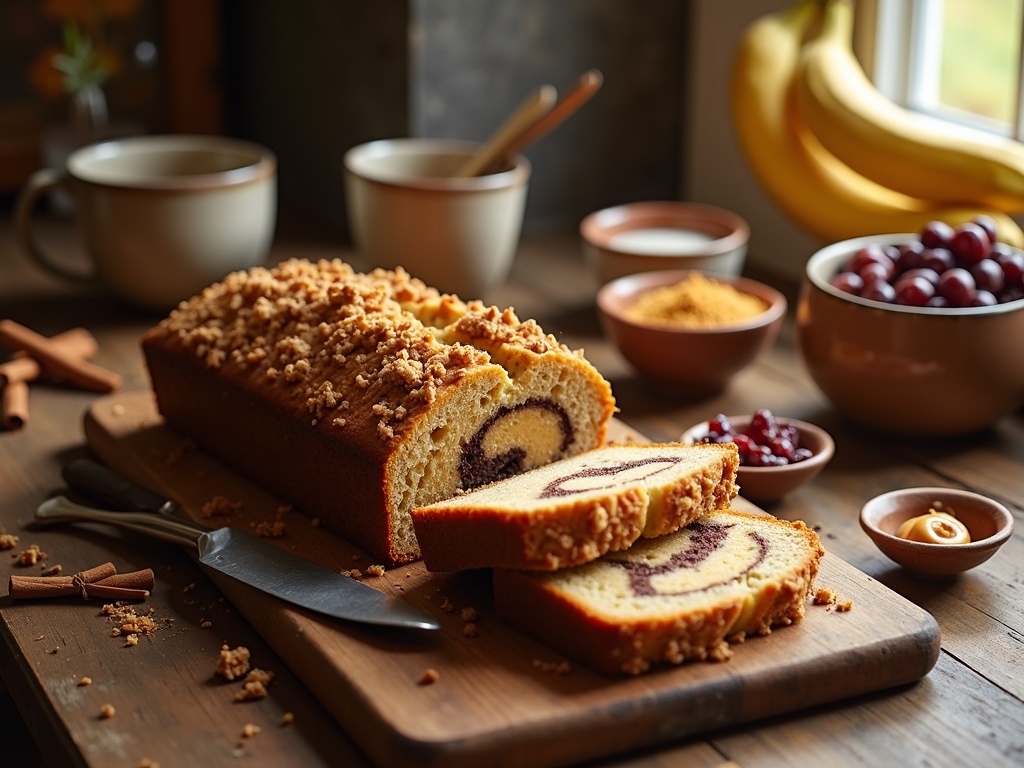
For a delicious protein boost, try swirling in 1/3 cup of peanut butter to the batter just before baking. This creates a beautiful marbled effect and adds a rich, nutty dimension to complement the banana flavor. For best results, slightly warm the peanut butter first to make it easier to swirl through the mixture. This technique works wonderfully in quick bread recipes beyond just banana loaf.
A streusel topping transforms an ordinary banana loaf into something bakery-worthy. Simply mix 3 tablespoons cold butter with 1/3 cup flour, 1/4 cup brown sugar, and a pinch of salt until crumbly, then sprinkle over the batter before baking. The result is a delightful crunchy, sweet contrast to the soft banana bread interior that elevates the entire dessert experience.
These variations aren’t just about changing flavors—they can transform the purpose of your banana loaf. A cinnamon-spiced version makes a perfect breakfast, while a peanut butter swirl creates a more substantial snack. The streusel-topped version could even stand in as a simple dessert alternative when served slightly warm with a scoop of vanilla ice cream.
Don’t be afraid to combine these ideas or invent your own. The beauty of banana loaf is its flexibility and forgiving nature. Your kitchen experiments might just lead to your new signature recipe!
Troubleshooting Guide
Making a banana loaf might seem straightforward, but even seasoned bakers encounter issues. I’ve faced nearly every banana bread problem imaginable and learned how to fix them through trial and error. Let me share some solutions to common banana loaf problems to help you achieve that perfect texture and taste.
Common Texture Problems
If your banana loaf turns out too dense, the culprit is likely your leavening agents. Check if your baking powder or baking soda is still active – these lose effectiveness over time. For a quick test, mix a teaspoon of baking powder with hot water, or baking soda with vinegar. If it doesn’t fizz vigorously, it’s time for a replacement. I’ve found that sifting dry ingredients can also help create a lighter crumb, similar to what I do when making a plum cake with a tender texture.
Uneven baking is another frequent issue. For even heat distribution, rotate your pan halfway through the baking time. This simple step makes a big difference, especially with older ovens that have hot spots. I also recommend using a light-colored metal pan rather than glass or dark metal, as these can affect how heat transfers to your loaf.
A sticky top on your banana bread often means there’s too much moisture. This can happen if your bananas are extremely ripe or if you’ve added extra wet ingredients. To fix this:
- Reduce the amount of liquid in your recipe
- Add 1-2 tablespoons more flour
- Extend baking time by 5-10 minutes with foil loosely covering the top
- Consider using slightly less banana if yours are extremely ripe and wet
Burnt edges with an undercooked center suggest your oven temperature is too high. I recommend using an oven thermometer to verify accuracy – many ovens run hotter or cooler than their settings indicate. Much like when preparing a delicate black forest gateau, temperature control is crucial for even baking.
Flavor and Ingredient Adjustments
If your banana bread lacks flavor, your bananas might not be ripe enough. The best bananas for bread have brown or black spots all over – these contain more sugar and stronger banana flavor. For extra depth, I sometimes add vanilla extract or a sprinkle of cinnamon, similar to spices I use in my zucchini bread recipe for enhanced flavor.
When the center of your loaf sinks after baking, you’ve either underbaked it or opened the oven door too early. The dramatic temperature change can cause the still-rising center to collapse. Wait until at least halfway through the baking time before checking on your loaf.
For a soggy bottom, try placing your loaf pan on a preheated baking sheet. This extra heat helps the bottom cook properly, a technique I also use when making fruit-based treats like rhubarb crumble to prevent bottom sogginess.
If you’re dealing with bananas that aren’t quite ripe enough, try placing them in a paper bag with an apple overnight. The ethylene gas will speed up ripening. For an emergency solution, you can microwave bananas for 30 seconds to soften them, though this won’t develop the same sweetness as natural ripening.
Remember that banana bread is remarkably forgiving. Even if your loaf isn’t perfect, it’ll likely still taste good! For more baking inspiration, check out other dessert recipes that can help you practice similar techniques. With each attempt, you’ll get closer to baking that perfect banana loaf that rivals the best strawberry shortcake recipe in your dessert arsenal.

