Find In This Article
Introduction
There’s something magical about the aroma of baked apples and buttery pastry wafting through your kitchen. An Apple Galette brings together the perfect balance of sweet-tart apples, warm spices, and flaky crust in a dessert that’s impressively beautiful yet wonderfully unfussy. Unlike its more structured cousin, the apple pie, a galette embraces its rustic charm with free-form edges and an artistic arrangement of apple slices.
What Ingredients are needed for Apple Galette?

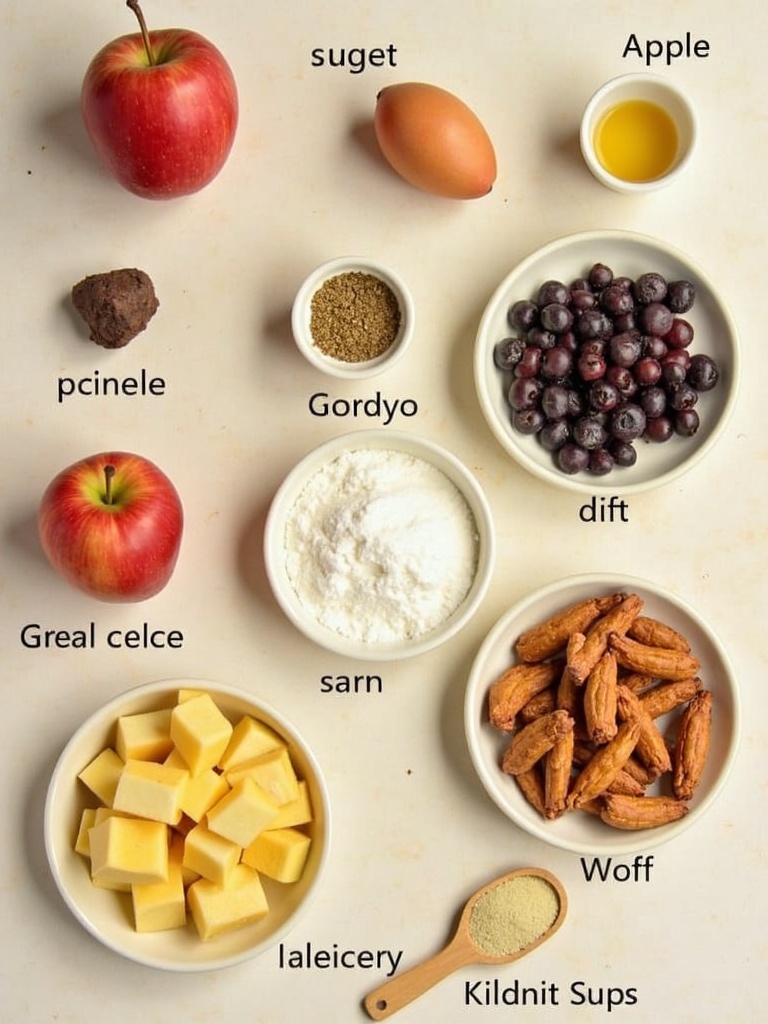
For the Pastry Dough:
- 1½ cups all-purpose flour
- 2 tablespoons granulated sugar
- ¼ teaspoon salt
- ½ cup cold unsalted butter, cubed
- 4-5 tablespoons ice water
For the Apple Filling:
- 3-4 medium apples (preferably a mix of sweet and tart varieties like Honeycrisp and Granny Smith)
- ⅓ cup granulated sugar
- 1 tablespoon fresh lemon juice
- 1 teaspoon ground cinnamon
- ¼ teaspoon ground nutmeg
- ¼ teaspoon ground ginger
- 1 tablespoon cornstarch
- Pinch of salt
For the Finish:
- 1 egg, beaten (for egg wash)
- 1 tablespoon turbinado sugar (or regular granulated sugar)
- 1-2 tablespoons apricot jam, warmed (optional, for glaze)
I love using a mix of apple varieties to create complex flavors – Honeycrisp for sweetness, Granny Smith for tartness, and maybe a Pink Lady for something in between. If you’re feeling adventurous, try adding a handful of dried cranberries or chopped nuts to the filling for extra texture and flavor. You can also substitute the all-purpose flour with a half-and-half mixture of all-purpose and whole wheat flour for a nuttier taste in the crust.
Timing
Preparing a homemade Apple Galette isn’t as time-consuming as many people assume. Here’s the breakdown:
- Preparation time: 30 minutes (includes making dough and slicing apples)
- Chilling time: 30 minutes (for the dough)
- Baking time: 35-40 minutes
- Total time: About 1 hour 40 minutes
While that might seem long, the active time is minimal – most of it is hands-off while the dough chills or the galette bakes. This is actually 25% faster than making a traditional double-crust apple pie, which typically requires more elaborate preparation and longer baking times. The simplicity of the galette’s free-form shape eliminates the need for precise crimping or decorative elements that pies often demand.
How to Make Apple Galette Step by Step?

Step 1: Prepare the Pastry Dough
In a large bowl, whisk together the flour, sugar, and salt. Add the cold cubed butter and use a pastry cutter or your fingertips to work it into the flour until the mixture resembles coarse crumbs with some pea-sized pieces remaining. This varied texture creates those flaky layers we’re after. Drizzle in the ice water, one tablespoon at a time, mixing gently until the dough just comes together. Form the dough into a disk, wrap in plastic, and refrigerate for at least 30 minutes.
Pro tip: Keep everything cold! I sometimes chill my flour and bowl in advance, and I always use ice water. Cold ingredients prevent the butter from melting before baking, which is essential for a flaky crust.
Step 2: Prepare the Apple Filling
While the dough chills, core and slice the apples thinly (about ⅛-inch thick). You can peel them if you prefer, but I often leave the peels on for rustic texture and added nutrition. In a large bowl, combine the sliced apples with sugar, lemon juice, cinnamon, nutmeg, ginger, cornstarch, and salt. Toss gently to coat evenly. Let the mixture sit for about 10 minutes to allow the flavors to meld.
Insider trick: If your apples are very juicy, toss them with the sugar and let them sit in a colander over a bowl for 15 minutes. This draws out excess moisture that could make your galette soggy. You can even reduce this collected juice in a small saucepan and brush it on the finished galette!
Step 3: Roll Out the Dough
Preheat your oven to 375°F (190°C) and line a baking sheet with parchment paper. On a lightly floured surface, roll the chilled dough into a rough 12-inch circle about ⅛-inch thick. Don’t worry about perfect edges – that’s the charm of a galette! Transfer the dough to the prepared baking sheet.
Remember: If at any point the dough becomes too soft to work with, return it to the refrigerator for about 10 minutes.
Step 4: Assemble the Galette
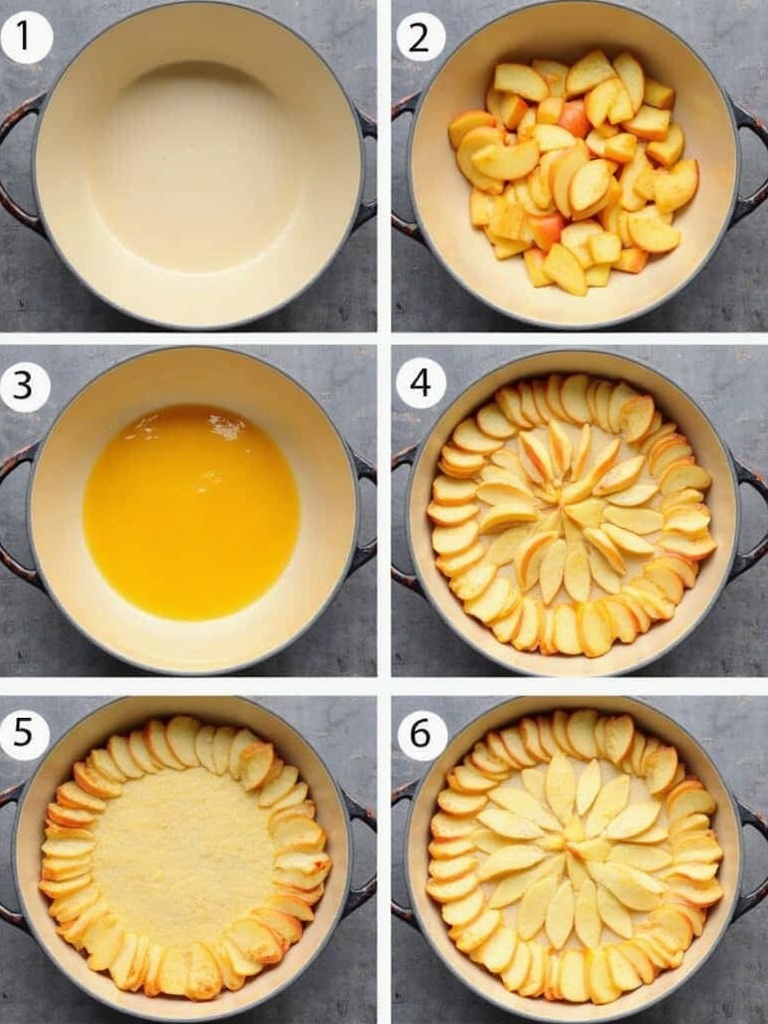
Arrange the apple slices in the center of the dough, leaving a 2-inch border all around. You can place them in concentric circles for a more formal look or simply pile them in the center for a more rustic approach. Be sure to leave any excess liquid behind in the bowl to prevent a soggy bottom.
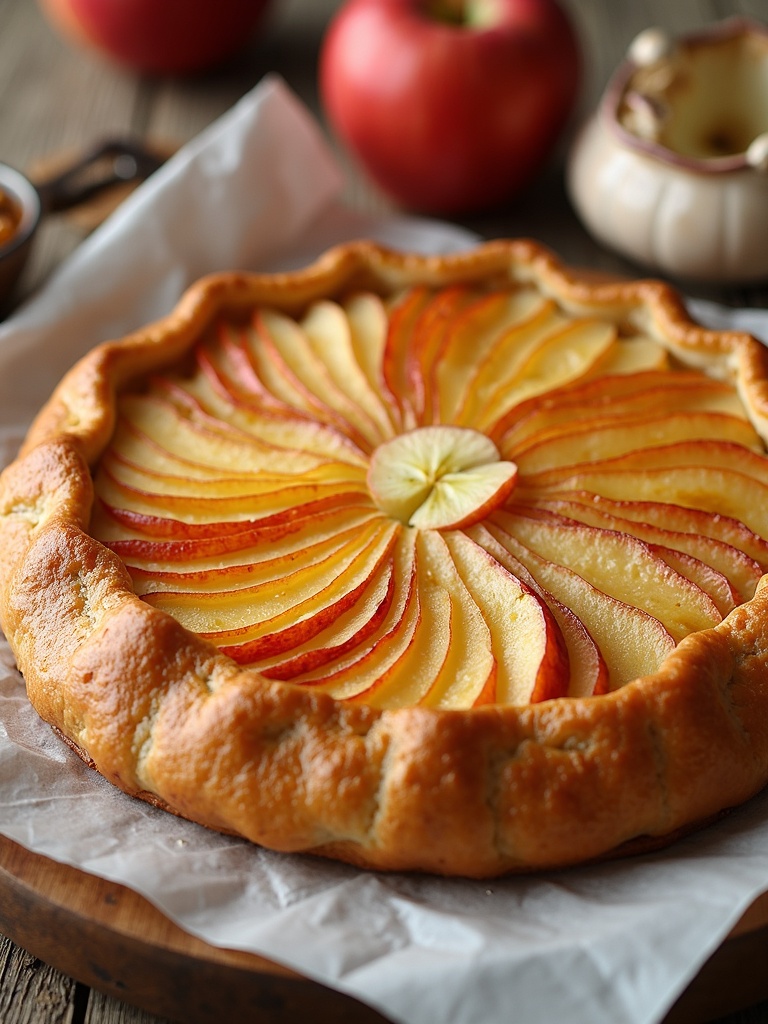
For visual impact, I like to arrange the apple slices in an overlapping spiral pattern, starting from the outside and working my way in. This creates a beautiful rose-like effect when baked.
Step 5: Form the Crust
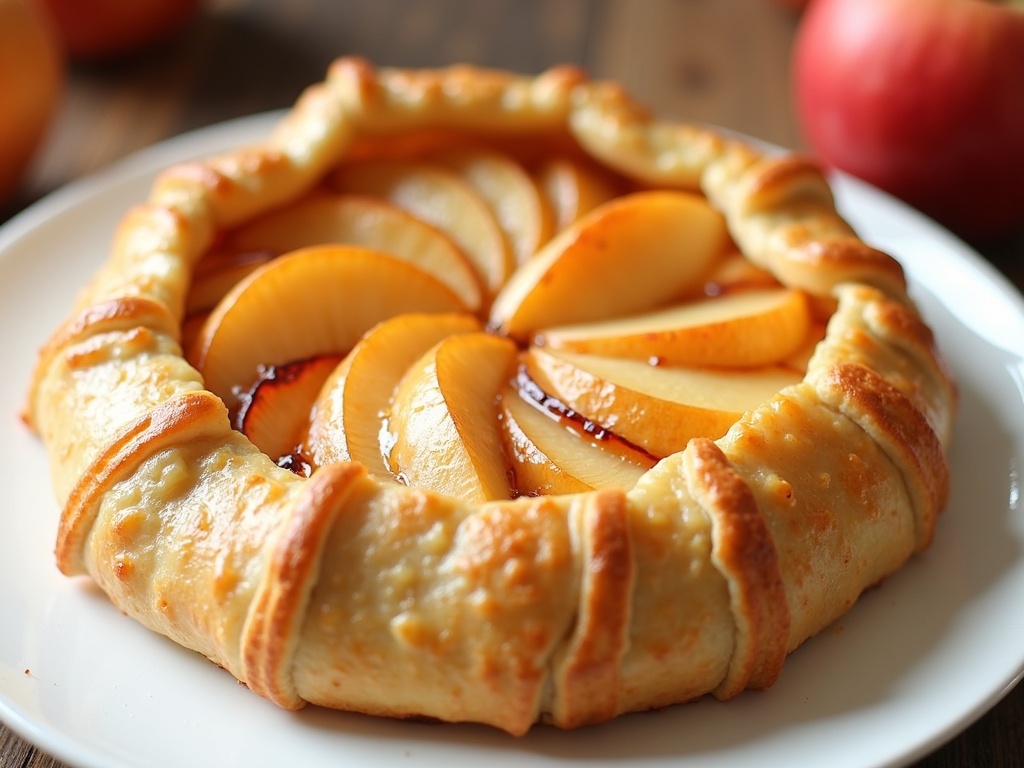
Gently fold the edges of the dough over the apples, pleating as you go around. The center of the galette will remain open, showcasing the beautiful apple filling. Brush the folded dough edges with beaten egg wash and sprinkle turbinado sugar over the entire galette for a gorgeous sparkle and crunch.
My personal twist: Before folding the edges, I sometimes sprinkle a tablespoon of almond flour over the dough base – it absorbs excess moisture from the apples and adds a subtle flavor boost.
Step 6: Bake to Golden Perfection
Bake the Apple Galette in the preheated oven for 35-40 minutes, or until the crust is golden brown and the apples are tender when pierced with a knife. If the edges are browning too quickly, cover them loosely with foil.
For an extra touch, during the last 5 minutes of baking, I sometimes drizzle a tablespoon of honey over the apples for added shine and sweetness.
Step 7: Glaze and Serve
Optional but recommended: Once the galette is out of the oven, brush the exposed apples with warmed apricot jam for a professional-looking shine. Allow the galette to cool for at least 15 minutes before slicing. This cooling period allows the juices to set, making for cleaner slices.
Serve warm with a scoop of vanilla ice cream, a dollop of whipped cream, or a drizzle of caramel sauce for an indulgent treat.

What is Nutritional Information?
Understanding the nutritional content helps you make informed choices about how this dessert fits into your diet. Here’s the breakdown for one serving (assuming the galette serves 8):
- Calories: 285 per slice
- Total Fat: 14g
- Saturated Fat: 8g
- Cholesterol: 45mg
- Sodium: 75mg
- Total Carbohydrates: 38g
- Dietary Fiber: 2g
- Sugars: 18g
- Protein: 3g
While this Apple Galette is certainly a treat, it’s actually lower in calories and sugar than many other desserts. The use of fresh apples provides natural sweetness, vitamins, and fiber, making this a relatively more nutritious option compared to many processed desserts.
Healthier Alternatives for the Recipe
If you’re looking to make this Apple Galette even more nutritious, consider these modifications:
- Replace half the all-purpose flour with whole wheat flour for added fiber and nutrients
- Reduce the sugar by 25% and add a teaspoon of vanilla extract to enhance sweetness perception
- Use coconut oil instead of butter for a dairy-free version with different healthy fats
- Add a handful of chopped walnuts or almonds to the filling for healthy fats and protein
- Incorporate a tablespoon of ground flaxseed into the dough for omega-3 fatty acids
- Use monk fruit sweetener or erythritol in place of sugar for a lower-glycemic option
- Add a handful of fresh berries to the apple filling for additional antioxidants
- Include a sprinkle of hemp seeds on top before baking for added protein and minerals
These alternatives allow you to customize the galette based on dietary preferences while maintaining the delicious essence of this classic dessert.
Serving Suggestions
Elevate your Apple Galette experience with these serving ideas:
- Serve warm with a scoop of high-quality vanilla bean ice cream for the classic à la mode experience
- Drizzle with homemade salted caramel sauce for an indulgent touch
- Pair with a dollop of lightly sweetened Greek yogurt for a tangy contrast
- Serve alongside a slice of sharp cheddar cheese (a traditional pairing with apple desserts in New England)
- Garnish with fresh mint leaves and a light dusting of powdered sugar for visual appeal
- Accompany with a small glass of apple cider or spiced tea for a complete autumn experience
- For brunch, serve with a side of honey-sweetened mascarpone or crème fraîche
- Create a dessert board with the galette as the centerpiece, surrounded by nuts, cheese, and fresh fruit
Remember that Apple Galette can be served warm, at room temperature, or even cold from the refrigerator – each temperature brings out different flavor notes in the apples and crust.
What are the Common Mistakes to Avoid?
Even experienced bakers can fall prey to these common pitfalls when making an Apple Galette:
- Overworking the dough, which develops gluten and results in a tough rather than flaky crust
- Using too much filling, which can make the galette soggy and difficult to fold
- Skipping the cornstarch or thickener, leading to a runny filling that leaks out during baking
- Rolling the dough too thin, which may tear under the weight of the apples
- Not allowing enough cooling time before slicing, resulting in a filling that runs everywhere
- Slicing the apples too thick, which prevents them from cooking through properly
- Forgetting to leave excess liquid behind when transferring apples to the dough
- Making the galette too large, which can make it difficult to transfer to and from the baking sheet
The most common issue I’ve observed is excess moisture making the bottom crust soggy. To prevent this, I always let my sliced apples sit in sugar for a few minutes to draw out juice, then I leave that liquid behind when arranging the fruit on the dough.
Storing Tips for the Recipe
Proper storage ensures your Apple Galette stays delicious for days after baking:
- Store at room temperature, loosely covered with foil, for up to 2 days
- Refrigerate for longer storage (up to 5 days), but bring to room temperature or warm slightly before serving
- To reheat, place in a 300°F oven for 10-15 minutes until warmed through
- Freeze baked and cooled galette for up to 3 months by wrapping tightly in plastic wrap and then foil
- For make-ahead preparation, freeze the assembled but unbaked galette for up to 1 month and bake directly from frozen (add 10-15 minutes to the baking time)
- Store leftover slices in single layers separated by parchment paper to prevent sticking
- Revive slightly softened crust by heating in a 350°F oven for 5-7 minutes
- For best flavor preservation, avoid storing near foods with strong odors
I’ve found that the galette actually tastes even better the day after baking, as the flavors have time to meld, though the crust won’t be quite as crisp as when freshly baked.
Conclusion
The Apple Galette represents the perfect intersection of impressive and approachable baking. Its rustic elegance showcases the natural beauty of seasonal apples while its forgiving nature makes it accessible even to novice bakers. I love how this dessert celebrates imperfection – each fold and pleat tells the story of the hands that made it.
I encourage you to make this recipe your own – experiment with different apple varieties, spice combinations, or even try adding other fruits like pears or berries. The versatility of the galette format invites creativity while honoring the timeless appeal of baked apples and pastry.
Why not gather your ingredients this weekend and fill your home with the irresistible aroma of this classic apple pie alternative? Your taste buds (and anyone lucky enough to share it with you) will thank you!
FAQs
What are the best apple varieties to use in an Apple Galette?
A mix of sweet and tart apples creates the most complex flavor. I recommend using a combination of Honeycrisp, Granny Smith, Braeburn, or Pink Lady apples. These varieties hold their shape well during baking without becoming mushy, while offering a perfect balance of sweetness and acidity.
Can I make the dough ahead of time?
Absolutely! The pastry dough can be made up to 3 days in advance and stored in the refrigerator, or frozen for up to a month. Just thaw overnight in the refrigerator before rolling. This advance preparation makes assembling the galette much quicker when you’re ready to bake.
Why is my galette leaking juice all over the baking sheet?
This typically happens when the apples release too much moisture during baking. To prevent this, toss your sliced apples with sugar and let them sit in a colander for 15 minutes to drain excess juice before assembling the galette. Also, be sure to use enough cornstarch in your filling to thicken the juices.
How do I know when my galette is done baking?
Your galette is done when the crust is deeply golden brown and the apple filling is bubbling in the center. If you have an instant-read thermometer, the center of the filling should register around 175°F. You should also be able to easily pierce the apples with a knife with little resistance.
Can I make a savory version of this galette?
Definitely! For a savory galette, omit the sugar from the dough and fill with ingredients like caramelized onions, goat cheese, and thyme; or try roasted vegetables with herbs and feta. The technique remains the same, making the galette format incredibly versatile for both sweet and savory applications.
What’s the difference between a galette and a tart?
While both are open-faced pastries, a tart is typically baked in a pan with removable sides, creating a more formal appearance with straight edges. A galette is free-form, baked on a flat surface with the edges folded over the filling, embracing a more rustic, casual aesthetic. Galettes generally require less precision and specialized equipment.
Can I use store-bought pie crust for this recipe?
Yes! While homemade dough offers the best flavor and texture, a high-quality store-bought pie crust works in a pinch. Just bring it to room temperature before rolling it out slightly larger than its original size, and proceed with the recipe as written. This is a great time-saving option when you’re in a hurry.

