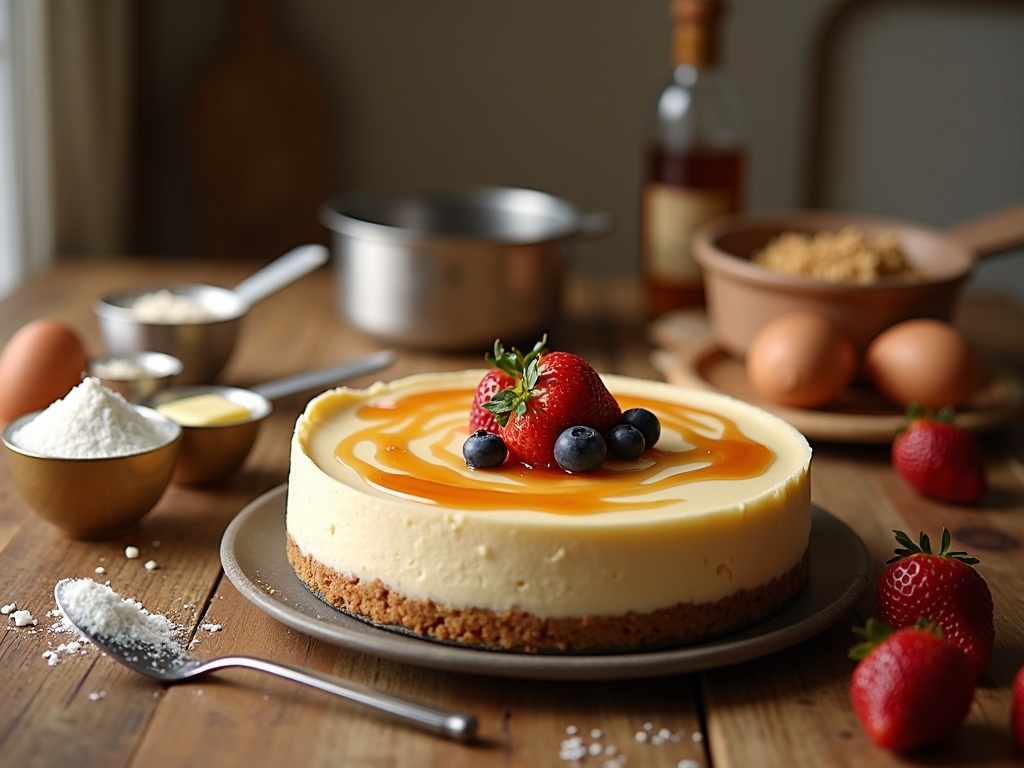
Baked cheesecake recipe is the ultimate creamy dessert, turning basic ingredients into a rich treat through careful baking that creates its smooth, velvety texture. The transformation happens when cream cheese, sugar, and eggs blend in the oven, with slow baking deepening flavors while a water bath ensures even cooking and stops surface cracks from forming.
Find In This Article
Key Takeaways
- The perfect cheesecake requires room temperature cream cheese for a smooth, lump-free batter and benefits from an overnight refrigeration to develop optimal flavor and texture.
- A water bath (bain-marie) creates a gentle, humid baking environment that prevents cracks and ensures even cooking throughout the cheesecake.
- The ideal baked cheesecake should have set edges with a slight jiggle in the center when done, as it will continue setting during the cooling process.
- Graham cracker crumbs mixed with melted butter create the traditional crust, though variations using cookies like digestive biscuits or Biscoff offer creative alternatives.
- Properly stored cheesecake keeps for up to 5 days in the refrigerator or can be frozen for up to 2 months when tightly wrapped in plastic and aluminum foil.
The Perfect Cheesecake: What Makes It Special
There’s something truly magical about slicing into a perfectly baked cheesecake. That smooth, creamy texture paired with a buttery crust creates a dessert experience unlike any other. I’ve spent years perfecting my cheesecake technique, and I’m excited to share what makes this classic dessert so special.
The Science of Creaminess
Baked cheesecakes get their distinctive dense, creamy texture through a careful baking process. Unlike their no-bake counterparts, the heat transforms the ingredients, creating that signature velvety consistency that melts in your mouth. The proteins in the eggs coagulate during baking, giving the cheesecake structure while maintaining its smooth, luxurious feel.
The core ingredients are deceptively simple: cream cheese forms the base, sugar adds sweetness, and eggs provide structure. But it’s the magic that happens in the oven that elevates these basic components into something spectacular. The slow baking process allows the flavors to deepen and meld together perfectly.
For those watching their calorie intake, it’s worth noting that an average slice of cheesecake contains between 250-400 calories, depending on the recipe and toppings. While it’s certainly an indulgence, a small slice can be a perfectly reasonable treat.
Varieties to Explore
Cheesecakes come in countless delicious variations to suit any palate:
- Classic vanilla cheesecake provides the perfect canvas for fresh fruit toppings
- Chocolate variations add richness and depth for cocoa lovers
- Fruit-infused versions incorporate berries, citrus, or stone fruits directly into the batter
- Specialty flavors like Biscoff cheesecake offer unique taste experiences with caramelized cookie notes
I particularly love how versatile cheesecake can be while maintaining its fundamental characteristics. Whether you’re craving something traditional like an American cheesecake or something more adventurous, the creamy consistency remains the star of the show.
The beauty of baked cheesecake lies in its texture—smooth, rich, and substantial enough to stand up to bold flavors without losing its identity. That first forkful, where the dense filling yields gently and practically dissolves on your tongue, is what makes this dessert worth the effort every single time.
Everything You Need to Get Started
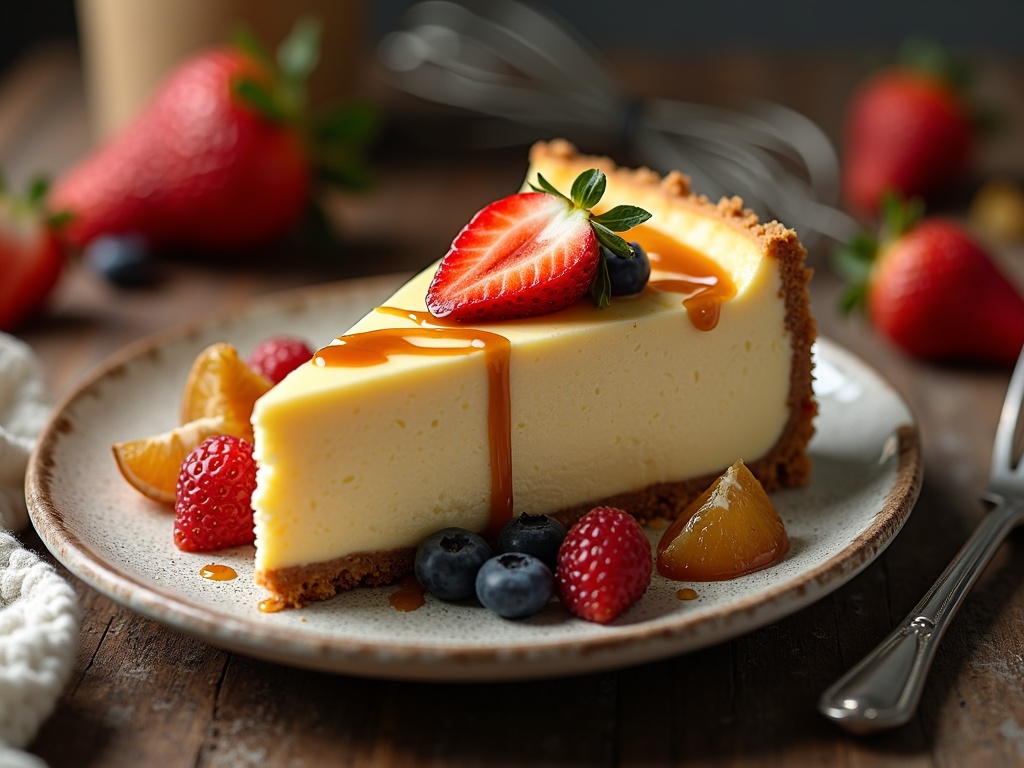
Baking a perfect cheesecake requires the right ingredients in the right amounts. I’ve assembled everything you need to create a creamy, dreamy baked cheesecake that will impress your friends and family. The beauty of this classic dessert lies in its simplicity – quality ingredients combined with proper technique.
The Essential Ingredients
The foundation of any great cheesecake starts with a handful of key components:
- 2 cups graham cracker crumbs (200g) for the perfect crust base
- 1/2 cup unsalted butter, melted (115g) to bind the crust together
- 4 packages cream cheese, softened (900g total) for that signature creamy texture
- 1 1/4 cups granulated sugar (250g) for balanced sweetness
- 4 large eggs to provide structure and richness
- 1 teaspoon vanilla extract for that classic flavor
- 1 cup sour cream (240ml, optional) for extra creaminess and tang
The cream cheese is truly the star of the show here. Make sure it’s completely softened before mixing to avoid any lumps in your batter. Room temperature cream cheese blends more smoothly with other ingredients, creating that velvety texture that makes American cheesecake so irresistible.
For the crust, graham cracker crumbs create that traditional base, but don’t feel limited. Digestive biscuits make an excellent substitute and are actually the preferred choice in many parts of the world. You can also experiment with cookies like ginger snaps or even chocolate cookies for a twist on the classic.
Crust Variations and Tips
The crust is your canvas for creativity when making a cheesecake. While the standard graham cracker base is delicious, I often recommend trying these alternatives:
The butter quantity is crucial – too little and your crust won’t hold together, too much and it becomes greasy. The ratio in this recipe (1/2 cup butter to 2 cups crumbs) creates the perfect balance.
For a more complex flavor profile, try adding a pinch of cinnamon or a tablespoon of brown sugar to your crust mixture. This subtle addition can complement the tanginess of the cheesecake filling beautifully.
If you’re looking for something different, Biscoff cheesecake uses those beloved spiced cookies for the crust, creating a caramelized flavor that pairs wonderfully with the creamy filling.
When pressing your crust into the pan, use the flat bottom of a measuring cup to create an even layer with slightly raised edges. This technique helps form a perfect foundation for your filling and makes for cleaner slices when serving.
Remember that your crust needs to be pre-baked slightly before adding the filling – about 8-10 minutes at 350°F (175°C) should do the trick. This short bake helps set the crust and prevents it from becoming soggy once the filling is added.
For those looking to reduce sugar or butter, try using dates and nuts as a natural crust alternative. Simply process equal parts of both in a food processor until they form a sticky mixture that can be pressed into your springform pan.
The quality of your butter matters too – unsalted gives you better control over the overall flavor of your cheesecake. If you only have salted butter on hand, simply omit any additional salt from your recipe.
Creating Your Masterpiece
Now comes the exciting part – assembling your baked cheesecake! I’ve perfected this process through years of trial and error, and I’m excited to share my secrets for creating that perfect silky texture and delightful flavor.
Preparing the Foundation
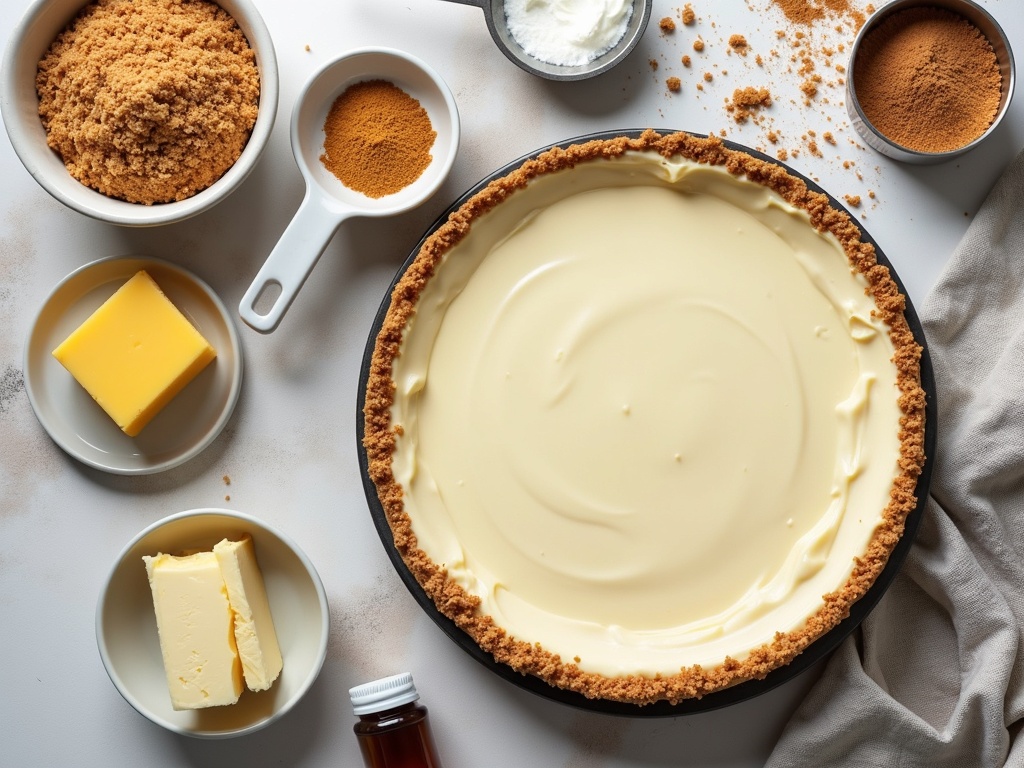
First, I always preheat my oven to 325°F (160°C). This moderate temperature is crucial for a gently baked cheesecake that doesn’t crack or dry out. While the oven warms up, I focus on creating that perfect crust that will complement the creamy filling.
For the crust, I mix graham cracker crumbs with melted butter until the mixture resembles wet sand. The key is getting just the right amount of butter – too little and your crust crumbles, too much and it becomes greasy. I press this mixture firmly into the bottom of a 9-inch springform pan, using the flat bottom of a measuring cup to create an even layer.
Some bakers stop at the bottom, but I like to bring the crust slightly up the sides for that restaurant-quality finish. This small detail makes a big difference in the final presentation of your American cheesecake and provides structural support.
Creating the Perfect Filling
The filling is where the magic happens. I start by beating cream cheese until it’s completely smooth – no lumps allowed! Room temperature cream cheese is absolutely essential here. Cold cream cheese will never blend properly and will leave you with a lumpy disaster.
Once the cream cheese is silky smooth, I gradually add sugar while continuing to beat the mixture. This slow incorporation helps create that velvety texture that great cheesecakes are known for.
Adding eggs requires special attention. I add them one at a time, fully incorporating each before adding the next. This patient approach prevents those dreaded cracks from forming during baking. Between additions, I scrape down the sides of the bowl to ensure everything blends evenly.
Next, I gently fold in vanilla extract for that classic flavor profile. For added richness, I sometimes incorporate sour cream, which gives the cheesecake a tangy depth that balances the sweetness perfectly. This is also the point where you might consider adding other flavorings – lemon zest for brightness or perhaps some crushed cookies for a Biscoff cheesecake variation.
Pour this luscious mixture into your prepared crust, smoothing the top with a spatula. For professional-looking results, I tap the pan gently on the counter a few times to release any air bubbles that might have formed during mixing.
For the baking process, I highly recommend using a water bath. This might sound fancy, but it’s quite simple: place your springform pan inside a larger pan and fill the outer pan with hot water about halfway up the sides of your cheesecake pan. This creates a humid environment that ensures even baking and helps prevent cracks.
Before placing your springform pan in the water bath, wrap the outside of the pan with aluminum foil to prevent water from seeping in. This extra step guarantees your crust stays crisp rather than soggy.
The cheesecake will need about an hour in the oven, but I never rely solely on timing. Instead, I look for the edges to be set while the center still has a slight jiggle – think of the consistency of firm gelatin. Overbaking is the enemy of a creamy cheesecake, so it’s better to err on the side of underbaking slightly.
Baking Secrets for Success
Baking the perfect cheesecake can feel like a challenge, but I’ve learned a few game-changing techniques that guarantee stellar results. Patience is key in the process – rushing any step can lead to disappointment after all your hard work.
The baking time for a classic American cheesecake typically runs between 60-70 minutes. I look for that slight jiggle in the center while the edges appear more set. This wobble isn’t a sign of underbaking – it’s exactly what you want! The center will continue to cook and set as it cools.
Speaking of cooling, this step is just as important as the baking itself. Once the timer goes off, I turn off the oven but leave the cheesecake inside with the door slightly ajar for about an hour. This gradual temperature decrease prevents the shocking temperature change that can cause those dreaded cracks across your beautiful creation.
After the initial cooling period, the cheesecake needs time in the refrigerator to develop its ideal texture and flavor. While four hours is the minimum, I’ve found that allowing it to chill overnight produces dramatically better results. The flavors meld together, and the texture becomes perfectly silky smooth.
The Water Bath Method
My secret weapon for flawless cheesecakes is the water bath, also called a bain-marie. This technique creates a moist, gentle baking environment that works wonders for several reasons:
- It prevents the edges from cooking too quickly while the center remains underbaked
- It significantly reduces the chance of surface cracks forming
- It maintains consistent, gentle heat throughout the baking process
- It adds needed humidity to counteract the dry oven environment
To create a proper water bath, I wrap the outside of my springform pan tightly with heavy-duty aluminum foil to prevent water seepage. Then I place the wrapped pan in a larger roasting pan and pour hot water until it reaches about halfway up the sides of the cheesecake pan.
Temperature control is another critical factor. I monitor my oven carefully since many home ovens run hot or cool. An inexpensive oven thermometer has saved countless Biscoff cheesecake bakes and other varieties from disaster. Even a 25-degree temperature difference can dramatically affect your results.
I’ve found that baking at a moderate temperature (around 325°F/165°C) provides the most consistent results. Higher temperatures might speed up the process, but they increase the risk of over-baking and cracking.
The cooling and refrigeration stages are where patience truly pays off. I’ve been tempted to cut corners here, but the texture improvement from that overnight refrigeration is substantial enough that I now consider it non-negotiable for special occasions.
These techniques might seem fussy at first glance, but they quickly become second nature. The beauty of mastering these baking secrets is that they apply to virtually any cheesecake recipe you’ll try, whether it’s a classic New York style or something more creative with fruit or chocolate. The principles remain the same – gentle, even heat; proper cooling; and adequate refrigeration time.
Follow these methods, and you’ll be amazed at how professional your homemade cheesecakes can be – silky smooth, perfectly set, and crack-free every time.
Making It Your Own
The beauty of a baked cheesecake lies in its versatility. I’ve found that personalizing this classic dessert allows you to create something truly special that reflects your taste preferences or the occasion you’re celebrating.
Creative Topping Ideas
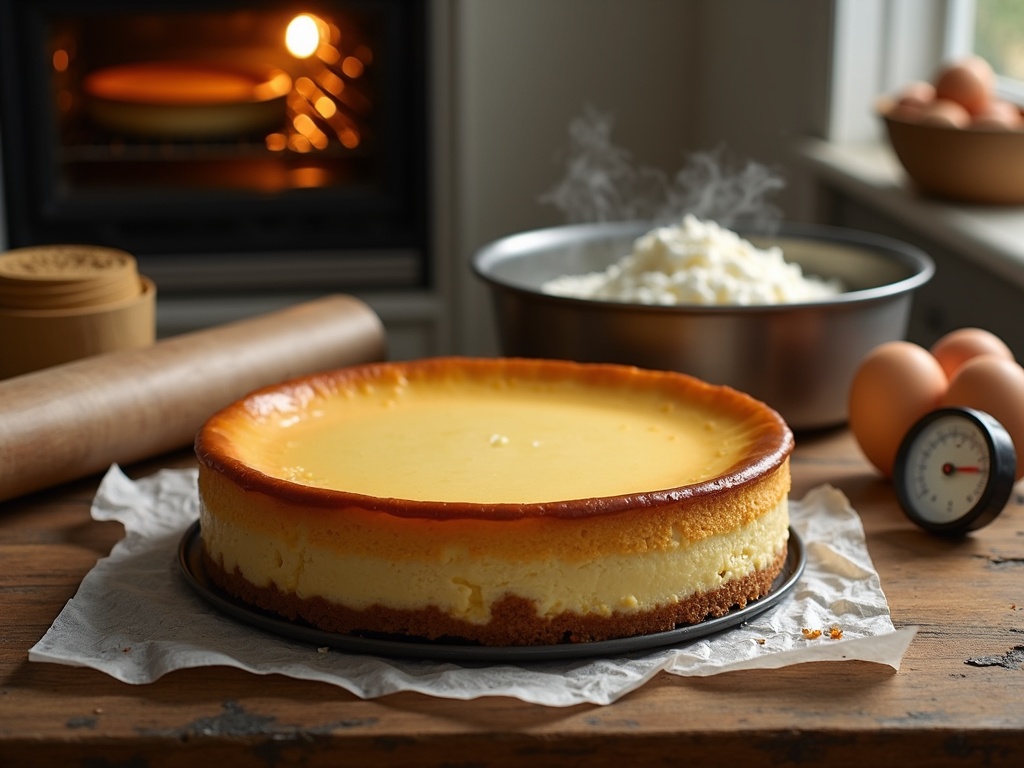
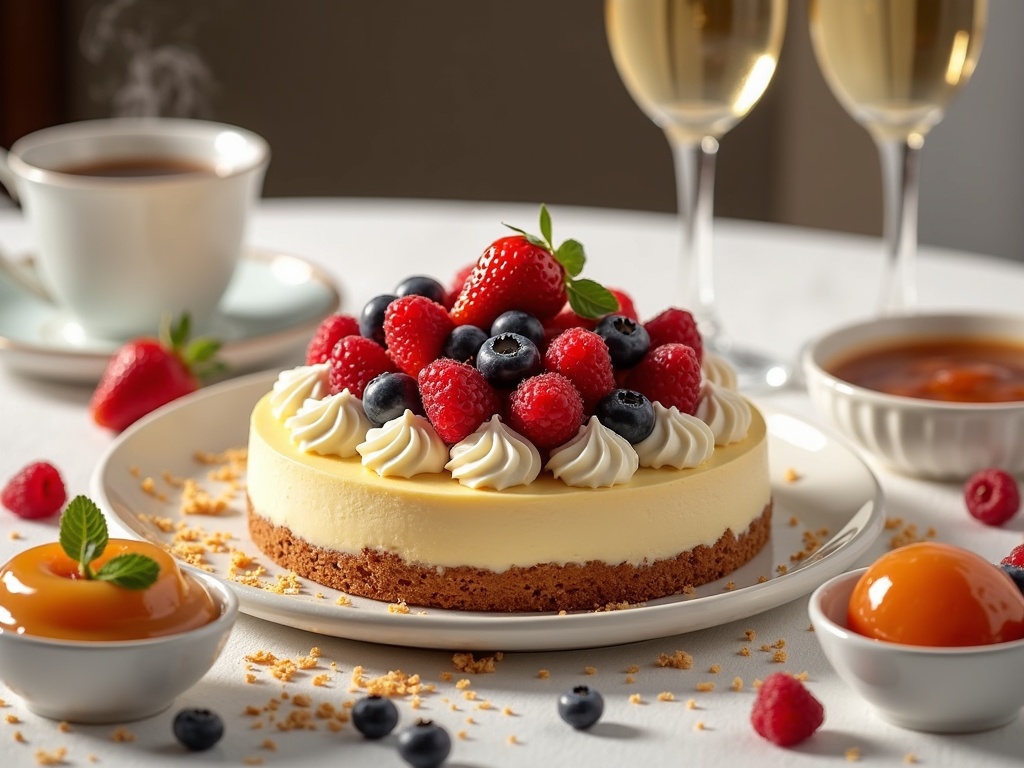
Fresh berries add both vibrant color and a tangy contrast to the rich creaminess of a American cheesecake. Strawberries, raspberries, and blueberries work beautifully either arranged artfully on top or simply scattered for a more rustic look. During summer months, I often mix berries with a tablespoon of sugar and let them macerate for 30 minutes before topping the cake.
Fruit compotes and sauces take your cheesecake to the next level. Try these delicious options:
- Warm apple compote with cinnamon for a fall-inspired dessert
- Mixed berry sauce for a sweet-tart flavor combination
- Passion fruit curd for an exotic twist
- Mango puree for a tropical flair
Whipped cream isn’t just a topping—it’s an opportunity for creativity. Pipe decorative rosettes around the edge, create a full cream covering, or simply add a dollop to each slice when serving.
For added texture and flavor, consider these garnishing options:
- Toasted almonds, pistachios, or pecans sprinkled along the edge
- Crushed cookies or graham crackers for extra crunch
- Chocolate ganache drizzled in an artistic pattern (works wonderfully on a Biscoff cheesecake)
- Warm caramel sauce in a zigzag pattern or pooled in the center
The perfect accompaniment can enhance your cheesecake experience. I’ve found that a cup of freshly brewed coffee balances the sweetness perfectly. For special occasions, dessert wines like Moscato d’Asti or a good quality port create an elegant pairing.
Don’t be afraid to mix and match these ideas to create your signature cheesecake style. The contrast between the dense, creamy cake and thoughtfully chosen toppings creates a dessert that’s sure to impress your guests and satisfy your sweet tooth.
Storing Your Creation
I’ve found that proper storage is crucial to maintaining the delicious taste and texture of a homemade baked cheesecake. After putting in all that effort to create the perfect American cheesecake, the last thing you want is for it to spoil prematurely or develop unwanted flavors.
Refrigeration Tips
A freshly baked cheesecake keeps beautifully in the refrigerator for up to 5 days. To store it correctly, I make sure the cake has cooled completely to room temperature before refrigerating. This prevents condensation from forming on the surface, which can make the top soggy.
For the best results, I cover the cheesecake loosely with plastic wrap or aluminum foil. This creates a barrier against other food odors in your refrigerator while still allowing a tiny bit of air circulation. If you’ve used a springform pan, you can leave the sides attached until you’re ready to serve, providing extra protection.
The flavor of most cheesecakes actually improves after a day in the refrigerator, as the ingredients have time to meld together. Many cheesecake connoisseurs prefer their slice on day two rather than fresh from the oven!
Freezing for Longer Storage
When I want to prepare a Biscoff cheesecake or any other variety well in advance, freezing is an excellent option. Cheesecake freezes remarkably well and can be stored for up to 2 months without significant quality loss.
Here’s how I prepare a cheesecake for freezing:
- Allow the cheesecake to cool completely in the refrigerator (at least 4 hours or overnight)
- Remove it from the springform pan and place on a cardboard round if available
- Wrap the entire cake tightly in plastic wrap, using multiple layers
- Follow with a layer of aluminum foil for extra protection
- Label with the date to track freshness
The key to freezing cheesecake successfully is protecting it from air exposure. Proper wrapping prevents freezer burn, which can ruin the texture and flavor of your creation. For added convenience, you can also freeze individual slices wrapped separately, allowing you to thaw only what you need.
When it’s time to enjoy your frozen cheesecake, patience is vital. I always transfer the wrapped cake to the refrigerator and allow it to thaw slowly for at least 24 hours before serving. Rushing this process by thawing at room temperature can cause uneven defrosting and texture changes.
After thawing, I remove the wrapping and let the cheesecake sit at room temperature for about 30 minutes before serving. This brings out the full flavor and creates that perfect creamy texture that makes baked cheesecakes so irresistible.
By following these storage guidelines, I’ve been able to enjoy homemade cheesecake for days after baking without any compromise in quality. The ability to freeze portions also means I can prepare special desserts well in advance of gatherings, reducing day-of stress while still delivering a spectacular treat.
Sources:
Food Network, Science of Baking Cheesecake
BBC Good Food, Baked Cheesecake Recipe
Serious Eats, Understanding Cheesecake: Preparation and Tips
Allrecipes, Ultimate Cheesecake Guide

