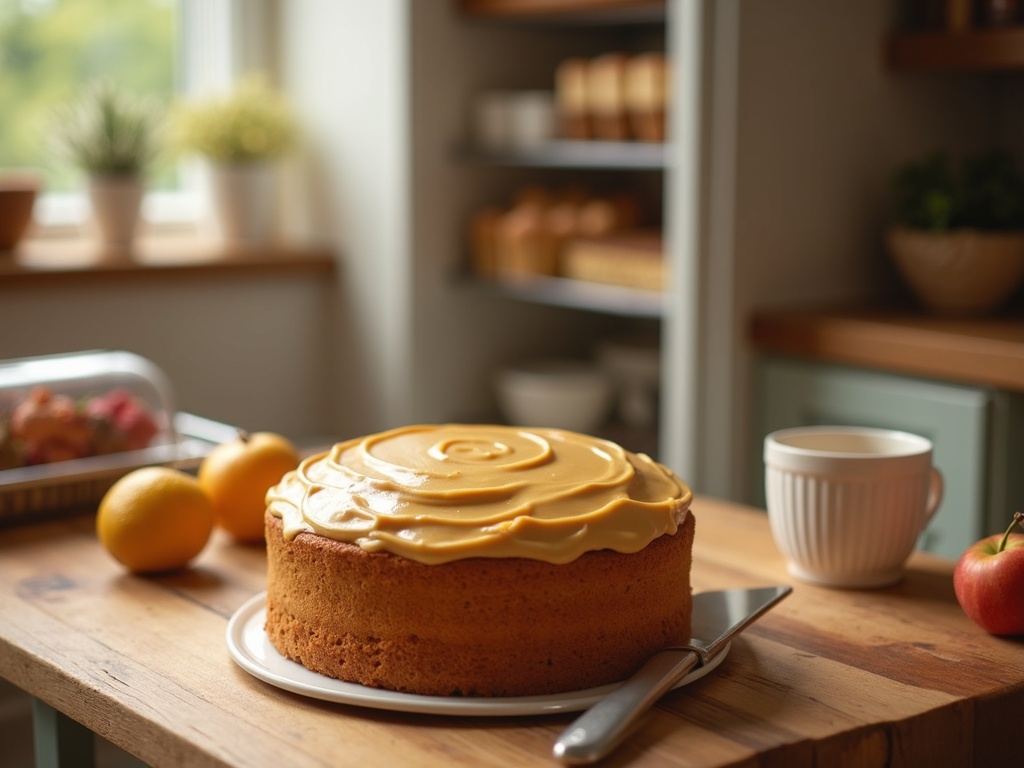
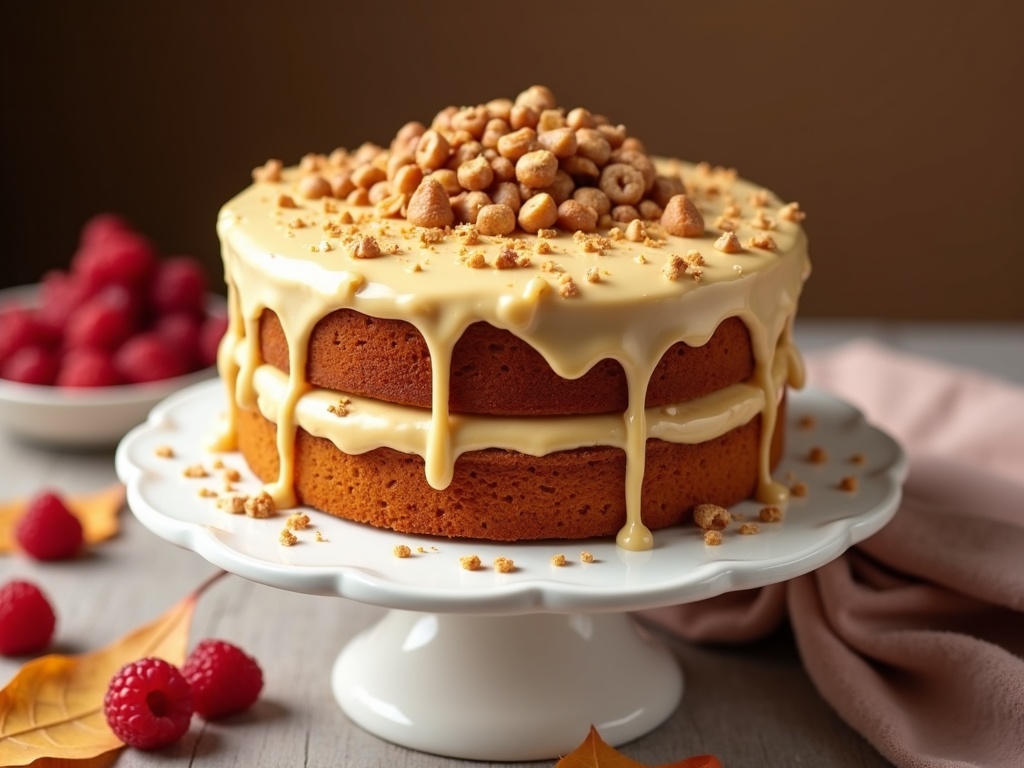
Butterscotch cake blends rich brown sugar and butter in a delicious dessert dating back to 1800s England. Its flavor profile balances buttery richness, molasses undertones, and a hint of salt, making it perfect for celebrations.
Find In This Article
Key Takeaways
- The secret to authentic butterscotch flavor lies in using high-quality dark brown sugar and real butter for depth and richness.
- Creating a proper butterscotch base requires carefully melting butter with brown sugar and adding heavy cream to achieve that signature caramel-like flavor.
- Room temperature ingredients are crucial for achieving the perfect texture and ensuring even mixing in butterscotch cake batter.
- Multiple frosting options complement butterscotch cake, with brown sugar buttercream and caramel frosting being particularly excellent choices.
- The cake stays fresh for 2-3 days at room temperature, up to a week when refrigerated, and can be frozen for up to three months with proper wrapping.
A Classic Dessert with Rich Caramel Notes
Butterscotch cake stands as one of the most beloved traditional desserts for special occasions. I’ve found that the deep caramel flavor combined with buttery richness creates an irresistible treat that appeals to almost everyone. The magic of butterscotch lies in its balanced sweetness – not as intense as toffee but richer than plain vanilla.
The origins of butterscotch trace back to Doncaster, England in the 1800s, where confectioners first crafted this delightful flavor by combining butter with brown sugar. Over time, this distinctive taste made its way into various desserts, with butterscotch cake becoming a particular favorite for birthdays and celebrations.
What Makes Butterscotch Cake Special
The defining characteristic of a proper butterscotch cake is its complex flavor profile. Unlike plain caramel, butterscotch offers:
- A butter-forward taste that adds richness and depth
- Brown sugar notes that provide a distinct molasses undertone
- A slightly salty element that cuts through the sweetness
- Warm vanilla accents that round out the flavor profile
I’ve discovered that the secret to a perfect butterscotch cake lies in using high-quality ingredients. Dark brown sugar produces a more authentic butterscotch flavor than light brown varieties. Many bakers enhance the flavor further with a touch of eggless butterscotch essence for those with dietary restrictions.
Butterscotch cake pairs wonderfully with complementary frostings. While classic buttercream icing works beautifully, cream cheese frosting offers a tangy contrast that balances the cake’s sweetness. For special occasions, I like adding butterscotch chips between layers for texture and extra flavor intensity.
Modern variations of butterscotch cake continue to evolve. The Hummingbird Bakery approach incorporates butterscotch sauce both in the batter and as a drizzle, creating moisture-rich layers with pockets of concentrated flavor. Some bakers incorporate fruit elements – the tartness of plum cake components can provide an interesting counterpoint to butterscotch’s richness.
For those seeking plant-based options, vegan butterscotch cake recipes substitute traditional ingredients with plant-based alternatives. Coconut oil often replaces butter, while flax eggs or applesauce stands in for conventional eggs. The results can be surprisingly authentic, maintaining the distinctive butterscotch character without animal products.
The versatility of butterscotch cake extends to its presentation. I’ve seen everything from elegant layer cakes with butterscotch ganache to rustic bundt versions with a simple glaze. Cupcake adaptations make perfect individual servings for parties, while sheet cake versions feed larger gatherings with minimal fuss.
The key to a successful butterscotch cake lies in balancing moisture with structure. Too much butterscotch sauce can make the cake soggy, while too little leaves it lacking that signature flavor. I recommend incorporating butterscotch in multiple forms – in the batter, between layers, and in the frosting – for a well-rounded taste experience.
Whether serving as a birthday celebration centerpiece or a comforting weekend treat, butterscotch cake delivers nostalgic flavors with sophistication. Its warm, comforting profile makes it perfect for fall and winter gatherings, though I’ve found it’s welcomed year-round by those who appreciate its distinctive caramel notes.
Making the Perfect Butterscotch Base
The foundation of any incredible butterscotch cake lies in creating a rich, caramel-like butterscotch base that delivers that signature sweet, buttery flavor. I’ve found that taking the time to perfect this element transforms an ordinary cake into something truly memorable.
The Essential Ingredients
Creating authentic butterscotch flavor requires just a handful of quality ingredients working together in harmony.
- Dark brown sugar serves as the backbone of any proper butterscotch base. Unlike light brown sugar, it contains more molasses, which gives butterscotch its distinctive deep caramel notes and slight bitterness that balances the sweetness. I always make sure to pack it firmly when measuring to get consistent results.
- Unsalted butter is non-negotiable in a proper butterscotch base. The butter’s fat content creates that silky mouthfeel while adding richness to the flavor profile. I prefer unsalted varieties to control the exact amount of salt in the final product – you can always add a pinch later to enhance the butterscotch notes.
- Heavy cream brings everything together, creating that luscious texture that makes quality butterscotch desserts so irresistible. Its high fat content (about 36%) helps create a velvety smooth consistency that simply can’t be achieved with milk or half-and-half.
- A touch of vanilla extract rounds out the flavor profile and adds complexity. Just a teaspoon can elevate your butterscotch from good to exceptional. For an interesting variation, I sometimes use vanilla bean paste for those beautiful flecks throughout the cake layers.
Perfecting the Technique
The process of making butterscotch is just as important as the ingredients themselves. Here’s my approach:
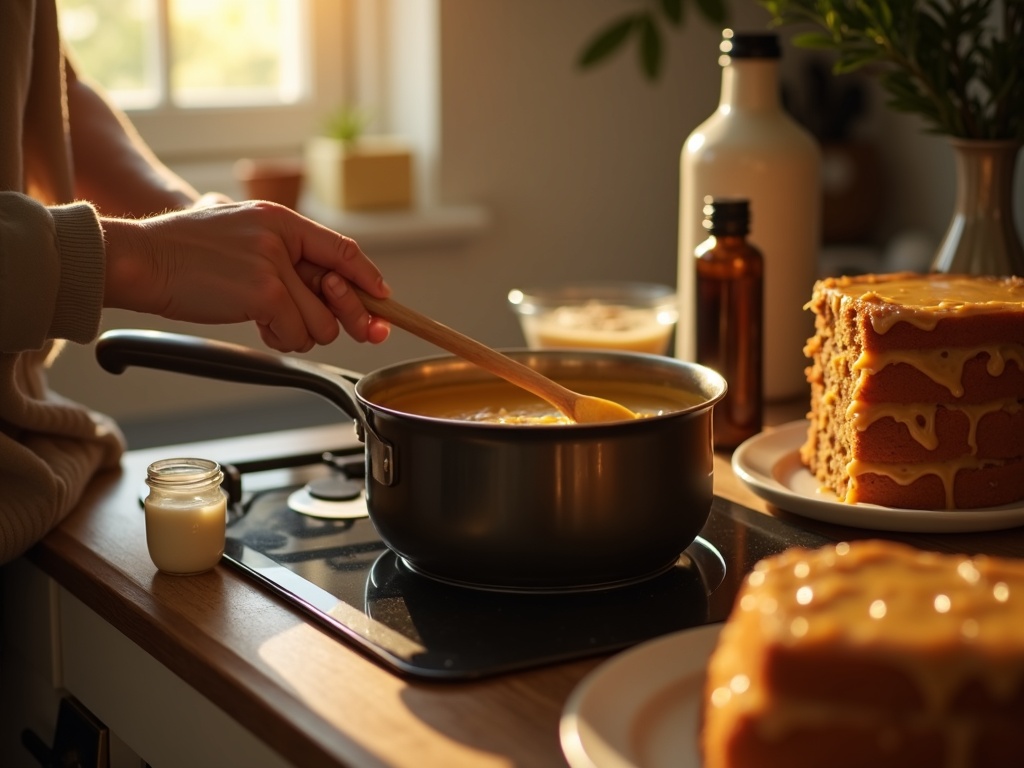
- Start by melting the butter in a heavy-bottomed saucepan over medium heat. Once melted, add the dark brown sugar and stir until completely incorporated. The mixture should bubble gently and darken slightly – this is where the magic happens.
- The most critical step comes when adding the cream. Remove the pan from heat first, then slowly pour in the cream while stirring constantly. The mixture will bubble vigorously, so be careful! Return to low heat and cook until smooth and slightly thickened.
- Finish with vanilla extract and a pinch of salt if desired. Let the butterscotch base cool completely before incorporating it into your cake recipe or buttercream icing.
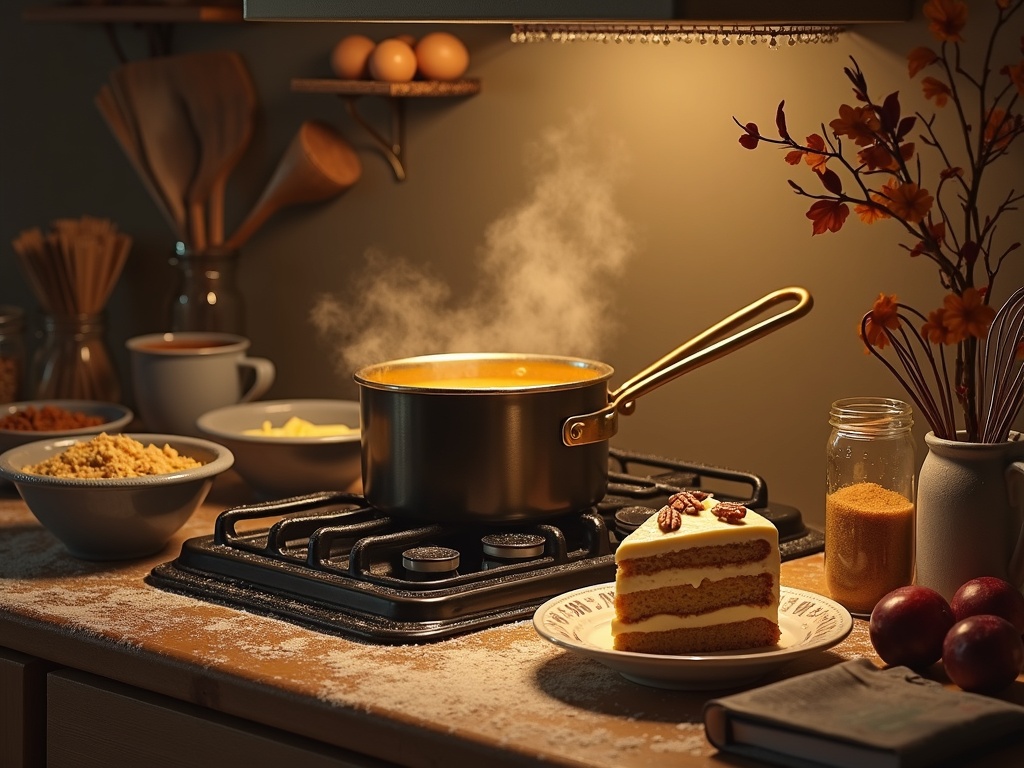
This versatile butterscotch base can be swirled into cake batter, used as a filling between layers, or incorporated into frostings. For an extra-special touch, I often reserve some to drizzle over the finished cake just before serving at the bakery.
Essential Cake Ingredients
Creating a delicious butterscotch cake requires quality ingredients that work together to achieve that perfect balance of sweetness and rich caramel flavor. I’ve found that starting with the right foundation makes all the difference between an ordinary cake and one that will have everyone asking for seconds.
Core Ingredients for Success
All-purpose flour serves as the backbone of any good butterscotch cake. I prefer using unbleached flour for its slightly better flavor, but either type works well. For the perfect texture, I always make sure to sift the flour to remove any lumps – this small step makes a huge difference in the cake’s final texture.
Baking powder is crucial for giving your cake that perfect rise. I typically use 1-2 teaspoons per cup of flour, depending on how light I want the result to be. Always check that your baking powder is fresh, as its effectiveness diminishes over time.
A pinch of salt might seem insignificant, but it’s essential for enhancing the butterscotch flavor. Salt balances sweetness and brings out the complex caramel notes that make butterscotch desserts so irresistible.
Granulated sugar not only adds sweetness but also contributes to the structure and moisture retention in your cake. For a deeper flavor profile, I sometimes substitute part of the white sugar with brown sugar, which enhances the butterscotch character.
Eggs bind everything together while adding richness and structure. Room temperature eggs incorporate much better into the batter. If you’re looking for an eggless cake alternative, applesauce or yogurt can work as substitutes.
Whole milk adds moisture and richness to your butterscotch cake. The fat content in whole milk contributes to a tender crumb, though you can experiment with buttermilk for a slight tanginess that complements the butterscotch flavor beautifully.
Butter is perhaps the most important ingredient for achieving authentic butterscotch flavor. I always use unsalted butter and add salt separately for better control. The butter should be softened but not melted for proper incorporation into your batter. For those creating vegan cake recipes, plant-based butter alternatives can work surprisingly well.
Once your cake is baked to perfection, consider pairing it with a buttercream icing recipe that complements the butterscotch notes. I find that brown sugar buttercream or caramel frosting makes for an exceptional finishing touch.
Step-by-Step Baking Instructions
I’ve perfected this butterscotch cake recipe through countless trials, and I’m excited to share my process with you. The key to a perfect butterscotch cake lies in the careful preparation of each component, starting with that rich, caramel-like sauce that gives this dessert its distinctive flavor.
Creating the Perfect Butterscotch Foundation
First, I prepare the butterscotch sauce that forms the heart of this cake’s flavor profile. In a heavy-bottomed saucepan, I combine 1 cup of brown sugar, 6 tablespoons of unsalted butter, and 1/2 cup of heavy cream. This mixture needs to be heated gently while stirring constantly until the sugar completely dissolves. Once it reaches a gentle boil, I reduce the heat and let it simmer for about 5 minutes until it thickens slightly. Adding a pinch of salt and 1 teaspoon of vanilla extract at the end balances the sweetness beautifully.
After preparing the sauce, I set aside 1/3 cup to cool completely for adding to the batter, while reserving the rest for drizzling over the finished cake. This method ensures that butterscotch flavor permeates every bite.
For the cake itself, I start by preheating my oven to 350°F (175°C) and preparing two 9-inch round cake pans with parchment paper and a light coating of butter and flour.
The dry ingredients need careful measuring for the perfect texture:
- 2 1/2 cups all-purpose flour
- 2 1/2 teaspoons baking powder
- 1/2 teaspoon baking soda
- 1/2 teaspoon salt
- 1 teaspoon ground cinnamon (optional but recommended)
I sift these ingredients together in a medium bowl, ensuring they’re well integrated and free of lumps. This step is crucial for a uniform crumb in the final cake, similar to what you might find in other delicious dessert recipes that require perfect texture.
Bringing the Batter Together
The creaming process is where magic happens in butterscotch cake making. I beat 1 cup of unsalted butter (at room temperature) with 1 1/2 cups of brown sugar until the mixture becomes light and fluffy – usually about 3-4 minutes with an electric mixer. This incorporates air into the batter, giving the cake its tender crumb.
Next, I add 3 large eggs one at a time, beating well after each addition. If you prefer an eggless cake version, you can substitute each egg with 1/4 cup of applesauce or a flax egg.
The cooled butterscotch sauce goes in next, followed by 2 teaspoons of vanilla extract. Once these wet ingredients are fully incorporated, I alternate adding the dry ingredient mixture and 1 cup of buttermilk, beginning and ending with the dry ingredients. This prevents overmixing which can make the cake tough.
For baking, I divide the batter evenly between the prepared pans and smooth the tops with a spatula. The cakes need to bake for 25-30 minutes, or until a toothpick inserted into the center comes out clean with a few moist crumbs.
The cooling process requires patience but is essential for the perfect finish. I let the cakes cool in their pans for exactly 10 minutes before turning them out onto wire racks to cool completely. Rushing this step can cause the cakes to break apart, while leaving them in the pans too long might make them soggy.
Once cooled, I often layer them with buttercream icing that’s been infused with a tablespoon of the reserved butterscotch sauce. For a special occasion cake similar to what you might find at the famous Hummingbird Bakery, try adding chopped toasted pecans between the layers for a delightful crunch.
This versatile recipe can also be adapted into a vegan cake recipe by substituting plant-based butter and milk alternatives. The result is just as delicious and perfect for those with dietary restrictions.
For a seasonal twist, consider adding fresh plums as a filling between layers, creating a fusion similar to a plum cake with butterscotch undertones.
Frosting Your Creation
The real magic happens when I start frosting my butterscotch cake. Creating that perfect butterscotch buttercream takes your cake from delicious to absolutely irresistible.
Creating the Perfect Butterscotch Buttercream
I start with a basic buttercream base using unsalted butter at room temperature. This ensures it creams smoothly when beaten. The secret to incredible butterscotch flavor comes from adding homemade butterscotch sauce directly into the buttercream. I fold it in gently after the butter and powdered sugar have been combined.
Getting the right consistency is crucial. Too thick, and you’ll tear your cake while spreading; too thin, and the frosting won’t hold its shape. I aim for a spreadable texture that holds soft peaks when lifted with a spatula. If it’s too stiff, I add a tablespoon of heavy cream; if too runny, I incorporate more powdered sugar.
For those looking for more icing inspiration, several buttercream variations can complement butterscotch cake beautifully.
Mastering the Layering Technique
When layering my butterscotch cake, I follow these specific steps:
- Start with a completely cooled cake layer on a turntable
- Apply a thin crumb coat first and chill for 15 minutes
- Add a thicker layer of frosting between each cake layer
- Keep each frosting layer even in thickness (about 1/4 inch)
- Use an offset spatula for smooth, controlled application
My favorite technique is to pipe a dam of buttercream around the cake layer’s edge before filling with looser frosting. This prevents spillage and creates clean, defined layers.
For the final decorative touches, I sometimes fold crushed butterscotch candies into a portion of the frosting for textural contrast. Drizzling additional butterscotch sauce down the sides creates an elegant drip effect that hints at the flavor inside.
If you’re looking for something different, vegan cake recipes can be adapted with plant-based butterscotch elements. Similarly, eggless cake options work wonderfully with this frosting too.
I’ve found that chilling the cake between frosting applications makes a tremendous difference in the final presentation. Just 10-15 minutes in the refrigerator allows each layer to set, creating those picture-perfect slices when you finally cut into your delicious dessert.
Common Mistakes to Watch For
Making a perfect butterscotch dessert requires attention to detail. I’ve seen many bakers stumble at crucial steps that can turn a potentially delicious cake into a disappointing result. Let me share some pitfalls to avoid.
Recipe Execution Errors
Using cold ingredients is a major mistake when making butterscotch cake. Butter, eggs, and milk should be at room temperature before mixing. Cold ingredients don’t incorporate well, leading to uneven texture and poor rise. I always set my ingredients out at least an hour before baking to ensure they’re properly tempered.
Overmixing the batter is another common error that ruins the cake’s texture. Once you combine wet and dry ingredients, mix just until incorporated. Excessive mixing develops gluten, resulting in a tough, dense cake rather than the tender crumb that makes cake recipes special. I count my mixing strokes and stop when I no longer see dry flour.
Opening the oven door too soon can cause your butterscotch cake to collapse. The first 20 minutes are crucial as the cake structure sets. Resist the temptation to peek! If you need to check, wait until at least two-thirds of the baking time has passed. This patience will reward you with a properly risen cake with that signature butterscotch aroma.
Incorrect pan preparation leads to sticking issues that can ruin presentation. For butterscotch cakes, I recommend thoroughly greasing the pan and lining the bottom with parchment paper. Some bakers only grease without parchment, which often results in the bottom sticking. The caramelized sugar in butterscotch makes proper pan prep even more important than with standard cake varieties.
The finishing touches also matter greatly. When adding buttercream icing or frosting, ensure your cake is completely cool. Applying frosting too early will cause it to melt and slide off the warm cake. I’ve learned this lesson the hard way when rushing to finish a bakery-style cake for guests.
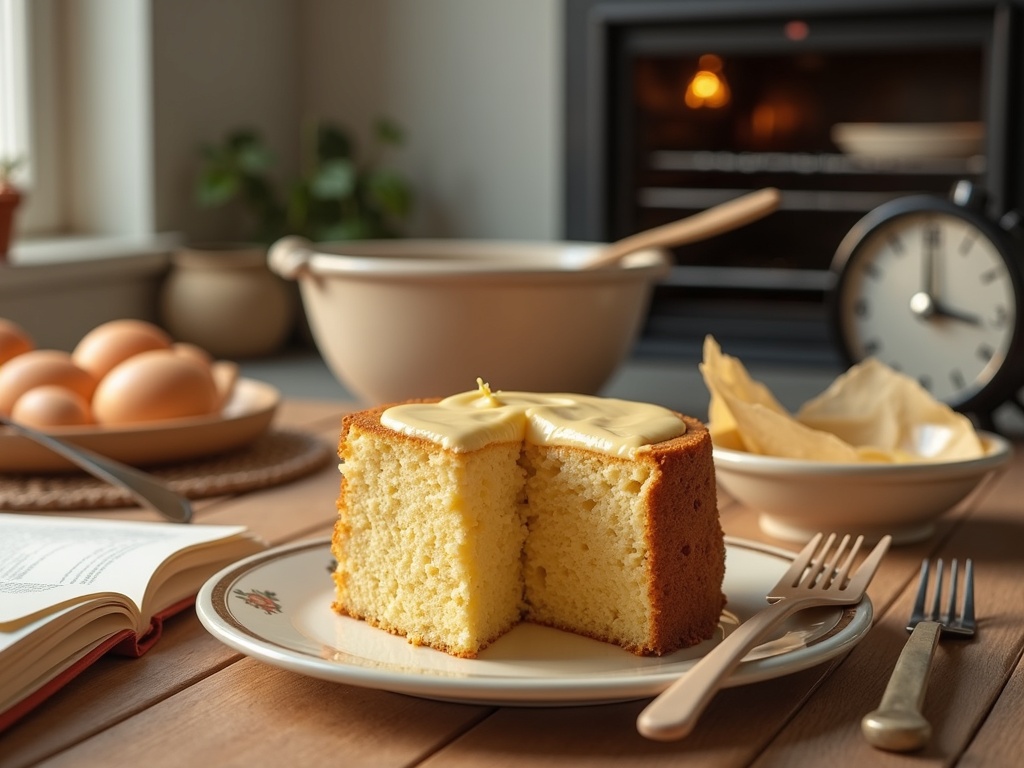
By avoiding these common mistakes, your butterscotch cake will have the perfect balance of moistness, tenderness, and that rich caramel flavor that makes this dessert so beloved.
Pro Tips for Success
Getting a butterscotch cake just right requires attention to a few key details. I’ve gathered some professional insights that will help you achieve bakery-quality results right in your home kitchen.
Critical Preparation Steps
Room temperature ingredients make a world of difference in your butterscotch cake. Cold butter won’t cream properly with sugar, resulting in a dense, unevenly textured cake. I always set my butter, eggs, and milk on the counter about an hour before baking. This simple step ensures everything mixes together smoothly, creating that perfectly tender crumb we all love in a good homemade dessert.
Measuring ingredients accurately can make or break your butterscotch cake. For dry ingredients like flour, I use the spoon-and-level method—spooning flour into the measuring cup and leveling it off with a knife—rather than scooping directly from the container, which compacts the flour and gives you too much. For brown sugar (crucial for that authentic butterscotch flavor), I pack it firmly into the measuring cup until it holds its shape when turned out.
The right pan size matters more than you might think. A standard 9-inch round pan works perfectly for most butterscotch cake recipes. If you’re making a layer cake, I recommend using pans of identical size and material to ensure even baking. For an extra-special presentation, consider using a bundt pan—the shape beautifully showcases the golden-brown color of a well-made cake.
Storage is key to maintaining your cake’s moisture and flavor. Once completely cooled, store your unfrosted butterscotch cake in an airtight container at room temperature for up to 3 days. If you’ve added buttercream icing or another perishable frosting, refrigerate the cake but bring it back to room temperature before serving for the best texture and flavor.
Need to prepare in advance? Butterscotch cake is perfect for make-ahead options. The unfrosted cake layers can be wrapped tightly in plastic wrap and frozen for up to 2 months. I often bake the layers a week before a special occasion, then thaw and frost them the day before serving. You can also prepare the cake batter the night before and refrigerate it, but be sure to bring it to room temperature before baking.
Additional Tips for Impressive Results
For the most impressive butterscotch cake, consider these additional tips:
- Add a pinch of salt to enhance the butterscotch flavor profile
- Use dark brown sugar for a deeper, more complex taste
- Consider incorporating a tablespoon of instant coffee to intensify the flavor notes
- Brush cake layers with a simple syrup to add moisture and sweetness
- Let your cake cool completely before frosting to prevent melting
When making a layered butterscotch cake, I find that chilling the layers for 30 minutes before assembly makes them easier to work with and reduces crumbs in your frosting. This technique is particularly helpful if you’re creating a special occasion cake that needs to look pristine.
Don’t be afraid to experiment with complementary flavors. Butterscotch pairs beautifully with vanilla, caramel, and even a hint of cinnamon. Some specialty bakeries even add chopped pecans or walnuts between layers for added texture and flavor dimension.
With these professional tips, you’ll be well on your way to creating a butterscotch cake that’s moist, flavorful, and perfect for any occasion. The small details really do make a significant difference in your final result.
Serving Suggestions
I’ve discovered that butterscotch cake tastes best when served at room temperature. Taking it out of the refrigerator about 30 minutes before serving allows the flavors to fully develop and the texture to soften perfectly. Cold cake can mute the rich butterscotch notes, while properly tempered cake delivers that melt-in-your-mouth experience everyone craves.
Garnish and Presentation Ideas
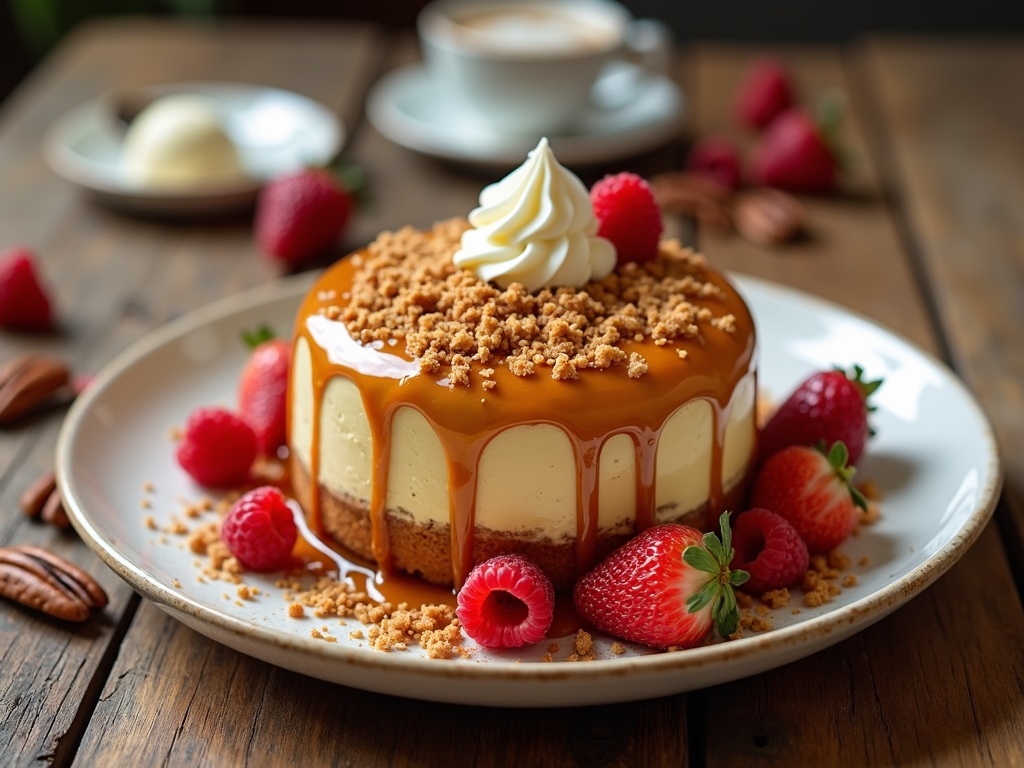
The right garnishes can elevate a butterscotch cake from delicious to spectacular. Try these options to enhance both flavor and visual appeal:
- Caramel drizzle: A warm caramel sauce poured over each slice adds moisture and intensifies the butterscotch flavor.
- Crushed toffee bits: Sprinkle these on top for a delightful textural contrast and added sweetness.
- Fresh berries: Raspberries or strawberries provide a tart counterpoint to the sweet cake.
- Whipped cream: A dollop of lightly sweetened cream balances the richness of the buttercream icing.
- Toasted pecans or walnuts: These add crunch and a lovely nutty dimension.
Butterscotch cake pairs beautifully with several complementary flavors. Coffee brings out the deeper caramel notes, while vanilla ice cream creates a hot-and-cold contrast that’s simply irresistible. For something unexpected, try serving with a small glass of cold milk or even a shot of espresso.
When it comes to portion sizes, I recommend cutting a standard 9-inch round cake into 12 slices for dessert after a meal. For casual gatherings or when serving with ice cream, 8 larger slices might be more appropriate. If you’ve made a specialty cake with multiple layers, smaller slices often work better due to the richness.
For special occasions, consider preparing individual mini butterscotch cakes using a muffin tin. These personal-sized treats create an elegant presentation and eliminate the need for cutting. They’re perfect for parties where guests might be standing rather than seated for a formal dessert.
If you’re looking for a plant-based option, a vegan cake recipe can be adapted to create butterscotch flavor using brown sugar and vegan butter alternatives. These modifications make it possible for everyone to enjoy this classic treat regardless of dietary preferences.
Storing and Freshness
I’ve found that proper storage is key to maintaining the rich, caramel-like flavor of a butterscotch cake dessert. Nothing’s more disappointing than a stale cake, especially when you’ve put in the effort to create something special.
Room Temperature Storage
For short-term storage, keeping your butterscotch cake at room temperature works perfectly. I recommend placing it in an airtight container or covering it tightly with plastic wrap to prevent it from drying out. This method maintains the cake’s moisture and soft texture for 2-3 days. If your cake has buttercream icing or filling, be cautious with room temperature storage during hot weather as the frosting can melt.
Refrigeration and Freezing
When I need to store the cake longer than a few days, refrigeration is the way to go. Before refrigerating, I make sure to:
- Cover the cake completely to prevent it from absorbing other food odors
- Place it in the coldest part of the refrigerator, typically the back
- Allow it to sit at room temperature for 30 minutes before serving to enhance the flavor
A refrigerated butterscotch cake stays fresh for up to a week. For those who’ve made an eggless cake version, you might notice it maintains its texture slightly better during refrigeration.
Freezing extends the cake’s life significantly. I’ve successfully frozen butterscotch cake for up to three months. The trick is to:
- Wrap unfrosted cake layers individually in plastic wrap, then aluminum foil
- For frosted cakes, freeze unwrapped until solid (about 4 hours), then wrap tightly
- Thaw in the refrigerator overnight before serving
Even vegan cake alternatives freeze well, though they sometimes require a bit more care during thawing to maintain their texture.
The shelf life of your butterscotch cake varies based on ingredients and storage method. Generally, expect:
- 2-3 days at room temperature
- 5-7 days refrigerated
- 2-3 months frozen
Cakes with fresh fruit fillings, like those you might find in a plum cake variation, have shorter shelf lives and should be refrigerated promptly. Professional bakeries like Hummingbird Bakery use specialized techniques to extend freshness, but home bakers can achieve great results with these simple storage methods.
