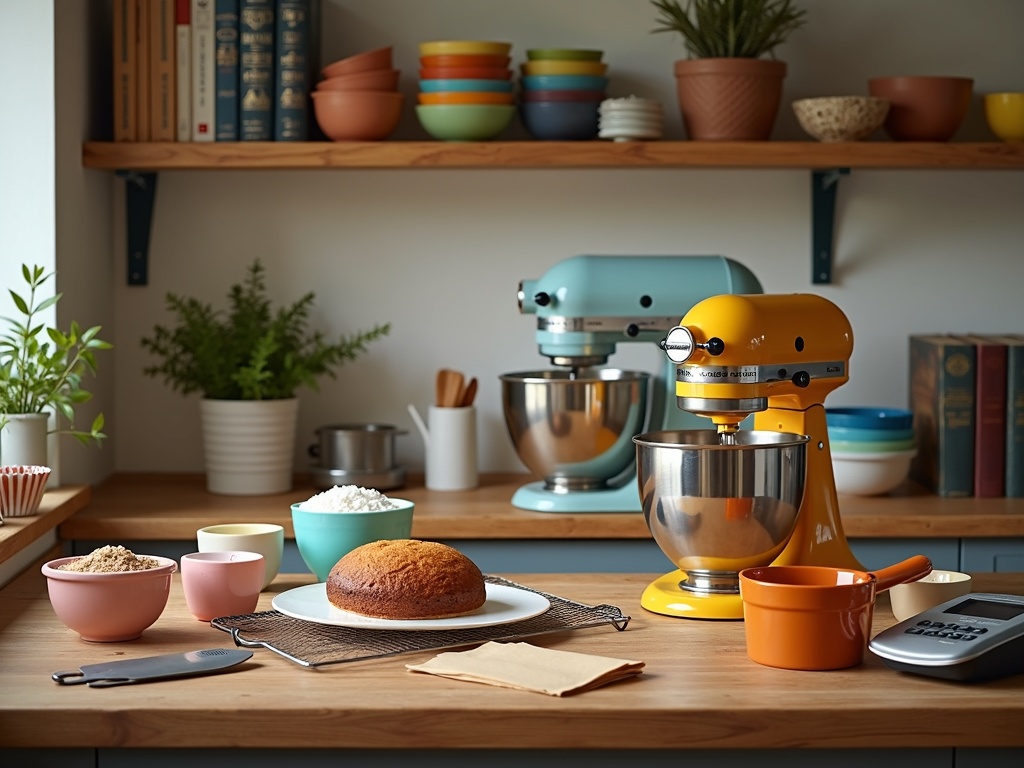
Pastry cake combines delicate layers, precise techniques, and specialized tools to create delicious baked masterpieces that delight the senses. From stand mixers and proper pans to offset spatulas and cooling racks, having the right equipment is critical for achieving the perfect texture, flavor, and presentation in your homemade creations.
Find In This Article
Key Takeaways
- Room temperature ingredients are essential for proper mixing and texture development in pastry cakes.
- Preparing your cake pans with butter and parchment paper prevents sticking and ensures easy removal.
- The creaming process, where butter and sugar are beaten until fluffy, creates air pockets that give cakes their tender crumb.
- Proper cooling before assembly prevents melting disasters and allows flavors to develop fully.
- Specialty tools like offset spatulas and pastry brushes can elevate your decorating technique for professional-looking results.
Essential Tools for Success
Baking the perfect pastry cake requires having the right equipment on hand. I’ve found that the difference between a good cake and a great one often comes down to the tools used during preparation, baking, and decorating.
Mixing and Preparation Tools
A stand mixer or hand mixer is absolutely essential for achieving the perfect cake batter consistency. Stand mixers offer hands-free operation, allowing me to multitask while preparing ingredients. They’re particularly helpful when creaming butter and sugar, which requires several minutes of continuous mixing to incorporate air into the batter. Hand mixers are more affordable and take up less space, making them ideal for smaller kitchens or occasional bakers.
When preparing cake pans, I always reach for my 9-inch cake pans. These provide the ideal size for most layer cakes, including delicious options like chocolate truffle cake or the classic Black Forest gateau. Quality pans with straight sides and a non-stick coating make removal much easier.
Parchment paper is my secret weapon for perfect cake removal. I cut circles to fit the bottom of my cake pans, which prevents sticking and makes the cakes slide out effortlessly. This simple step has saved countless cakes from breaking apart during removal.
Finishing and Decorating Equipment
After baking, a proper cooling rack becomes indispensable. These elevated wire racks allow air to circulate underneath the cake, preventing condensation that can make the bottom soggy. I cool my Madeira cake and other delicate varieties for at least an hour before attempting to frost them.
An offset spatula has transformed my cake decorating. The angled blade keeps my hand away from the frosting while allowing precise control for smooth, professional-looking finishes. I use the smaller ones for detail work and larger ones for covering the sides of cakes like Christmas cake or plum cake.
For adding moisture or flavor, a pastry brush is incredibly useful. I use mine to apply simple syrup to cake layers before frosting, which keeps them moist and adds subtle flavors. Silicone brushes are easier to clean, but traditional bristle brushes work just as well.
When making specialty cakes like rasmalai cake, these tools become even more important as they help maintain the delicate textures and flavors that make these desserts special.
With these essential tools in your kitchen, you’ll be well-equipped to create bakery-quality cakes right at home.
Gathering Your Ingredients
Before diving into the baking process, I need to make sure I have all the essential ingredients for a perfect pastry cake. The right components will ensure my cake has that delicate, moist texture that makes pastry cakes so irresistible.
Basic Ingredients
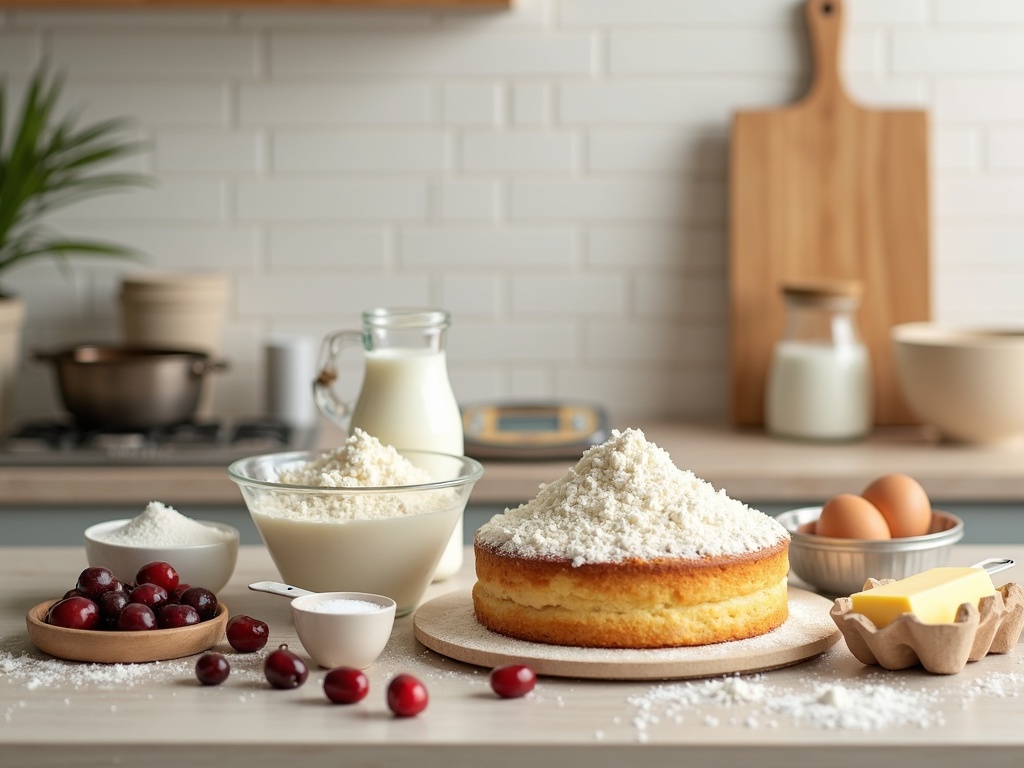
The foundation of any great pastry cake starts with high-quality basics. I always ensure I have these items measured and ready before I begin mixing:
- All-purpose flour: The backbone of the cake structure, providing the perfect balance of protein for a tender crumb
- Granulated sugar: For sweetness and moisture retention that gives the cake its soft texture
- Unsalted butter at room temperature: This allows for proper creaming with sugar for that airy consistency
- Large eggs: They provide structure, moisture, and richness to the cake
- Vanilla extract: A few teaspoons enhance the flavor profile without overpowering
- Baking powder: The leavening agent that helps the cake rise beautifully
- Salt: Just a pinch balances the sweetness and enhances other flavors
I’ve learned through experience that room temperature ingredients blend much more effectively. I take butter and eggs out of the refrigerator at least 30 minutes before I start baking my chocolate truffle cake or any other pastry creation.
Filling Components
What makes pastry cakes truly special is often the filling. I prepare these separately to ensure the perfect consistency:
- Whole milk: Adds moisture and creates a tender crumb in the cake layers
- Heavy cream: The base for luscious fillings that elevate a simple madeira cake to something extraordinary
The quality of ingredients matters tremendously. I’ve found that using fresh eggs and real butter (not margarine) makes a noticeable difference in the final product. For special occasions like holidays, I might splurge on premium vanilla extract for my Christmas cake recipe to add that extra depth of flavor.
For traditional favorites like Black Forest gateau, I’ll also gather cherries and dark chocolate. If I’m making something with South Asian flavors like a rasmalai cake, I’ll add cardamom and saffron to my ingredient list.
Measuring ingredients precisely is crucial for consistent results. I use measuring cups for dry ingredients and a digital scale for butter. Proper preparation before mixing saves time and prevents the disappointment of realizing halfway through that I’m missing a key ingredient for my plum cake or other pastry creations.
Creating Your Masterpiece
I’ve made countless pastry cakes over the years, and I’ve learned that success lies in preparation and technique. The process isn’t complicated when you follow these key steps carefully. Let’s break down how to create your perfect pastry cake from start to finish.
Setting the Stage
First, I always preheat my oven to 350°F (175°C). This temperature creates the ideal environment for pastry cakes to rise evenly without burning. While the oven heats up, I prepare my cake pans properly—this step is crucial for easy removal later. I generously butter the pans, then line them with parchment paper cut to fit the bottoms. For extra insurance against sticking, I butter the parchment too.
For special occasions, you might consider making a truffle cake which requires extra care in pan preparation to maintain its delicate texture.
The foundation of any great pastry cake is the creaming process. I place room-temperature butter in my mixer and beat until it’s smooth. Then I add sugar gradually, continuing to beat for about 5-7 minutes until the mixture turns pale and fluffy. This isn’t just mixing—it’s incorporating air into your batter, which will give your cake its tender crumb.
Next comes adding eggs, one at a time. I make sure each egg is fully incorporated before adding the next. This prevents the batter from curdling and ensures even distribution. If you’re making a Madeira cake, this step is particularly important for achieving that signature dense yet light texture.
Building Flavor and Structure
In a separate bowl, I whisk together the dry ingredients—typically flour, baking powder, salt, and any spices the recipe calls for. Mixing these separately ensures they’ll be evenly distributed throughout the batter.
The next part requires some finesse: I alternate adding the dry ingredients and milk (or whatever liquid the recipe specifies) to the butter mixture. I always start and end with the dry ingredients, usually dividing them into thirds and the liquid into halves. This method prevents overmixing and keeps the batter smooth.
For seasonal variations, I sometimes incorporate fruits as in a traditional plum cake or Christmas cake recipe that brings warmth to winter gatherings.
Once the batter is ready, I pour it evenly into the prepared pans. I tap the pans gently on the counter to remove air bubbles and smooth the tops with an offset spatula. For layer cakes like the classic Black Forest gateau, ensuring even distribution between pans is essential for uniform layers.
The baking time varies depending on the size and depth of your pans, but I look for these signs of doneness:
- Golden brown top
- Slight pulling away from the sides of the pan
- Cake tester or toothpick inserted in the center comes out clean
- Gentle spring back when lightly pressed in the center
For specialty cakes like Rasmalai cake, which combines traditional pastry techniques with unique flavors, I pay extra attention to doneness as the moisture content differs from standard recipes.
After baking, I let the cakes cool in their pans for about 10 minutes before turning them out onto wire racks to cool completely. Rushing this step can lead to broken cakes, so patience is key even when the aroma is tempting you to hurry.
Making the Pastry Cream Filling
Creating the perfect pastry cream filling can elevate your truffle cake or any layered dessert to new heights. I’ve found that mastering this creamy component takes a bit of practice, but the results are absolutely worth it.
Step-by-Step Pastry Cream Preparation
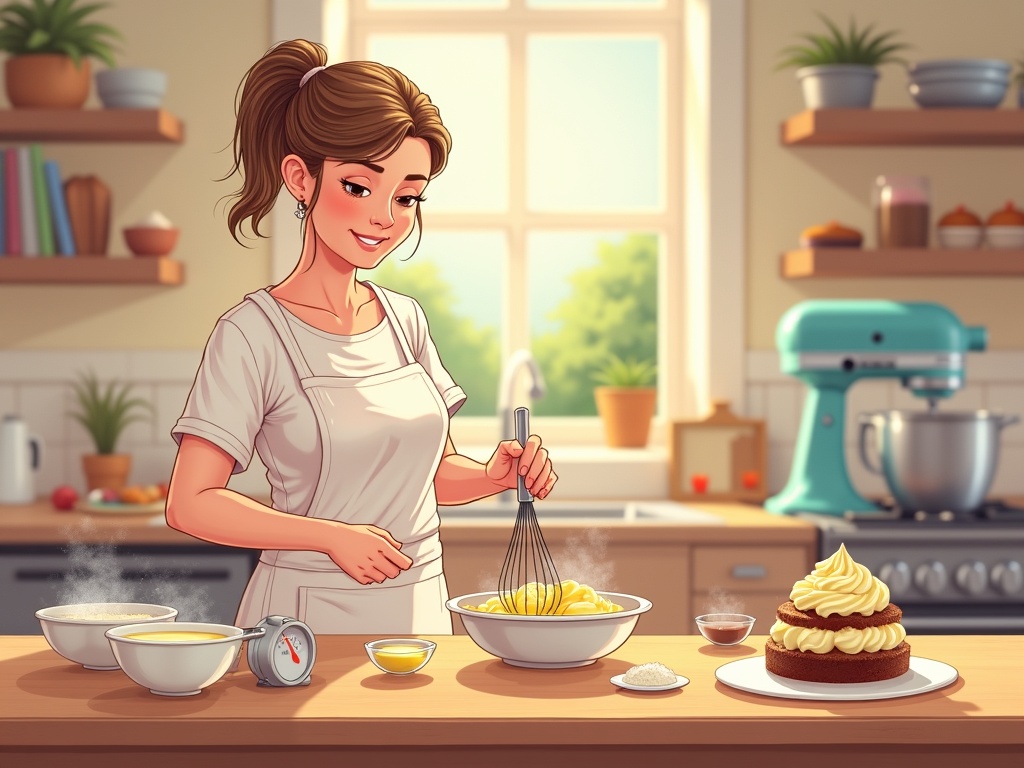
I start by mixing egg yolks, sugar, and cornstarch in a medium bowl until the mixture becomes pale yellow and slightly thickened. The cornstarch acts as a stabilizer, helping the cream maintain its structure when used between cake layers or in a Black Forest gateau.
Next, I heat milk in a saucepan until it’s steaming but not boiling. This temperature is critical – too hot and you’ll cook the eggs too quickly; not hot enough and your cream won’t thicken properly.
The tempering process is where many home bakers make mistakes. I slowly add about half of the hot milk to the egg mixture, whisking constantly. This gradually raises the temperature of the eggs without scrambling them. Then I pour this mixture back into the remaining hot milk in the saucepan.
While stirring continuously, I cook the mixture over medium heat until it thickens to a pudding-like consistency. This usually takes 3-5 minutes. The cream should coat the back of a spoon, and when I run my finger through it, the line should hold.
Once thickened, I remove it from heat and sometimes add butter and vanilla for extra richness and flavor. This makes it perfect for filling Madeira cake layers or creating a base for more complex fillings.
The final crucial step is chilling. I transfer the cream to a bowl, press plastic wrap directly onto the surface to prevent a skin from forming, and refrigerate until completely cold. This can take several hours, but I often prepare it a day ahead when making something special like a Rasmalai cake.
This versatile pastry cream works beautifully in many desserts, from fruit tarts to plum cake fillings, and even as a component in traditional Christmas cake recipes with a modern twist.
Assembling Your Cake
Creating a perfectly assembled pastry cake requires patience and attention to detail. I’ve found that taking your time during this crucial step makes all the difference in both presentation and taste.
Preparing Your Layers
Before assembling, I always make sure my cake layers are level. Uneven layers can lead to a wobbly, unstable cake that might collapse. Using a long serrated knife, I carefully slice off any domed tops to create flat surfaces. This ensures that when I stack the layers, they’ll sit properly without sliding off.
If your cake layers came out of the oven with significant domes, don’t throw away those scraps! They’re perfect for snacking or can be used to make cake pops or delicious truffle cake bites.
Adding the Filling
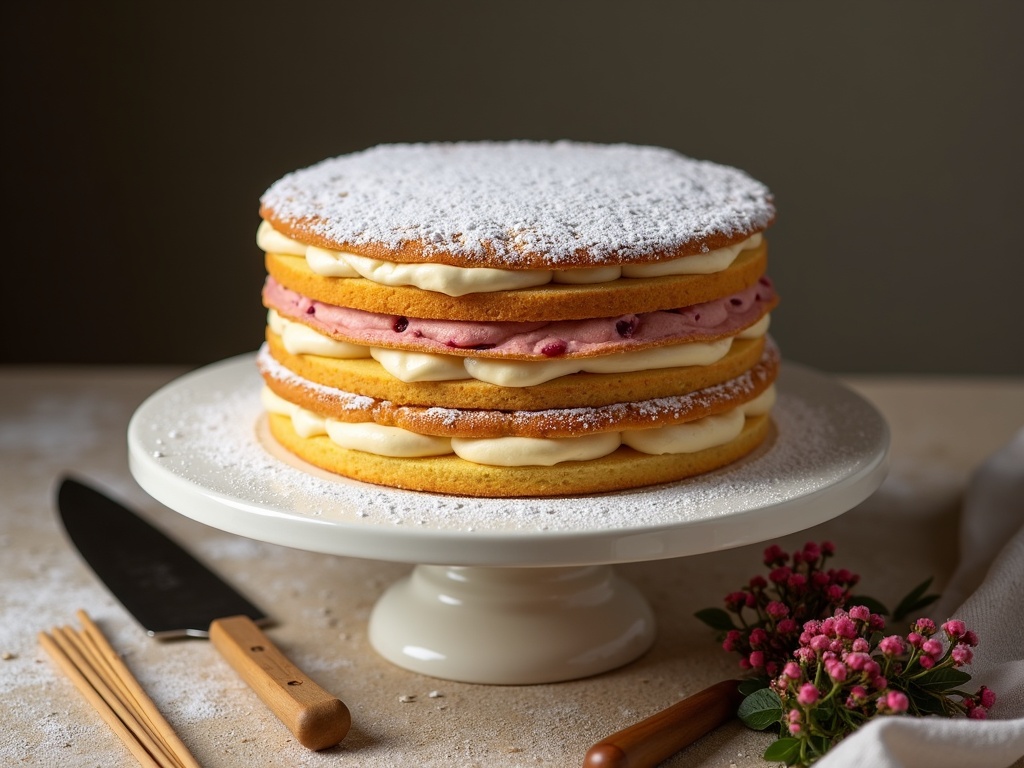
The filling is where the magic happens in a pastry cake. I spread a generous layer of pastry cream between each layer, making sure to:
- Leave about 1/4 inch border around the edges (the weight of upper layers will push the filling outward)
- Keep the filling thickness consistent (about 1/4 to 1/3 inch)
- Smooth the surface with an offset spatula for even distribution
For variety, you can alternate between pastry cream and other fillings. A black forest gateau approach with fruit compote works beautifully, or try a rasmalai cake inspired cream for an exotic twist.
Stacking Technique
Stacking requires a steady hand. I place the first layer on my serving plate, add the filling, then carefully lift and position the next layer directly on top. For larger cakes, I sometimes freeze the layers briefly to make them easier to handle.
A cake turntable makes this process much simpler, allowing me to rotate the cake as I work for precise placement. If you’re making a taller cake like a traditional madeira cake with multiple layers, consider inserting a few thin bamboo skewers through the center to stabilize the structure during assembly.
After stacking, I gently press down to secure the layers, being careful not to press too hard which could cause the filling to spill out.
The final touch is a light dusting of powdered sugar, which adds a beautiful finish to cakes like a festive Christmas cake or traditional plum cake. For a more polished look, I sometimes add a thin layer of glaze or a simple buttercream finish.
Always chill your assembled cake for at least 30 minutes before serving. This allows the filling to set and makes cutting clean slices much easier.
Common Mistakes to Avoid
When making a pastry cake, small errors can lead to disappointing results. I’ve learned through plenty of trial and error that paying attention to detail makes all the difference between a spectacular creation and a dessert disaster.
Temperature and Mixing Issues
Using cold ingredients straight from the refrigerator is one of the most common blunders in cake baking. Cold butter won’t cream properly with sugar, creating a dense, uneven texture. I always leave butter, eggs, and milk at room temperature for at least 30 minutes before starting. Room temperature ingredients incorporate more easily, trapping air bubbles that help your cake rise beautifully.
Overmixing the batter is another frequent mistake that ruins many potential masterpieces. When you beat the batter too long, especially after adding flour, you develop the gluten and eliminate air bubbles. This results in tough, rubbery cakes instead of tender, fluffy ones. I mix just until ingredients are combined—a few small lumps are actually preferable to an overworked batter. For delicate options like a light Madeira cake, gentle folding rather than vigorous mixing preserves the airy texture.
Opening the oven door while baking causes dramatic temperature fluctuations that can make your cake sink in the middle. The sudden rush of cool air can collapse the structure before it sets. I resist the temptation to peek until at least 75% of the baking time has passed. This patience is especially important for elaborate creations like a decadent truffle cake where a perfect rise contributes to the luxurious texture.
Assembly and Patience Problems
Filling cake before layers cool completely leads to melting disasters. Hot cake layers are fragile and can break easily. More importantly, warm layers will melt your frosting or filling, creating a messy, sliding cake. I always let layers cool completely on a wire rack, sometimes even refrigerating them for 30 minutes before assembly. This is particularly crucial when making a Black Forest gateau where stable layers hold the delicate cream filling.
Rushing the chilling process is a mistake that undermines all your hard work. Many cakes, especially those with cream fillings or frosting, need time to set. Cutting into a rasmalai cake too soon results in a sloppy presentation and compromises the texture. I’ve learned to plan ahead, allowing at least 2-3 hours of refrigeration for filled cakes, or ideally overnight for special occasions like a Christmas cake.
Several other errors can impact your cake’s success:
- Using expired leavening agents (baking powder or soda)
- Inaccurate measuring of ingredients
- Using the wrong pan size for the recipe
- Neglecting to prepare pans properly with grease and parchment
- Not allowing enough time for a plum cake or fruit-filled pastry to develop flavors
By avoiding these common pitfalls, your pastry cakes will turn out more consistently successful. Baking requires precision, but also patience. I’ve found that taking my time at each stage of the process—from ingredient preparation to cooling—produces results worth waiting for. The difference between an average cake and an exceptional one often comes down to avoiding these simple mistakes.
Pro Tips for Success
I’ve gathered some essential tips to help you achieve pastry cake perfection. The difference between a good cake and a great one often comes down to technique and attention to detail. These professional insights will elevate your baking game and help you create pastry cakes that taste as amazing as they look.
Preparation Makes Perfect
Room temperature ingredients blend better and create a smoother batter. I always set my butter, eggs, and milk out at least an hour before I begin mixing. Cold ingredients don’t incorporate properly and can result in a lumpy, uneven texture. This simple step makes a tremendous difference in the final structure of your Madeira cake or other pastry creations.
Measure ingredients precisely for consistent results. I recommend using a kitchen scale rather than cups for flour and sugar. Even small variations can affect the texture and rise of your truffle cake. When a recipe calls for 250g of flour, using 280g can make your cake dense and heavy.
The mixing method matters too. I fold in dry ingredients gently to maintain air in the batter. Overmixing activates gluten, resulting in tough cakes instead of tender ones. For delicate cakes like Black Forest gateau, proper mixing technique is particularly important.
Baking and Storage Secrets
During baking, I rotate pans halfway through the cooking time. Most ovens have hot spots that can cause uneven baking. A simple 180-degree turn ensures your plum cake bakes evenly and rises properly. I also avoid opening the oven door during the first half of baking time, as temperature fluctuations can cause cakes to sink in the middle.
Cooling layers completely before frosting is non-negotiable. Hot or warm cakes will melt your frosting and create a messy finish. I place my Rasmalai cake layers on a wire rack for at least an hour before assembling. For delicate fillings, cooling in the refrigerator for 30 minutes provides extra stability.
Here are my top storage recommendations for keeping your pastry cakes fresh:
- Store unfrosted cakes at room temperature, wrapped in plastic wrap, for up to two days
- Keep frosted cakes in the refrigerator for up to three days in an airtight container
- Allow refrigerated cakes to come to room temperature for 30 minutes before serving for the best flavor and texture
- Freeze cake layers wrapped in plastic and foil for up to three months
- For Christmas cake recipes and other fruit cakes, they can be stored longer and actually improve with age
I find that pastry cakes with cream-based fillings must be refrigerated right away. For buttercream-frosted cakes, refrigeration is still recommended, especially in warm weather. Just remember that refrigeration can dry cakes out, so proper sealing is important.
The right cake dome or container makes a difference too. I use containers that don’t touch the frosting and create a seal that prevents air circulation. This simple step preserves moisture and prevents your cake from absorbing refrigerator odors.
When transporting cakes, I chill them thoroughly first. A stable, cold cake is much less likely to shift or slide during transport. This tip has saved many of my special occasion cakes from disaster!
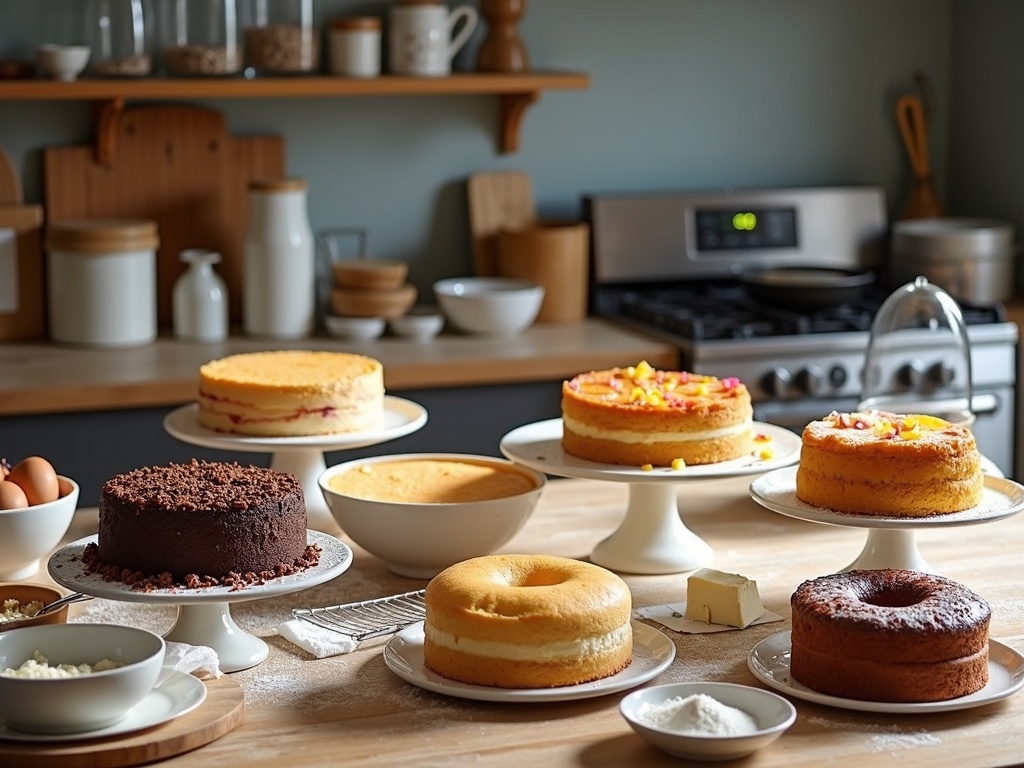
Storage and Serving
Proper storage and serving techniques can make or break the experience of enjoying a delicious truffle cake or any pastry cake. I’ve found that paying attention to these details elevates even the most simple cake to something extraordinary.
Refrigeration Is Key
Pastry cakes contain delicate ingredients that require proper storage. I always keep my cakes refrigerated to maintain their texture and prevent spoilage. The cool temperature helps preserve the integrity of cream fillings, frostings, and delicate decorations that might otherwise melt or sag at room temperature.
For optimal freshness, I recommend:
- Storing the cake in an airtight container to prevent it from absorbing refrigerator odors
- Placing it on a flat surface to maintain its shape
- Keeping it away from strongly aromatic foods in your refrigerator
- Covering any cut surfaces with plastic wrap to prevent them from drying out
Most pastry cakes taste best when consumed within 48 hours of preparation. After this window, while still safe to eat, they begin to lose their perfect texture and flavor profile. This is especially true for cakes with fresh fruit elements or delicate rasmalai cake with dairy-based components.
Serving For Maximum Enjoyment
I’ve learned that timing matters tremendously when serving a pastry cake. For the best flavor experience, take your black forest gateau or other refrigerated cake out approximately 30 minutes before serving. This brief room temperature rest allows the cake to develop its full flavor profile and achieve the perfect texture.
Cold temperatures can dull sweetness and mask subtle flavor notes. That half-hour rest makes all the difference in appreciating the complexity of a Christmas cake recipe or the buttery notes in a traditional Madeira cake.
When it’s time to slice, I always reach for a long, thin knife dipped in hot water and wiped clean. This simple trick creates beautifully clean slices without dragging through the cake or pulling apart delicate layers. For particularly delicate cakes like plum cake, I reheat and clean the knife between each cut for picture-perfect presentation.

