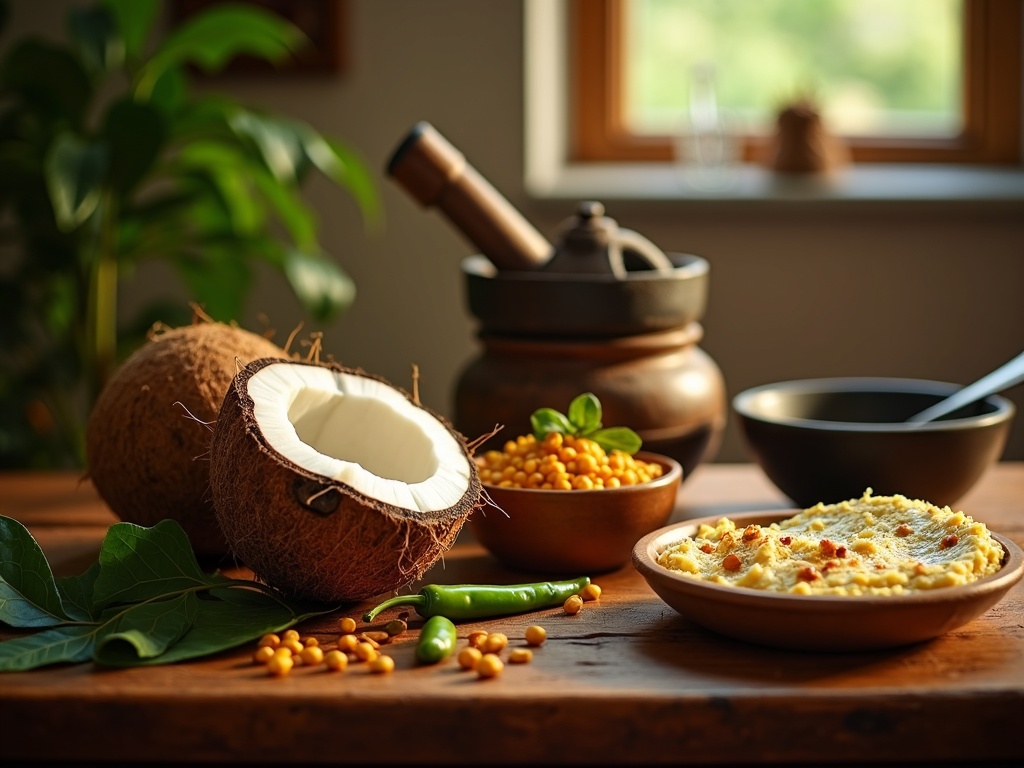
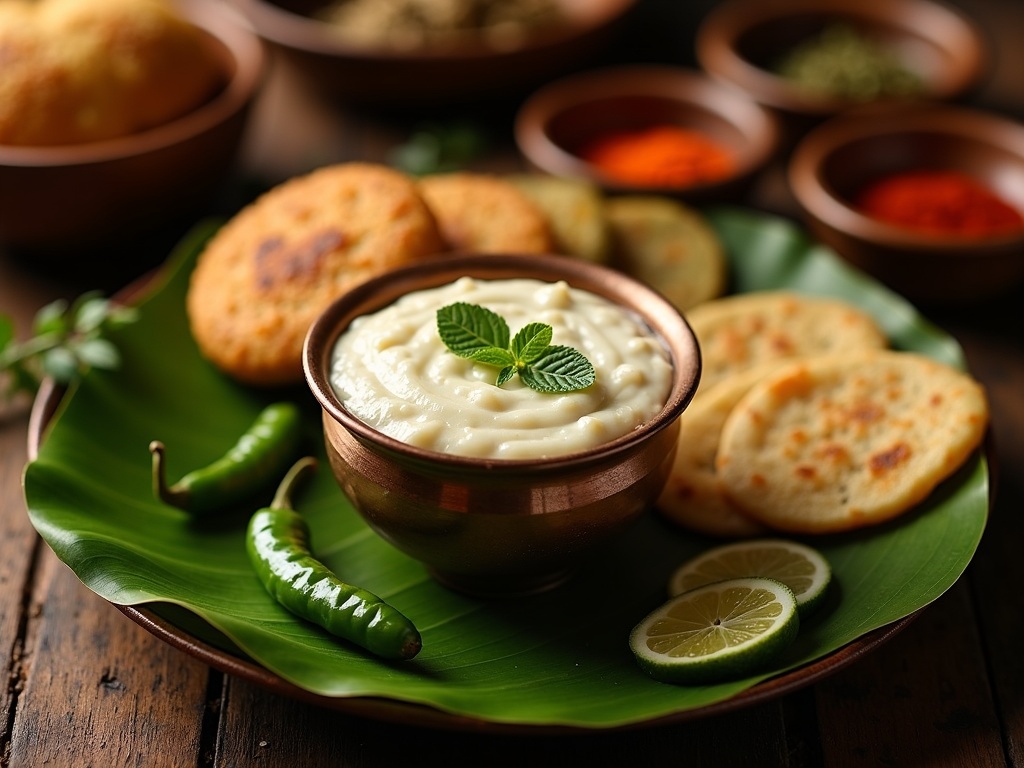
Coconut chutney stands as a versatile and creamy South Indian condiment that brings cooling balance to spicy dishes while complementing favorites like dosa, idli, and vada. Its straightforward preparation creates deep flavors, making it an essential part of authentic South Indian meals.
Find In This Article
Key Takeaways
- Fresh ingredients, particularly grated coconut, green chilies, and curry leaves, are essential for creating authentic coconut chutney with vibrant flavor.
- The tempering (tadka) process with mustard seeds, curry leaves, and dried chilies adds crucial depth of flavor and aromatic complexity.
- Achieving the right consistency requires gradual addition of water while grinding and avoiding common mistakes like over-grinding or making it too watery.
- Coconut chutney can be customized with variations like mint, garlic, or roasted coconut to create different flavor profiles.
- Proper storage in airtight containers keeps coconut chutney fresh for 3-4 days in the refrigerator or up to 2 months when frozen in portion-sized amounts.
The Perfect South Indian Accompaniment
Coconut chutney stands as the unrivaled companion to South Indian cuisine, bringing a creamy, cooling balance to spicy dishes. I’ve found that this versatile condiment creates harmony on the plate, making it nearly impossible to enjoy a proper dosa or idli without a generous dollop on the side.
Traditional Uses and Perfect Pairings
The beauty of coconut chutney lies in its complementary nature to so many South Indian favorites. These classic pairings have stood the test of time:
- Dosas and uttapams get an instant flavor boost with this coconut-based condiment
- Idlis become more exciting when dipped into fresh coconut chutney
- Vadas pair perfectly with the cooling properties of the chutney
- Upma benefits from the textural contrast coconut chutney provides
The versatility extends beyond these applications too. I often prepare coconut shake using leftover chutney as a base, creating a refreshing drink that captures the same flavor profile in liquid form.
Health Benefits of Fresh Coconut
Fresh coconut forms the foundation of this chutney, bringing more than just flavor to the table. The health advantages make it a smart addition to your diet:
Fresh coconut contains medium-chain triglycerides (MCTs) that provide quick energy to the body. The fruit also delivers a healthy dose of fiber, aiding digestion and creating a feeling of fullness.
The minerals in coconut—particularly manganese, copper and iron—support metabolism and immune function. Its rich content of lauric acid has antimicrobial properties that help fight harmful bacteria and viruses.
I’ve discovered that making coconut shrimp with similar spices used in the chutney creates a delicious fusion dish that maintains many of these health benefits while exploring new flavor combinations.
When made fresh with minimal processing, coconut chutney preserves more nutrients than commercially prepared versions. The addition of curry leaves, cilantro, green chilies and other fresh ingredients further enhances its nutritional profile, creating a condiment that’s as beneficial as it is delicious.
This simple accompaniment transforms ordinary meals into memorable South Indian feasts. Its bright, tangy flavor cuts through rich dishes while its cooling properties balance heat, making it essential to authentic South Indian dining experiences.
What You’ll Need For This Recipe
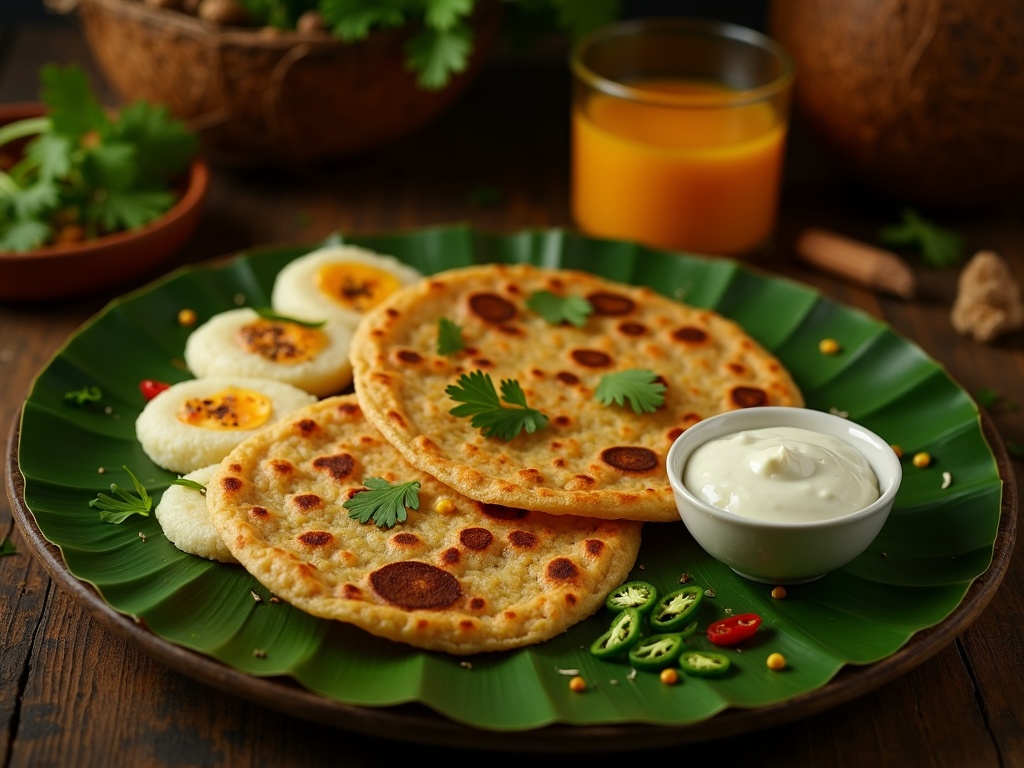
Creating a perfect coconut chutney is simple when you have the right ingredients on hand. I’ve found that quality ingredients make all the difference in achieving that authentic South Indian flavor profile that pairs beautifully with idli, dosa, or vada.
Core Ingredients
Fresh grated coconut serves as the star of this recipe. I prefer using freshly grated coconut for its vibrant flavor and texture, but frozen grated coconut works well too if fresh isn’t available. Frozen coconut is a convenient alternative that still delivers excellent results. The coconut’s natural sweetness creates a beautiful base for the creamy coconut consistency of the chutney.
Green chilies add the perfect amount of heat. Depending on your spice preference, you can adjust the quantity – I usually use 2-3 for a moderate kick. Roasted chana dal (split chickpeas) contributes a nutty flavor and helps thicken the chutney. This ingredient is what gives the chutney its distinctive taste and body.
A small piece of ginger brings a zingy freshness that balances the coconut’s richness. Fresh curry leaves are non-negotiable in my opinion – they infuse the chutney with their unique aromatic quality that’s impossible to substitute. The earthiness of curry leaves complements the coconut flavor perfectly.
Salt is essential to bring all flavors together, while water helps achieve your desired consistency. I typically add water gradually while blending to control the thickness.
Optional Additions
For added depth, consider these variations:
- A tablespoon of roasted urad dal for extra nuttiness
- A small piece of tamarind for tanginess
- A few tablespoons of yogurt for a creamier texture
- Cilantro leaves for a fresh herbal note
- Lemon juice for brightness
The tempering (tadka) ingredients are often prepared separately and added last:
- Mustard seeds
- Dried red chilies
- A pinch of asafoetida
- More curry leaves
The beauty of coconut chutney lies in its versatility. Once you master the basic recipe, you can easily customize it to suit your taste preferences or complement specific dishes. This humble accompaniment transforms ordinary South Indian meals into memorable culinary experiences.
For The Tempering
Tempering, or tadka, is the final touch that transforms a good coconut chutney into an extraordinary one. I’ve found that this simple step adds layers of flavor and aromatic complexity that elevate the entire dish. The sizzling spices release their essential oils, infusing the chutney with warmth and depth.
Essential Tempering Ingredients
The tempering process begins with selecting the right fat base. I typically use one tablespoon of oil or ghee as the foundation. While coconut oil complements the coconut flavors beautifully, ghee adds a nutty richness that many find irresistible.
Once the oil is hot, I add the following ingredients in quick succession:
- Mustard seeds (1 teaspoon): These tiny seeds pop when heated, releasing a nutty, slightly pungent flavor that cuts through the coconut’s sweetness.
- Urad dal (1 teaspoon): This split black gram adds a subtle crunch and earthy undertone that balances the chutney’s creaminess.
- Dried red chilies (2-3, broken): They provide a gentle heat and striking visual contrast against the white chutney.
- Curry leaves (8-10 leaves): Fresh curry leaves sizzle dramatically in hot oil, releasing their distinctive citrusy, herbal aroma that’s quintessentially South Indian.
The magic happens quickly—within 30 seconds, the mustard seeds will start popping, signaling that it’s time to add the urad dal. Once the dal turns golden brown, I toss in the dried chilies and curry leaves, which crackle and crisp up immediately.
Timing is crucial when making the tempering. I’ve learned through experience that overcooking can lead to bitter flavors, while undercooking won’t fully release the aromatics. The entire process takes less than a minute but makes all the difference.
After preparing this fragrant mixture, I pour it directly over the freshly made coconut chutney, where the hot oil causes a satisfying sizzle. This not only enhances the flavor but also helps preserve the chutney longer.
For added texture and flavor variation, sometimes I include a pinch of asafoetida or a few fenugreek seeds in the tempering. These additions complement the coconut’s sweetness wonderfully and add their own unique dimensions to the final dish.
Steps To Make Perfect Coconut Chutney
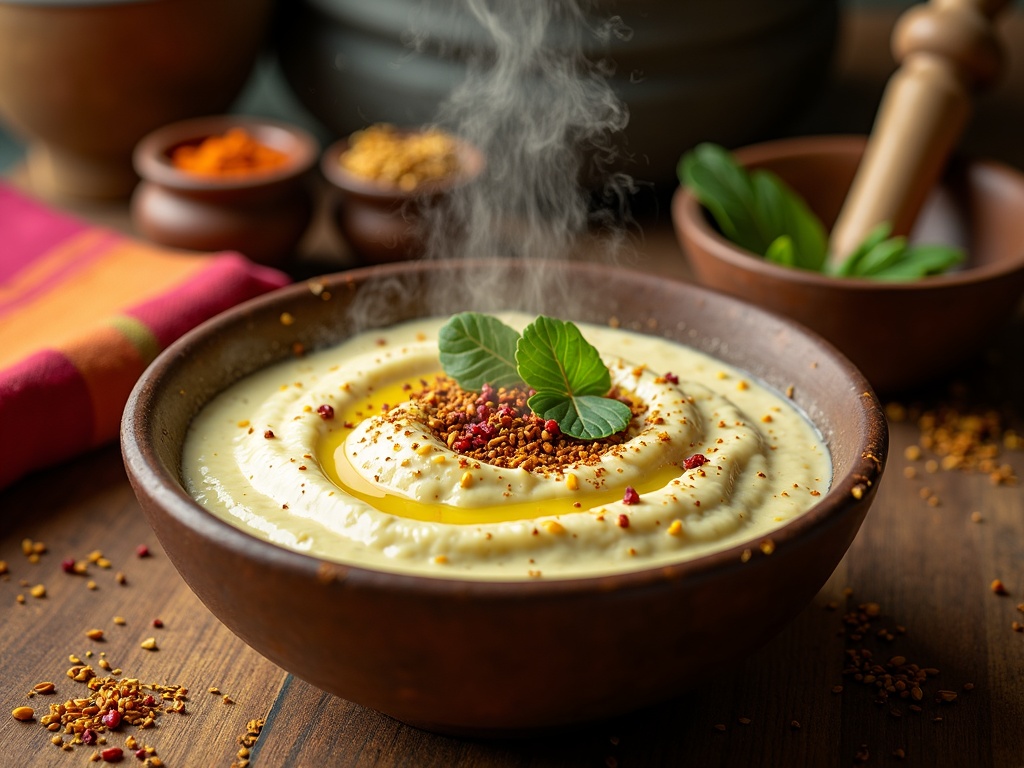
Creating the perfect coconut chutney is a skill that elevates your South Asian meal experience. I’ve perfected this condiment over years of practice, and I’m excited to share my process with you. This versatile accompaniment pairs beautifully with idli, dosa, vada, or even as a spread for sandwiches.
Grinding the Coconut Mixture
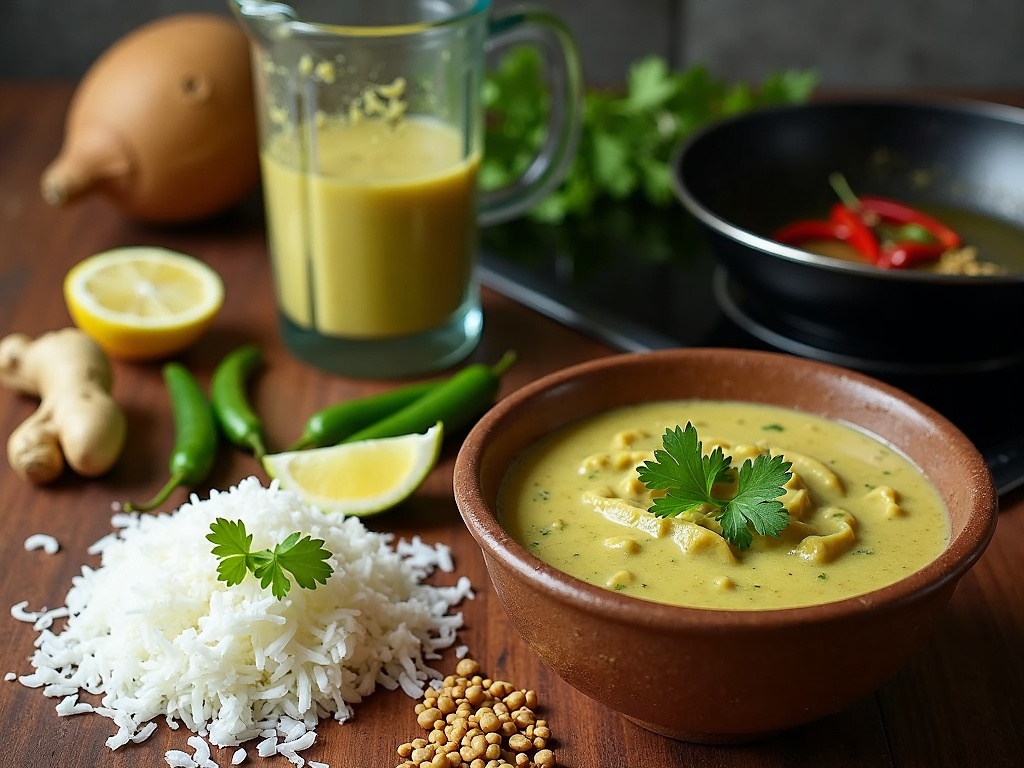
The foundation of any good coconut chutney starts with properly grinding the coconut mixture. I begin by adding 1 cup of freshly grated coconut to a blender – fresh is always best, but frozen works in a pinch. To this, I add:
- 2-3 green chilies (adjust based on your spice preference)
- A small piece of ginger (about 1 inch)
- 1 tablespoon roasted chana dal (for thickness and flavor)
- Salt to taste
I pulse these ingredients together first before grinding to ensure even distribution. Then I add a little water (start with just 2-3 tablespoons) and grind to a smooth paste. The trick is to add water gradually – too much at once can make your chutney watery, while too little will make it difficult to grind properly.
For grinding, I use short pulses initially, then let the blender run continuously for about 30-45 seconds. This method helps break down the coconut fibers efficiently while maintaining that delightful texture that makes coconut-based recipes so satisfying.
The consistency during this stage should be somewhat coarse – don’t worry about making it ultra-smooth yet. You’ll notice the mixture becoming whiter as you grind, which indicates the coconut is breaking down properly.
If you’re feeling adventurous, try adding a handful of cilantro or mint leaves for a flavor variation. These herbs add a refreshing dimension that complements the creamy coconut perfectly.
Achieving the Right Consistency
Once the initial grinding is complete, I focus on achieving that perfect consistency. Coconut chutney should be smooth enough to spread easily but thick enough to hold its shape when served.
I add water gradually while continuing to blend, checking frequently until I reach my desired consistency. For a thicker chutney (ideal for spreading), I use less water. For a slightly runnier version (perfect for dipping), I add a bit more.
A helpful tip: after grinding, transfer the chutney to a bowl and add a squeeze of lemon or lime juice. This not only enhances the flavor but also helps preserve the chutney’s bright white color. The acidity prevents oxidation and keeps it looking fresh.
For a creamier texture, I sometimes add a spoonful of yogurt. This addition creates a richer chutney with a subtle tanginess that works wonderfully with coconut shrimp or other seafood dishes.
Adding Tempering
The tempering (or tadka) is what transforms good coconut chutney into exceptional coconut chutney. I heat 2 teaspoons of oil in a small pan and add:
- 1 teaspoon mustard seeds
- 1 teaspoon urad dal
- A pinch of asafoetida (hing)
- 1-2 dried red chilies
- A few curry leaves
When the mustard seeds begin to pop and the dal turns golden brown, I immediately pour this sizzling mixture over the prepared chutney. The sound and aroma of this step are incredibly satisfying!
The tempering adds complex layers of flavor – nuttiness from the dal, warmth from the mustard seeds, and an aromatic finish from the curry leaves. I gently stir the tempering into the chutney, allowing the flavors to meld together.
For the final adjustments, I taste and add more salt if needed or a touch more lemon juice for brightness. If the chutney seems too thick after sitting, I stir in a little water before serving.
Remember, coconut chutney tastes best when served slightly chilled, allowing the flavors to develop fully. I typically make it 30 minutes before serving for optimal taste.
Common Mistakes To Watch For
Making coconut chutney might seem simple, but there are several pitfalls that can turn your perfect accompaniment into a disappointing side dish. I’ve noticed these common mistakes repeatedly in my years of preparing this South Asian staple.
Technical Errors That Affect Texture and Flavor
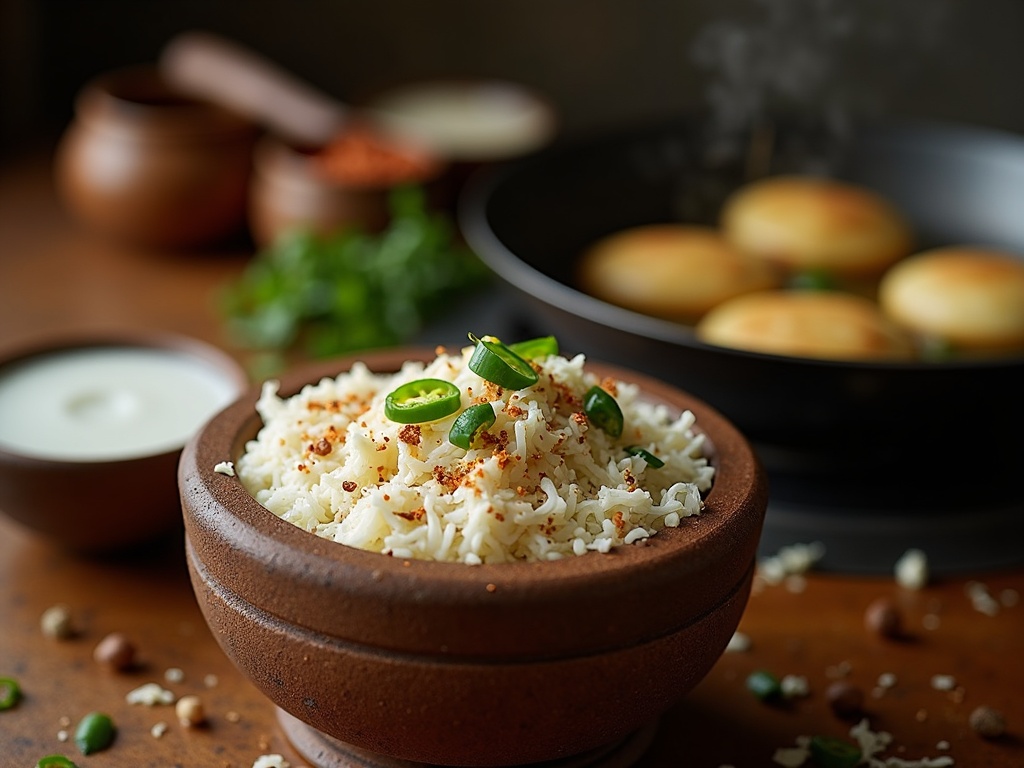
Using too much water is perhaps the most frequent mistake I see in coconut chutney preparation. The ideal consistency should be thick and slightly grainy, not watery or runny. When you add excessive water, the chutney loses its rich texture and the flavors become diluted. I recommend adding water gradually while grinding, stopping to check the consistency frequently. You can always add more water, but you can’t take it away once it’s mixed in.
Skipping the tempering (tadka) step drastically reduces the depth of flavor in your coconut chutney. The tempering process, where spices are heated in oil and poured over the chutney, releases essential oils from the spices and infuses the entire mixture with complex flavors. Without this step, your chutney will taste flat and one-dimensional.
The coconut to chili ratio needs careful attention. Too many chilies will make your chutney overwhelmingly spicy, masking the subtle sweetness of the coconut. Conversely, too little spice makes for a bland experience. I find that 1-2 green chilies per cup of grated coconut usually works well, but you should adjust based on your heat preference and the potency of your chilies.
Over-grinding the mixture is another technical error that ruins the texture. Coconut chutney should retain some texture rather than becoming a completely smooth paste. Pulse the grinder instead of letting it run continuously, and stop when the mixture still has some small granules of coconut visible. This preserves the authentic mouthfeel that makes coconut chutney so satisfying.
I’ve found that taking the time to properly toast the spices and lentils before grinding can make a significant difference in the final flavor profile. The nutty, roasted notes add complexity that elevates your chutney from good to exceptional.
By avoiding these common mistakes, your coconut chutney will have the perfect balance of flavor and texture every time – ready to complement dosas, idlis, or any other dish you’re serving.
Storage And Serving Tips
Fresh coconut chutney can quickly lose its vibrant flavor if not stored properly. I’ve found that proper storage techniques make all the difference in maintaining that delicious taste for longer periods.
Keeping Your Coconut Chutney Fresh
Refrigeration is key to preserving coconut chutney’s freshness. After preparation, I always let it cool completely before transferring it to an airtight container. Glass containers work best as they don’t absorb odors or stain like plastic varieties. When properly stored in the refrigerator, coconut chutney typically remains fresh for 3-4 days.
For optimal flavor, I recommend serving coconut chutney at room temperature. Taking it out of the refrigerator about 15-20 minutes before serving helps enhance its taste and aroma. This small step makes a significant difference in your overall dining experience, especially when pairing it with hot dishes like idli or dosa.
If you’ve made a large batch, freezing is an excellent option. Here’s my process for freezing coconut chutney effectively:
- Divide the chutney into portion-sized amounts
- Use freezer-safe containers with tight-fitting lids
- Leave about half an inch of space at the top for expansion
- Label containers with the date of preparation
- Store in the freezer for up to 2 months
When ready to use frozen chutney, I transfer it to the refrigerator overnight for a gentle thaw. A quick stir before serving helps restore its consistency. Sometimes I add a squeeze of lime juice to brighten the flavors after thawing.
For those who enjoy variety in their meals, coconut chutney makes an excellent companion to coconut shake for a complete South Indian breakfast experience. The creamy chutney also pairs wonderfully with coconut shrimp for a fusion appetizer that impresses guests.
Remember that coconut can turn rancid if left at room temperature for too long, especially in warm climates. The high oil content makes it susceptible to spoilage, so never leave your chutney out for more than two hours at a time.
Variations To Try
Coconut chutney is incredibly versatile, and I’ve discovered that a few ingredient swaps can completely transform its flavor profile. These variations maintain the authentic taste while adding exciting new dimensions that complement different dishes.
Herb and Allium Infusions
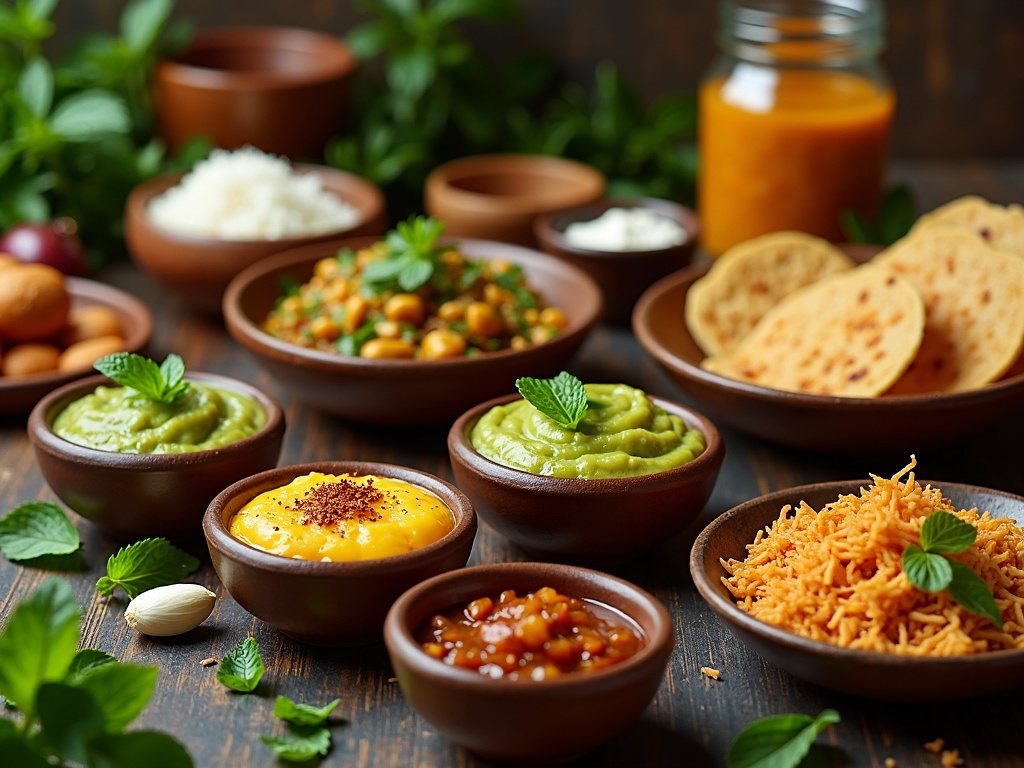
Mint coconut chutney brings a refreshing twist to the classic recipe. I combine fresh mint leaves with grated coconut, green chilies, and a squeeze of lime juice. The mint adds a cooling effect that works perfectly with spicy main dishes. For best results, I use about a cup of mint leaves to two cups of grated coconut. This green-tinged chutney pairs beautifully with coconut shake for a fully immersive coconut experience.
The garlic variation takes the coconut chutney in a more pungent direction. Adding 4-5 cloves of roasted garlic creates a rich, aromatic chutney that’s particularly good with dosas and idlis. The garlic should be lightly roasted to mellow its sharpness while enhancing its sweet notes. I’ve found that the garlic complements the coconut’s natural sweetness rather than overpowering it.
Onion coconut chutney introduces a subtle sweetness and texture that’s hard to resist. I sauté about half a cup of finely chopped onions until they’re golden brown before blending them with the coconut mixture. The caramelized flavor adds depth to the chutney, making it perfect for serving alongside savory snacks. This variation stays fresh in the refrigerator for up to three days without losing its delicious flavor profile.
Roasted Coconut Version
The roasted coconut version elevates the humble chutney to something truly special. I dry-roast the grated coconut in a pan until it turns golden brown and releases its aromatic oils. This simple step transforms the flavor completely, creating a nutty, complex base that’s miles away from the fresh version.
This method brings out a deep, caramelized flavor that pairs exceptionally well with:
- Dosas and crispy snacks
- Rice dishes that need a punch of flavor
- Grilled vegetables for a smoky complement
- Coconut shrimp for a double coconut experience
I typically add some roasted chana dal (split chickpeas) to enhance the nutty profile further. The dal adds protein and a pleasant texture that makes this version particularly satisfying. A touch of jaggery (palm sugar) balances the roasted flavors with subtle sweetness.
For extra richness, I sometimes include a tablespoon of roasted sesame seeds. Their oil content combines with the coconut to create a luxurious mouthfeel that clings perfectly to whatever you’re dipping.
The roasting process also extends the shelf life of the chutney, making it ideal for batch preparation. I store this version in an airtight container in the refrigerator, where it remains delicious for up to a week.
Each of these variations starts with the same basic technique but ends with distinctly different flavor profiles. I encourage you to experiment with these modifications based on what you’re serving the chutney with. The mint version works wonderfully with spicy biryani, while the roasted version complements simpler dishes like steamed rice.
These chutneys aren’t just condiments but flavor enhancers that can transform even the simplest meals into memorable experiences. The beauty of coconut chutney lies in its adaptability while maintaining its essential character – creamy, flavorful, and satisfyingly complex.
Serving Suggestions
Coconut chutney is incredibly versatile and pairs beautifully with numerous dishes. I’ve found that this creamy, flavorful condiment enhances everything from traditional South Indian breakfasts to modern fusion creations. Let me share some of my favorite ways to serve this delightful accompaniment.
Traditional Pairings
South Indian cuisine offers numerous classic pairings that have stood the test of time. These combinations highlight the cooling properties of coconut chutney against spicier main dishes:
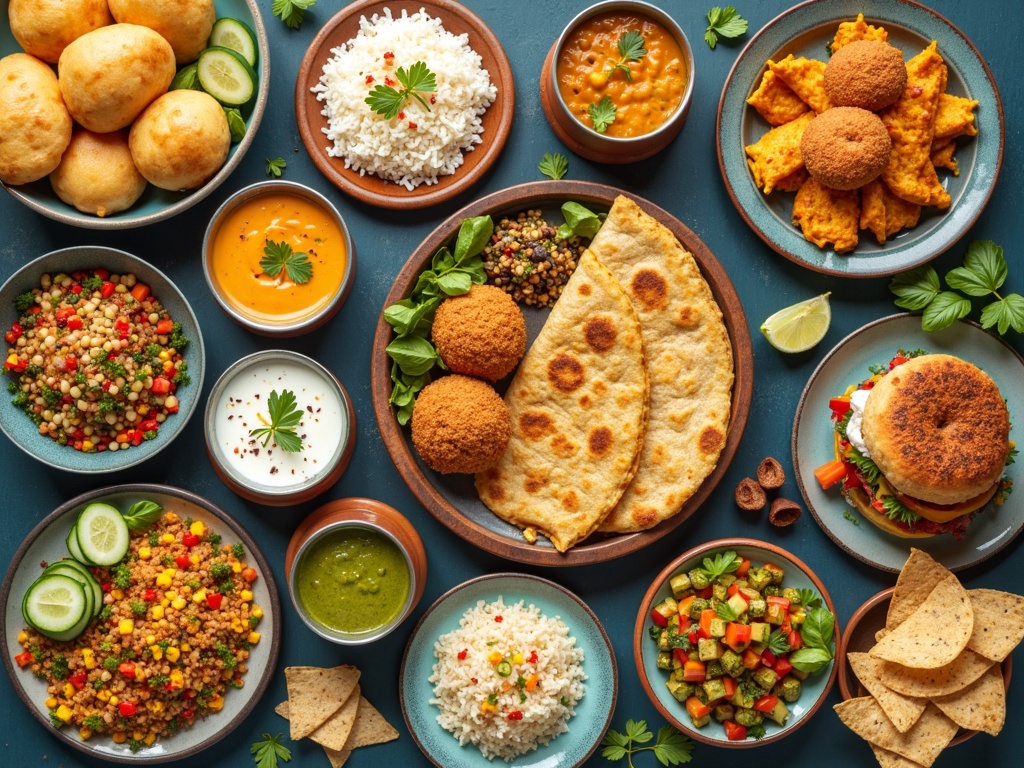
- Idli and Dosa: The most iconic pairing – soft, steamed idlis or crispy dosas served with coconut chutney create the perfect balance of textures and flavors.
- Vada: These savory, donut-shaped fritters made from lentils become even more delicious when dipped in fresh coconut chutney.
- Uttapam: This thick pancake topped with vegetables tastes wonderful with a side of coconut chutney to complement its savory profile.
- Pongal: A comforting rice and lentil porridge that pairs beautifully with the cooling effect of coconut chutney.
- Upma: Semolina porridge becomes more flavorful when served with a dollop of fresh coconut chutney on the side.
I’ve noticed that restaurants in South India typically serve coconut chutney in small steel cups alongside these dishes, often with a drizzle of tempered spices (tadka) on top for added flavor and visual appeal.
Modern Fusion Ideas
I’ve experimented with incorporating coconut chutney into contemporary dishes with fantastic results:
- Coconut Chutney Sandwiches: Spread a thin layer of coconut chutney on bread, add cucumber slices, and create a refreshing sandwich that’s perfect for quick lunches.
- Dipping Sauce for Appetizers: Use it as a unique dipping sauce for vegetable fritters, coconut shrimp, or even air-fried vegetables.
- Grain Bowl Topping: Add a spoonful to grain bowls with quinoa or rice, roasted vegetables, and your protein of choice for a flavor boost.
- Salad Dressing Base: Mix coconut chutney with a little yogurt and lime juice to create a creamy salad dressing that’s rich in flavor.
- Burger Spread: Replace traditional mayo with coconut chutney on veggie burgers for an unexpected twist that adds moisture and flavor.
Coconut chutney also makes an excellent marinade for tofu or chicken, imparting flavor while keeping the protein moist during cooking.
For a quick refreshing drink, I sometimes blend a teaspoon of coconut chutney with yogurt and ice to create a spiced coconut shake that’s perfect for hot summer days.
Party platters featuring coconut chutney have become increasingly popular at fusion dinner parties. I arrange it in small ramekins surrounded by various dipping options like mini idlis, vegetable crudités, pita triangles, and even tortilla chips.
For breakfast, coconut chutney transforms simple dishes into satisfying meals. Try it spread on whole grain toast topped with avocado, as a side for savory pancakes, or mixed into scrambled eggs for a flavor boost.
When hosting gatherings, I like to create a chutney bar with coconut chutney as the star. I set out several variations – the classic version, a spicy red coconut chutney, and perhaps a green herb-infused one – alongside various finger foods for dipping. This interactive setup always gets guests talking and experimenting with different flavor combinations.
The cooling properties of coconut chutney make it an excellent complement to spicy dishes from any cuisine. I’ve paired it with everything from Mexican enchiladas to Thai curries with great success.
Whether you’re serving traditional South Indian fare or experimenting with fusion cuisine, coconut chutney brings a delightful flavor dimension that enhances almost any meal.
Troubleshooting Your Chutney
Making coconut chutney isn’t always straightforward. Despite following a recipe precisely, sometimes things don’t turn out as expected. I’ve faced plenty of chutney challenges over the years and have developed reliable fixes for the most common issues.
Fixing Consistency Problems
A watery coconut chutney can ruin your meal experience. If your chutney turns out too thin, I recommend adding more freshly grated coconut to absorb the excess moisture. Start with one tablespoon at a time and blend briefly after each addition until you reach your desired consistency.
Conversely, if your coconut mixture is too thick, dilute it gradually with water, yogurt, or even coconut milk. Add just a teaspoon at a time while blending to avoid overcorrecting.
Storage can also affect consistency. If your chutney thickens in the refrigerator, simply stir in a bit of water before serving to restore its original texture.
For chutney that separates during storage, a quick pulse in the blender will reunite the ingredients. If you don’t have a blender handy, vigorous stirring works almost as well.
Grinding technique matters tremendously. For the perfect texture, grind in short bursts rather than one long blend. This gives you better control over the final consistency and prevents the mixture from becoming too pasty or watery.
Balancing Flavors and Spices
Flavor balance makes or breaks a good coconut chutney. When your chutney tastes too spicy, adding more coconut or a small amount of yogurt can temper the heat without compromising flavor. Sugar or jaggery also works wonderfully to counteract excessive spiciness.
For underseasoned chutney, try these adjustments:
- Add a pinch of salt to enhance existing flavors
- Include more green chilies for heat (removing seeds first if you want milder heat)
- Sprinkle in some cumin powder for earthy notes
- Mix in extra tempered spices (tadka) with mustard seeds and curry leaves
- Squeeze fresh lemon juice to brighten all flavors
If your coconut preparations develop a bitter taste, the culprits are usually old or rancid coconut, too many curry leaves, or burnt spices during tempering. To fix bitterness:
- Add a teaspoon of sugar or jaggery to counteract the bitter notes
- Mix in some yogurt to soften the sharpness
- Prepare fresh tempering with carefully monitored heat
- Dilute with more fresh coconut to reduce the concentration of bitter elements
Sometimes acidity levels need adjustment. If your chutney tastes too sour from excess lemon or tamarind, balance it with a touch of sugar or jaggery. Conversely, if it lacks tanginess, a splash of lemon juice brightens the flavor profile instantly.
Texture issues often stem from improper grinding technique. Uneven texture can be fixed by additional blending, while over-processed chutney that’s lost its character can be improved by mixing in some hand-chopped fresh coconut bits.
For chutney that lacks depth, toasting your spices before grinding makes a significant difference. Dry-roast cumin seeds, coriander seeds, or even dried red chilies briefly in a pan until fragrant before adding them to your mixture.
Remember that coconut chutney flavors develop and meld over time. If possible, let your chutney rest for 15-30 minutes before serving to allow the spices to fully infuse. This waiting period often resolves minor flavor imbalances naturally.
With these troubleshooting techniques, you’ll rescue any coconut chutney from disaster and transform it into a delicious accompaniment for your meals.
Essential Tips For Success
Fresh ingredients make all the difference when preparing coconut chutney. I always choose coconuts that feel heavy and slosh with water when shaken – this guarantees maximum flavor. The coconut meat should appear bright white without any brown spots when opened. Fresh curry leaves and green chilies add vibrant flavors that dried alternatives simply can’t match. I’ve found that freshly roasted chana dal creates a nutty base that elevates the entire chutney profile.
Mastering the Grind
The texture of coconut chutney largely depends on your grinding technique. I prefer a slightly coarse texture that provides interesting mouthfeel while eating with idli or dosa. To achieve this:
- Start with a quick pulse to break down larger ingredients
- Add water gradually, not all at once
- Grind in 10-second intervals to prevent overheating
- Scrape down the sides between pulses for even consistency
For a silky-smooth chutney, extend the grinding time and add a bit more water. When using a traditional stone grinder, the natural friction creates a unique texture that’s hard to replicate with electric grinders, though both yield delicious results.
Temperature Matters
I’ve learned that coconut chutney tastes best when served at room temperature. Straight from the refrigerator, the flavors seem muted and the coconut fats can solidify. I typically remove it from the fridge about 30 minutes before serving to allow the flavors to bloom.
When tempering (tadka), ensure your oil is hot enough that mustard seeds pop immediately when added – this releases their essential oils and creates that signature aroma. However, avoid overheating the oil as it can burn the spices and create bitter notes in your coconut chutney.
For make-ahead convenience, I often prepare the base chutney without tempering and refrigerate it for up to 3 days. The tempering can be added fresh just before serving, which reawakens all the flavors. This approach works perfectly when I’m planning to serve coconut dishes for guests but want to minimize last-minute preparation.
If freezing coconut chutney, I portion it into small containers without the tempering, leaving some space for expansion. When ready to use, I thaw it in the refrigerator overnight, then add fresh tempering just before serving. This method preserves the bright flavors while providing wonderful convenience for busy weeknights.
