American cheesecake is a standout dessert that combines a velvety cream cheese filling with a buttery graham cracker crust, creating a perfect balance of tangy and sweet flavors. This classic dessert shines through its rich, dense texture and flexibility, allowing for countless variations from fruit toppings to chocolate or seasonal flavor additions.
Find In This Article
Key Takeaways
- Room temperature ingredients are essential for achieving a smooth, lump-free cheesecake batter.
- Baking in a water bath helps prevent cracks and ensures even cooking throughout the cheesecake.
- The cooling process is as important as baking—allowing the cheesecake to cool gradually prevents sinking and cracking.
- Proper storage techniques keep cheesecake fresh for up to 5 days in the refrigerator or 3 months in the freezer.
- Common issues like cracks or soggy crusts can be easily fixed with toppings, strategic pre-baking, or simple temperature adjustments.
What Makes This Cheesecake Special
American cheesecake holds a special place in my heart as one of the most satisfying desserts to both make and enjoy. The perfect slice offers a harmonious blend of textures and flavors that can’t be replicated by any other dessert.
Irresistible Texture and Composition
The defining feature of an excellent American cheesecake is its texture—rich, smooth, and velvety against your palate. Unlike its lighter Japanese or Italian counterparts, the American version proudly embraces decadence. The cream cheese base creates that signature dense yet creamy consistency that melts in your mouth while still providing substance.
The secret lies in proper mixing techniques and baking. I’ve found that room-temperature ingredients blend more smoothly, eliminating those pesky lumps that can ruin the texture. The slow cooling process after baking is equally important, allowing the cake to set properly without cracking.
For those who enjoy variety in their dessert options, Biscoff cheesecake offers a delightful twist on the classic American style, combining that same velvety texture with warm, spiced cookie notes.
Perfect Flavor Balance
What truly sets American cheesecake apart is its masterful balance of sweet and tangy flavors. The tanginess from the cream cheese creates depth that prevents the dessert from becoming cloying. This balance makes it approachable for even those who don’t typically favor overly sweet treats.
The flavor profile can be customized in countless ways:
- Citrus elements like lemon or orange zest brighten the overall taste
- Vanilla extract adds warmth and complexity
- A pinch of salt enhances all other flavors
- Various extracts (almond, coconut, coffee) create unique variations
- Seasonal fruits provide fresh counterpoints to the rich base
This versatility explains why cheesecake has remained popular across generations. I can make the same base recipe but transform it completely with different toppings and mix-ins depending on the season or occasion.
American cheesecake stands as the ultimate crowd-pleaser for celebrations. Its make-ahead nature makes it practical for entertaining, while its elegant presentation impresses guests. From casual family gatherings to formal dinner parties, it adapts effortlessly to the setting.
The versatility extends to serving options as well. Enjoy it plain to appreciate the pure flavors, or dress it up with fresh berries, chocolate drizzle, or caramel sauce. It pairs beautifully with coffee, tea, or even a glass of dessert wine for special occasions.
I find American cheesecake truly shines as a canvas for seasonal ingredients. Summer versions highlight fresh berries, autumn brings pumpkin and spice variations, winter welcomes chocolate and peppermint combinations, and spring ushers in delicate floral notes.
For anyone looking to expand their dessert repertoire, exploring various desserts including cheesecake variations offers endless culinary adventures. The classic American cheesecake provides a perfect foundation for both traditional enjoyment and creative experimentation.
The true test of any great cheesecake comes down to that first bite—where the fork glides effortlessly through the creamy filling, the crust provides textural contrast, and the flavors unfold gradually. A well-made American cheesecake creates a moment of pure indulgence that few other desserts can match.
Everything You Need to Make It
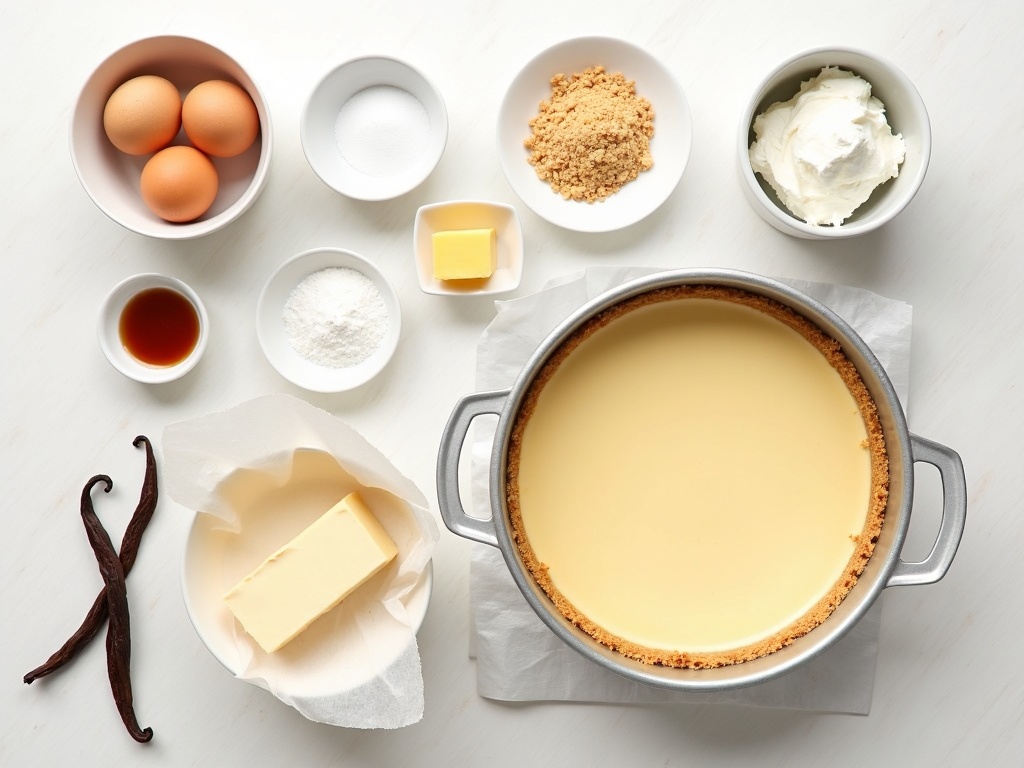
I’ve gathered all the essential ingredients you’ll need to create a delicious American cheesecake that’s sure to impress your family and friends. The beauty of this classic dessert lies in its simple yet carefully balanced ingredients.
Core Ingredients
First, you’ll need 2 packages of cream cheese at room temperature. This is crucial – cold cream cheese will create lumps in your batter. I always set mine out at least 2 hours before starting.
Next, grab 2 large eggs which provide structure and that signature richness. For sweetness, 1 cup of granulated sugar works perfectly, though you can adjust slightly based on your preference.
Don’t forget 1 teaspoon of vanilla extract for that aromatic flavor that makes cheesecake so irresistible. A tiny pinch of salt enhances all these flavors without making the cheesecake taste salty.
For the base, you’ll need graham cracker crust ingredients:
- 1½ cups graham cracker crumbs
- ¼ cup granulated sugar
- 5-6 tablespoons melted butter
The topping options are what make your cheesecake truly special. Sour cream creates that classic tangy layer that balances the sweetness. Heavy cream is essential if you’re making a whipped topping or want to create decorative elements.
If you’re feeling adventurous, you might want to try a Biscoff cheesecake variation by swapping the graham crackers for Biscoff cookies.
The right equipment matters too. You’ll need a 9-inch springform pan, which allows you to remove the sides after baking without damaging your creation. Parchment paper helps prevent sticking, while a large mixing bowl and electric mixer make the mixing process much easier.
For water bath baking (recommended for preventing cracks), grab some aluminum foil to wrap around the springform pan before placing it in a larger roasting pan with hot water.
Looking to explore more sweet treats after mastering this cheesecake? Check out other delightful desserts that can satisfy your sweet tooth.
Remember, the quality of ingredients directly impacts your final result. I recommend using full-fat cream cheese and fresh eggs for the richest, creamiest texture. Now that you have everything needed, you’re ready to create a truly memorable American cheesecake!

Steps to Bake Your Cheesecake
Creating a perfect American cheesecake doesn’t have to be intimidating. I’ve broken down the process into simple steps that’ll help you achieve that creamy, decadent dessert that everyone loves. With the right technique and a bit of patience, you’ll be amazed at what you can create in your own kitchen.
Preparing the Foundation
First, I need to prepare a graham cracker crust that will form the base of my classic American cheesecake. I start by crushing about 2 cups of graham crackers until they’re fine crumbs. Mixing these crumbs with 1/4 cup of sugar and 6 tablespoons of melted butter creates the perfect consistency. I press this mixture firmly into the bottom of a 9-inch springform pan, making sure to push some up the sides for that classic look. A flat-bottomed measuring cup works perfectly for pressing down evenly. Then I bake this crust for about 10 minutes at 350°F until it’s lightly golden and smells nutty.
After removing the crust from the oven, I reduce the temperature to 325°F for the filling. This lower temperature is key for gentle baking that prevents cracks.
Creating the Perfect Filling
For the filling, I start by beating 4 blocks (32 ounces) of room-temperature cream cheese until completely smooth. Room temperature ingredients are non-negotiable for a lump-free texture. I scrape down the sides of the bowl frequently to ensure every bit gets incorporated.
Next, I add 1 cup of sugar gradually while continuing to beat at medium speed. Once the sugar is fully incorporated and the mixture looks silky, I add 1 tablespoon of vanilla extract for flavor.
Then comes a crucial step – adding 4 eggs one at a time. I make sure each egg is fully incorporated before adding the next. Overbeating at this stage can introduce too much air, which might cause cracks during baking.
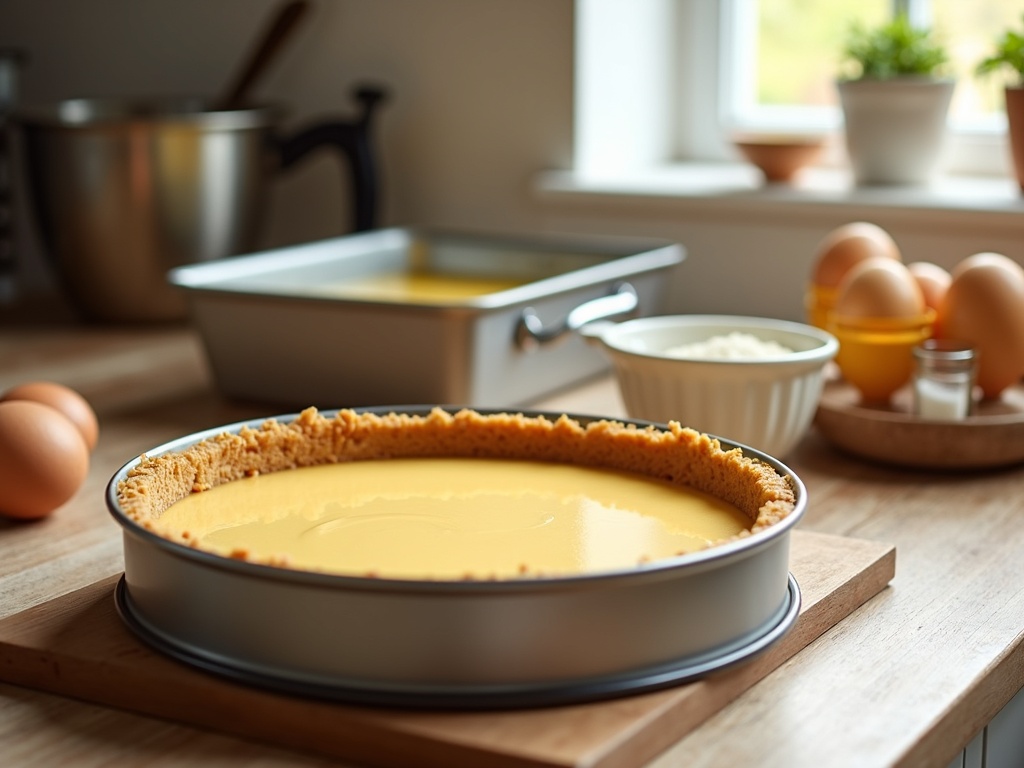
Once my filling is ready, I pour it onto the pre-baked crust. I tap the pan gently on the counter a few times to release any air bubbles trapped in the batter.
For baking, I prepare a water bath. I wrap the outside of my springform pan with several layers of heavy-duty aluminum foil to prevent water from seeping in. Then I place the pan in a larger roasting pan and add hot water until it reaches halfway up the sides of the springform pan.
The water bath serves two purposes: it creates a humid environment that prevents the cheesecake from drying out and ensures even, gentle heating throughout the baking process. I bake for about 55-70 minutes until the edges are set but the center still has a slight jiggle.
When the cheesecake is done, I don’t remove it from the oven immediately. Instead, I turn off the heat, crack the oven door, and let it cool gradually for about an hour. This slow cooling helps prevent the surface from cracking.
After this initial cooling, I remove the cheesecake from the water bath, peel off the foil, and let it cool completely on a wire rack. Once cooled to room temperature, I refrigerate it for at least 4 hours, but preferably overnight.
The result is a velvety smooth homemade dessert with a buttery crust that’s sure to impress. The gradual mixing, careful baking, and patient cooling are what transform simple ingredients into this beloved classic.

Common Mistakes to Watch For
Making an American cheesecake might seem straightforward, but there are several pitfalls that can turn your creamy dream into a cracked disappointment. I’ve made all these mistakes in my cheesecake journey and learned valuable lessons along the way. Let me guide you through the most common errors and how to avoid them.
Temperature and Mixing Issues
Using cold ingredients straight from the refrigerator is perhaps the most frequent mistake new bakers make. Cold cream cheese won’t blend properly, leaving you with a lumpy batter full of unpleasant chunks. I always set my cream cheese, eggs, and sour cream on the counter for at least 30-45 minutes before starting. This simple step makes an enormous difference in achieving that silky-smooth texture that defines a perfect American cheesecake.
While ensuring ingredients are at room temperature is crucial, overmixing the batter is equally problematic. When you beat the mixture too vigorously or for too long, you introduce excess air that can cause your cheesecake to rise dramatically in the oven and then collapse, creating cracks. I mix just until the ingredients are combined, using a low speed on my mixer. The batter should look smooth but not fluffy.
Skipping the water bath is another common error I’ve been guilty of in the past. A water bath creates a humid environment that allows the cheesecake to bake gently and evenly. Without it, the edges cook too quickly while the center remains underbaked, leading to cracking and an uneven texture. To create a proper water bath, I wrap the outside of my springform pan with aluminum foil (to prevent water seepage), place it in a larger roasting pan, and fill the outer pan with hot water halfway up the sides of the cheesecake pan.
The temptation to peek at your cheesecake while it’s baking can be strong, but opening the oven door is a mistake that can ruin hours of preparation. The sudden temperature change causes the cheesecake to contract rapidly, almost guaranteeing cracks on the surface. I resist the urge to check on my cheesecake until at least the minimum baking time has passed.
Perhaps the most understandable but detrimental mistake is rushing the cooling process. A properly cooled cheesecake needs time – typically several hours or overnight in the refrigerator. I follow a three-stage cooling process for best results:
- First, turn off the oven when the cheesecake is just set but still jiggly in the center
- Crack the oven door open and let the cheesecake cool in the oven for about an hour
- Cool completely at room temperature before refrigerating for at least 4 hours (preferably overnight)
Rushing any of these cooling stages can result in a cheesecake that’s too soft, doesn’t set properly, or develops cracks as it contracts too quickly.
By avoiding these common mistakes, you’ll dramatically improve your chances of creating a stunning American cheesecake with that characteristic creamy texture and perfect appearance. The key is patience at every stage – from bringing ingredients to room temperature to allowing proper cooling time. Your attention to these details will reward you with a dessert that’s truly worth celebrating.
Expert Tips for Success
Making an American cheesecake can be a delightful experience when you understand the small details that make a big difference. I’ve gathered key techniques that will help you achieve that perfect texture and flavor every time. These practical pointers will transform your cheesecake from good to exceptional.
Essential Techniques for Perfect Cheesecake
Room temperature ingredients are absolutely crucial for a smooth, lump-free cheesecake. I always place my cream cheese, eggs, and other dairy ingredients on the counter at least an hour before baking. Cold ingredients won’t blend properly, leaving you with a lumpy, uneven batter. This simple step makes an enormous difference in the final texture of your cheesecake recipe.
Your mixer attachment matters more than you might think. Always use a paddle attachment rather than a whisk when mixing your cheesecake batter. The paddle gently combines ingredients without incorporating excess air, while a whisk would aerate the mixture too much. Excess air leads to bubbles that can cause cracks during baking.
Water baths are fantastic for even baking, but they can spell disaster if water seeps into your springform pan. I’ve learned (the hard way!) to wrap the outside of my pan thoroughly with heavy-duty aluminum foil. Create at least two layers, ensuring the foil extends up the sides of the pan. Press the foil firmly against the pan to create a waterproof barrier.
Air bubbles trapped in your batter can cause cracks and uneven texture. Once your batter is in the pan, gently tap it on the counter several times. This brings hidden air bubbles to the surface where they can pop. Don’t skip this step—it takes seconds but makes a noticeable difference in your finished cake.
The cooling process is just as important as the baking. When your cheesecake is done, turn off the oven but leave the cake inside with the door cracked open. This gradual cooling prevents the dramatic temperature change that often causes the center to sink and the top to crack. I let mine cool this way for about an hour before moving it to the counter.
These techniques might seem minor, but together they create the foundation for a stunning dessert that will impress everyone at your table. The creamy texture and perfect appearance of a well-executed American cheesecake is worth the extra attention to detail.
Remember that patience plays a key role in cheesecake success. From bringing ingredients to room temperature to allowing proper cooling time, rushing any step can compromise your results. I’ve found that setting aside a day for baking gives me the best outcome—with time for proper chilling before serving.
These professional tips have consistently helped me create cheesecakes that not only taste amazing but look picture-perfect as well. By incorporating these methods into your baking routine, you’ll develop confidence and skill with one of America’s most beloved desserts.
Storage and Serving Suggestions
I’ve found that storing cheesecake correctly makes all the difference between enjoying a slice that tastes freshly made versus one that’s lost its charm. American cheesecake is quite forgiving when it comes to storage, but certain practices will help maintain its creamy texture and rich flavor.
Proper Storage Methods
A properly stored cheesecake can remain delicious for days after you’ve made it. I always keep my cheesecake refrigerated in an airtight container to prevent it from absorbing other food odors. In the refrigerator, your cheesecake will stay fresh for up to 5 days.
For longer storage, freezing is an excellent option. I wrap individual slices or the entire cake (minus any toppings) in plastic wrap, followed by a layer of aluminum foil. This double-wrapping prevents freezer burn and preserves the texture. Your frozen cheesecake can last up to 3 months without significant quality loss. When you’re ready to enjoy it, simply transfer it to the refrigerator overnight to thaw.
Serving Tips for Maximum Enjoyment
The way you serve cheesecake can transform it from a simple dessert into a showstopper. I’ve discovered a few tricks that elevate the experience:
Let your cheesecake sit at room temperature for about 30 minutes before serving. This slight warming softens the texture and intensifies the flavors, making each bite more enjoyable. Cold cheesecake straight from the refrigerator can taste muted compared to one that’s had time to warm slightly.
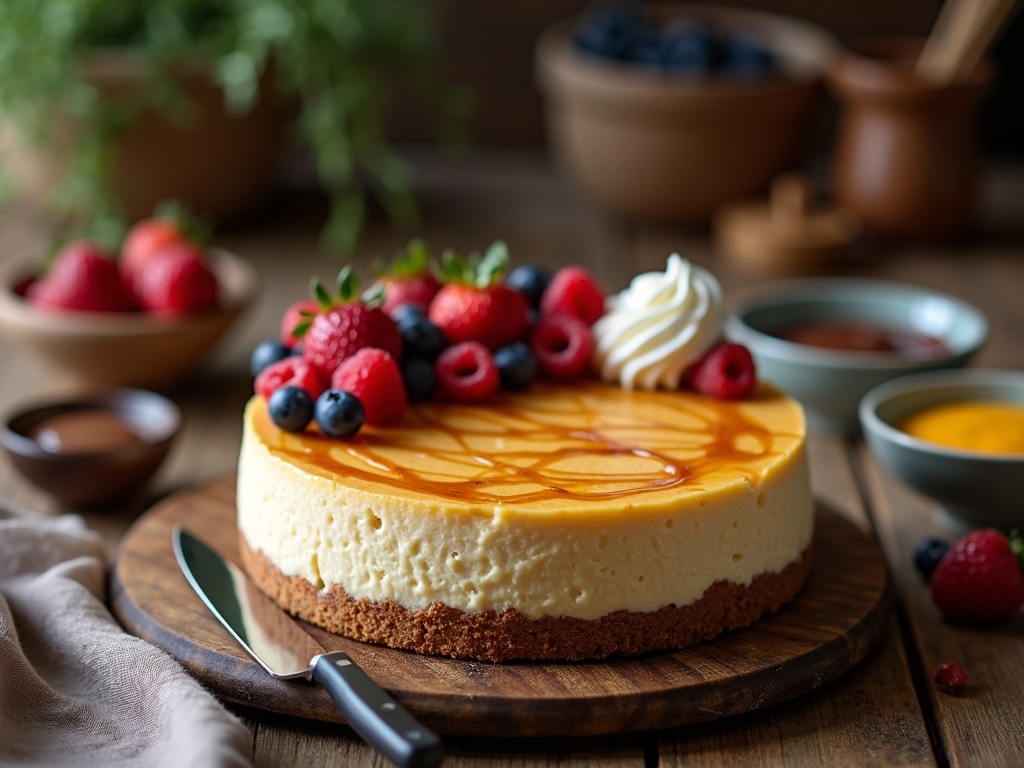
Toppings add both visual appeal and complementary flavors to classic American cheesecake. Here are some options to consider:
- Fresh berries provide a tart contrast to the rich, creamy base. Strawberries, blueberries, and raspberries work wonderfully either arranged artfully on top or served alongside.
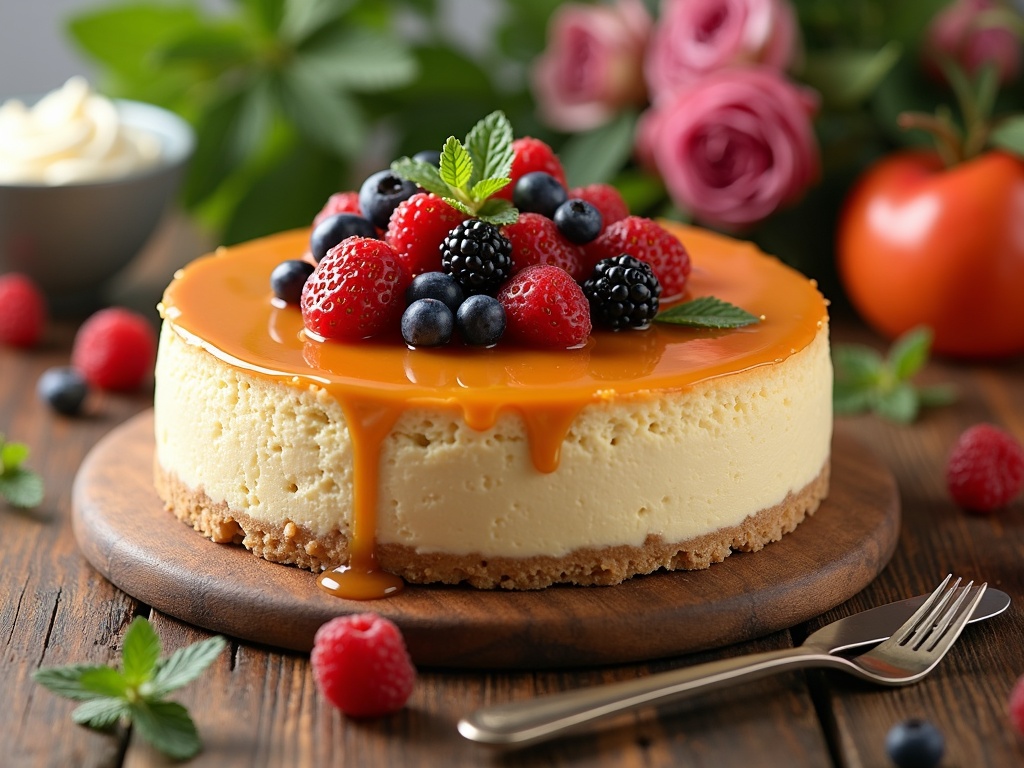
- A warm caramel drizzle creates an irresistible sweet and slightly salty accent that pairs perfectly with the tangy cream cheese.
- Chocolate lovers might prefer a chocolate ganache drizzle, which adds depth and intensity to each bite.
- Whipped cream can lighten the overall experience, creating a beautiful textural contrast with the dense cake.
- Mint leaves make for an elegant garnish that adds a fresh visual and aromatic element.
For a truly special presentation, I like to cut slices with a knife dipped in hot water and wiped clean between cuts. This creates those picture-perfect, clean-edged slices you see in restaurants and dessert bakeries.
When hosting, I sometimes create a cheesecake bar with various toppings in separate bowls, allowing guests to customize their own slices. This interactive approach is always a hit at gatherings.
For special variations, consider making a Biscoff cheesecake by incorporating cookie butter into your recipe or using Biscoff cookies for the crust. The caramelized flavor works wonderfully with the tangy cheesecake filling.
Remember that cheesecake is quite rich, so smaller slices often satisfy better than large ones. I find that a typical 9-inch cheesecake can comfortably serve 12-16 people, depending on the occasion and what other desserts might be available.
With these storage and serving suggestions, your American cheesecake will remain a delightful treat from the first slice to the last.

Troubleshooting Guide
Creating the perfect American cheesecake can be tricky, but I’ve got solutions for every common issue you might face. With these troubleshooting tips, your next cheesecake will be picture-perfect and delicious – just like the ones you see in bakery windows.
Fixing Common Cheesecake Problems
Cracks on the surface of your cheesecake can be frustrating after all your hard work. They typically occur from drastic temperature changes or overbaking. To fix existing cracks, I cool the cheesecake completely, then add a thin layer of sour cream topping or fresh fruit compote. This not only hides the imperfections but adds another delicious layer of flavor. For prevention, I always use a water bath when baking and avoid opening the oven door during the baking process. Cooling the cheesecake in the turned-off oven with the door slightly ajar also helps prevent those dreaded cracks.
Sunken centers usually happen when your cheesecake hasn’t set properly. If you notice a dip forming as it cools, you can fill it with a decorative topping like whipped cream, fresh berries, or a Biscoff cookie crumble to create a beautiful presentation that no one will suspect was a fix.
Overbaked edges are a common issue that can leave the outer ring of your cheesecake tough while the center remains creamy. To prevent this, I always check my cheesecake about 5-10 minutes before the recommended baking time. The center should still have a slight jiggle when it’s done. If you’ve already overbaked the edges, simply trim them off before serving, or cover them with a generous border of whipped cream.
A soggy crust is another challenge that can ruin an otherwise perfect cheesecake. This usually happens when moisture seeps in during baking. To fix a soggy bottom, I place the cheesecake (still in its pan) in a 350°F oven for about 5 minutes to crisp up the base. For prevention, pre-bake your crust for 8-10 minutes before adding the filling, and consider brushing it with a thin layer of egg white before pre-baking to create a moisture barrier.
Lumpy batter can make for an unpleasant texture in your finished cheesecake. This usually happens when your ingredients aren’t at room temperature or aren’t mixed properly. To fix a lumpy batter before baking, I strain it through a fine-mesh sieve to remove any lumps. If your cheesecake is already baked and has lumps, transform it into a different dessert like cheesecake parfaits or cheesecake pops where texture variations won’t be as noticeable.
Here are some additional quick fixes for common cheesecake problems:
- Too sweet cheesecake: Serve with something tart like lemon curd or raspberry sauce to balance the sweetness
- Too dense texture: Fold in some whipped cream to your next batter for a lighter result
- Cheesecake stuck to the pan: Run a thin knife around the edge and warm the bottom briefly with a hot towel
- Uneven baking: Rotate your cheesecake halfway through baking (quickly, without letting heat escape)
- Browning too quickly: Place a piece of foil loosely over the top during baking
With these troubleshooting techniques, you’ll be able to rescue almost any cheesecake situation. Even experienced bakers run into these issues occasionally, so don’t get discouraged! Each attempt brings you closer to mastering the art of the perfect American dessert classic. The beauty of cheesecake is that even the “mistakes” are usually still delicious and can be transformed with a few simple fixes.

