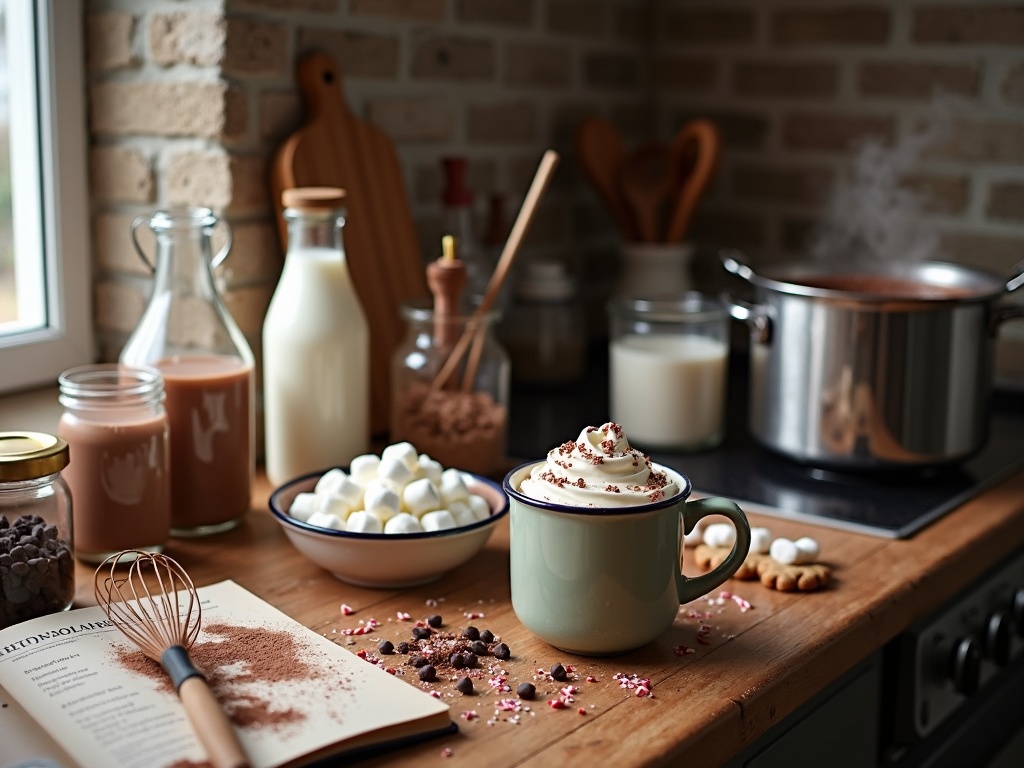
Hot cocoa drink recipes have transformed from basic mixes to creative drinks that match quality ingredients with careful preparation. I love both traditional versions made with whole milk and Dutch-processed cocoa, as well as innovative takes using plant-based options and unique additions. Creating the perfect cup depends on controlling temperature and paying close attention to details.
Find In This Article
Key Takeaways
- High-quality cocoa powder or chocolate and the right liquid base (milk or non-dairy alternatives) form the foundation of exceptional hot cocoa.
- Constant stirring at medium-low heat prevents scorching and ensures smooth texture without lumps.
- Creative mix-ins like whipped cream, marshmallows, peppermint sticks, and flavored syrups can transform basic hot cocoa into personalized treats.
- Common mistakes include using water instead of milk, heating too quickly, and allowing the mixture to boil.
- Hot cocoa can be adapted for various dietary needs with plant-based milks, alternative sweeteners, and modified fat content.
Essential Tools and Ingredients You’ll Need
I’ve found that creating the perfect hot cocoa at home starts with gathering the right tools and ingredients. The difference between an ordinary cup and an exceptional one often comes down to what you put into it and how you prepare it.
Quality Ingredients Make All the Difference
High-quality cocoa powder serves as the foundation of any good hot chocolate drink. Look for Dutch-processed cocoa for a smoother, less acidic flavor profile. Alternatively, semi-sweet or dark chocolate chips can create a richer, more decadent drink when melted properly.
The liquid base significantly impacts the final texture and taste. Here are your main options:
- Whole milk creates the creamiest, most traditional hot cocoa
- 2% milk offers a lighter option while maintaining some creaminess
- Oat milk provides the richest plant-based alternative
- Almond or coconut milk adds unique flavor notes to your homemade cocoa recipe
For sweetness, granulated sugar dissolves easily, but I’ve had great results with alternatives like maple syrup, honey, or even coconut sugar for different flavor profiles. A splash of pure vanilla extract adds depth that elevates the entire drink.
When it comes to equipment, you don’t need anything fancy. A medium saucepan with a heavy bottom prevents scorching, while a good whisk helps incorporate everything smoothly. For extra frothiness, a handheld milk frother or immersion blender creates that coffeehouse-style texture in your hot chocolate drinks.
Don’t forget accurate measuring tools—cups and spoons ensure consistent results every time. For larger gatherings, consider making hot chocolate in a crockpot to keep it warm throughout an evening.
The beauty of hot cocoa lies in its simplicity—these basic ingredients and tools allow for countless variations while maintaining that comforting quality we all love. Whether making a single mug or preparing a batch to enjoy with cookies and cocoa for guests, starting with these essentials guarantees a satisfying result.
How to Make Classic Hot Cocoa Drink Recipes
I’ve perfected my technique for making classic hot cocoa over the years, and it’s surprisingly simple once you know the right steps. The key is starting with quality ingredients and following a systematic approach that brings out the rich chocolate flavor.
Step-by-Step Hot Cocoa Process
Creating a delicious cup of homemade hot cocoa begins with getting your ingredients ready. First, I combine equal parts cocoa powder and sugar in a medium saucepan. This creates the flavor base for your drink, so don’t rush this step—I make sure they’re well integrated before moving on.
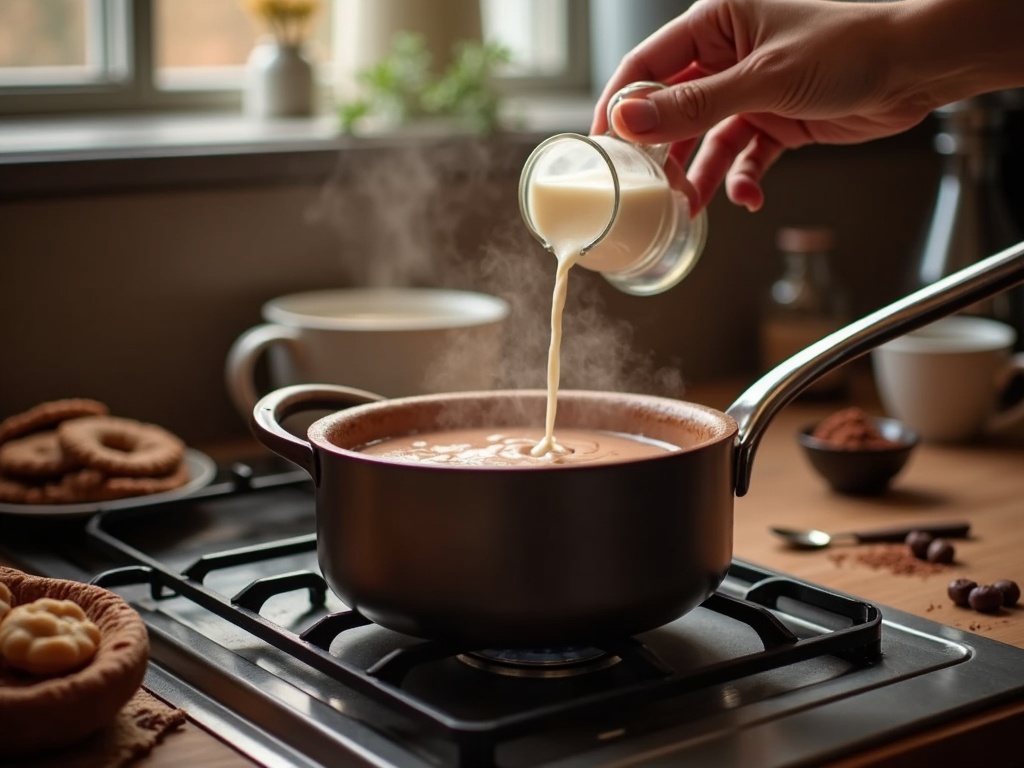
Next comes the tricky part: adding cold milk. I pour it in slowly while whisking constantly. This gradual addition prevents lumps from forming and helps create that smooth texture everyone loves in a good hot cocoa recipe.
Once the mixture is smooth, I place the saucepan over medium heat. This is where patience pays off—I stir constantly while the mixture heats up. Constant stirring prevents scorching and helps the cocoa powder dissolve completely into the milk.
When the mixture is warm but not yet hot, I add a splash of vanilla extract. This subtle addition elevates the chocolate flavor without overpowering it. For extra richness, you might consider trying my hot chocolate recipe that uses melted chocolate instead.
The final heating step requires attention—I continue stirring while watching for steam. The ideal serving temperature is steaming hot but never boiling. Boiling can scald the milk and ruin the delicate flavor balance I’ve worked to create.
Finally, I pour the finished hot cocoa into mugs and serve immediately. For a complete treat, pair this with some cookies for a hot cocoa and cookies experience that’s hard to beat.
For larger gatherings, consider adapting this recipe for a crockpot hot chocolate version that can serve many guests with minimal effort. The principles remain the same, though the cooking vessel and quantities will change.
This classic method works beautifully with various milk types, including non-dairy alternatives. The result is a comforting, rich hot cocoa that’s miles better than any powdered mix. Give it a try—you’ll taste the difference immediately.
Delicious Mix-In Options
Nothing elevates a simple hot cocoa recipe quite like the perfect mix-in. I’ve experimented with countless additions to find what truly transforms an ordinary cocoa into something extraordinary. These flavor enhancers can take your drink from basic to brilliant with just a few simple additions.
Top Mix-Ins to Transform Your Hot Chocolate
Whipped cream creates a luxurious cloud-like topping that slowly melts into your delicious hot chocolate, adding both visual appeal and a creamy texture. For best results, I recommend using freshly whipped cream rather than the canned variety—the difference in taste is remarkable.
Marshmallows aren’t just nostalgic—they’re practical flavor enhancers. As they melt, they create pockets of sweet gooeyness throughout your drink. Try mini marshmallows for quicker melting or jumbo ones for a more dramatic presentation when serving hot cocoa with cookies.
Peppermint sticks add a festive touch and cooling contrast to the rich chocolate. I love using them as natural stirrers that gradually infuse their flavor. The mint-chocolate combination works especially well in homemade hot cocoa with dark chocolate bases.
Cinnamon sticks bring a warm, spicy note that’s perfect for cold evenings. They can be used as elegant stirrers or ground directly into your chocolate mixture. This aromatic addition pairs wonderfully with Mexican-style hot chocolate varieties.
Caramel sauce swirled into homemade hot chocolate creates beautiful ripples and adds buttery sweetness. I find that warming the sauce slightly before adding makes it blend more evenly throughout the drink.
Flavored syrups offer endless customization options. Hazelnut, vanilla, and amaretto syrups can transform your basic recipe into coffee-shop quality indulgences. Just a tablespoon is usually enough to flavor a standard mug of crockpot hot chocolate without overwhelming the chocolate base.
These mix-ins aren’t just about flavor—they’re about creating an experience. I find that setting up a hot cocoa bar with various toppings makes for a fun interactive element during gatherings, allowing everyone to personalize their drink to their exact preferences.

Common Mistakes to Watch For
Making hot cocoa feels like it should be straightforward, but many small errors can compromise the taste and texture of this beloved winter drink. I’ve identified the most frequent missteps that can turn your cozy treat into a disappointment, along with practical solutions to ensure your hot cocoa recipe turns out perfect every time.
Ingredient and Preparation Errors
Using water instead of milk stands out as perhaps the most fundamental mistake. While water produces a thinner drink, milk creates that signature richness and creaminess that defines quality hot cocoa. Whole milk offers the most luxurious mouthfeel, but 2% or plant-based alternatives like oat or almond milk can also produce excellent results. For an extra indulgent homemade hot chocolate, try using half-and-half or adding a splash of heavy cream to your milk.
The quality of cocoa powder matters tremendously. Bargain brands often contain fillers and less actual cocoa, resulting in a flat, artificial taste. I suggest investing in Dutch-processed cocoa for its smoother flavor profile and deeper color. The difference in taste between premium and low-quality cocoa is immediately noticeable, especially when paired with hot cocoa and cookies for a classic pairing.
Adding all ingredients at once can create lumps and uneven flavor distribution. Instead:
- Start with a small amount of warm milk to create a paste with the cocoa powder
- Gradually add the remaining milk while stirring
- Incorporate sugar and other flavorings once the cocoa has fully dissolved
- Add any toppings like whipped cream, marshmallows, or chocolate shavings last
Temperature Control Issues
Heating too quickly represents another common pitfall. Impatience leads many to crank up the heat, resulting in scorched milk with that distinctive burnt taste that ruins the entire drink. I’ve found that medium-low heat and constant attention produce the best results, even if it takes an extra minute or two. This gentle approach particularly matters when making crockpot hot chocolate for a crowd, where temperature control becomes even more critical.
Allowing your mixture to boil is perhaps the quickest way to ruin a perfectly good batch of hot cocoa. Boiling creates that unpleasant skin on top, breaks down milk proteins, and can give the drink a grainy texture. The ideal temperature range sits between 150-160°F (65-71°C) – hot enough to create that comforting warmth but not so hot that it damages the delicate compounds in both the milk and cocoa.
Not whisking enough causes those frustrating clumps of undissolved cocoa that float on top or sink to the bottom of your mug. I’ve discovered that a small kitchen whisk works far better than a spoon for creating smooth consistency. For the silkiest homemade hot cocoa, whisk continuously while the mixture heats, paying special attention to the sides and bottom of the pan where powders tend to settle.
Many hot cocoa enthusiasts also make the mistake of serving it immediately after preparation. Allowing your hot cocoa to rest for 1-2 minutes after removing it from heat lets the flavors meld more completely. This brief resting period makes a noticeable difference in taste complexity, especially when using premium ingredients.
Avoiding these common errors transforms basic hot cocoa into a memorable cold-weather ritual. With proper technique, even simple ingredients can create a deeply satisfying drink that rivals any coffee shop offering at a fraction of the price. Each correction to these mistakes brings you closer to that perfect cup of hot chocolate that warms both body and soul.
Expert Tips for the Best Results
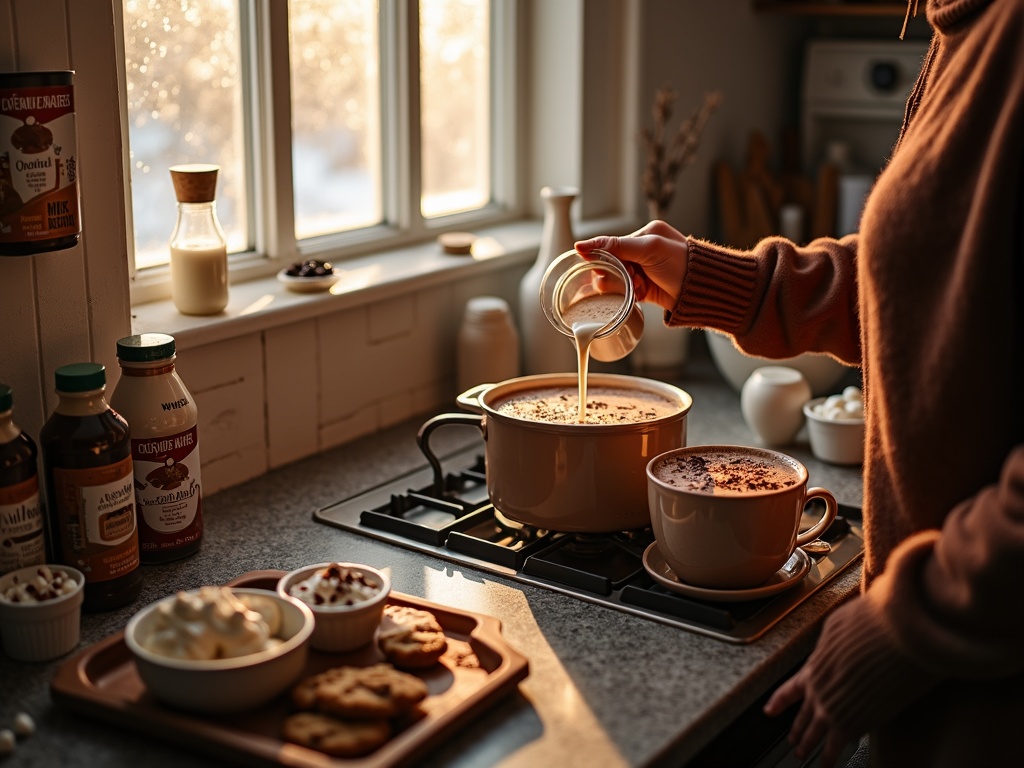
Getting that perfect cup of hot cocoa isn’t just about following a recipe—it’s about mastering the little details that transform an ordinary drink into something special. I’ve discovered several game-changing techniques that make all the difference when preparing this comforting beverage.
Preparation Secrets
Starting with cold milk creates a noticeably smoother texture in your final drink. This might seem counterintuitive when making a hot beverage, but cold milk gradually heated allows the proteins to unfold more evenly, preventing that unwanted skin that can form on hastily heated milk. For an even richer experience, consider using this approach when making homemade hot chocolate with quality ingredients.
Sifting cocoa powder before adding it to your liquid makes a dramatic difference. This simple step breaks up any clumps and helps the cocoa distribute evenly throughout your drink. I keep a small mesh strainer specifically for this purpose—it takes seconds but prevents those disappointing lumps that can ruin the perfect sip.
The double-boiler method takes your hot cocoa recipe to new heights. By placing your mixture in a heat-safe bowl over simmering water, you gain precise temperature control and can achieve a silky-smooth consistency without scorching. This method is particularly valuable when making larger batches for gatherings or when preparing crockpot hot chocolate that needs to stay warm for hours.
Pre-warming your mugs before pouring keeps your cocoa hotter longer. I simply fill them with boiling water for a minute, then empty and dry before filling with my hot cocoa. This step feels especially luxurious on cold winter nights and makes a charming impression when serving hot cocoa and cookies to guests.
For those who enjoy making their own mix, proper storage is key. Store any leftover cocoa mix in an airtight container away from moisture and heat. This preserves both flavor and texture, giving you instant access to quality ingredients whenever a cocoa craving strikes. Glass jars with tight seals work particularly well and look attractive on your shelf.
Making hot cocoa ahead of time can be a real time-saver. I often prepare a batch of homemade hot cocoa and store it in the refrigerator for up to three days. When ready to serve, I gently reheat it on the stovetop, stirring constantly to maintain that perfect consistency. This approach works wonderfully for busy holiday mornings or when unexpected guests arrive.
For an elevated experience, consider complementing these techniques with different flavor variations:
- A touch of cinnamon
- A drop of pure vanilla extract
- Even a pinch of sea salt
These subtle additions interact differently depending on whether you’re using dark, milk, or white chocolate bases, creating distinctive flavor profiles to match any preference.
Remember that temperature control is crucial throughout the process. Overheating can break down the delicate flavors and cause separation in dairy ingredients. I find that patience pays off—keeping heat medium-low and taking your time results in a more flavorful, satisfying drink that’s worth the extra minutes of preparation.
Dietary Variations
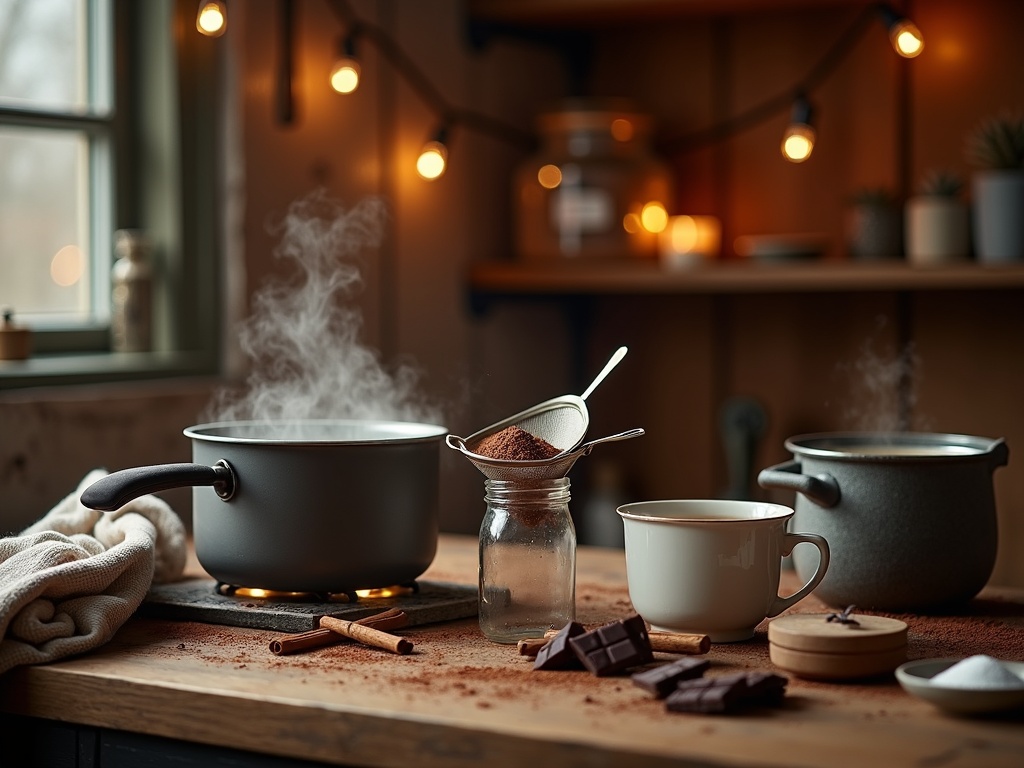
I’ve found that delicious hot chocolate recipes can easily be adapted to suit almost any dietary need without sacrificing that comforting flavor we all crave. With a few simple swaps, you can make this classic drink accessible for everyone at your table.
Plant-Based and Dairy-Free Alternatives
Creating dairy-free hot cocoa is remarkably simple. I’ve tested multiple options and found that almond milk creates a lighter drink with a subtle nutty undertone that pairs nicely with chocolate. Oat milk offers a creamier texture that closely mimics traditional dairy versions, making it my top recommendation for those missing the richness of whole milk.
For those avoiding dairy entirely, consider these plant-based options:
- Coconut milk for an indulgent tropical twist
- Soy milk for a protein boost with neutral flavor
- Cashew milk for an ultra-creamy consistency
- Rice milk for a lighter, less nutty alternative
Don’t forget the toppings! Instead of regular marshmallows, look for vegan versions made without gelatin. Many brands now offer plant-based marshmallows that melt just as beautifully into your homemade hot cocoa.
Sugar and Calorie Modifications
I’ve successfully created low-sugar and sugar-free versions that maintain the desired sweetness without the glucose spike. Natural sweeteners like monk fruit extract, stevia, or erythritol work well in hot beverages. A personal favorite combination is a small amount of pure maple syrup with a few drops of stevia to round out the flavor profile.
For keto enthusiasts, I recommend a combination of unsweetened cocoa powder, heavy cream, almond milk, and a keto-friendly sweetener. Add a pinch of salt to enhance the chocolate flavor without adding carbs. This hot cocoa pairs perfectly with cookies that follow the same dietary guidelines for a complete treat.
Those seeking less sweetness overall might prefer a dark chocolate base. I use 70% or higher cocoa content chocolate with just a touch of sweetener. This creates a sophisticated flavor that satisfies chocolate cravings without being overly sweet, perfect for adult palates looking for something less sugary but still satisfying.
Low-fat adaptations are straightforward – simply swap whole milk for 2% or 1% milk. You can maintain creaminess by adding a tablespoon of cornstarch to thicken the mixture, or try a crockpot hot chocolate method that allows flavors to develop fully without added fat.
Storage and Make-Ahead Tips
I’ve found proper storage is key to maintaining the freshness and flavor of both hot cocoa mix and prepared drinks. With a few simple techniques, you can enjoy delicious homemade hot cocoa any time the craving strikes, without starting from scratch each time.
Storing Dry Hot Cocoa Mix
Keeping your hot cocoa mix fresh is surprisingly simple. I store my prepared mix in an airtight container – mason jars, food storage containers with tight-fitting lids, or even repurposed coffee tins work great for this purpose. The key is ensuring no moisture can get in, which would cause the mix to clump and potentially spoil.
Always label your container with both the date of preparation and contents. This is especially helpful if you make multiple varieties like my spiced Mexican chocolate mix or peppermint cocoa blend. Clear labeling prevents any confusion later and helps track freshness.
For maximum shelf life, place your sealed container in a cool, dry place away from direct sunlight and heat sources. A pantry shelf or cupboard away from the stove works perfectly. Under ideal storage conditions, your hot cocoa recipe mix should maintain quality for up to 6 months.
If you notice any of these signs, it’s time to make a fresh batch:
- Clumping that doesn’t break up easily
- Changed color or appearance
- Off smell
- Stale taste
Handling Prepared Hot Chocolate
What about leftover prepared hot chocolate? Don’t waste it! I’ve found that prepared hot chocolate can be refrigerated for 3-4 days in a covered container. This is particularly useful when I’ve made a large batch in my crockpot hot chocolate recipe for a gathering and have some remaining.
When you’re ready to enjoy your leftover cocoa, reheat it gently. Microwaving works well if you use 30-second intervals and stir between each heating cycle. This prevents that unpleasant skin from forming on top. For stovetop reheating, use low heat and stir continuously to avoid scorching the milk solids.
Sometimes reheated cocoa can separate slightly or develop a different texture. A quick whisk or blend with a hand frother restores its smooth, creamy consistency. For an extra special touch, I add a fresh dollop of whipped cream or marshmallows when serving reheated cocoa.
Make-ahead tips can be real lifesavers during busy holiday seasons. I often prepare a large batch of mix and package it in decorative jars as gifts or party favors. When hosting, I make hot cocoa and cookies the night before, then simply reheat before guests arrive.
For special occasions, create a hot chocolate bar with your prepared mix and various toppings like:
- Crushed candy canes
- Chocolate shavings
- Flavored whipped creams
This approach allows for personalization while saving you time during the event.
During winter months, I keep a container of mix at work for a quick afternoon treat that’s much better than the vending machine options. A simple jar of homemade hot chocolate mix with powdered milk added means I only need hot water to enjoy a comfortable drink on cold days.
With these storage and make-ahead strategies, you can enjoy delicious hot cocoa anytime with minimal effort – perfect for those moments when you need a comforting drink without the fuss.

