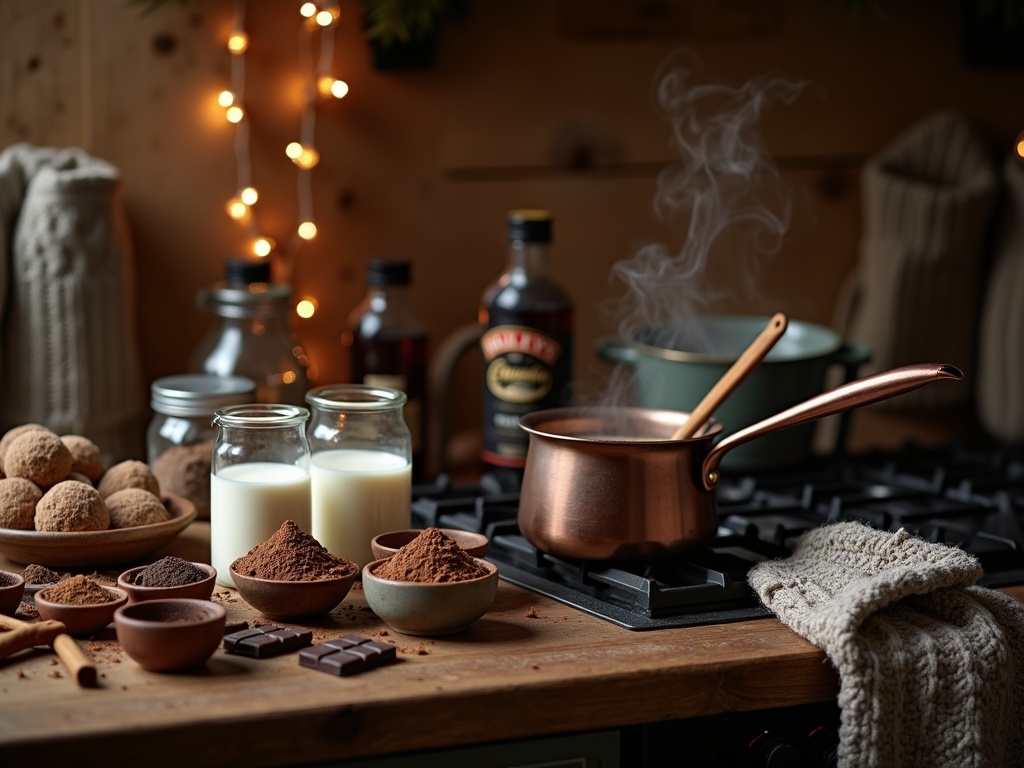
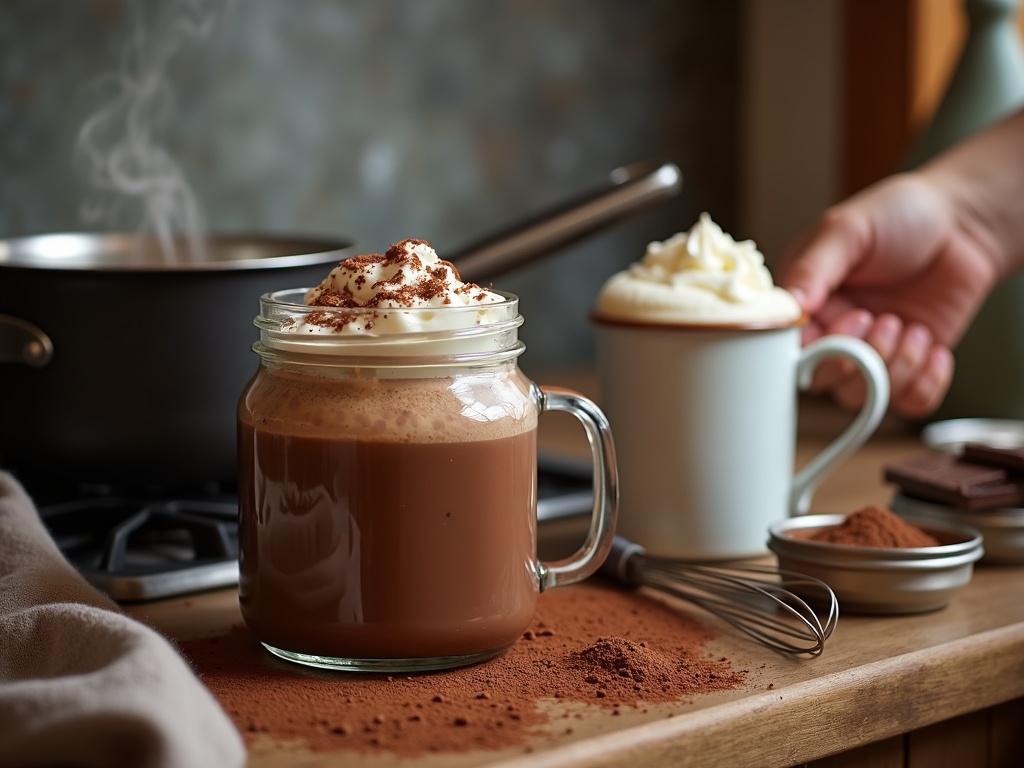
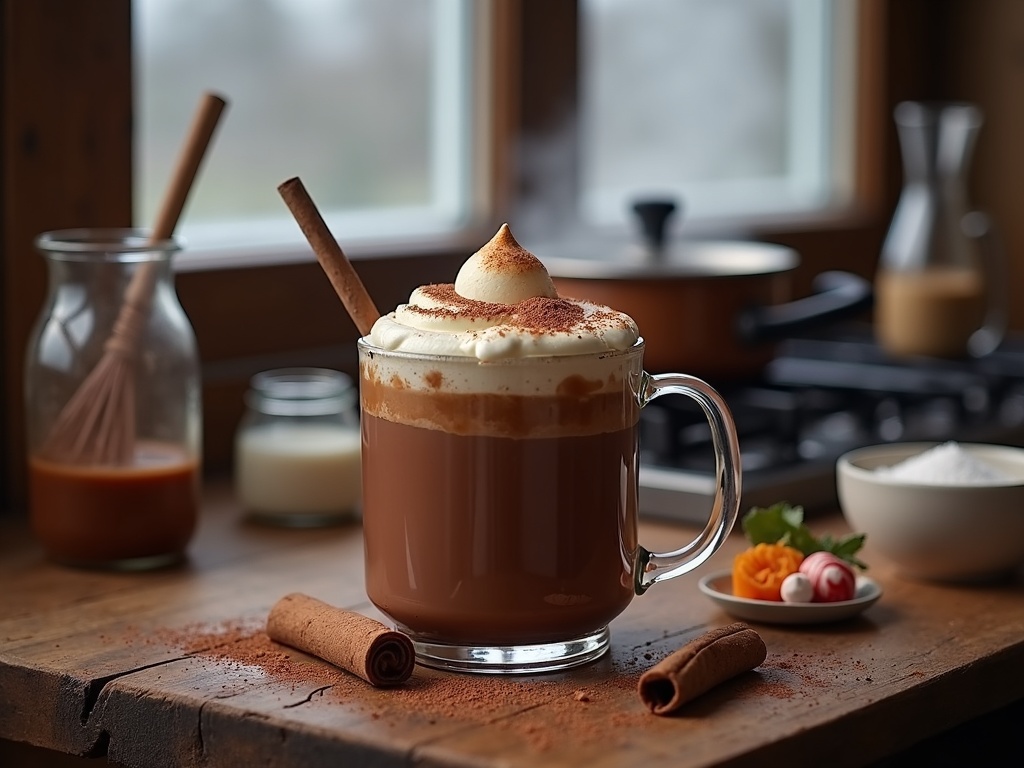
Creating a perfect cup of hot cocoa recipe demands quality ingredients and proper technique to achieve that rich, velvety texture and deep chocolate flavor I crave. The foundation of exceptional hot cocoa sits in using unsweetened cocoa powder rather than pre-sweetened mixes, giving me complete control over sweetness while temperature control ensures the milk heats properly without scalding.
Find In This Article
Key Takeaways
- Use high-quality unsweetened cocoa powder as your base, with Dutch-processed offering smoother flavor and natural cocoa providing more intense chocolate notes.
- Create a smooth mixture by first making a paste with cocoa powder and a small amount of warm milk before adding the remaining liquid.
- Enhance flavor depth with additions like vanilla extract and a pinch of salt, which amplifies chocolate flavor without making the drink taste salty.
- Avoid common mistakes like boiling the milk, which breaks down proteins and creates a burnt taste.
- Personalize your cocoa with toppings like freshly whipped cream, toasted marshmallows, or flavor additions like peppermint extract or caramel sauce.
Essential Ingredients for Your Cozy Cup
Creating the perfect cup of hot cocoa starts with selecting the right ingredients. I’ve found that quality matters tremendously when crafting a truly memorable hot beverage. Let’s explore what you’ll need to make a delicious cup that warms both body and soul.
The Foundation Elements
High-quality cocoa powder sits at the heart of any excellent hot chocolate recipe. I recommend using unsweetened cocoa powder rather than pre-sweetened mixes, as this gives you complete control over the sweetness level. Dutch-processed cocoa offers a smoother, less acidic flavor profile, while natural cocoa provides a more intense chocolate experience with slight fruity notes.
Granulated sugar balances the natural bitterness of cocoa powder. You can adjust the amount to suit your taste preferences—start with less and add more if needed. I’ve discovered that superfine sugar dissolves more easily, creating a smoother texture in your finished drink.
The liquid base makes a significant difference in richness and mouthfeel. Whole milk creates a balanced cup, but for an extra indulgent treat, heavy cream or a combination of milk and cream delivers velvety luxury. Plant-based alternatives like almond or oat milk can work well too, though they’ll produce a lighter-bodied drink.
Pure vanilla extract adds depth and complexity to your hot cocoa. Just a few drops enhance the chocolate flavor without overpowering it. I’ve found this simple addition elevates a basic recipe to something special. When possible, use real vanilla extract rather than imitation for the best flavor.
Don’t forget a pinch of salt! This seemingly small addition actually amplifies the chocolate flavor and balances sweetness. Salt doesn’t make your cocoa taste salty—it makes it taste more chocolatey.
Enhancing Your Experience
I like adding a cinnamon stick while heating the mixture for subtle warmth and complexity. This optional ingredient infuses your homemade hot cocoa with gentle spice notes that complement chocolate beautifully.
For those seeking variety, consider these additional flavor enhancers:
- A dash of chili powder for a Mexican-inspired spicy hot chocolate recipe
- A tablespoon of instant espresso powder for mocha flavor
- Peppermint extract for holiday flair
- Orange zest for a bright, complementary note
- A splash of liqueur for adult versions (think Baileys, Kahlúa, or Amaretto)
The quality of your ingredients directly impacts your final cup. I recommend using the best cocoa powder you can find—it’s the dominant flavor, after all. Brands that specialize in baking chocolates often produce superior cocoa powder compared to standard grocery options.
Temperature control also matters tremendously. Heat your milk slowly rather than bringing it to a boil, which can scald the milk and affect the flavor. The ideal temperature range is between 160-170°F (71-77°C).
For those who enjoy a thicker European-style hot chocolate, add a small amount of cornstarch slurry (cornstarch mixed with cold water) to your heating mixture. This creates a more decadent texture that coats the tongue and intensifies the chocolate experience.
By focusing on these essential ingredients and preparing them with care, you’ll create a cup of hot cocoa that transcends the ordinary. The beauty of making hot cocoa from scratch is customizing it precisely to your preferences, allowing you to craft the perfect comforting beverage every time.

Crafting Your Perfect Cup
Creating a perfect cup of hot cocoa is something I’ve mastered over many cold winter nights. It’s all about technique and timing. The process is straightforward, but each step matters in achieving that rich, velvety texture and deep chocolate flavor that makes this drink so comforting.
The Base Mixture
I always start by heating milk in a medium saucepan over medium heat. This gradual warming prevents scorching, which can ruin the flavor of your cocoa. You’ll want to heat the milk until it’s steaming but not boiling—tiny bubbles should form around the edges of the pan.
While the milk heats, I whisk cocoa powder and sugar together in a separate bowl. This dry mixture step is crucial because it helps prevent lumps from forming later.
When your milk reaches the right temperature, it’s time for the most critical step. I slowly pour about a quarter of the hot milk into the dry ingredients, whisking continuously. This creates a smooth paste that will blend more easily with the remaining milk. The gradual introduction of liquid to dry ingredients is a technique that makes a huge difference in achieving that perfectly smooth hot chocolate texture without frustrating lumps.
Once I have a smooth paste, I add it back to the saucepan with the remaining milk. This is when the magic starts to happen! The mixture will begin to come together, but it’s not quite finished yet.
Adding Depth of Flavor
Now it’s time to enhance the flavor profile. I add a splash of vanilla extract and a tiny pinch of salt. These additions might seem small, but they’re transformative. Vanilla adds warmth and complexity, while salt actually enhances the chocolate flavor by contrasting with the sweetness.
I continue whisking the mixture over medium heat until it’s completely smooth and heated through. This usually takes about 3–5 minutes after returning everything to the pot. The consistency should be velvety and slightly thickened, but not as thick as pudding. If you prefer a thicker hot cocoa recipe, you can whisk a bit longer.
The final step is simply to pour your creation into mugs. I like to do this carefully to preserve any frothiness that developed during the whisking process. The aroma that rises from the mug is part of the experience—rich, sweet, and inviting.
For those who enjoy variations on the classic, this basic recipe serves as a perfect foundation. Once you’ve mastered this method, you can experiment with all sorts of additions:
- A cinnamon stick added during heating
- A few drops of peppermint extract for a holiday twist
- A splash of coffee for a mocha effect
- A tablespoon of caramel sauce swirled in
- A pinch of chili powder for Mexican-style cocoa
I find that making hot chocolate recipes from scratch rather than using powdered mixes gives you complete control over sweetness and richness. You can adjust the sugar level to suit your taste or dietary needs, and you’ll avoid the additives found in many commercial products.
The beauty of this method is its reliability—it works every time. The slow incorporation of ingredients and careful heating ensures a smooth, delicious result that’s leagues better than anything that comes from a packet. Even on busy evenings, this process takes just minutes but delivers a cup of cocoa worth savoring.
Common Mistakes to Dodge
Making hot cocoa seems straightforward, but a few simple errors can turn your drink from delightful to disappointing. I’ve seen these mistakes happen in my own kitchen and want to help you avoid them in yours.
Hot Cocoa Pitfalls to Avoid
The foundation of any good hot cocoa recipe starts with the liquid base. Using water instead of milk is perhaps the biggest mistake you can make. Water creates a thin, less flavorful drink lacking the creamy texture and richness that milk provides. Whole milk offers the best results, but any milk (including non-dairy options) will outperform water.
Boiling the mixture is another common error. High heat breaks down the milk proteins and can give your cocoa a burnt taste. Instead, heat your milk slowly until it’s steaming but not bubbling – about 180°F if you’re using a thermometer.
Adding all ingredients at once often leads to clumping. For a smooth hot chocolate, first create a paste with your cocoa powder and a small amount of warm milk, then gradually incorporate the rest.
Forgetting to whisk continuously is a mistake that leads to uneven heating and potential scorching. Keep that whisk moving, especially when first combining your ingredients. This ensures even distribution of heat and prevents cocoa powder from settling at the bottom.
Starting with cold milk extends your cooking time and can lead to impatience and rushed heating (which causes other problems). Always start with room temperature milk if possible.
For those looking to enhance their cocoa experience even further, I recommend experimenting with different milk types. Each creates distinctive flavor profiles in your hot chocolate recipe. Oat milk provides natural sweetness, while coconut milk adds tropical notes.
By avoiding these common mistakes, your hot cocoa will consistently turn out rich, smooth, and perfectly comforting – exactly what you want on a chilly day!
Make it Extra Special
Ready to transform your homemade hot cocoa from simply delicious to absolutely unforgettable? I’ve discovered several easy yet impressive ways to elevate your hot chocolate experience with toppings and garnishes that add both visual appeal and flavor complexity.
Indulgent Toppings and Garnishes
A generous swirl of whipped cream on top of your hot cocoa creates a luxurious contrast between the rich, warm chocolate below and the cool, airy topping. I prefer using freshly whipped heavy cream with just a touch of vanilla extract and sugar – it melts slowly into the cocoa, creating a creamy layer that gets better with each sip.
Marshmallows aren’t just for kids – they’re a classic hot chocolate companion for good reason. As they gradually melt, they create a sweet, gooey layer that adds both texture and sweetness. For a grown-up twist, try toasting them lightly with a kitchen torch before adding them to your hot chocolate recipe for a subtle smoky flavor.
The simple act of dusting the top of your creation with a fine layer of cocoa powder doesn’t just look professional – it intensifies the chocolate experience with each sip. This little touch adds depth to the flavor profile and creates a beautiful presentation.
A cinnamon stick serves double duty as both stirrer and flavor enhancer. I love how it adds a gentle warmth that complements the chocolate perfectly. Plus, the aromatic qualities of cinnamon enhance the drinking experience by engaging your sense of smell alongside taste.
For those with a sweet tooth, a drizzle of caramel sauce creates beautiful patterns on top of whipped cream while adding buttery sweetness that pairs wonderfully with chocolate. The combination creates a dessert-like experience that’s perfect for special occasions or when you simply need an extra-special treat.
These finishing touches work wonderfully on any rich hot chocolate recipe, whether you’ve made it with milk chocolate, dark chocolate, or even white chocolate varieties. The beauty of these enhancements is how they can be mixed and matched according to your preferences – perhaps whipped cream and cocoa powder for something elegant, or marshmallows and caramel for something playfully decadent.
Don’t forget that presentation matters too – serving your dressed-up hot cocoa in clear glass mugs shows off all your hard work and makes the experience feel more special. For holiday gatherings, I sometimes rim mugs with crushed candy canes or colored sugar for an extra festive touch.
The best part about these additions? They’re all pantry staples that can transform an ordinary moment into something memorable with minimal effort. Even on busy weeknights, adding just one special touch can make hot cocoa feel like a proper treat rather than just another beverage.
Storage and Reheating Tips
I’ve found that hot cocoa is one of those treats that’s even better when you make a big batch. The good news? It stores beautifully when done right. If you’ve made too much of my homemade hot cocoa recipe, don’t worry about wasting it.
For proper storage, transfer your leftover hot cocoa into an airtight container once it’s cooled to room temperature. Glass jars with tight-fitting lids work perfectly for this purpose. Make sure the container is sealed well to prevent any refrigerator odors from seeping in and affecting the taste of your chocolate treat.
Your stored hot cocoa will keep nicely in the refrigerator for up to 3 days. I don’t recommend freezing it, as the dairy components can separate and change texture when thawed, resulting in a less-than-ideal consistency.
Perfect Reheating Methods
Reheating hot cocoa requires a bit of care to restore its original creamy texture. The key is gentle, slow heating rather than rushing the process. Here’s how I approach reheating stored hot cocoa:
- Pour the refrigerated cocoa into a saucepan
- Heat over medium-low heat, never high heat which can scorch the chocolate
- Stir frequently (almost constantly) to prevent a skin from forming on top
- Remove from heat once it reaches your desired temperature
- If the mixture has thickened too much in the refrigerator, add a splash of milk and stir until smooth
The texture might change slightly after refrigeration as the cocoa tends to thicken. That’s completely normal and easy to fix with a little extra milk during the reheating process.
I’ve found that a whisk works better than a spoon when reheating, as it helps break up any clumps that may have formed while the hot chocolate was stored in the fridge.
For single servings, the microwave can work in a pinch, but use 50% power and heat in 30-second intervals, stirring between each. This prevents the classic microwave hot spot issue where parts become scalding hot while others remain cold.
Once reheated, add any fresh toppings you’d like. Stored whipped cream doesn’t hold up well, so it’s best to add fresh whipped cream, marshmallows, or any other garnishes just before serving your delicious hot chocolate recipe.
The flavors in hot cocoa often deepen and mature after a day in the refrigerator, so don’t be surprised if your reheated batch tastes even better than when freshly made! This is particularly true for recipes with complex flavor profiles or those made with high-quality chocolate.

Customize Your Cocoa
Creating the perfect cup of hot cocoa is an art form that allows for endless customization. I’ve found that adding personal touches transforms a simple drink into something truly special. With a few creative additions, you can craft a signature cocoa that matches your exact preferences.
Sweet and Savory Add-ins
For a refreshing twist, I add 1/4 teaspoon of peppermint extract to my traditional hot cocoa recipe, creating a mint chocolate experience reminiscent of holiday treats. The cool mint balances beautifully with the rich chocolate flavor.
Caramel lovers will appreciate swirling a tablespoon of caramel sauce into their cocoa. I drizzle it along the inside of the mug first, then pour in the hot chocolate and watch as the caramel slowly melts into the drink, creating gorgeous streaks of sweetness.
For a protein boost with nutty depth, stir in a tablespoon of peanut butter. I find that creamy varieties blend more easily, but crunchy can add interesting texture. This addition makes the hot chocolate more filling and perfect for cold mornings when you need something substantial.
Adult Variations
Coffee and chocolate are natural companions. Adding a teaspoon of espresso powder to your cocoa creates a mocha-like drink with a gentle caffeine kick. I’ve found this version particularly perfect for afternoon pick-me-ups.
For evening gatherings, spike your cup of hot chocolate with a splash of liqueur. Bailey’s Irish Cream, Kahlúa, or Amaretto (about 1 ounce per cup) each bring unique character to this comforting drink. The alcohol not only adds flavor but also creates a warming sensation that’s perfect for chilly nights.
These customizations can be mixed and matched—try peppermint extract with a splash of crème de menthe, or peanut butter with bourbon for sophisticated flavor profiles. The beauty of personalizing your cocoa lies in the freedom to experiment and discover combinations that delight your palate.
Remember to adjust the sweetness of your base recipe when adding these elements, as many bring their own sweetness. Start with less sugar than usual when incorporating caramel or liqueurs to achieve a balanced flavor.

