Air fryer chips deliver the perfect golden crunch and potato flavor while using a fraction of the oil needed for traditional deep frying, making them a healthier alternative without sacrificing taste. The cooking method not only cuts calories and fat content but also offers practical advantages like safer cooking conditions, less cleanup, and no lingering fried food smell throughout your home.
Find In This Article
Key Takeaways
- Soak cut potatoes in cold water for at least 30 minutes to remove excess starch, which is essential for achieving crispy chips.
- Dry thoroughly before air frying, as remaining moisture creates steam and prevents crispiness.
- Follow the ideal cooking technique: 12–15 minutes at 380°F, shaking halfway through, with a final 5 minutes at 400°F for extra crunch.
- Do not overcrowd the air fryer basket. Arrange chips in a single layer with space between for proper air circulation.
- Customize your chips with seasonings like salt and vinegar, garlic herb, or Cajun spice for delicious flavor variations.
Why Air-Fried Chips Are Better Than Deep-Fried
I’ve been making chips for years, and switching to air frying them has completely changed my snacking habits. Air-fried chips deliver that perfect golden crunch we all crave while offering significant advantages over their deep-fried counterparts.
Health Benefits Without Sacrificing Taste
Air-fried chips use just a fraction of the oil needed for deep frying. Instead of submerging potatoes in a vat of hot oil, I simply toss them with a light coating of oil before air frying. This simple change cuts calories and fat content dramatically while maintaining that satisfying crunch and soft interior. The chips come out crispy and golden without that heavy, greasy feeling that often follows eating deep-fried foods.
The texture difference is remarkable – air-fried chips have a clean finish that allows the potato flavor to shine through rather than being masked by oil. They’re lighter yet still deliver that essential chip experience we all crave.
Practical Advantages for Home Cooking
Beyond the health benefits, air frying chips offers practical advantages that make cooking easier:
- No more dangerous hot oil that can splash and burn
- Significantly less kitchen cleanup with no oil splatters on counters and stovetops
- No lingering fried food smell throughout the house
- Faster cooking time for many chip varieties
- No need to dispose of used cooking oil
The safety aspect alone makes air frying worth considering, especially in homes with children or pets where a pot of hot oil poses a serious hazard.
I’ve found that air-fried chips also maintain their crispness longer than deep-fried versions, which can quickly become soggy as the excess oil settles. This makes them perfect for family gatherings or when you want to prepare snacks ahead of time.
For those looking to explore more air fryer recipes beyond chips, the same benefits apply to countless other dishes. The combination of health improvements and practical cooking advantages makes air frying chips a clear winner over the traditional deep-fried method.
What You’ll Need for Perfect Chips
Making crispy, golden air fryer chips isn’t complicated, but having the right ingredients and tools makes all the difference. I’ve perfected my technique over time, and these essentials will help you achieve restaurant-quality results at home.
Quality Ingredients
Starting with the right potatoes is crucial for achieving that perfect texture — crispy outside and fluffy inside.
- Fresh potatoes: Maris Piper or Russet varieties work best due to their higher starch content. These potatoes crisp up beautifully while maintaining a fluffy interior.
- Olive oil or vegetable oil spray: You’ll need far less oil than traditional frying, just enough to help with crisping. A spray bottle gives the most even coverage with minimal oil.
- Salt and seasonings: Basic sea salt works wonderfully, but don’t be afraid to experiment with paprika, garlic powder, onion powder, or herbs like rosemary and thyme.
The beauty of air fryer chips is their versatility — once you master the basic recipe, you can try endless flavor variations. I’ve found that applying seasonings after cooking while the chips are still hot helps them stick better.
Essential Equipment
Beyond the air fryer itself, a few simple kitchen items will make your chip-making process smoother and more efficient.
- Paper towels are essential for patting the potatoes dry after soaking or rinsing. Excess moisture is the enemy of crispiness, so don’t skip this step!
- A large bowl for soaking your potatoes is another must-have. Soaking removes excess starch, which is the secret to chips that don’t stick together in the air fryer basket. I typically soak my cut potatoes for 30 minutes, but even 10 minutes makes a noticeable difference.
With these basic ingredients and tools, you’re all set to make delicious air fryer chips. This healthier alternative to deep-fried versions requires minimal oil while still delivering that satisfying crunch. For more inspiration, check out my collection of air fryer recipes that go beyond just chips.
Getting Your Potatoes Ready
Preparing perfect air fryer chips starts with the right potato preparation. The steps you take before your potatoes even enter the air fryer can make the difference between soggy disappointments and golden, crispy delights.
Choosing and Preparing Your Potatoes
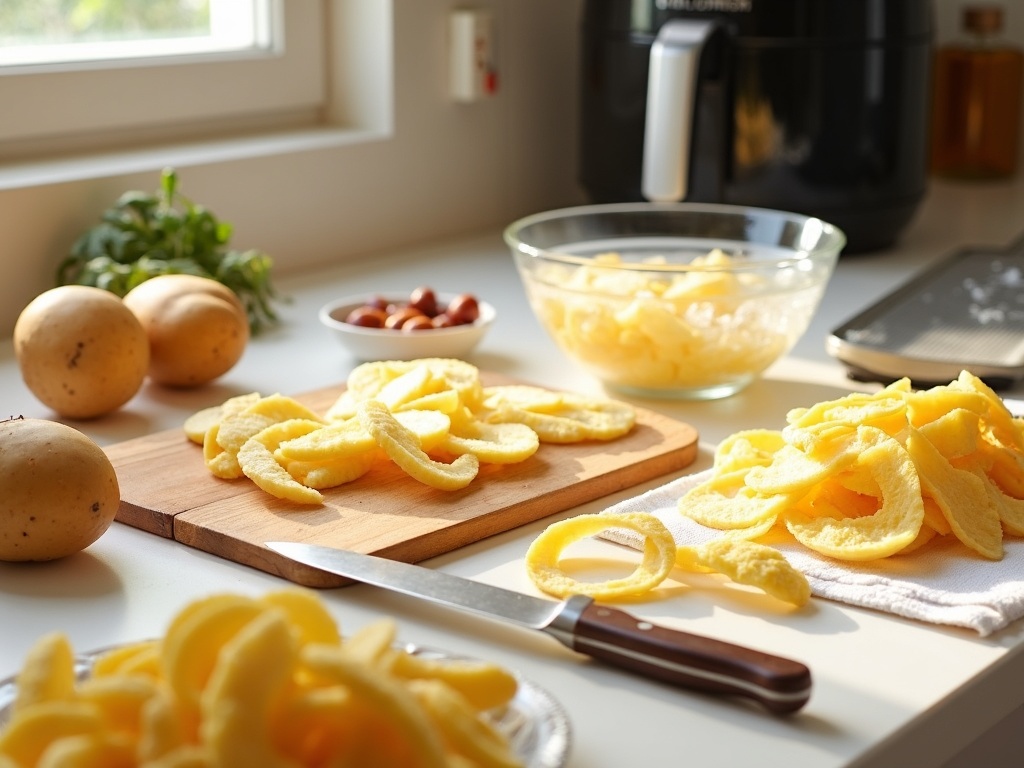
I always start by selecting the right potatoes for my chips. Starchy varieties like Russets or Maris Pipers work brilliantly because they have less moisture and create a fluffier interior with a crispier exterior. After selecting your potatoes, give them a thorough wash under cold running water to remove any soil or debris.
Peeling is entirely up to you. I often leave the skin on for extra texture and nutritional benefits, but if you prefer classic chips, go ahead and peel. Just make sure you remove any green spots or eyes regardless of your choice.
The cutting technique matters significantly. Try to cut your potatoes into even-sized strips – about 1/4 to 1/2 inch thick works well for most air fryers. Consistency in size ensures all your chips cook at the same rate. I find using a sharp knife gives me more control, though a mandoline slicer can help achieve uniform cuts if you have one handy.
The Secret Soaking Step
Here’s where many home cooks miss a crucial step: soaking your cut potatoes in cold water for at least 30 minutes is game-changing. This process removes excess starch, which is the key culprit behind soggy chips. The water will actually turn cloudy – that’s the starch leaving the potatoes!
After soaking, I drain the potatoes and rinse them again under cold water for good measure. Some tips to consider during this phase:
- Change the water halfway through soaking if you have time for even better results
- For extra crispiness, try using ice water for soaking
- You can soak for up to 2 hours if you’re preparing ahead
- If you’re in a rush, even a 15-minute soak is better than none
The final and absolutely essential step is drying your potatoes thoroughly. I can’t stress this enough – moisture is the enemy of crispiness! Pat the potato strips completely dry using paper towels or a clean kitchen towel. Take your time with this step, as any remaining moisture will create steam in the air fryer, resulting in less crispy chips.
Once your potatoes are properly prepped, they’re ready for seasoning and cooking to perfection. You can experiment with various air fryer recipes using different oils and seasonings to find your perfect match.
Remember that proper preparation sets the foundation for amazing air fryer chips. The extra minutes spent soaking and drying your potatoes will pay off with that satisfying crunch everyone loves. The beauty of making chips in an air fryer is achieving that deep-fried taste and texture with a fraction of the oil – but only if you nail these preparation steps first.

Making Crispy Air Fryer Chips
Getting perfectly crispy chips from an air fryer is simple when you follow a few key steps. I’ve refined this technique through countless batches and can guarantee results that rival deep-fried versions but with significantly less oil.
Preparation Is Key
The path to crispy perfection starts before your chips even enter the air fryer. First, preheat your air fryer to 380°F. This initial step is crucial as it ensures the cooking environment is hot enough to start crisping the exterior immediately. While the fryer heats up, cut your potatoes into even strips – consistency in size helps them cook at the same rate.
After cutting, pat the potato strips dry with paper towels. Removing excess moisture is a game-changer for achieving that satisfying crunch. Next, lightly coat the potato strips with oil. I’ve found that just 1-2 teaspoons of oil per large potato is enough – much less than traditional frying methods. For best results, toss the chips in a bowl with the oil, making sure each piece gets a thin, even coating.
Cooking Process
Proper arrangement in the air fryer basket makes all the difference. Place your potato strips in a single layer with small gaps between each piece. Overcrowding leads to steaming rather than crisping, so cook in batches if needed.
The cooking process takes about 12-15 minutes total, but don’t just set it and forget it. At the halfway mark (around 6-7 minutes), give the basket a good shake or use tongs to flip the chips. This ensures even browning on all sides.
For that extra level of crispiness, I like to increase the temperature to 400°F for the final 5 minutes of cooking. This temperature boost creates that golden, crunchy exterior while maintaining a fluffy interior.
Step-by-Step Guide
- Choose starchy potatoes like Russets for best texture
- Cut potatoes into evenly sized strips (about ¼ inch thick for traditional fries)
- Soak cut potatoes in cold water for 30 minutes (optional but helps remove excess starch)
- Dry thoroughly with paper towels
- Toss with a small amount of oil and seasonings
- Cook at 380°F for 12-15 minutes, shaking halfway
- Finish at 400°F for 5 minutes for extra crispness
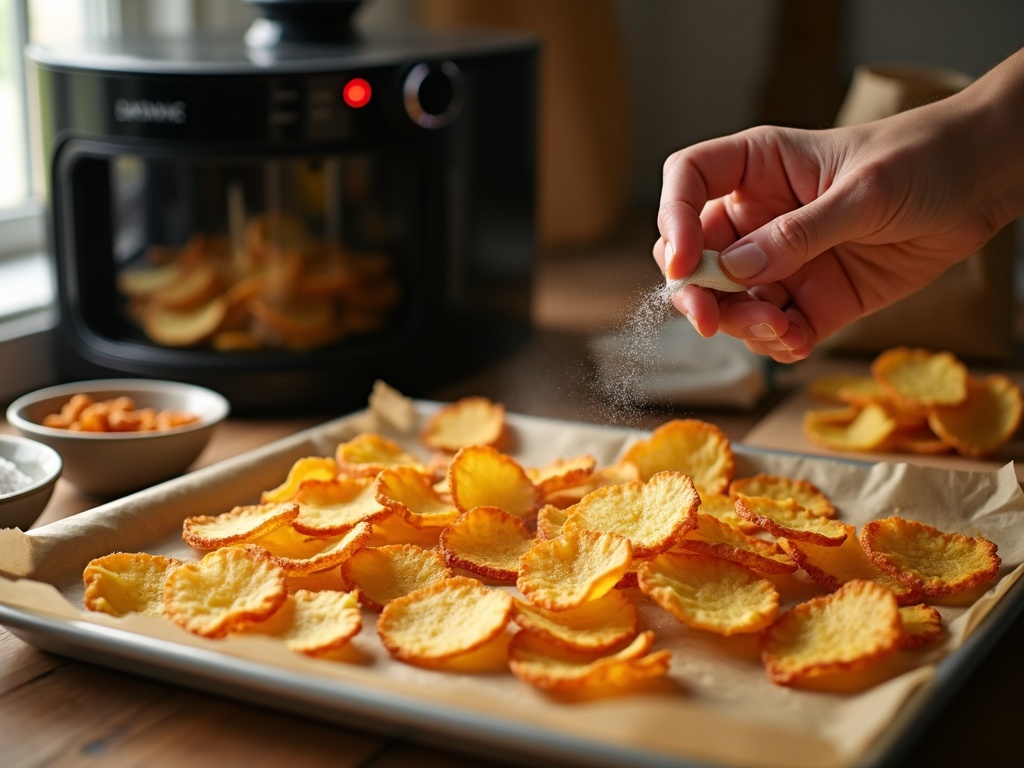
- Season immediately after cooking while still hot
The beauty of air fryer chips is their versatility. I’ve experimented with various seasonings beyond the classic salt – paprika, garlic powder, and herbs like rosemary all work wonderfully. For lower-carb options, the same technique works great with sweet potatoes, zucchini, or even firm root vegetables.
Unlike deep-fried chips, these air fryer versions don’t require constant attention or worry about hot oil splashes. The cooking process is straightforward, and the results are consistently delicious. Plus, I can enjoy these guilt-free snacks knowing they contain a fraction of the oil used in traditional frying methods.
The final product should have a satisfying crunch when bitten into, with a light, fluffy interior. If your first batch isn’t perfect, don’t worry – small adjustments to cooking time and temperature based on your specific air fryer model will help you dial in the perfect results.
Common Mistakes to Watch Out For
Making perfect air fryer chips might seem straightforward, but there are several pitfalls that can turn your crispy dream into a soggy disappointment. I’ve identified the most common errors that home cooks make when preparing air fryer chips and how to avoid them.
Overcrowding and Preparation Errors
Cramming too many potatoes into your air fryer basket is perhaps the biggest mistake I see people make. When chips are packed together, they steam rather than crisp. Hot air needs to circulate around each piece to create that golden exterior we all crave. For best results, arrange your chips in a single layer with small gaps between each piece, and cook in batches if needed.
Skipping the soaking step is another critical error. Soaking removes excess starch from the potatoes, which is essential for achieving crispiness. I recommend soaking cut potatoes in cold water for at least 30 minutes (or up to 24 hours in the refrigerator) before cooking. After soaking, it’s crucial to dry your chips thoroughly with a clean kitchen towel or paper towels. Any remaining moisture will create steam in the air fryer, reducing that crisp factor you’re aiming for.
Cutting and Oil Issues
Inconsistent cutting sizes lead to uneven cooking—some chips will burn while others remain undercooked. I suggest using a mandoline or taking extra care when cutting by hand to ensure uniform thickness. Aim for chips that are about 1/4 inch thick for the best balance of crispy exterior and fluffy interior.
When it comes to oil, there’s a delicate balance. Many people assume that air fryers require lots of oil, but that defeats their purpose. Others use too little, resulting in dry, cardboard-like chips. The sweet spot is about 1–2 teaspoons of oil per pound of potatoes—just enough to encourage browning and crispiness without making them greasy. Toss your chips in a bowl with the oil to ensure even coating before placing them in the air fryer.
For more delicious air fryer ideas beyond chips, check out these air fryer recipes that showcase the versatility of this kitchen appliance across different cuisines and ingredients.
By avoiding these common mistakes, your air fryer chips will consistently turn out golden, crispy on the outside, and perfectly fluffy on the inside—rivaling any restaurant version but with a fraction of the oil.
Pro Tips for the Best Results
I’ve learned through trial and error that air fryer chips can be incredibly delicious when done right. The difference between soggy disappointments and crispy perfection often comes down to a few key techniques. Let me share some expert tips that’ll take your air fryer chips to the next level.
Mastering the Technique
Uniform cutting is your first secret weapon. I always make sure to cut my potatoes into pieces of consistent thickness — around 1/4 inch works best. This ensures they cook evenly without some pieces burning while others remain undercooked. A mandoline slicer can be handy here, but a sharp knife and a steady hand work just as well.
The double-fry method is a game-changer. I first cook the chips at 320°F for about 6 minutes, then remove them, give them a good shake, and return them for another 8-10 minutes at 400°F. This two-step cooking process creates that perfect crispy exterior while keeping the inside fluffy and tender.
Seasoning timing matters more than you’d think. I’ve found adding salt and spices after cooking (not before) helps maintain maximum crunchiness. The moisture from seasonings applied too early can create steam and compromise your chips’ texture. A light mist of oil after cooking helps seasonings stick without making things soggy.
Working in batches might test your patience, but it’s worth it. Overcrowding is the enemy of crispiness! I always arrange my chips in a single layer with a bit of space between each piece. This allows air to circulate properly, creating that perfect golden finish all around. It’s better to do multiple small batches than rush one large, disappointing batch.
Proper storage extends your enjoyment. For leftover chips (if there are any!), I store them in a paper bag or a container with the lid slightly ajar. This prevents condensation from making them soggy. A quick 2-3 minute reheat in the air fryer at 350°F brings back most of the original crispiness.
These techniques work beautifully with various potatoes:
- Russets give a fluffy interior
- Yukon Golds offer a buttery taste
- Creative options like sweet potatoes or parsnips work well too
The air fryer offers a fantastic middle ground between deep-fried decadence and oven-baked health consciousness. With about 70% less oil than traditional frying, you get delicious results without the extra calories. I’ve found these techniques create chips that rival any restaurant version.
Once you’ve mastered basic chips, the possibilities are endless. You can explore:
- Different shapes like wedges or shoestrings
- A variety of seasonings from paprika to garlic parmesan
- Other air fryer recipes like loaded fries with cheese and bacon bits
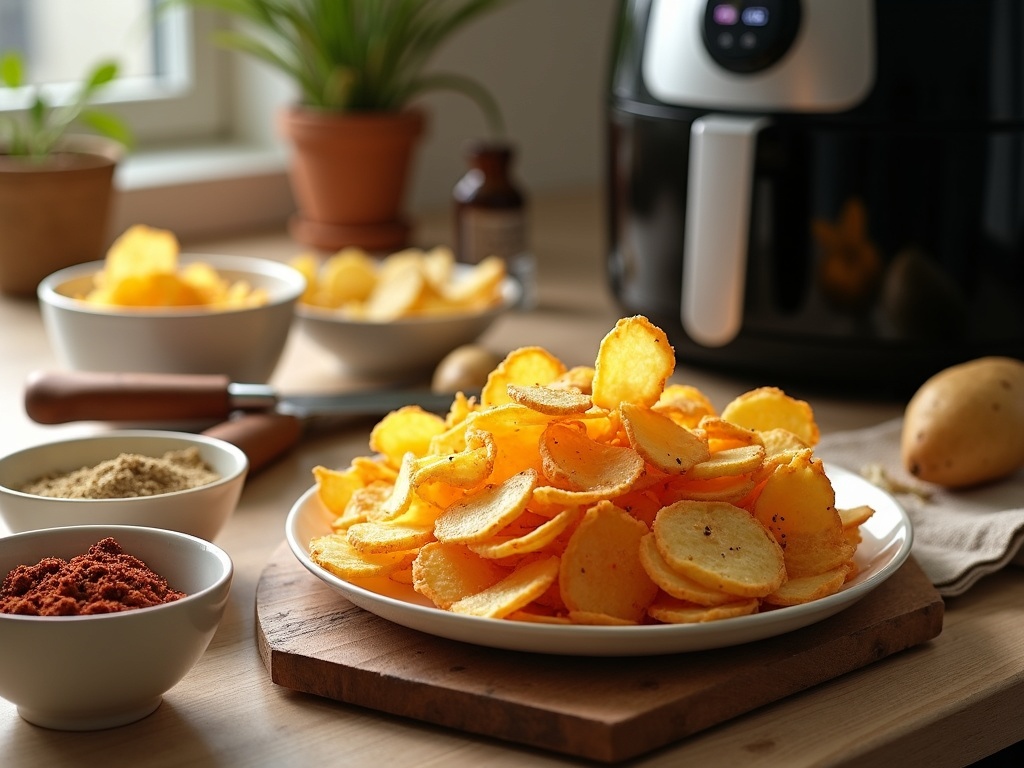
Remember that different air fryer models can vary slightly in cooking times. I always check my chips a minute or two before the suggested cooking time is up to prevent any burning. The perfect chip has a golden-brown exterior with distinct edges and a tender center — visual cues that tell you they’re done just right.

Delicious Seasoning Ideas
The beauty of making air fryer chips lies in their versatility when it comes to flavoring. I’ve discovered that the right seasonings can transform a simple batch of air fryer chips into a gourmet snack that rivals any restaurant offering. Let me share some of my favorite seasoning combinations that’ll make your air fryer chips absolutely irresistible.
Flavor Combinations That Wow
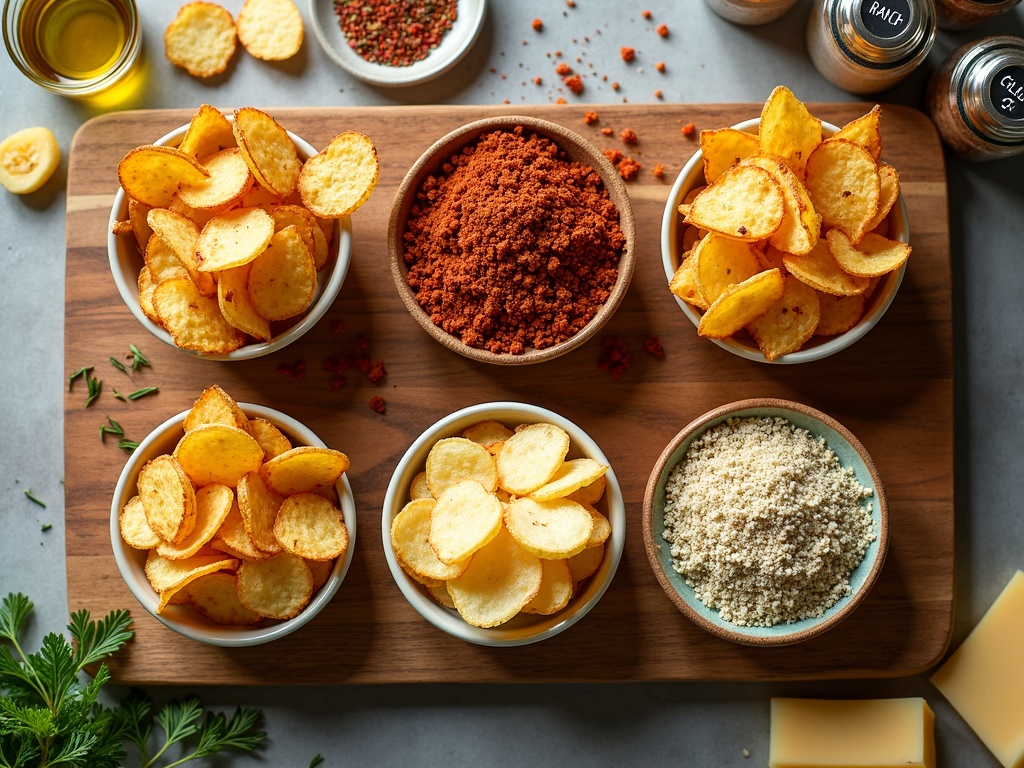
Classic salt and vinegar remains a timeless favorite for good reason. For the perfect balance, I sprinkle sea salt on my chips right after they come out of the air fryer while they’re still hot, then lightly spray with malt vinegar. The heat helps the chips absorb that tangy vinegar flavor without becoming soggy.
Garlic and herb creates a sophisticated flavor profile that pairs wonderfully with almost any meal. I mix dried herbs like rosemary, thyme, and parsley with garlic powder, then toss the chips in a small amount of olive oil before adding the seasoning mix. The herbs become fragrant and crisp during the air frying process.
Feeling adventurous? Try a Cajun spice blend for chips with a kick. I combine paprika, cayenne pepper, garlic powder, onion powder, dried oregano, and thyme for an authentic flavor that brings Louisiana straight to your kitchen. The air fryer helps these spices adhere perfectly to the chips without burning them.
Ranch seasoning delivers that creamy, herby flavor everyone loves, but without all the calories of actual ranch dressing. I either use store-bought ranch seasoning packets or make my own with dried dill, garlic powder, onion powder, and a touch of buttermilk powder. These chips disappear fast at gatherings!
For a gourmet touch, parmesan and black pepper creates a sophisticated yet simple flavor combination. I grate fresh parmesan cheese over hot chips straight from the air fryer, then add freshly cracked black pepper. The residual heat slightly melts the cheese, creating a delightful crispy-creamy texture contrast.
When applying seasonings, timing matters significantly. For most dry seasonings, I add them before air frying, tossing the raw potato slices in a bowl with a light coating of oil and the seasoning mix. For wet seasonings or those that burn easily (like parmesan), I add them immediately after air frying.
Don’t be afraid to create your own signature blend based on your favorite flavors. Some terrific starting combinations include:
- Pizza-inspired: oregano, basil, garlic powder, and a sprinkle of nutritional yeast
- Smoky barbecue: smoked paprika, brown sugar, garlic powder, and a hint of cinnamon
- Curry: curry powder, turmeric, cumin, and a pinch of garam masala
- Sweet and spicy: cinnamon, sugar, and cayenne pepper
For maximum flavor adhesion, I’ve found that patting the potato slices dry before seasoning makes a huge difference. Excess moisture prevents seasonings from sticking properly and can interfere with the crisping process.
I also recommend keeping your seasonings in small shaker containers for easy application. This gives you better control over distribution and helps avoid over-seasoning certain areas of your chips.
Remember that air fryer chips cook quickly, so check them frequently to prevent burning, especially when using seasonings that contain sugar or cheese, which can blacken before the chips are fully cooked.

Notes on Storage and Reheating
Proper Storage Techniques
I’ve found that proper storage is key to maintaining the quality of your air fryer chips between servings. First and foremost, allow your chips to cool completely before storing them. This crucial step prevents condensation from forming inside your storage container, which would quickly turn your crispy chips soggy. Once cooled, transfer them to an airtight container. The sealed environment helps maintain their texture and prevents them from absorbing moisture from the air.
It’s worth noting that air fryer chips taste best when eaten fresh out of the air fryer. However, if you must store them, keep them at room temperature rather than in the refrigerator. Refrigeration introduces moisture that softens the chips, causing them to lose that perfect crunch you worked so hard to achieve.
Bringing Back the Crunch
When it’s time to enjoy your leftover chips, the air fryer once again becomes your best friend. To revive their crispiness:
- Preheat your air fryer to 350°F
- Arrange the chips in a single layer in the basket
- Heat for 3–4 minutes until hot and crispy again
- Check halfway through to prevent burning
This quick reheating method restores much of the original texture without drying out the interior of the chips. I’ve discovered that using the air fryer for reheating works far better than a microwave, which would leave your chips soft and unappetizing.
If you’re looking for more versatile air fryer recipes to complement your chips, check out some tasty air fryer recipes that can round out your meal.
Remember that each reheating cycle might slightly reduce the quality of your chips, so I recommend making smaller batches more frequently rather than large batches intended for multiple meals. Fresh is always best when it comes to air fryer chips!

