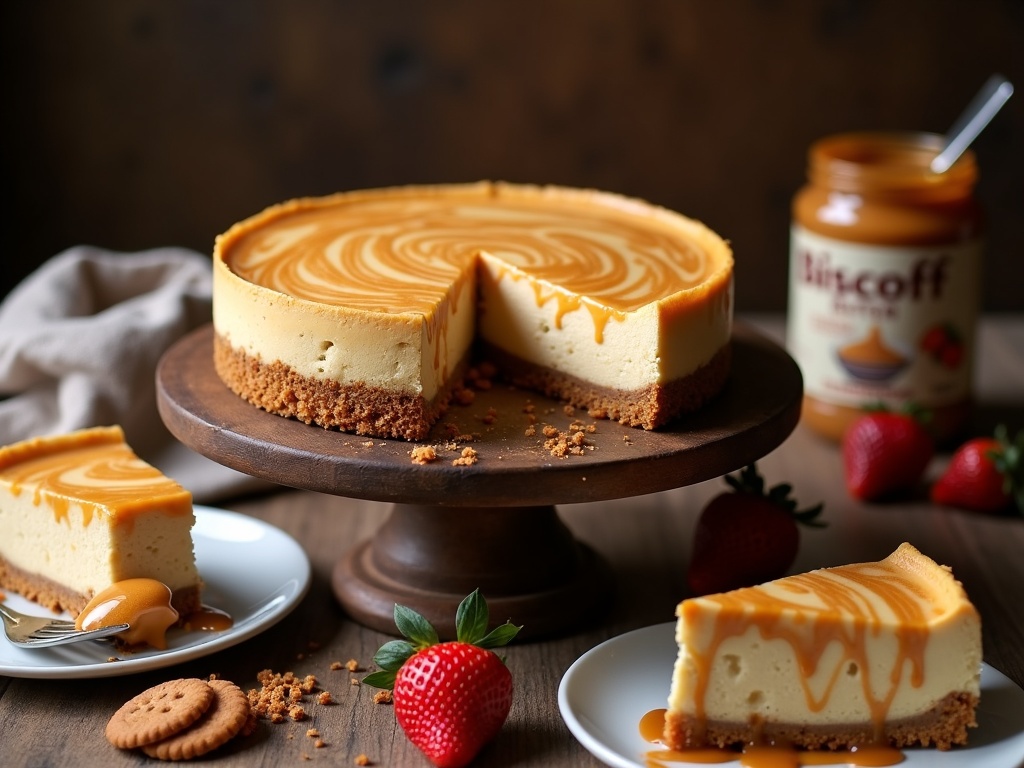
Biscoff cheesecake combines the distinct caramelized, spiced flavor of Biscoff cookies with creamy cheesecake to create a dessert that’s gained massive popularity on social media.
The perfect balance between the smooth, velvety filling and crunchy cookie base delivers multiple texture dimensions, while the eye-catching amber cookie butter swirls against the cream-colored cheesecake makes for immediately Instagram-worthy photos.
Table of Contents
Key Takeaways
- Biscoff cookies contain a unique blend of cinnamon, nutmeg, and ginger, creating their signature warm, complex flavor that pairs perfectly with cream cheese.
- Room temperature ingredients, particularly cream cheese, are essential for achieving a smooth, lump-free cheesecake texture.
- The dessert requires proper setting time—at least 4–6 hours in the refrigerator, but overnight chilling delivers the best results and cleaner slices.
- For picture-perfect slices, use a knife dipped in hot water and wiped clean between cuts, applying gentle pressure in one smooth motion.
- Biscoff cheesecake is highly adaptable, with variations including chocolate layers, fresh fruit toppings, mini versions, and gluten-free options.
All About That Cookie Butter Magic
Biscoff cookies have taken the dessert world by storm with their distinctive caramelized flavor and spicy undertones. I’ve found that the unique taste profile of these cookies comes from their perfect balance of cinnamon, nutmeg, and ginger, creating a warm, complex flavor that’s instantly recognizable. The cookies themselves have been popular for decades, traditionally served alongside coffee in Europe before becoming a global sensation.
The Perfect Cheesecake Companion
Cookie butter, made from crushed Biscoff cookies blended into a smooth, spreadable paste, transforms an ordinary cheesecake into something extraordinary. The slightly spiced, caramel-like flavor cuts through the richness of cream cheese, creating a harmonious balance that’s hard to achieve with other flavors. When incorporating cookie butter into a creamy cheese-based dessert, it melts seamlessly into the mixture, distributing that signature speculoos taste throughout every bite.
The textural contrast is what really sets this dessert apart. The smooth, velvety cheesecake filling pairs perfectly with the slight grittiness of the cookie butter, while a Biscoff cookie crust adds that essential crunch. This multi-dimensional texture experience keeps people coming back for more, much like the appeal of a classic crème brûlée with its contrasting textures.
A Social Media Superstar
Biscoff cheesecake has earned its viral status for several compelling reasons:
- Visual appeal – The striking color contrast between the deep amber cookie butter swirls and creamy cheesecake creates instantly shareable content
- Flavor familiarity with a twist – It offers a new spin on familiar flavors, appealing to both traditional dessert lovers and trend-seekers
- Versatility – The recipe can be adapted to no-bake versions, mini sizes, or enhanced with complementary flavors like fresh strawberries
- Accessibility – Despite its impressive appearance, it’s relatively simple to make compared to other showstopper desserts
The dessert has found particular success on TikTok and Instagram, where the dramatic swirling of cookie butter creates visually satisfying content. Food bloggers have embraced this trend, creating countless variations from cookie butter buttercream-topped cupcakes to Biscoff muffins and even snickerdoodle-inspired Biscoff cookies.
This dessert hits the sweet spot between comfort food nostalgia and modern food trend excitement. The flavor profile is complex enough to impress discerning palates yet familiar enough to appeal to almost everyone, making it the ideal crowd-pleasing dessert for any occasion.

What You’ll Need In Your Kitchen
Creating a Biscoff cheesecake at home requires just a handful of quality ingredients that blend together to create that signature caramelized spice flavor. I’ve found that starting with the right components makes all the difference in achieving that perfect balance between creamy cheesecake and distinctive Biscoff flavor.
Essential Ingredients
- Philadelphia cream cheese blocks serve as the foundation of any good cheesecake. For best results, I always use full-fat cream cheese at room temperature to ensure a smooth, lump-free mixture. Two 8-ounce blocks typically yield the perfect consistency for a standard 9-inch cheesecake.
- Biscoff cookie spread is the star ingredient that gives this dessert its unique flavor profile. This smooth, spiced spread has notes of cinnamon and caramel that infuse the entire cheesecake with that distinctive Biscoff taste. I usually need about ½ cup to achieve the perfect flavor intensity.
- For the base and decoration, you’ll need Biscoff cookies. These crisp, caramelized cookies make an exceptional crust when crushed and mixed with butter. I typically use one to two packages, setting aside a few whole cookies for decorating the finished cheesecake with a professional touch.
- Heavy whipping cream adds lightness to the cheesecake filling. About 1 cup whipped to soft peaks will give your cheesecake that perfect mousse-like texture that contrasts beautifully with the crunchy base.
- Granulated sugar balances the flavors and adds sweetness. Despite the Biscoff spread containing sugar already, I’ve found that adding ⅓ to ½ cup of sugar helps achieve the right sweetness level without overwhelming the spice notes.
- A splash of vanilla extract enhances all the other flavors. Just a teaspoon creates depth without competing with the Biscoff flavor. This subtle addition makes a noticeable difference in the final taste.
- Unsalted butter is crucial for binding the cookie crust together. I prefer unsalted butter because it allows me to control the salt content in the cheesecake. You’ll need about 5-6 tablespoons, melted, to create that perfect crust texture that holds together when sliced but still offers a satisfying crunch.
For those looking to explore similar dessert ideas, cottage cheese dessert recipes offer lighter alternatives with similar creamy textures. While preparing your Biscoff cheesecake, consider experimenting with other flavor combinations—the caramelized notes in Biscoff pair wonderfully with fruits like strawberries or even chocolate.
I recommend having a springform pan ready as well—while not an ingredient, it’s essential for easy removal of the finished cheesecake. A food processor makes quick work of crushing the Biscoff cookies for the base, but a ziplock bag and rolling pin work just as effectively.
Having these ingredients measured and ready before starting will make the process smoother. The room-temperature cream cheese is particularly important—cold cream cheese creates lumps that are nearly impossible to smooth out once incorporated into your mixture.
With these key components on hand, you’re fully equipped to create a Biscoff cheesecake that rivals any you’d find in a bakery—rich, flavorful, and with that perfect balance of creamy filling and spiced cookie elements that make homemade desserts so satisfying.
Creating Your Cookie Heaven
The foundation of any spectacular Biscoff cheesecake starts with perfectly crushed cookies. I’ve found that combining Biscoff cookies with a touch of melted butter creates that ideal crumbly-yet-compact base that holds everything together. Using a food processor gives the most consistent texture, but placing cookies in a sealed bag and crushing them with a rolling pin works just as well for a more rustic finish.
Building Your Cheesecake Masterpiece
The cream cheese filling needs to be silky smooth for that classic melt-in-your-mouth experience. I recommend starting with room-temperature cream cheese—this prevents those frustrating lumps that can ruin your texture. Beating the cream cheese with sugar until just fluffy creates the perfect base for additional flavors.
Incorporating the star ingredient—Biscoff spread—requires a gentle touch. Folding it into your cream cheese mixture preserves that distinctive spiced caramel flavor that makes cottage cheese dessert alternatives like this so irresistible. For an extra flavor punch, I sometimes warm the spread slightly which makes it easier to blend evenly.
Setting up the layers properly is crucial for both presentation and flavor balance. Here’s how I approach the assembly:
- Press the cookie base firmly into your springform pan
- Pour half the cream cheese mixture over the base
- Add a thin layer of pure Biscoff spread
- Top with remaining cream cheese mixture
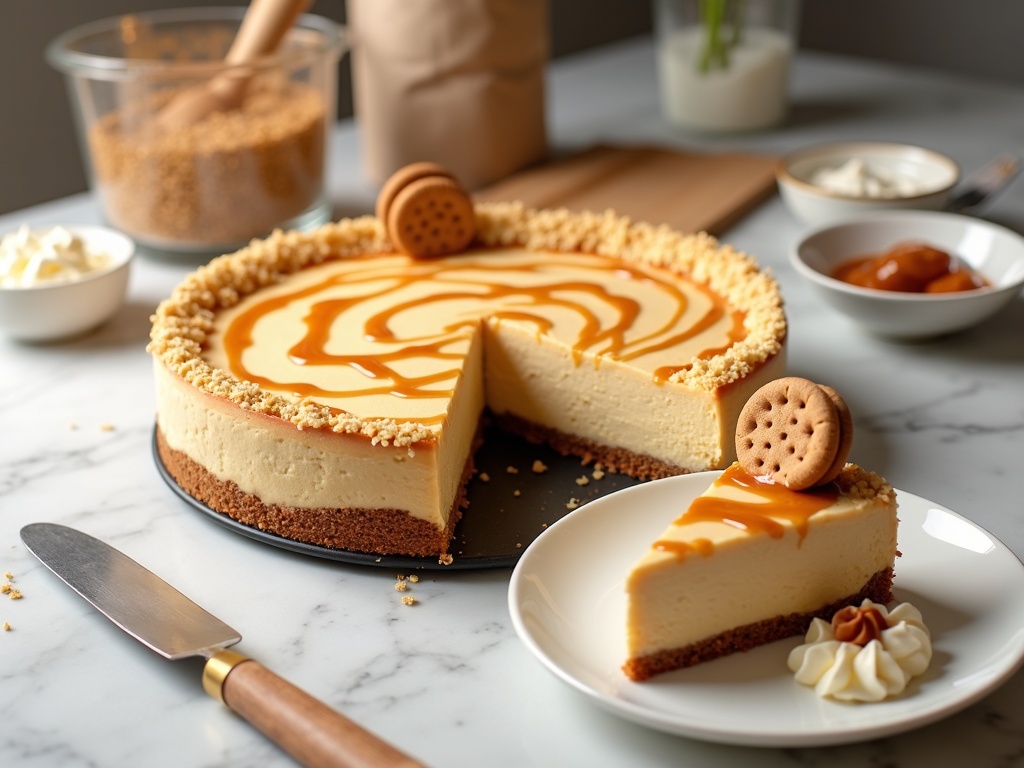
- Drizzle with melted Biscoff and swirl with a skewer
The chilling time can’t be rushed if you want that perfect slice. Your cheesecake needs at least 4–6 hours in the refrigerator, but overnight chilling delivers the best results. This patience pays off with cleaner slices and more developed flavors, much like when making a classic crème brûlée recipe that needs proper setting time.
For the finishing touch, I often dust the top with crushed Biscoff cookies just before serving. This adds wonderful texture contrast to the creamy filling and creates that beautiful visual element that makes people reach for their phones before their forks.
Common Mistakes to Dodge
I’ve made my fair share of errors when perfecting my Biscoff cheesecake recipe. Learning from these missteps has helped me create consistently delicious results, and I’m happy to share these insights so you can avoid the same pitfalls.
Preparation Blunders
Using cold ingredients instead of room temperature can ruin your cheesecake before it even hits the oven. Cold cream cheese creates lumps that never fully incorporate, resulting in an uneven texture. For a silky-smooth finish, I always set my cream cheese, eggs, and sour cream on the counter about an hour before starting.
Over-mixing the filling is another common error that introduces too much air into the batter. This excess air causes the cheesecake to rise dramatically during baking, then collapse and crack as it cools. I mix just until the ingredients are combined—no more, no less—for that perfect velvety consistency found in professional custard desserts.
Wrong pan size selection can throw off your entire recipe. Using a pan that’s too small means overflow and uneven baking, while one that’s too large results in a flat, overcooked cheesecake. For standard recipes, stick with a 9-inch springform pan unless otherwise specified.
Setting and Storage Issues
Not letting your cheesecake set long enough is perhaps the most frequent mistake I see. Patience is crucial here—your creation needs adequate time to chill and set properly. I recommend a minimum of 4 hours in the refrigerator, but overnight is ideal for that perfect slice that holds its shape, similar to how other cheese-based desserts need proper setting time.
Improper storage methods can quickly deteriorate your Biscoff cheesecake’s quality. After it’s completely cooled, I cover it loosely with aluminum foil or plastic wrap to prevent it from absorbing other flavors in your refrigerator. For longer storage, individual slices can be frozen with pieces of parchment paper between them, much like you might do with other make-ahead treats.
These mistakes might seem small, but they make all the difference between an average dessert and a spectacular Biscoff cheesecake that will have everyone asking for your secret. By being mindful of ingredient temperature, mixing technique, pan selection, setting time, and storage practices, you’ll elevate your cheesecake game significantly.
Pro Tips for the Perfect Slice
Getting that picture-perfect slice of Biscoff cheesecake requires some technique, but it’s easier than you might think. I’ve gathered some insider tricks that’ll help you serve stunning slices every time.
Achieving Clean, Instagram-Worthy Slices
The secret to clean slices starts before you even pick up a knife. Chilling your Biscoff cheesecake thoroughly is essential—at least 6 hours, but overnight is even better. This helps the filling set properly and makes cutting much easier.
When you’re ready to slice:
- Fill a tall glass with hot water and dip your knife in for 30 seconds before each cut
- Wipe the blade clean after each slice with a paper towel
- Use a sharp, thin-bladed knife rather than a serrated one
- Apply gentle pressure in one smooth downward motion rather than sawing back and forth
For especially stubborn cheesecakes, I find that dental floss (unflavored!) can create incredibly clean cuts. Just hold it taut and press straight down through the cake.
Elevating Your Presentation
A stunning Biscoff cheesecake deserves beautiful presentation. I personally like to dust the top with crushed Biscoff cookies just before serving for added texture and visual appeal. For special occasions, you might consider adding piped buttercream decorations around the edges.
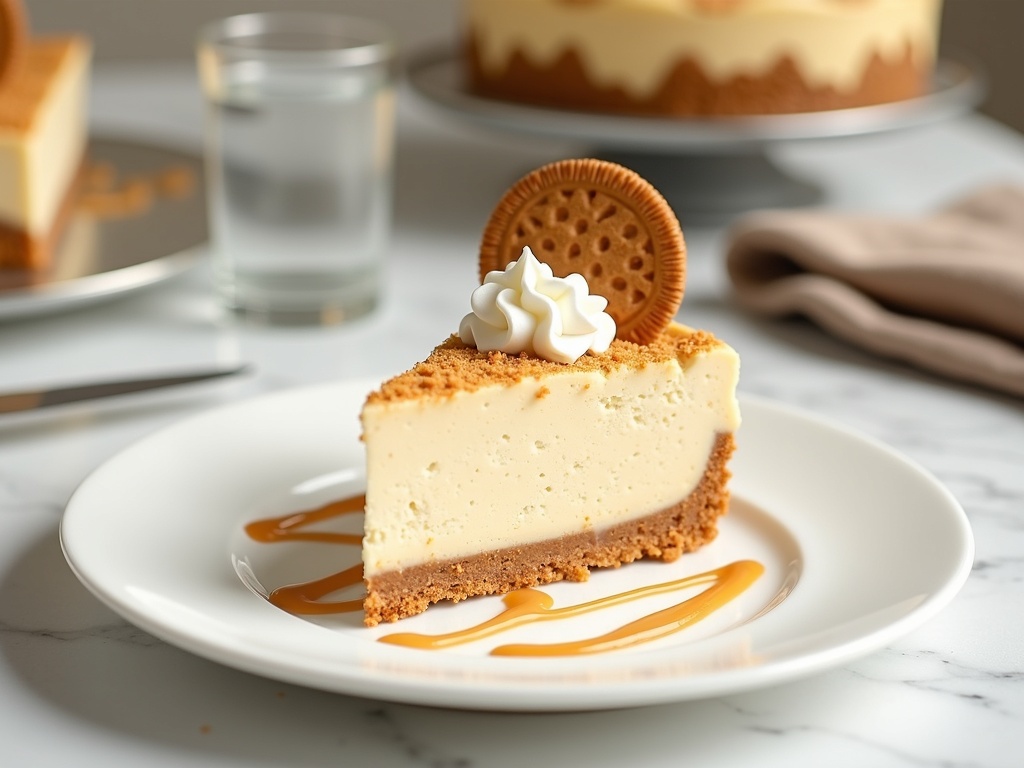
When plating individual slices, drizzle some melted Biscoff spread in a zigzag pattern across the plate first, then place your slice on top. Add a small dollop of whipped cream and a whole Biscoff cookie standing upright for that professional touch.
The cheesecake also pairs beautifully with complementary flavors. Consider serving with light cottage cheese desserts which balance the richness of the Biscoff flavor.
For make-ahead convenience, you can prepare this cheesecake up to three days before serving. Just keep it covered in the refrigerator. If you need longer storage, the cheesecake freezes well for up to two months. I recommend slicing before freezing, with parchment paper between each piece, so you can thaw only what you need.
When removing from the freezer, let slices thaw in the refrigerator for at least 4 hours before serving. This helps maintain that smooth, creamy texture that makes custard-based desserts so special. The cookie crust will regain its perfect crispness once fully thawed.

Customization Ideas
The beauty of a Biscoff cheesecake lies in its versatility. I’ve experimented with countless variations over the years and discovered that this delectable dessert serves as the perfect canvas for creative adaptations. From chocolate infusions to gluten-free options, there’s a customization to suit any preference or dietary need.
Sweet Variations to Try
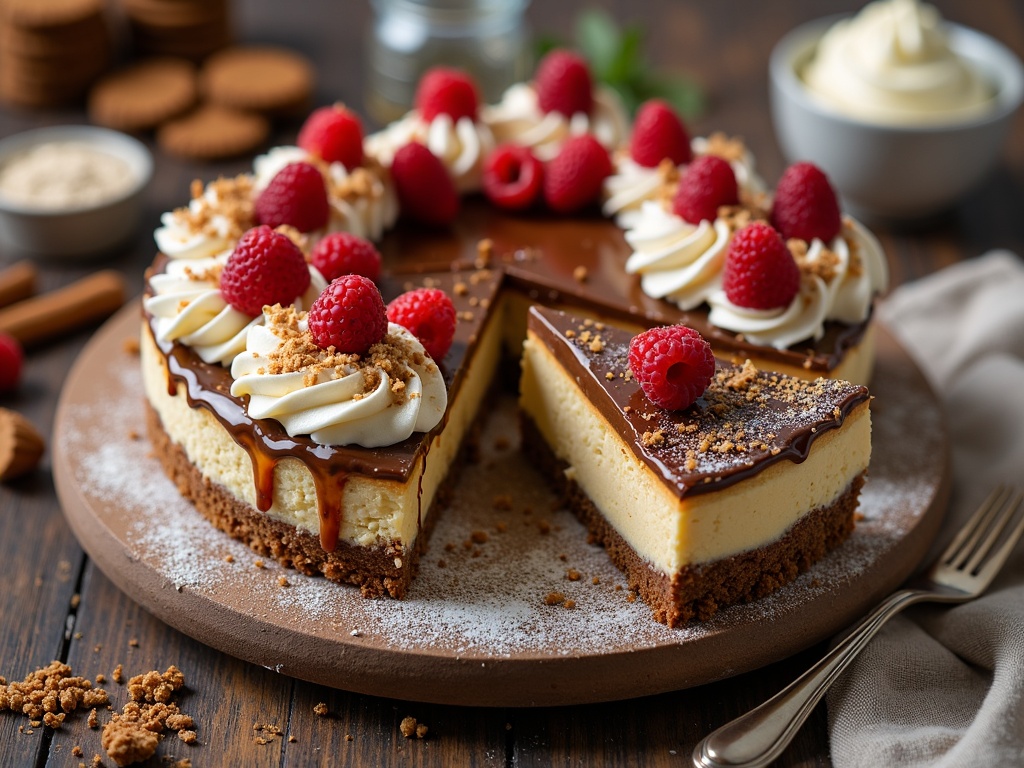
Adding chocolate layers transforms a classic Biscoff cheesecake into an indulgent masterpiece. I like to pour a thin layer of melted dark chocolate over the Biscoff crust before adding the cheesecake filling. Once set, this creates a delightful crunch that complements the creamy texture perfectly. Alternatively, folding chocolate chips into the filling or creating a chocolate ganache topping works beautifully with the spiced cookie flavor.
Toppings can dramatically change your cheesecake experience. Consider these options to elevate your dessert:
- Fresh fruit like strawberries or raspberries for a tangy contrast
- Caramel sauce drizzled in a decorative pattern
- Crushed Biscoff cookies for added texture and flavor intensity
- Whipped cream rosettes with a sprinkle of cinnamon
- Chopped nuts such as pecans or hazelnuts for a satisfying crunch
Making mini versions offers both portion control and presentation advantages. I find that using a muffin tin lined with paper cups creates perfect individual servings. These mini cheesecakes bake faster and are ideal for gatherings where guests can enjoy a complete dessert without the commitment of a full slice. They’re also fantastic for creative dessert platters where variety matters.
Adjusting sweetness levels is key to personalizing your cheesecake. The Biscoff cookies already contribute significant sweetness, so I often reduce the sugar in the filling by up to 25% without compromising flavor. For those who prefer a less sweet dessert, using a higher ratio of cream cheese to cookie spread creates a more balanced flavor profile. Conversely, if you have a serious sweet tooth, incorporating a layer of smooth buttercream icing between the crust and filling adds decadence.
Creating a gluten-free variation requires just a few thoughtful swaps. Gluten-free Biscoff-style cookies are increasingly available, but in their absence, I’ve found that gluten-free graham crackers mixed with a teaspoon of cinnamon and a dash of ginger approximates the flavor nicely. Ensure your cookie butter is certified gluten-free or make your own using those same gluten-free cookies. The cheesecake filling itself is naturally gluten-free, making this adaptation straightforward.
For those looking to experiment further, consider a marbled effect by swirling Biscoff spread through the cheesecake filling. This creates a stunning visual appeal similar to what you might find in elegant crème brûlée recipes and intensifies the cookie flavor in select bites.
The texture can also be modified based on preference. For a lighter, fluffier cheesecake, I fold in whipped cream or stiffly beaten egg whites before baking. This creates an almost mousse-like consistency that pairs beautifully with the dense, spiced crust.
For special dietary needs, consider adapting your Biscoff cheesecake to include elements from nutritious baking recipes like reduced sugar options or dairy-free alternatives using plant-based cream cheese and coconut cream.
No matter which variation you choose, allowing your cheesecake to set properly is crucial for texture and flavor development. Most customizations benefit from at least 4 hours of refrigeration, though overnight chilling produces the best results.

Troubleshooting Guide
Cheesecake mishaps happen to everyone, and Biscoff cheesecake is no exception. I’ve encountered plenty of kitchen disasters while perfecting my recipe, but each problem has a solution.
Common Biscoff Cheesecake Problems
A crumbly base can ruin an otherwise perfect Biscoff cheesecake. When your spiced cookie crust falls apart, it’s typically because there wasn’t enough butter to bind the crumbs. I fix this by adding an extra tablespoon of melted butter and pressing the mixture firmly into the pan using the flat bottom of a glass. For extra insurance, chill the base for at least 30 minutes before adding filling.
Lumpy filling can be frustrating, especially after you’ve invested in quality cream cheese. These unwanted bumps usually occur because ingredients weren’t at room temperature. I always set my cream cheese out for at least two hours before mixing. If you’re in a hurry, cut it into small cubes to speed up the warming process. Already have lumps? Pass the mixture through a sieve before pouring it onto your perfectly prepared crust for smoother results.
Cracks on your cheesecake’s surface aren’t just cosmetic issues—they can affect texture too. Prevent them by avoiding overmixing, which incorporates too much air. I also recommend baking in a water bath to maintain even temperature. If cracks appear anyway, cover them creatively with a layer of smooth dessert topping like Biscoff spread or whipped cream.
Setting problems typically come from not giving your cheesecake enough refrigeration time. I always plan for at least 6 hours, preferably overnight. If your cheesecake still hasn’t set properly, pop it in the freezer for 30–60 minutes before serving. This can firm up the texture without fully freezing it.
A completely failed cheesecake doesn’t have to end up in the trash. I’ve saved many disasters by crumbling the entire cake and layering it with whipped cream in glasses for elegant dessert parfaits. You can also blend portions with ice cream for a Biscoff cheesecake milkshake or roll the mixture into balls, freeze them, and dip in melted chocolate for cheesecake truffles.
Remember that even the most experienced bakers have their off days. Each mishap teaches you something new about the art of baking, making your next Biscoff cheesecake even more delicious.
Sources:

