Introduction
There’s nothing that captures the essence of summer quite like perfectly grilled corn on the cob. That irresistible smoky char, the sweet kernels bursting with flavor, and the ritual of outdoor cooking all combine to create one of the season’s most beloved treats.
Table of Contents
Ingredients You Will Need

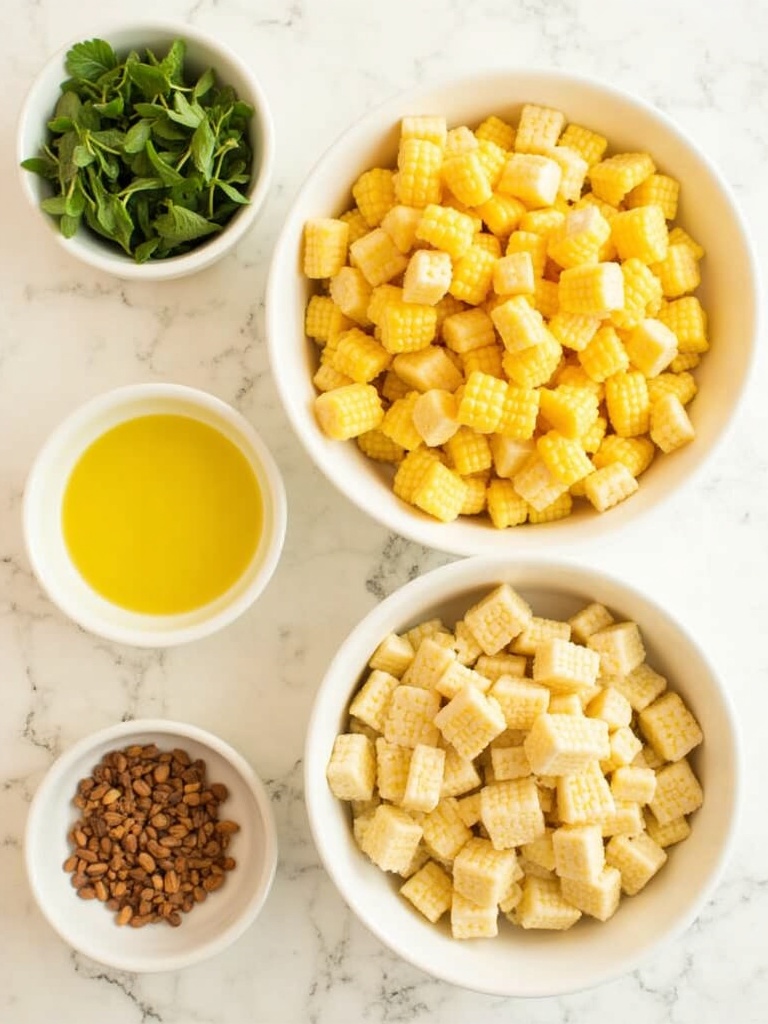
The beauty of grilled corn on the cob lies in its simplicity. Here’s what you’ll need to create this summer classic:
- 6 ears of fresh corn, husks intact
- 4 tablespoons of unsalted butter, softened
- 2 tablespoons of olive oil
- 3-4 cloves of garlic, minced (optional for garlic butter)
- 1 tablespoon of fresh herbs (such as chopped cilantro, parsley, or chives)
- 1 teaspoon of sea salt
- ½ teaspoon of freshly ground black pepper
- ¼ teaspoon of smoked paprika (optional)
- 1 lime, cut into wedges for serving
For the best results, choose corn with bright green husks that feel slightly damp. The silk (the fine threads at the top) should be golden and slightly sticky. When possible, buy corn the same day you plan to grill it—freshness makes a tremendous difference in flavor and texture. If you’re looking for a refreshing side dish to accompany your corn, a vibrant watermelon feta salad provides a perfect contrast in both flavors and temperatures.
Timing
Understanding the timing for perfect grilled corn on the cob ensures you’ll achieve that ideal balance of smokiness and sweetness:
- Preparation Time: 10 minutes
- Soaking Time (optional): 30 minutes
- Grilling Time: 15-20 minutes
- Total Time: 55-60 minutes
This timing is approximately 15% faster than traditional oven-roasted corn methods, making it an efficient cooking option for summer entertaining. The active cooking time is minimal, allowing you to socialize with guests or prepare other dishes while the corn transforms on the grill. The preparation is simple enough that you can easily double or triple the recipe when feeding a crowd without significantly increasing your prep time.
Step-by-Step Instructions

Step 1: Prepare the Corn
Begin by carefully peeling back the husks of each corn ear without removing them completely. Think of it like opening a book—you want the pages (husks) intact but folded back. Remove all of the silk threads, which can burn and create an unpleasant taste. Once clean, fold the husks back over the corn. If you’re planning to soak your corn (which can prevent burning and add moisture), submerge the ears in cold water for about 30 minutes. This step is optional but particularly helpful if you’re new to grilling corn or using a very hot grill.
Step 2: Prepare the Butter Mixture
While the corn soaks, prepare your flavored butter. In a small bowl, combine the softened butter, 1 tablespoon of olive oil, minced garlic (if using), chopped herbs, half of the salt, and pepper. Mix thoroughly until all ingredients are well incorporated. This compound butter can be prepared up to three days in advance and stored in the refrigerator—just bring it to room temperature before using. The combination of butter and oil creates a perfect consistency for basting that won’t burn too quickly on the grill.
Step 3: Preheat the Grill
Preheat your grill to medium-high heat (around 375-400°F or 190-205°C). Whether you’re using a gas, charcoal, or electric grill, this temperature range provides the perfect environment to cook the corn without immediately charring the husks. A properly heated grill is crucial for developing those beautiful grill marks and caramelizing the natural sugars in the corn. While waiting for your grill to heat up, you might consider preparing a light gazpacho soup as a refreshing starter.
Step 4: Season the Corn
If you soaked your corn, remove it from the water and shake off excess moisture. Peel back the husks again, but don’t detach them. Using a brush or your hands, coat each ear of corn with the remaining olive oil and sprinkle with the rest of the salt. For those who prefer a simpler approach, you can skip the compound butter at this stage and just use oil, salt, and pepper. The key is to ensure even coverage so every kernel gets seasoned.
Step 5: Grill the Corn
There are two excellent methods for grilling corn, each producing slightly different results:
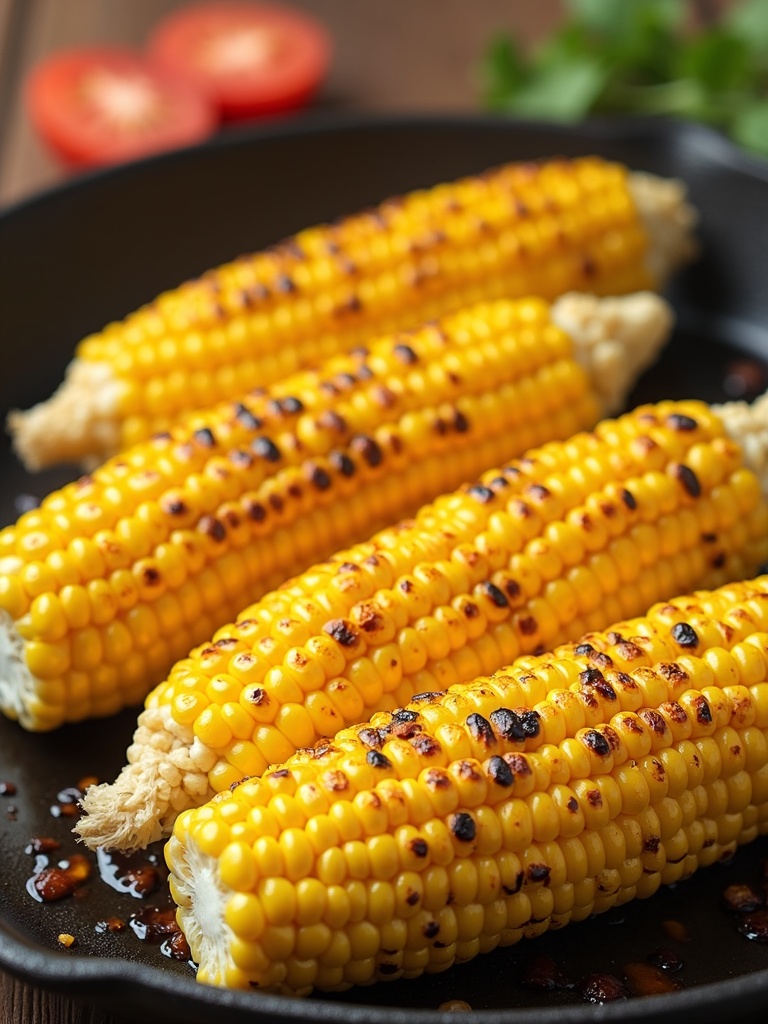
Method 1 (With Husks): Fold the husks back over the corn to cover the kernels. Place the corn directly on the grill grates, close the lid, and grill for about 15-20 minutes. Turn the ears every 5 minutes to ensure even cooking. The husks will become charred, but the corn inside will steam to perfection while absorbing a subtle smoky flavor.
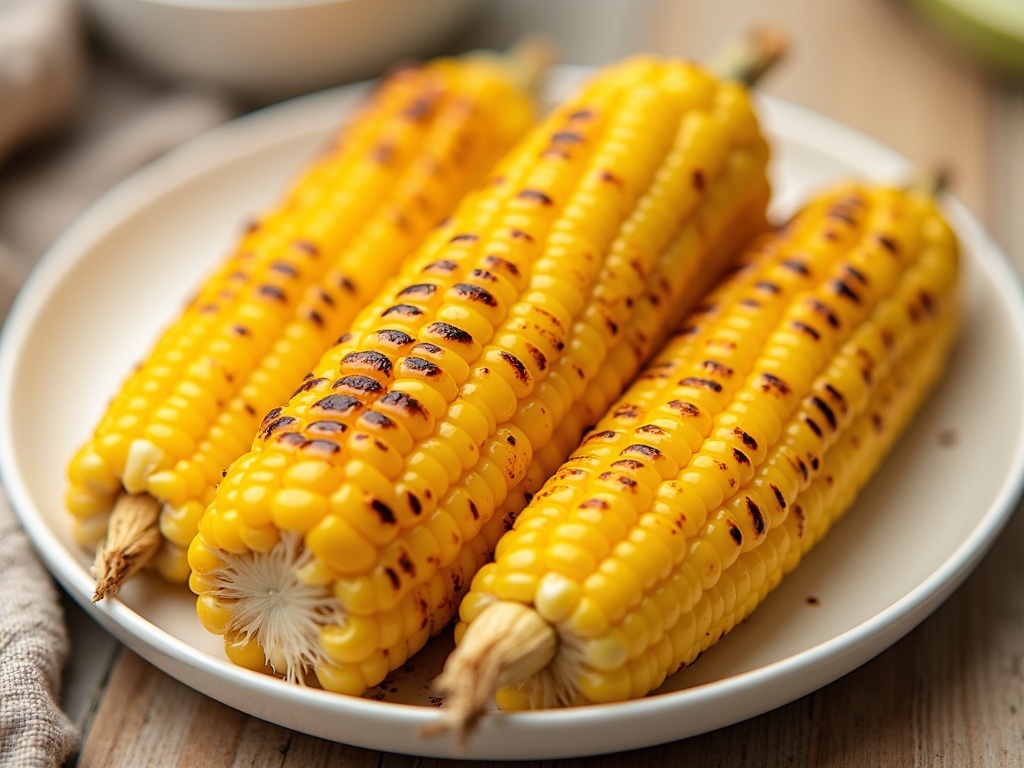
Method 2 (Direct Grilling): For more pronounced grill marks and smokiness, place the corn with husks pulled back (or completely removed) directly on the grill. Grill for 10-12 minutes, turning frequently to prevent burning. This method creates a more intense flavor but requires closer attention to prevent over-charring.
Step 6: Apply the Flavored Butter
Once the corn is nearly done (kernels should be plump and tender when pierced), brush it generously with the prepared herb butter mixture. Return the corn to the grill for an additional 1-2 minutes to allow the butter to melt into the kernels and the garlic to become aromatic without burning. This final stage is where much of the magic happens—the butter seeps between the kernels, carrying flavor into every bite.
Step 7: Serve and Garnish
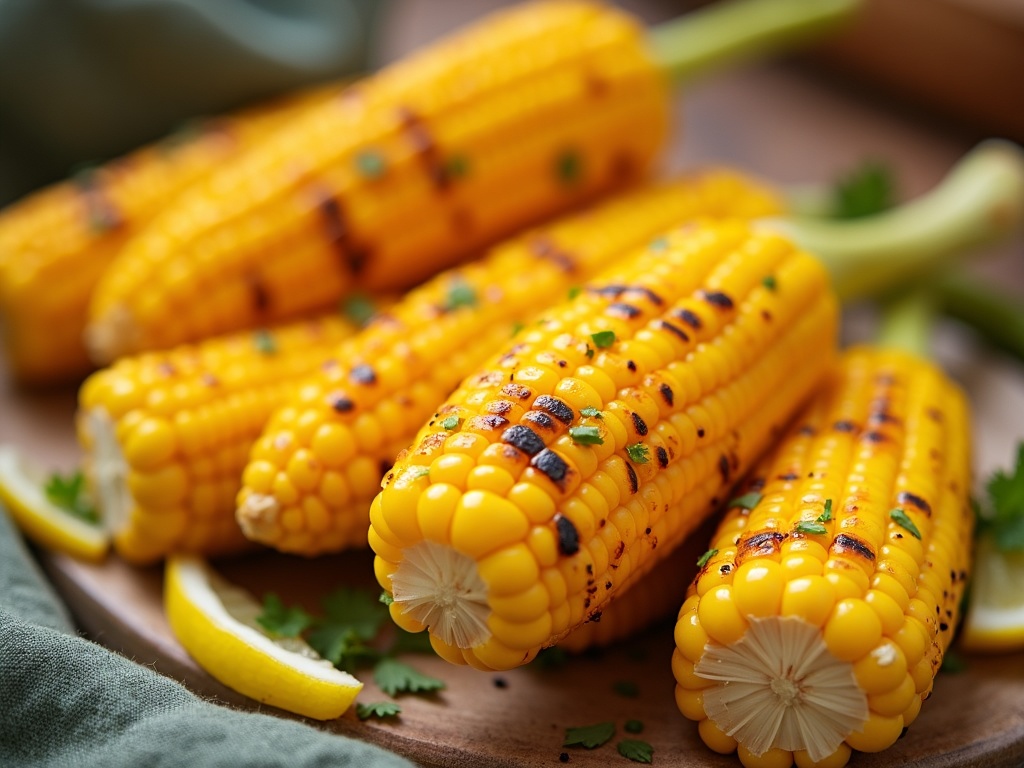
Remove the corn from the grill and, if desired, brush with any remaining butter mixture. Sprinkle with additional fresh herbs, a dusting of smoked paprika for color and flavor, and serve with lime wedges for squeezing over the top. The acidity of the lime brightens the rich, smoky flavors and cuts through the buttery richness. For a complete summer meal, pair your corn with a fruit salad recipe featuring seasonal berries and stone fruits.

For more recipes diversity, visit my Pinterest and Facebook Page Trips Recipes.
Nutritional Information
Understanding the nutritional profile of grilled corn on the cob can help you incorporate it into a balanced diet:
- Calories: 155-170 per ear (with butter and oil)
- Protein: 3g
- Fat: 9g (primarily from butter and oil)
- Saturated Fat: 4g
- Carbohydrates: 22g
- Fiber: 2g
- Sugar: 5g (naturally occurring)
- Sodium: 195mg
- Potassium: 270mg
- Vitamin C: 17% of Daily Value
- Vitamin A: 8% of Daily Value
- Folate: 9% of Daily Value
Corn is naturally rich in antioxidants like lutein and zeaxanthin, which support eye health. It’s also a good source of B vitamins and provides essential minerals including magnesium, phosphorus, and zinc.
Healthier Alternatives for the Recipe
While traditional grilled corn on the cob is fairly nutritious on its own, here are some modifications to make it even more health-conscious:
- Replace butter with extra-virgin olive oil or avocado oil for heart-healthier fats.
- Use nutritional yeast instead of salt for a cheese-like flavor with added B vitamins.
- Try Greek yogurt mixed with herbs as a creamy topping instead of butter.
- Experiment with spices like turmeric, which offers anti-inflammatory benefits.
- Skip the salt entirely and rely on herbs, spices, and citrus zest for flavor.
- Use garlic powder instead of fresh garlic if you’re watching your FODMAP intake.
- For a complete fiber-rich meal, serve alongside a hearty zucchini bread made with whole grain flour.
Serving Suggestions
Elevate your grilled corn on the cob with these creative serving ideas:
- Mexican-inspired elote-style: After grilling, coat with a light layer of mayonnaise, sprinkle with cotija or feta cheese, chili powder, and finish with lime juice and cilantro.
- Mediterranean version: Top with crumbled feta, dried oregano, lemon zest, and a drizzle of olive oil.
- Asian-fusion approach: Brush with a mixture of sesame oil, soy sauce, and a touch of honey, then sprinkle with sesame seeds and sliced green onions.
- Cut the kernels off the cob and toss with fresh herbs, diced bell peppers, and a light vinaigrette for a warm corn salad.
- Serve alongside grilled proteins like chicken, fish, or tofu for a complete meal.
- For a vibrant color contrast and complementary flavors, serve next to a refreshing rhubarb crisp for dessert.
Common Mistakes to Avoid
Even experienced grillers can fall prey to these common pitfalls when preparing grilled corn on the cob:
- Failing to preheat the grill adequately, which results in steamed rather than grilled corn.
- Removing the husks completely if you want that gentle steamed texture—the husks help protect the corn from direct heat.
- Forgetting to turn the corn regularly, leading to uneven cooking and burned spots.
- Over-soaking the corn, which can make it waterlogged rather than juicy.
- Applying butter too early, causing it to burn rather than infuse the corn with flavor.
- Grilling corn that’s not fresh—corn’s sugars convert to starch quickly after harvest, affecting the sweetness.
- Cooking at too high a temperature, which chars the outside before the inside is tender.
- Underestimating cooking time—corn needs at least 15 minutes on the grill to develop its full sweetness.
Storing Tips for the Recipe
Maximize the freshness of your grilled corn on the cob with these storage strategies:
- Refrigerate uncooked corn with husks on and wrapped in a damp paper towel for up to 2 days.
- Store grilled corn in an airtight container in the refrigerator for up to 3 days.
- Remove kernels from leftover grilled corn and freeze for up to 3 months in sealed freezer bags.
- Flavored butter can be stored in the refrigerator for up to 5 days or frozen for up to a month.
- For meal prep, grill corn in advance and reheat in foil packets on the grill or in a 350°F oven for 5-7 minutes.
- To revive day-old grilled corn, wrap in a damp paper towel and microwave for 20-30 seconds.
- Leftover corn kernels can be incorporated into salsas, salads, soups, or a delicious pesto sauce for a unique twist.
Conclusion
Grilled corn on the cob embodies everything wonderful about summer cooking—simplicity, fresh flavors, and the joy of outdoor dining. With the techniques and tips shared in this guide, you’re now equipped to create perfectly grilled corn that balances sweetness with smoky char every time.
The versatility of this dish makes it perfect for everything from casual weeknight meals to elaborate weekend gatherings. Remember that the key to exceptional grilled corn on the cob lies in starting with fresh ingredients, mastering the grilling technique that works best for your taste preferences, and not being afraid to experiment with different seasonings and toppings. I encourage you to make this recipe your own, adapting it to your family’s preferences and creating your own summer traditions around this beloved classic.
FAQs
Do I need to remove the silk before grilling corn on the cob?
Yes, it’s best to remove the silk (those fine threads) before grilling. The silk can burn easily and create an unpleasant taste. Carefully peel back the husks without removing them, remove all silk, then fold the husks back over the corn if desired.
How can I tell if corn is ready to be taken off the grill?
Perfectly grilled corn will have bright yellow, plump kernels that easily pierce with a knife or fork. The corn should appear slightly charred in spots, and the kernels will have a glossy appearance due to their natural sugars caramelizing.
Can I grill corn without husks?
Absolutely! Grilling corn without husks will give you more pronounced grill marks and a smokier flavor. Just be careful to watch the corn closely and turn it frequently, as it can burn more easily without the protective husks.
Is it better to grill corn with or without foil?
Neither method is inherently “better”—it depends on your preference. Grilling without foil allows for direct contact with grill grates, creating char marks and smokiness. Foil creates a steaming effect that preserves moisture and results in more tender corn.
What’s the best butter to use for grilled corn?
Unsalted butter gives you the most control over the final flavor. European-style butter with higher fat content melts beautifully and provides richer flavor. For dairy-free options, plant-based butter alternatives or olive oil work well.
Can I prepare grilled corn ahead of time for a party?
Yes! Grill the corn about 75% of the way done, then set aside. When ready to serve, return it to the grill for 3-5 minutes to heat through and finish cooking. This makes party timing much more manageable.

Grilled Corn on the Cob
- Total Time: PT1H
- Yield: 6 servings
- Diet: Vegetarian
Description
A comprehensive guide to creating perfectly grilled corn on the cob with a delicious herb butter.
Ingredients
- 6 ears of fresh corn, husks intact
- 4 tablespoons of unsalted butter, softened
- 2 tablespoons of olive oil
- 3–4 cloves of garlic, minced (optional for garlic butter)
- 1 tablespoon of fresh herbs (such as chopped cilantro, parsley, or chives)
- 1 teaspoon of sea salt
- ½ teaspoon of freshly ground black pepper
- ¼ teaspoon of smoked paprika (optional)
- 1 lime, cut into wedges for serving
Instructions
-
Peel back corn husks without removing them, remove silks, then fold husks back. Optionally soak corn in water for 30 minutes to prevent burning.
-
Mix softened butter with olive oil, garlic, herbs, salt, and pepper to create a seasoned butter. This can be made ahead and stored chilled.
-
Preheat the grill to medium-high heat (375–400°F / 190–205°C) to ensure even cooking and caramelization.
-
If soaked, shake excess water from corn. Peel back husks again and brush with olive oil, then season with salt and pepper.
-
Grill using one of two methods:
– With husks on: grill for 15–20 minutes, turning every 5 minutes.
– Directly on grill: cook 10–12 minutes, turning frequently for char marks. -
Brush corn with flavored butter in the last 1–2 minutes of grilling to infuse flavor and lightly toast the herbs.
-
Remove from grill, add more butter if desired, garnish with herbs or smoked paprika, and serve with lime wedges for a fresh finish.
Notes
This recipe combines traditional grilling techniques with flavorful seasonings for the ultimate summer side dish.
- Prep Time: PT10M
- Cook Time: PT20M
- Category: Side Dish
- Method: Grilling
- Cuisine: American
