Introduction
There’s nothing like the smell of peach crisp recipe baking on a warm summer day. With sweet, juicy peaches and a crispy, buttery topping, it’s simple, nostalgic, and full of flavor. This easy recipe doesn’t need special tools—just fresh peaches and a few pantry staples. Whether you grow your own or buy them locally, this dessert brings out the best in peaches. By the end, you’ll be ready to make a peach crisp everyone will love.
Table of Contents
Ingredients You Will Need

For the perfect peach crisp recipe, gathering the right ingredients makes all the difference. The beautiful thing about this dessert is how simple ingredients transform into something magical when combined. Here’s everything you’ll need:
For the Peach Filling:
- 8 medium ripe peaches (about 2½ pounds), sliced
- ¼ cup granulated sugar
- 2 tablespoons brown sugar
- 1 tablespoon fresh lemon juice
- 1 teaspoon vanilla extract
- 2 tablespoons cornstarch
- ½ teaspoon ground cinnamon
- ¼ teaspoon salt
For the Crisp Topping:
- 1 cup old-fashioned rolled oats
- ¾ cup all-purpose flour
- ⅔ cup brown sugar, packed
- ½ cup cold unsalted butter, cubed
- ½ teaspoon ground cinnamon
- ¼ teaspoon ground nutmeg
- ¼ teaspoon salt
The key to this peach crisp recipe is using perfectly ripe peaches that are sweet and fragrant. If peaches aren’t in season, you can substitute with frozen peaches (thawed and drained) or even mix in some berries for a variation. For a gluten-free version, simply swap the all-purpose flour with your favorite gluten-free blend. The vanilla extract adds depth to the filling, complementing the natural refreshing flavor of summer gazpacho soup that we sometimes enjoy as a starter before serving this delightful dessert.
Timing
Creating this delectable peach crisp recipe doesn’t require hours in the kitchen, which is part of what makes it such a perfect dessert option for both casual weeknights and special occasions.
- Preparation time: 20 minutes
- Cooking time: 45 minutes
- Total time: 1 hour 5 minutes
This dessert requires 35% less active preparation time than many other baked desserts, making it perfect for busy home cooks. The hands-on portion is brief, while the oven does most of the work. This efficiency doesn’t sacrifice quality—in fact, the extended baking time allows the flavors to develop beautifully, similar to how slow-cooked smoked ribs develop their rich flavor profile over time.
Step-by-Step Instructions

Step 1: Prepare Your Peaches
Begin by preheating your oven to 350°F (175°C). Wash your peaches thoroughly under cool running water. To peel or not to peel is a personal choice—I often leave the skins on for added color, texture, and nutrients. If you prefer peeled peaches, score the bottoms with an “X” and blanch them in boiling water for 30 seconds, then transfer to an ice bath. The skins should slip off easily.
Slice the peaches into ½-inch wedges directly into a large mixing bowl. Aim for consistent sizing to ensure even cooking, just like you would when preparing vegetables for a flavorful pesto sauce recipe.
This technique of uniform cutting ensures even cooking, similar to how we prepare fruits for our pumpkin banana loaf.
Step 2: Create the Peach Filling
To your sliced peaches, add the granulated sugar, 2 tablespoons brown sugar, lemon juice, vanilla extract, cornstarch, cinnamon, and salt. The cornstarch is crucial for thickening the juices released by the peaches as they bake. Gently fold everything together, taking care not to crush the peaches. Let the mixture sit for about 5 minutes to allow the flavors to meld.
Step 3: Prepare the Baking Dish
While the peach filling rests, lightly butter an 8×8-inch baking dish or a 9-inch pie plate. This prevents sticking and adds a subtle richness. Pour the peach mixture into the prepared dish, spreading it evenly.
Step 4: Make the Crisp Topping
In another bowl, combine the oats, flour, brown sugar, cinnamon, nutmeg, and salt for the topping. Mix thoroughly to ensure even distribution of the spices. Add the cold butter cubes and use your fingertips to work the butter into the dry ingredients. This step is similar to making pastry—you want to achieve a crumbly texture with pieces ranging from pea-sized to small crumbs. The cold butter is essential for creating that perfect crispy texture, much like how cold ingredients are crucial when preparing a crisp refreshing watermelon feta salad.
Step 5: Assemble and Bake
Sprinkle the crisp topping evenly over the peach filling, covering it completely. Slight mounding in the center is fine, as the filling will bubble up around the edges during baking.
Place the baking dish on a sheet pan to catch any potential overflow. Bake in the preheated oven for 40-45 minutes, until the topping is golden brown and the filling is bubbling around the edges.
Step 6: Cool and Serve
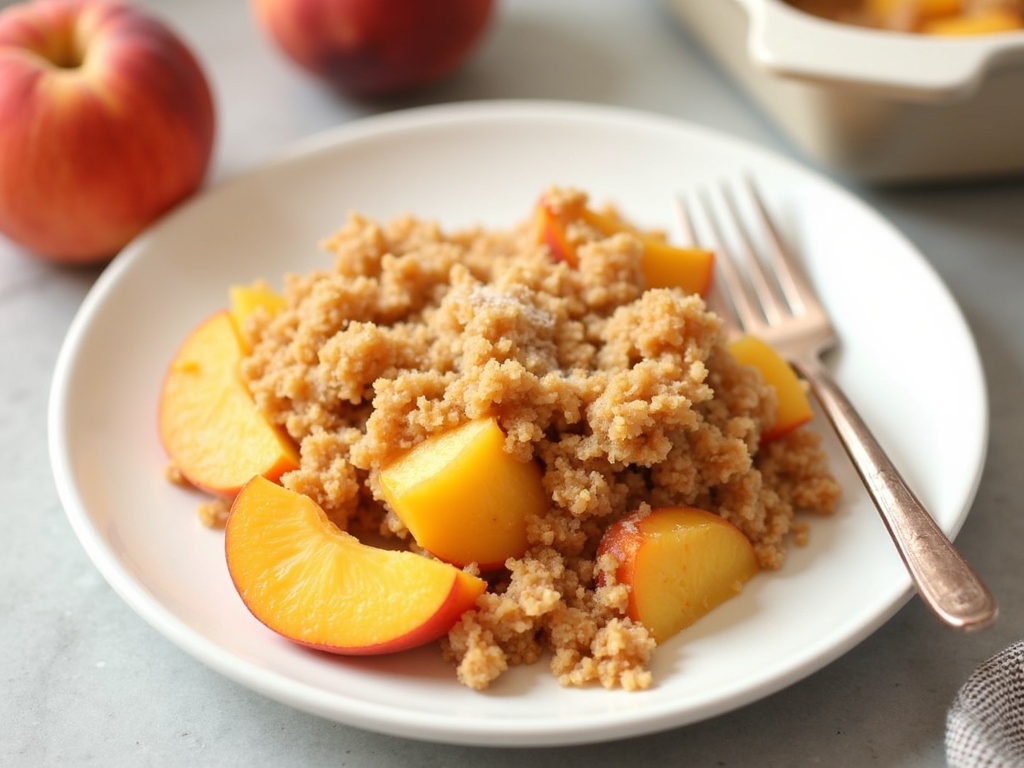
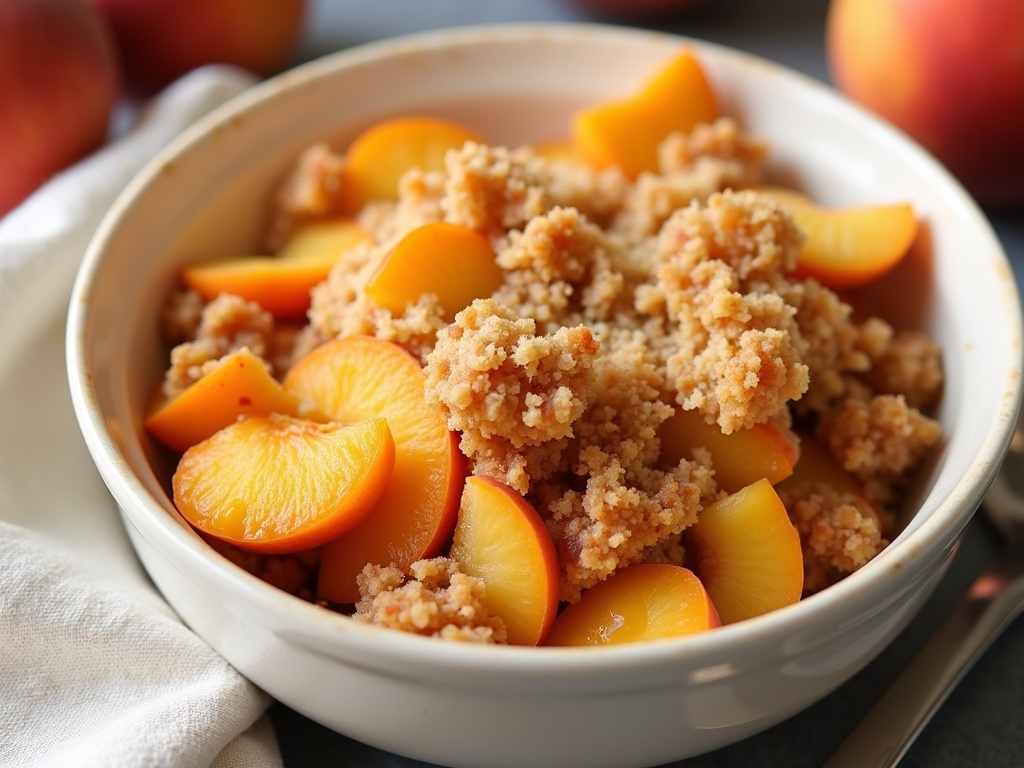
Remove your peach crisp recipe masterpiece from the oven and allow it to cool for at least 15 minutes. This cooling period is crucial as it allows the filling to set and makes serving easier. The crisp can be served warm, at room temperature, or even cold from the refrigerator. For the ultimate experience, top with a scoop of vanilla ice cream or a dollop of whipped cream.
The contrast of temperatures and textures creates a truly memorable dessert, similar to how we serve our creme brulee recipe with contrasting textures.

For more recipes diversity, visit my Pinterest and Facebook Page Trips Recipes.
Nutritional Information
This peach crisp recipe offers a balance of indulgence and nutritional benefits. Here’s a breakdown of the nutritional content per serving (based on 8 servings):
- Calories: 320
- Carbohydrates: 55g
- Protein: 4g
- Fat: 12g
- Saturated Fat: 7g
- Fiber: 4g
- Sugar: 38g
- Sodium: 120mg
Remember that this dessert provides beneficial nutrients from the peaches, including:
- Vitamin C for immune support
- Vitamin A for vision health
- Potassium for heart health
- Dietary fiber for digestive health
The oats in the topping add additional fiber and nutrients, making this a more nutritionally balanced dessert option compared to many others.
Healthier Alternatives for the Recipe
This peach crisp recipe can be easily modified to suit various dietary preferences without sacrificing flavor:
- Reduce the sugar by up to one-third in both the filling and topping for a less sweet version that allows the natural peach flavor to shine.
- Substitute coconut oil for butter to create a dairy-free version with a subtle tropical note.
- Replace all-purpose flour with almond flour or oat flour for a gluten-free alternative with added protein.
- Use coconut sugar or maple syrup instead of brown sugar for less processed sweetener options.
- Add a handful of chopped nuts like almonds or pecans to the topping for extra protein, healthy fats, and crunch.
- Incorporate a tablespoon of ground flaxseed into the topping for added omega-3 fatty acids.
- Mix in fresh berries with the peaches for additional antioxidants and a beautiful color contrast, similar to how ingredients complement each other in a classic bruschetta recipe.
Serving Suggestions
Elevate your peach crisp recipe with these creative serving ideas:
- Serve warm with a scoop of vanilla bean ice cream for the classic temperature contrast.
- Drizzle with a small amount of honey and sprinkle with fresh thyme leaves for an herbal note.
- Pair with Greek yogurt sweetened with a touch of honey for a protein-rich breakfast option.
- Create a parfait by layering the crisp with yogurt and granola in a clear glass.
- Offer alongside a cheese plate featuring aged cheddar or brie for a sophisticated dessert course.
- Serve with homemade peach ice cream for an intensified peach experience.
- Garnish with edible flowers like pansies or nasturtiums for a beautiful presentation at special gatherings.
- Create miniature versions in ramekins for individual servings at dinner parties, similar to how I might serve individual portions of southern tomato pie recipe as a starter.
Common Mistakes to Avoid
When making this peach crisp recipe, watch out for these potential pitfalls:
- Using underripe peaches that lack sweetness and won’t soften properly during baking. Choose fruit that yields slightly to gentle pressure.
- Slicing the peaches too thinly, which can cause them to dissolve during baking. Aim for ½-inch wedges for the perfect texture.
- Skipping the cornstarch, which is essential for thickening the juices. Without it, you’ll end up with a soupy consistency.
- Using warm or room-temperature butter for the topping instead of cold butter, resulting in a less crispy texture.
- Overcrowding the baking dish, which prevents proper air circulation. Choose a dish that allows at least 1 inch of space from the filling to the rim.
- Serving immediately after baking, not allowing sufficient time for the filling to set. Patience yields better results!
- Not adjusting sweetness based on the natural sweetness of your peaches. Taste and adjust accordingly.
- Overbaking, which can burn the topping before the filling is properly cooked. Use foil to cover if the top browns too quickly.
Storing Tips for the Recipe
Extend the enjoyment of your peach crisp recipe with these storage recommendations:
- Store leftovers covered in the refrigerator for up to 4 days, though the topping will gradually soften over time.
- Reheat individual portions in a 350°F oven for 10-15 minutes to restore some crispness to the topping.
- Freeze baked peach crisp for up to 3 months in an airtight container. Thaw overnight in the refrigerator before reheating.
- Prepare the crisp topping in advance and freeze for up to 3 months, then use directly from frozen on fresh peach filling.
- For a make-ahead option, assemble the entire dish, cover tightly, and refrigerate for up to 24 hours before baking. Add 5-10 minutes to the baking time if starting from cold.
- Individual ramekins of peach crisp freeze exceptionally well and can be baked directly from frozen—perfect for unexpected guests.
- The crisp topping can be made in larger batches and stored in the freezer, ready for any fruit crisp cravings throughout the year.
Conclusion
This peach crisp recipe celebrates the perfect harmony between juicy, sweet peaches and a crunchy, buttery topping. I’ve shared not just a recipe, but a versatile framework that you can adapt to your preferences and available ingredients throughout the seasons. What makes this dessert special is its beautiful simplicity that allows the star ingredient—fresh peaches—to truly shine.
Whether you’re a seasoned baker or new to dessert-making, this approachable recipe delivers impressive results that will have everyone thinking you spent hours in the kitchen. The combination of textures and flavors creates a sensory experience that’s greater than the sum of its parts.
I encourage you to try this recipe while peaches are at their peak, and don’t hesitate to experiment with the variations I’ve suggested. Remember, the best recipes evolve as you make them your own. I’d love to hear how your peach crisp turns out and what personal touches you add to make it special for your family and friends!
FAQs
Can I make this peach crisp recipe with canned peaches?
Yes, you can use canned peaches when fresh aren’t available. Drain them well and reduce the sugar in the filling by half since canned peaches are typically packed in syrup. You may also need to increase the cornstarch slightly to account for the extra moisture.
How do I know when peaches are ripe enough for this recipe?
The perfect peach for this peach crisp recipe should yield slightly to gentle pressure, have a sweet aroma, and feel heavy for its size. Avoid peaches with green undertones, as they were picked too early and won’t ripen properly.
Can I make this recipe ahead of time for a party?
Absolutely! You can prepare the entire dish up to 24 hours ahead and refrigerate it unbaked. When ready to serve, bake as directed, adding 5-10 minutes to the baking time since you’re starting with a cold dish.
Is peach crisp the same as peach cobbler?
No, they’re different desserts. This peach crisp recipe features a streusel-like topping made with oats, flour, butter, and sugar. Cobbler, on the other hand, has a biscuit or cake-like topping that’s dropped or poured over the fruit.
How can I tell when my peach crisp is done baking?
Your crisp is done when the topping is golden brown and the filling is bubbling around the edges. If the top browns too quickly while the filling isn’t bubbling yet, cover with foil and continue baking.
Can I make this recipe gluten-free?
Yes! Simply substitute the all-purpose flour with a gluten-free flour blend or almond flour, and ensure your oats are certified gluten-free (some are processed in facilities with wheat).

The Perfect Peach Crisp Recipe
- Total Time: PT1H5M
- Yield: 8 servings
- Diet: Vegetarian
Description
A delicious homemade peach crisp with juicy peaches and crispy oat topping
Ingredients
For the Peach Filling:
-
- 8 medium ripe peaches (about 2½ pounds), sliced
-
- ¼ cup granulated sugar
-
- 2 tablespoons brown sugar
-
- 1 tablespoon fresh lemon juice
-
- 1 teaspoon vanilla extract
-
- 2 tablespoons cornstarch
-
- ½ teaspoon ground cinnamon
-
- ¼ teaspoon salt
For the Crisp Topping:
-
- 1 cup old-fashioned rolled oats
-
- ¾ cup all-purpose flour
-
- ⅔ cup brown sugar, packed
-
- ½ cup cold unsalted butter, cubed
-
- ½ teaspoon ground cinnamon
-
- ¼ teaspoon ground nutmeg
-
- ¼ teaspoon salt
Instructions
1: Prepare Your Peaches
Preheat the oven. Wash and optionally peel the peaches (blanch if peeling). Slice them evenly into wedges for consistent baking.
2: Create the Peach Filling
Mix the peach slices with sugars, lemon juice, vanilla, cornstarch, cinnamon, and salt. Gently stir and let sit for 5 minutes to combine flavors and thicken.
3: Prepare the Baking Dish
Butter the baking dish and evenly spread the peach mixture inside to prevent sticking and add richness.
4: Make the Crisp Topping
Combine oats, flour, sugar, spices, and salt. Cut in cold butter with fingers to form a crumbly texture, similar to making pastry.
5: Assemble and Bake
Top the peach filling with the crisp mixture. Bake for 40–45 minutes until golden and bubbly, placing the dish on a sheet pan to catch overflow.
6: Cool and Serve
Let the crisp cool for 15 minutes to set. Serve warm, cold, or room temp—ideally with ice cream or whipped cream for a perfect finish.
Notes
Perfect summer dessert using fresh seasonal peaches
- Prep Time: PT20M
- Cook Time: PT45M
- Category: Dessert
- Method: Baking
- Cuisine: American
