Pumpkin painting Ideas have risen as a safer, longer-lasting option compared to traditional carving, with 58% of families now selecting this creative approach for Halloween decorations. From character designs and seasonal themes to glitter details and textured methods, pumpkin painting delivers endless possibilities for creating eye-catching autumn decorations that appeal to everyone, regardless of age or artistic ability.
Find In This Article
Key Takeaways
- Character-inspired pumpkins using simplified designs create instantly recognizable decorations, with monsters, ghosts, and cartoon characters being popular choices.
- Seasonal motifs like fall leaves, acorns, and woodland creatures extend the decorative life of painted pumpkins beyond Halloween through Thanksgiving.
- Essential supplies include acrylic paints in basic colors, various brush sizes, and optional embellishments like glitter, stencils, and 3D elements.
- Proper preparation, including cleaning the pumpkin surface and applying thin paint layers with adequate drying time, prevents common mistakes and ensures professional-looking results.
- Creative variations such as marbled effects, textured pumpkins, and non-Halloween themes offer sophisticated alternatives for seasonal home decor that last throughout autumn.
Spooky and Creative Designs That Will Make Your Pumpkins Pop
I’ve found that painting pumpkins offers a safer, longer-lasting alternative to carving. It’s no surprise that 58% of families now choose painting over carving for Halloween decorations. This trend has sparked an explosion of creative designs that range from spooky to whimsical, making pumpkin painting a perfect autumn activity for all ages.
Character-Inspired Pumpkins
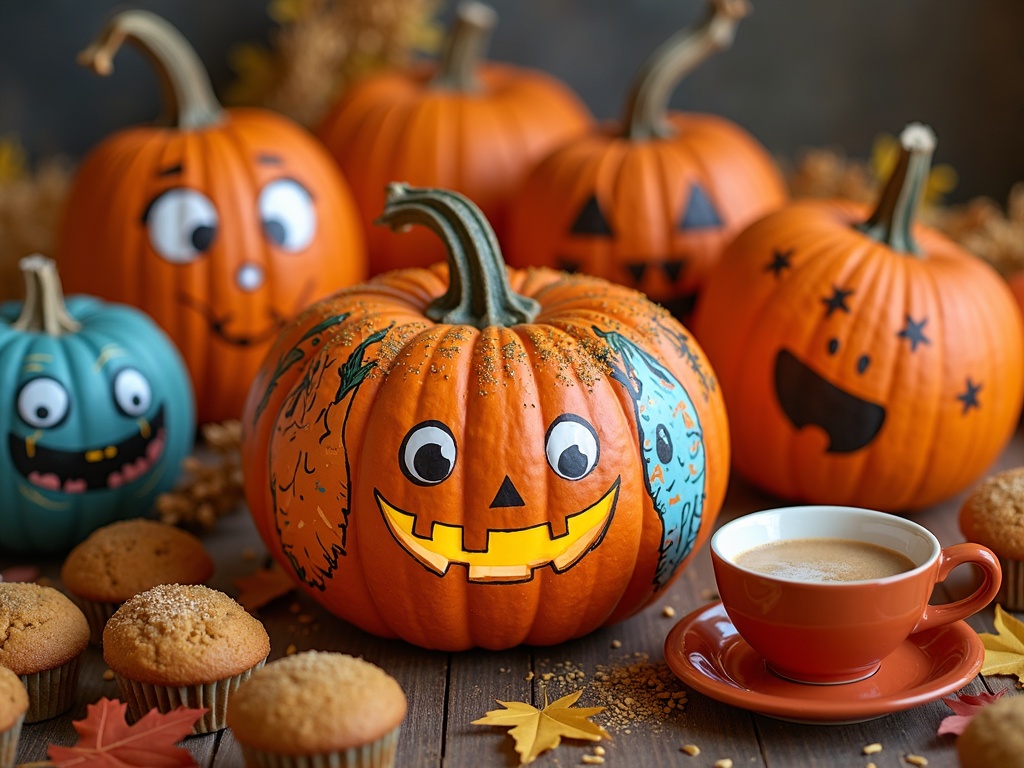
Transforming your pumpkin into a favorite character creates instant recognition and charm. I start with a base coat in the character’s primary color before adding the defining features. For monsters, I use deep greens for Frankenstein’s monster with black stitches and bolts. Ghost designs work beautifully with a white base and simple black features for a classic look.
For a fun twist, cartoon characters make delightful pumpkin subjects. Children especially love seeing their favorite TV personalities come to life on a pumpkin. The key is simplifying the design to capture just the essential elements that make the character recognizable.
These character pumpkins pair wonderfully with other seasonal autumn treats when hosting Halloween gatherings. They create conversation pieces while guests enjoy festive foods.
Seasonal and Trending Designs
Fall-themed motifs celebrate the season beyond Halloween. I’ve created gorgeous designs featuring:
- Colorful fall leaves in red, orange, and yellow cascading down the pumpkin
- Rustic acorn patterns with gold and bronze metallic accents
- Harvest scenes with wheat stalks, cornucopias, and autumn flora
- Woodland creatures nestled among fall elements
Current trends have introduced exciting new techniques to pumpkin painting. I’ve incorporated glitter accents for sparkle that catches light beautifully, especially on pumpkin-themed party tables. Adding 3D textures with materials like puffy paint creates dimension that standard painting can’t achieve.
For a more sophisticated look, I sometimes create ombre effects or galaxy patterns using sponges and multiple paint colors. These designs work perfectly alongside pumpkin chocolate chip muffins for a complete seasonal display.
When painting with families, I suggest focusing on simple techniques that produce impressive results. Dot painting creates beautiful mandalas and patterns that even young children can master. Stencils help achieve clean designs for those less confident in their freehand abilities.
For a tasty complement to your painting session, I recommend preparing pumpkin coffee or pumpkin protein balls as snacks that carry through the theme while keeping creative energy high.
The best part about painted pumpkin decorations is their versatility – they can match any home décor and last throughout the season without the mess and decay of carved versions.
Essential Tools and Materials for Perfect Pumpkin Painting
Getting ready for a pumpkin painting session means gathering the right supplies first. I’ve painted dozens of pumpkins over the years and discovered that having quality materials makes all the difference between a mediocre project and a stunning seasonal decoration.
Paint and Brush Selection
Acrylic paints are perfect for pumpkin painting because they adhere well to the surface and dry quickly. I always make sure to have these essential colors on hand:
- Orange (for touch-ups or base coats)
- Black (for outlines and details)
- White (for highlights and mixing lighter shades)
- Green (for stems and leaves)
- Additional colors based on your design vision
For brushes, I recommend having at least 3-4 different sizes. Flat brushes work great for covering larger areas and creating bold strokes, while round brushes are essential for details and fine lines. Even a basic set with small, medium, and large options will serve you well.
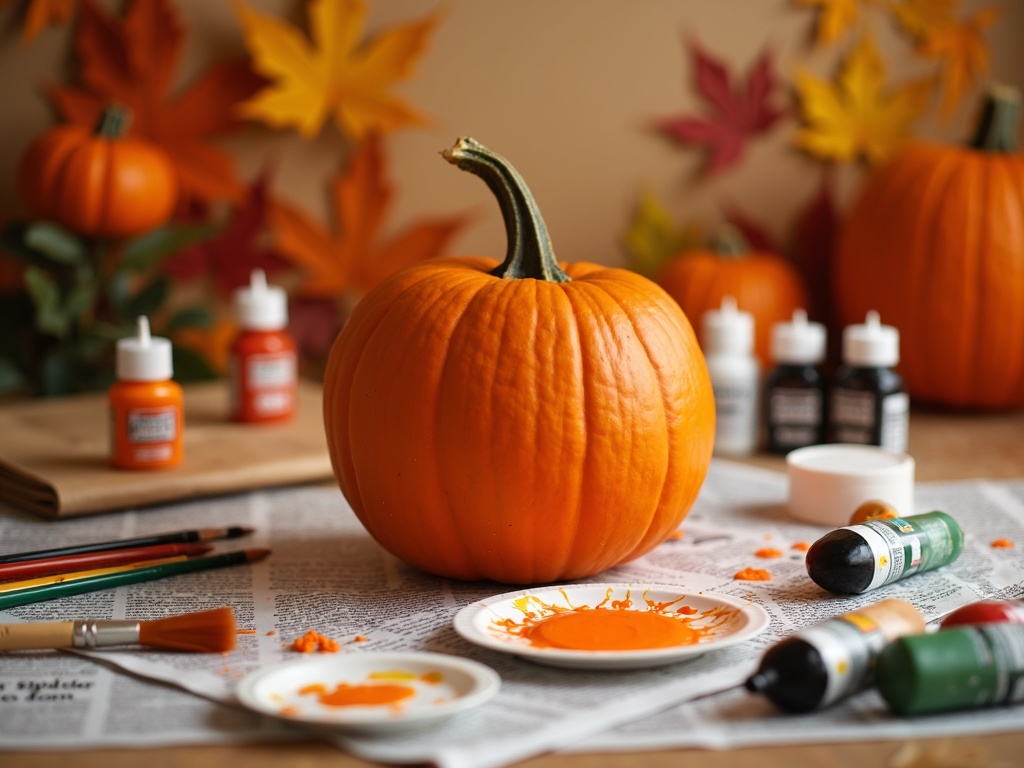
When it comes to mixing colors, simple paper plates work surprisingly well as disposable palettes. If you plan to paint pumpkins regularly, investing in a plastic palette with wells for different colors might be worth it.
Don’t forget to protect your work surface! I lay down newspapers or a plastic tablecloth before starting—acrylic paint can be stubborn to remove once dried.
The standard 10-20 pound pumpkin provides an ideal painting canvas—not too small to limit your creativity but not so large that the project becomes overwhelming. For beginners, I often suggest trying simple pumpkin designs before attempting more complex patterns.
After finishing your masterpiece, a clear sealant spray helps protect your artwork from the elements. This is particularly important if you plan to display your painted pumpkin outdoors where it might face rain or moisture.
Optional Embellishments
For those looking to add extra flair, consider these optional embellishments:
- Glitter (fine or chunky depending on your style)
- Seasonal stickers for quick accents
- Stencils for creating precise patterns
- Ribbons or twine for finishing touches
- Googly eyes for whimsical characters
I found that having stencils is particularly helpful for creating consistent patterns or letters if you’re adding text to your pumpkin design. You can purchase these or make your own from cardstock.
For those who enjoy seasonal crafting beyond just pumpkins, many of these supplies can be used for other autumn projects as well. I often coordinate my pumpkin designs with other fall decorations for a cohesive look.
Before starting your painting session, make sure your pumpkin is clean and dry. A light wipe with a damp cloth removes dirt, and allowing it to dry completely helps the paint adhere better. For extra-smooth results, some crafters lightly sand the pumpkin surface, though this isn’t strictly necessary.
If you’re working with kids, washable acrylic paints are a smart choice. They offer vibrant colors similar to traditional pumpkin shades but clean up much more easily from little hands and surfaces.
For more complex designs, pencil sketching your idea directly onto the pumpkin before painting helps ensure proper placement and proportions. Light pencil marks will be covered by your paint layers but provide helpful guidelines as you work.

Step-by-Step Painting Process
Before diving into creating masterpieces on pumpkins, I need to prepare properly. The painting process becomes much smoother with the right approach, and I can avoid common pitfalls that might ruin my festive decoration.
Preparation and Painting Techniques
First, I thoroughly clean the pumpkin surface with mild soap and water, removing any dirt or debris. After drying it completely, I sketch my design with a pencil—this provides a helpful roadmap for painting and prevents major mistakes. For complex designs, I apply a light-colored base coat, typically white or cream, which makes subsequent colors pop more vibrantly.
When I’m ready to paint, I select brushes appropriate for the detail level needed:
- Larger flat brushes work well for covering background areas
- Medium round brushes help with general shapes and patterns
- Fine detail brushes are perfect for intricate elements like facial features or delicate lines
I always allow proper drying time between paint layers—usually 20-30 minutes depending on paint thickness. Rushing this step can cause colors to blend unintentionally or create smudges.
For added dimension, I incorporate embellishments after the paint has fully dried. Glitter, rhinestones, stickers, or even natural elements like twigs for stems add interesting texture to my autumn-themed pumpkin creations.
As a final step, I apply a clear sealant spray to protect my artwork, especially if the pumpkin will be displayed outdoors. This helps guard against moisture and extends the life of my decorated pumpkin display.
I’ve found that painting pumpkins offers a less messy alternative to traditional carving. In fact, 90% of participants find painting less messy than carving, making it a great option for creating with kids or when I want to avoid the fuss of pumpkin innards.
For those who enjoy baking while crafting, trying a chocolate chip pumpkin bread recipe makes for a perfect companion activity. I can sip on a warm pumpkin coffee while my painted layers dry, truly embracing the seasonal spirit.
Once I master basic techniques, I can advance to more complex designs like those seen on pumpkin spice cake decorations or create mini painted pumpkin protein balls as unique party favors.
Common Mistakes and How to Avoid Them
I’ve painted dozens of pumpkins over the years and made pretty much every mistake possible. Trust me, learning from my failures will save you time and frustration when creating your seasonal masterpieces.
Surface Preparation and Paint Application Issues
Skipping proper surface preparation is probably the most common error I see beginners make. When you don’t clean and dry your pumpkin thoroughly, paint simply won’t stick properly. I always wipe my pumpkins with a damp cloth to remove dirt, then follow with a dry towel. For extra insurance, I’ll sometimes use a tiny bit of rubbing alcohol on a cloth to remove any natural oils from the surface.
Paint thickness is another crucial factor that can make or break your pumpkin art. I’ve learned that applying paint too thickly leads to:
- Running and dripping that ruins your design
- Significantly longer drying times
- Cracking as the paint dries
- Wasted paint and materials
Instead, I apply multiple thin layers, allowing each to dry completely before adding the next. This approach creates a much more professional finish and actually saves time in the long run.
Patience truly is key when painting pumpkins. Not allowing proper drying time between layers has ruined more than one of my autumn decorating projects. When you rush this process, colors blend together unintentionally, and fine details get smudged. I typically wait at least 30 minutes between layers, though humidity and temperature can affect drying times.
Paint selection matters tremendously. Using oil-based paints instead of acrylics is a mistake I made early on. Oil paints take forever to dry on pumpkin surfaces and tend to remain tacky. Acrylic paints are ideal for pumpkin painting because they dry quickly and adhere well to the surface. Plus, they clean up easily with water if you make a mistake.
For those looking to try different techniques, pumpkin painting while enjoying homemade treats makes for a perfect autumn afternoon activity. Just be sure to keep your snacks separate from your painting area!
One mistake that’s particularly heartbreaking is creating a beautiful pumpkin design only to have it deteriorate quickly outdoors. Forgetting to apply a sealant for outdoor displays means your hard work might literally wash away with the first rain. I always finish my pumpkins with 2-3 light coats of clear acrylic sealer, allowing each coat to dry completely.
Temperature conditions during painting can also affect your results. I’ve found that working in extremely cold environments slows drying time dramatically, while too much heat can cause paint to dry before you’ve finished blending properly. Room temperature is ideal for pumpkin decorating sessions.
Brush care is something many beginners overlook. Leaving paint to dry on brushes ruins them quickly. I keep a cup of water nearby to rinse brushes between colors and thoroughly wash them when I’m done for the day.
Finally, don’t make the mistake of limiting yourself to just traditional orange pumpkins. White, green, and even multi-colored gourds can make for striking and unique seasonal decorations that stand out from the crowd.
By avoiding these common mistakes, your pumpkin painting projects will turn out beautifully, lasting throughout the autumn season and becoming cherished decorations year after year.
Creative Variations to Try
Fall has arrived, and I’m excited to share some unique pumpkin painting ideas that go beyond the traditional jack-o’-lantern. Whether you’re looking for a sophisticated centerpiece or a fun family activity, these creative variations will transform ordinary pumpkins into stunning decorations that can last throughout the autumn season.
Dazzling Decorative Techniques
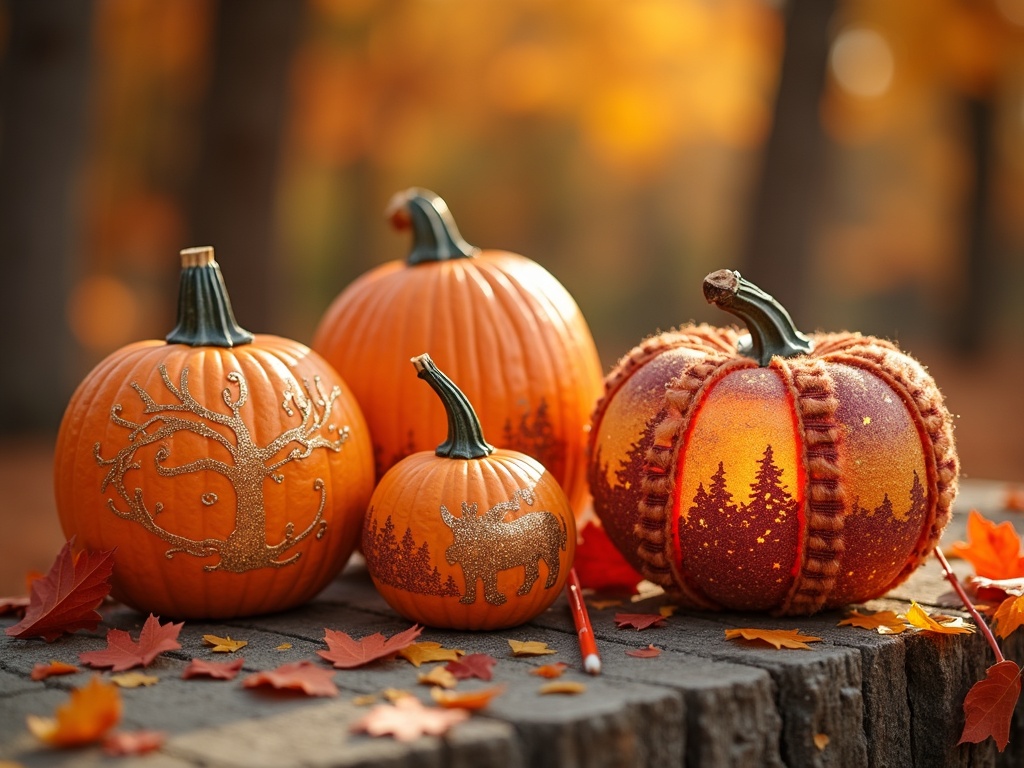
Want to add some sparkle to your fall decor? Glitter pumpkins are surprisingly simple to create yet make a dramatic impact. I start by applying craft adhesive to specific areas or patterns on a painted pumpkin, then generously sprinkle glitter over the wet adhesive. After letting it dry completely, I gently shake off the excess and seal with a clear spray to prevent shedding. This technique works beautifully on smaller pumpkins for elegant tablescapes or as eye-catching accents on your porch.
Textured pumpkins offer another dimension to your fall decorating arsenal. I’ve found that wrapping sections of pumpkins with textured yarn creates a cozy, handcrafted look perfect for the season. For a more unique approach, try decoupaging fabric scraps onto your pumpkin surface. Plaid flannel patterns or burlap create that quintessential autumn vibe, while velvet adds unexpected luxury. These textured autumn decorations maintain their beauty long after Halloween has passed.
Character-themed designs inject personality and fun into your pumpkin display. I like to recreate favorite cartoon characters or movie icons using acrylic paints. For beginners, sticking to silhouettes works wonderfully – think Batman symbols, Mickey Mouse ears, or Star Wars characters. More experienced painters might attempt detailed character faces or scenes. These personalized creations never fail to delight visitors and make for fantastic photo opportunities.
Non-Halloween fall themes extend the seasonal life of your pumpkins well into November. Instead of spooky motifs, I paint fall landscapes, woodland animals, or elegant foliage patterns. Soft oranges, deep reds, and golden yellows evoke the changing leaves. Another favorite technique is painting inspiring fall quotes or single words like “grateful” or “harvest” in stylish lettering. These autumn-themed decorations complement your Thanksgiving decor seamlessly.
Social Painting Experiences
Pumpkin painting makes for wonderful social gatherings. I’ve hosted pumpkin painting parties where everyone brings their own pumpkin while I provide paints, brushes, and inspiration. These events create memorable experiences and unique decorations for everyone involved. The rising popularity of such activities is reflected in the booming pumpkin market – U.S. pumpkin sales reached $300 million in 2021, showing just how central these gourds have become to fall festivities.
For family-friendly painting sessions, I set up stations with washable paints and simple designs for younger children. Teens and adults can tackle more complex projects with fine-tipped brushes and detailed stencils. Everyone leaves with a personalized creation to display proudly.
These painting activities pair perfectly with fall treats like pumpkin chocolate chip muffins or spiced pumpkin coffee. For a healthier option, pumpkin protein balls provide energy during longer crafting sessions.
For stunning results with minimal artistic skill, I recommend trying a marbled effect by swirling acrylic paints in water and dipping sections of white-painted pumpkins. Another foolproof technique is using adhesive stencils to create perfect patterns every time. Those looking for rustic charm might appreciate the simplicity of minimal designs that let the natural beauty of the pumpkin show through.
By exploring these creative variations, I’ve discovered that pumpkin painting offers endless possibilities for seasonal expression that celebrates autumn’s beauty in personalized ways.

Sources:
National Retail Federation, Halloween Spending Trends
American Psychological Association, Why Carving Pumpkins Can Be Spooky Fun
Agricultural Marketing Resource Center, Pumpkin Industry Overview

