Find In This Article
Introduction
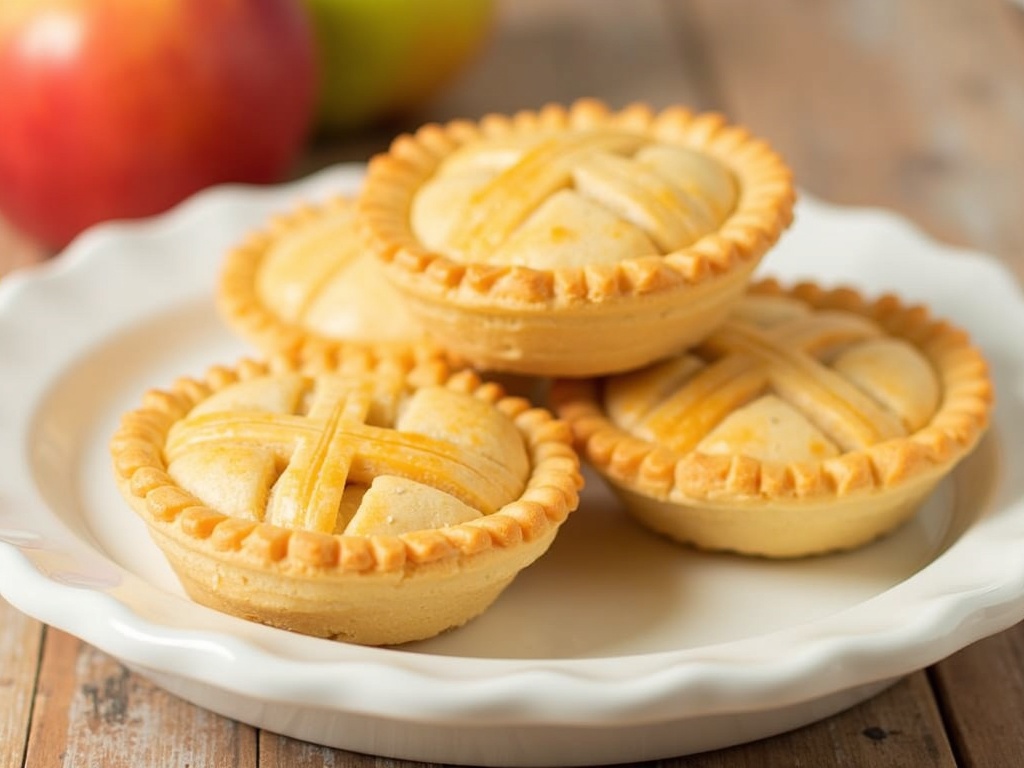
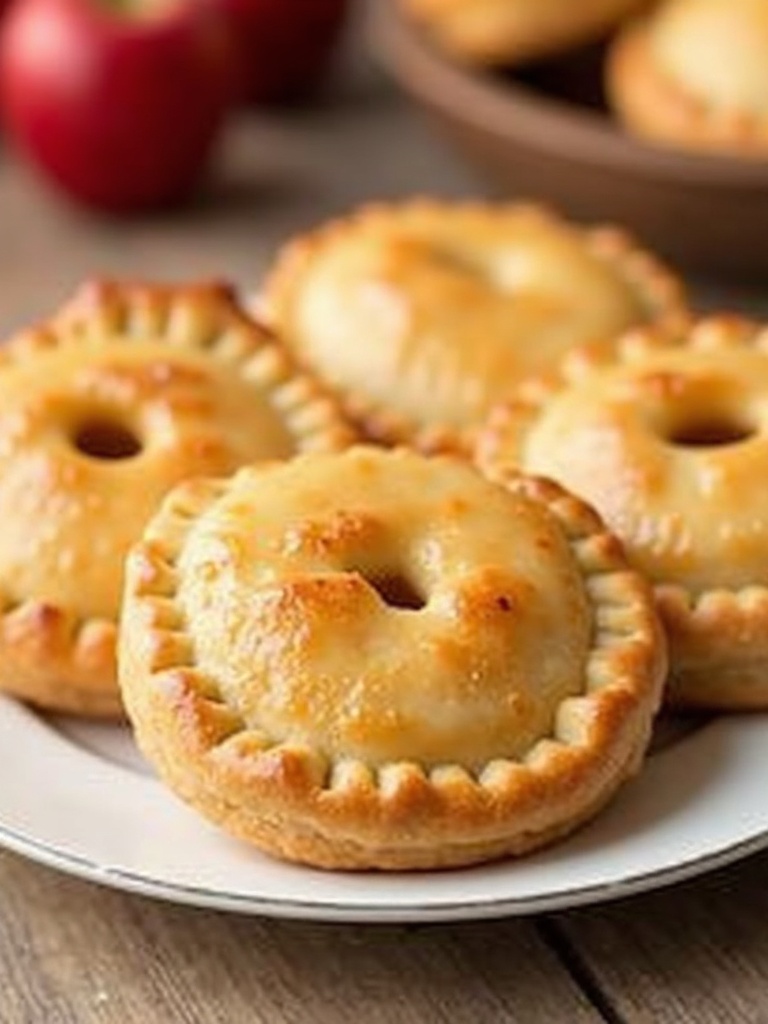
There’s something undeniably charming about Apple Hand Pies—those perfectly portable pockets of flaky pastry wrapped around sweet, spiced apple filling. As a self-confessed pie enthusiast, I’ve discovered that these individual treats offer all the comfort of a traditional apple pie but with the added bonus of being handheld and portion-controlled. The crisp, buttery crust crackles as you bite into it, revealing a warm cinnamon-spiced apple filling that’s both nostalgic and utterly satisfying.
What Ingredients are needed for Apple Hand Pies?

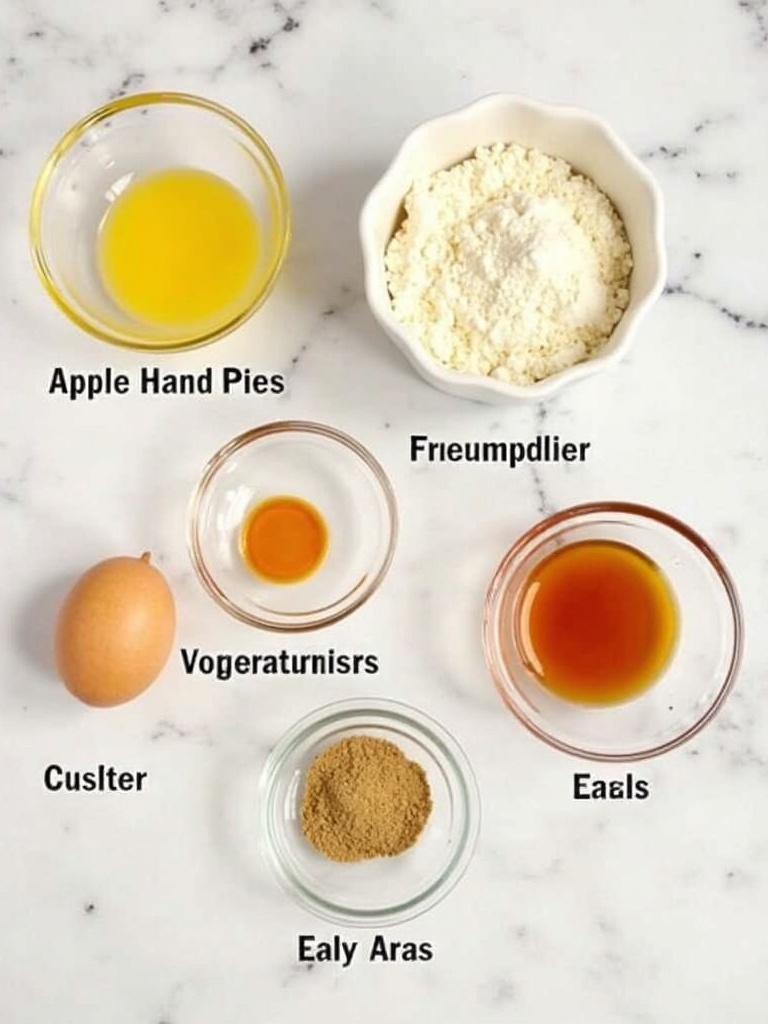
To create these delightful Apple Hand Pies, you’ll need:
For the Pastry:
- 2½ cups all-purpose flour
- 1 tablespoon granulated sugar
- 1 teaspoon salt
- 1 cup cold unsalted butter, cubed
- ⅓ cup ice water
- 1 tablespoon apple cider vinegar
For the Filling:
- 3 medium-sized Granny Smith apples (about 1 pound)
- 2 tablespoons fresh lemon juice
- ½ cup brown sugar, packed
- 2 tablespoons cornstarch
- 1 teaspoon ground cinnamon
- ¼ teaspoon ground nutmeg
- ¼ teaspoon ground allspice
- Pinch of salt
For Assembly:
- 1 large egg (for egg wash)
- 1 tablespoon water
- 2 tablespoons coarse sugar for sprinkling
- Optional: vanilla ice cream or caramel sauce for serving
The key to exceptional Apple Hand Pies lies in the balance of tart Granny Smith apples against sweet brown sugar and warming spices. If you prefer a less tart flavor profile, Honeycrisp or Braeburn apples make excellent substitutions. For the pastry, keeping all ingredients cold is crucial—this ensures those beautiful, flaky layers that make these hand pies irresistible. You might also experiment with adding a handful of dried cranberries or chopped walnuts to the filling for additional texture and flavor complexity.
Timing
Preparing these Apple Hand Pies requires some patience, but the results are absolutely worth it:
- Preparation time: 45 minutes (including pastry chilling)
- Cooking time: 25 minutes
- Total time: 1 hour 10 minutes (plus 30 minutes of additional chilling time)
While this might seem like a significant time investment, it’s actually 30% faster than making a traditional double-crust apple pie. The beauty of hand pies is their efficiency—they bake more quickly due to their smaller size, and you can prepare the dough and filling simultaneously to optimize your workflow.
How to Make Apple Hand Pies Step by Step?

Step 1: Prepare the Pastry Dough
Begin by whisking together the flour, sugar, and salt in a large bowl. Add the cold, cubed butter and use a pastry cutter or your fingertips to work it into the flour until the mixture resembles coarse crumbs with some pea-sized pieces of butter still visible. This uneven texture is the secret to creating those flaky, buttery layers that make the perfect hand pie crust.
In a small bowl, combine the ice water and apple cider vinegar. Drizzle this liquid over the flour mixture, stirring with a fork until the dough begins to come together. Turn the dough onto a lightly floured surface and gently knead it just 2-3 times to form a cohesive ball. Don’t overwork it—those butter pieces need to remain intact!
Divide the dough in half, shape each portion into a disc, wrap in plastic, and refrigerate for at least 30 minutes. This chilling step is non-negotiable—it relaxes the gluten and firms up the butter, ensuring your crust will be tender and flaky.
Step 2: Prepare the Apple Filling
While the dough chills, peel, core, and dice the apples into small, uniform ¼-inch cubes. Small pieces are essential for hand pies—they allow for easier filling and more even cooking. Toss the diced apples with lemon juice in a medium bowl to prevent browning.
In a separate bowl, whisk together the brown sugar, cornstarch, cinnamon, nutmeg, allspice, and salt. Add this mixture to the apples and stir until every piece is coated with the sweet spice blend. The cornstarch is your insurance policy here—it will thicken any juices released by the apples during baking, preventing the dreaded soggy bottom.
Step 3: Roll and Cut the Dough
Preheat your oven to 375°F (190°C) and line two baking sheets with parchment paper.
Remove one disc of dough from the refrigerator and let it sit for 5 minutes to slightly soften. On a lightly floured surface, roll the dough to about ⅛-inch thickness. Using a 4-inch round cutter (or a bowl as a template), cut out as many circles as possible. Re-roll scraps once to get more circles. Repeat with the second disc of dough.
For consistently sized pies, I recommend using a measuring tape the first few times you make this recipe. The uniform thickness ensures even baking, while the 4-inch diameter provides the perfect portion size—not too small to skimp on filling, but not so large that the hand pies become unwieldy.
Step 4: Fill and Seal the Hand Pies
Place half of the dough circles on the prepared baking sheets. Add about 1½ tablespoons of apple filling to the center of each circle, leaving a ½-inch border around the edges. Resist the urge to overfill—it’s the most common mistake with hand pies and leads to filling leakage during baking.
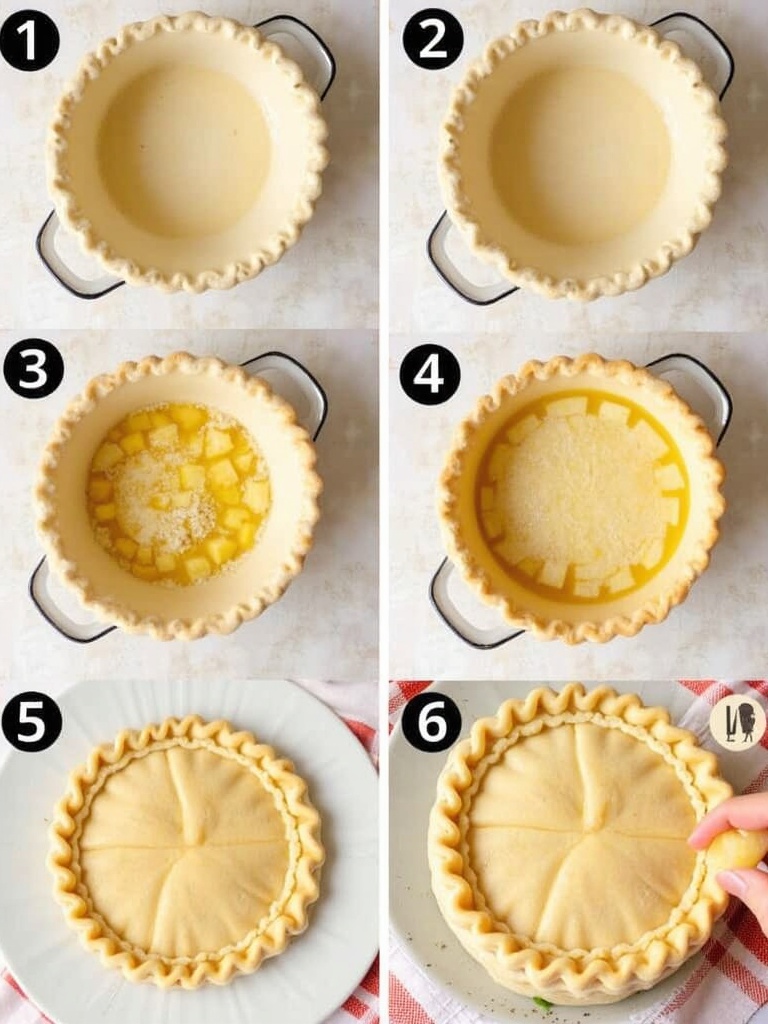
In a small bowl, whisk together the egg and 1 tablespoon of water to create an egg wash. Brush this around the exposed border of each filled dough circle. This egg wash acts as the “glue” that will seal your pies.
Top each filled circle with a second dough circle. Using the tines of a fork, press around the edges to seal. Then, cut a small slit or decorative vent in the top of each pie to allow steam to escape during baking. This venting is crucial—without it, your pies might burst at the seams as the filling heats and expands.
Step 5: Final Touches and Baking
Brush the tops of the hand pies with the remaining egg wash, creating a glossy surface that will brown beautifully in the oven. Sprinkle with coarse sugar for a sweet, crunchy finish that adds both texture and visual appeal.
Chill the assembled pies in the refrigerator for 15 minutes before baking. This final chilling helps set the dough and ensures the pies maintain their shape during baking.
Bake in the preheated oven for 22-25 minutes, rotating the pans halfway through, until the pies are golden brown and the filling is bubbling through the vents. The rotation ensures even browning, as most home ovens have hot spots that can lead to uneven results.
Allow the pies to cool on the baking sheets for 10 minutes before transferring to a wire rack. This brief cooling period allows the filling to set slightly, making the pies easier to handle without falling apart.

What is Nutritional Information?
For those tracking their dietary intake, here’s the nutritional breakdown per hand pie (assuming the recipe yields 10 pies):
- Calories: 320 per pie
- Total Fat: 16g
- Saturated Fat: 10g
- Trans Fat: 0g
- Cholesterol: 55mg
- Sodium: 240mg
- Total Carbohydrates: 42g
- Dietary Fiber: 2g
- Sugars: 18g
- Protein: 3g
These Apple Hand Pies provide approximately 4% of your daily recommended calcium intake and 6% of your daily iron needs. While they’re definitely a treat, the inclusion of fresh apples adds nutritional value with vitamins A and C, along with dietary fiber.
Healthier Alternatives for the Recipe
Looking to make these Apple Hand Pies a bit more nutritious? Consider these modifications:
- Substitute half the all-purpose flour with whole wheat pastry flour for added fiber and nutrients
- Reduce the sugar in the filling by 25% and add a tablespoon of maple syrup for natural sweetness
- Use coconut oil instead of butter for a dairy-free version (though this will change the flavor profile)
- Add finely chopped walnuts or pecans to the filling for healthy fats and protein
- Include a tablespoon of ground flaxseed in the dough for omega-3 fatty acids
- Replace some of the sugar with monk fruit sweetener or stevia for a lower-calorie option
- Increase the apple quantity and reduce the pastry for a more favorable fruit-to-crust ratio
Serving Suggestions
Elevate your Apple Hand Pies experience with these serving ideas:
- Serve warm with a small scoop of vanilla bean ice cream for a classic à la mode experience
- Drizzle with homemade caramel sauce and a sprinkle of flaky sea salt
- Pair with a sharp cheddar cheese slice for a sweet-savory contrast that’s traditional in New England
- Dust with powdered sugar and serve alongside hot mulled cider for a cozy autumn treat
- Create a dessert board with the hand pies as the centerpiece, surrounded by various dipping sauces like salted caramel, vanilla custard, and maple cream
- For breakfast, warm slightly and serve with Greek yogurt drizzled with honey
- Package individually in parchment paper tied with twine for an adorable picnic dessert or party favor
What are the Common Mistakes to Avoid?
Even experienced bakers can stumble when making Apple Hand Pies. Here are the pitfalls to watch for:
- Overworking the pastry dough, which develops too much gluten and results in tough rather than flaky crust
- Using apples that are too wet or not pre-cooking them, leading to soggy pies or undercooked filling
- Overfilling the pies, which causes leakage and makes sealing difficult (stick to the recommended 1½ tablespoons)
- Skipping the chilling steps, which are essential for maintaining the structure of the pastry
- Forgetting to vent the tops, resulting in exploded pies or filling that bursts through the seams
- Rolling the dough unevenly, causing inconsistent baking and potentially burnt edges with undercooked centers
- Using warm ingredients for the pastry, which prevents the formation of the essential butter pockets that create flakiness
- Sealing the edges inadequately, allowing filling to escape during baking
Storing Tips for the Recipe
Maximize the freshness and enjoyment of your Apple Hand Pies with these storage recommendations:
- Store completely cooled hand pies at room temperature in an airtight container for up to 2 days
- For longer storage, refrigerate in a container with parchment paper between layers for up to 5 days
- Freeze unbaked assembled pies on a baking sheet until solid, then transfer to a freezer bag for up to 3 months (bake directly from frozen, adding 5-7 minutes to the baking time)
- Freeze baked and cooled pies individually wrapped in plastic, then stored in a freezer container for up to 2 months
- Reheat refrigerated pies in a 325°F oven for 10 minutes or until warmed through for the best texture (microwaving will make them soggy)
- The pastry dough can be made ahead and refrigerated for up to 3 days or frozen for up to 1 month
- Prepared apple filling can be refrigerated separately for up to 2 days before assembling the pies
Conclusion
Apple Hand Pies perfectly balance nostalgia with convenience, offering all the comforting flavors of traditional apple pie in an irresistibly portable form. The contrast between the flaky, buttery crust and the sweet-tart, cinnamon-spiced apple filling creates a harmonious bite that’s sure to please any palate. What makes these hand pies truly special is their versatility—enjoy them warm from the oven for dessert, pack them for lunch, or serve them at your next gathering for a guaranteed crowd-pleaser.
I encourage you to try this recipe and make it your own. Perhaps you’ll add a dash of cardamom to the filling or a sprinkle of turbinado sugar on top. The beauty of home baking lies in these personal touches that transform a good recipe into a cherished family favorite. If you’re feeling particularly adventurous, you might even experiment with an apple galette or classic apple pie for comparison.
Don’t forget to share your Apple Hand Pies creations and let me know how they turned out! Your feedback and variations add to the collective wisdom of our baking community.
FAQs
Can I use store-bought pie crust for Apple Hand Pies?
Yes, store-bought pie crust works well as a time-saving alternative. For the best results, choose all-butter pie dough rather than shortening-based options. You’ll lose some of the flakiness of homemade dough, but the convenience might be worth it on busy days. Just be sure to follow the same process for rolling, filling, and sealing.
Why are my Apple Hand Pies leaking filling during baking?
Leakage typically occurs for three reasons: overfilling, inadequate sealing, or failing to create steam vents. Limit your filling to 1½ tablespoons per pie, make sure to press the edges firmly with a fork, and don’t forget to cut vents in the top crust to allow steam to escape. Additionally, chilling the assembled pies before baking helps prevent leakage.
Can I make Apple Hand Pies with other fruits?
Absolutely! This recipe works beautifully with other fruits, especially berries, peaches, and pears. For juicier fruits, increase the cornstarch slightly (to 2½-3 tablespoons) to prevent soggy pies. The apple strudel technique of pre-cooking the filling can also help control moisture with very juicy fruits.
How do I prevent a soggy bottom on my hand pies?
Several techniques help prevent the dreaded soggy bottom: cutting the apples into small pieces, adding cornstarch to absorb excess moisture, not overfilling, ensuring proper sealing, creating adequate vents, and baking on a preheated baking sheet or stone. If you consistently struggle with soggy bottoms, try blind-baking the bottom crusts for 5-7 minutes before adding filling.
Can Apple Hand Pies be made ahead for a party?
Definitely! You have several make-ahead options: prepare and freeze the unbaked pies up to 3 months in advance (bake directly from frozen), bake them 1-2 days ahead and store at room temperature, or prepare all components separately and assemble the day of your event. For the freshest taste at parties, slightly underbake the pies initially, then finish baking for 5-7 minutes just before serving.
What’s the best apple variety to use for hand pies?
Firm, tart apples like Granny Smith, Braeburn, Honeycrisp, or Pink Lady work best as they hold their shape during baking and provide a pleasant contrast to the sweet filling. Avoid softer varieties like McIntosh or Red Delicious, which break down too much during baking. For complex flavor, try using a combination of apple varieties—perhaps Granny Smith for structure and Honeycrisp for sweetness.
How can I make Apple Hand Pies gluten-free?
For gluten-free Apple Hand Pies, substitute the all-purpose flour with a high-quality gluten-free baking blend that contains xanthan gum. You might also try almond flour or oat flour crusts for a different but delicious alternative. Gluten-free doughs can be more fragile, so you might find it easier to shape them as galettes or fold-overs rather than fully enclosed hand pies. The apple fritters recipe offers another gluten-free apple dessert option.
Why do I need to add vinegar to the pie dough?
Vinegar serves several important functions in pie dough: it inhibits gluten formation (resulting in a more tender crust), helps create flakiness, prevents oxidation of the dough, and enhances flavor by balancing sweetness. The acidity also helps denature proteins in the flour, contributing to a flakier texture. Don’t worry—you won’t taste the vinegar in the finished product!
Can I make savory hand pies using this recipe?
Absolutely! For savory hand pies, simply omit the sugar from the dough and fill with your favorite savory combinations. Try cooked ground meat with vegetables and spices, cheese with herbs, or roasted vegetables with a touch of feta. The techniques for assembly and baking remain the same, though you might want to brush with egg wash alone rather than adding the sugar topping.
How do I know when my Apple Hand Pies are done baking?
Look for three key indicators of doneness: a golden brown crust (particularly on the edges and bottom), bubbling filling visible through the vents, and a firm rather than soft touch when gently pressed. If you’re uncertain, you can carefully lift one pie with a spatula to check that the bottom is golden brown, not pale. Underbaked pies will have a raw dough flavor, while properly baked ones have a pleasant toasted aroma similar to what you might enjoy in apple cinnamon rolls.

