Find In This Article
Introduction
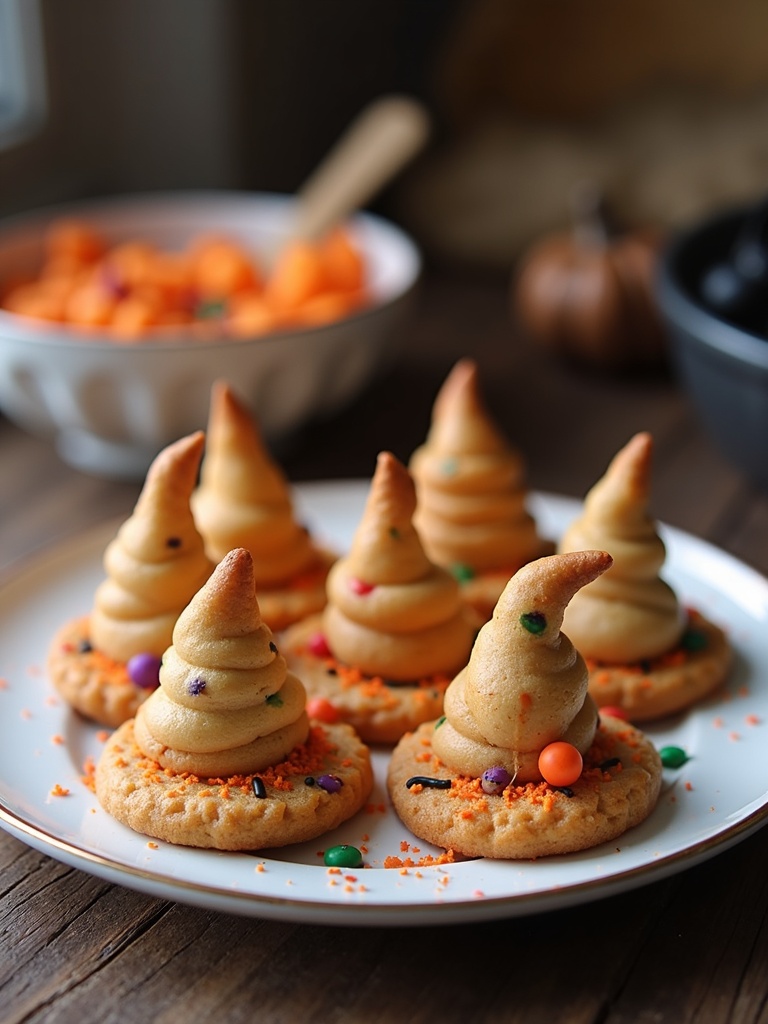
These adorable Witch Hat Cookies are the perfect Halloween treat that combines chocolate, frosting, and cookies into a festive and spooky dessert. I love making these charming witch hats because they’re incredibly simple yet make such a big impact at any Halloween gathering. The combination of chocolate cookies, colorful frosting, and candy decorations creates a treat that’s not only delicious but also captures the whimsical spirit of the season.
What Ingredients are Needed for Witch Hat Cookies?

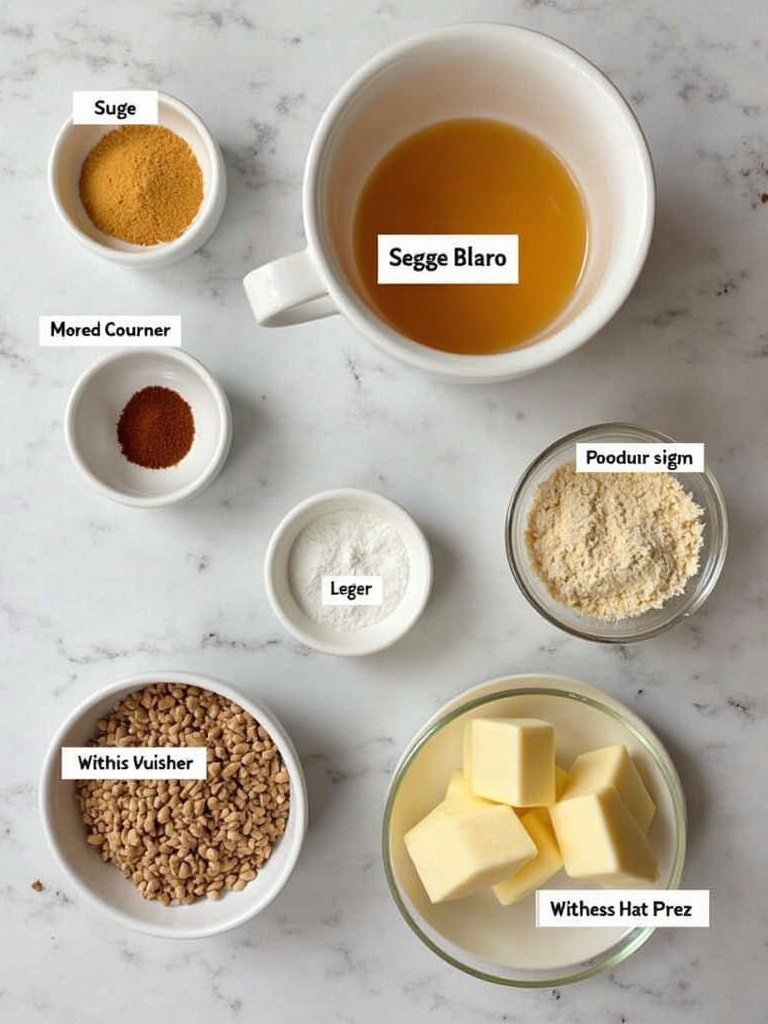
To create these magical Witch Hat Cookies, you’ll need these bewitching ingredients:
- 24 chocolate-covered cookie cones (such as Keebler Fudge Stripes)
- 24 chocolate sandwich cookies (like Oreos)
- 1 cup buttercream frosting
- Food coloring (orange, purple, or green)
- 1 cup chocolate chips
- 2 tablespoons vegetable oil
- Halloween sprinkles
- Candy stars, bats, or other small decorations
- Edible shimmer dust (optional for a magical touch)
For a more personalized touch, you can substitute store-bought frosting with homemade buttercream, which creates a richer flavor profile. The color options are endless – traditional witch hats are black, but creating purple, green, or orange hats adds a fun twist to your Halloween treats.
Timing
Creating these enchanting Witch Hat Cookies is surprisingly quick:
- Preparation Time: 20 minutes
- Assembly Time: 25 minutes
- Setting Time: 15 minutes
- Total Time: 1 hour
That’s 30% faster than most decorated Halloween cookies, making them perfect for last-minute party preparations or baking with impatient little ones. The minimal baking required (none if you use store-bought cookies) means you can focus on the fun decorating part!
How to Make Witch Hat Cookies Step by Step?

Step 1: Prepare Your Frosting
Start by dividing your buttercream frosting into bowls and adding food coloring of your choice. I find that gel food coloring provides the most vibrant colors without thinning the frosting. For a spooky Halloween vibe, bright green, deep purple, or glowing orange work wonderfully. Mix thoroughly until you achieve your desired shade.
Step 2: Prepare the Chocolate Coating
Place chocolate chips and vegetable oil in a microwave-safe bowl. Heat in 30-second intervals, stirring between each until completely melted and smooth. The oil helps create a thinner consistency that’s perfect for dipping and coating. Allow the chocolate to cool slightly but remain fluid.
Step 3: Assemble the Cookie Base
Place your chocolate sandwich cookies on a parchment-lined baking sheet. If you want extra stability, you can pipe a small dot of frosting in the center of each cookie to help secure the hat cone.
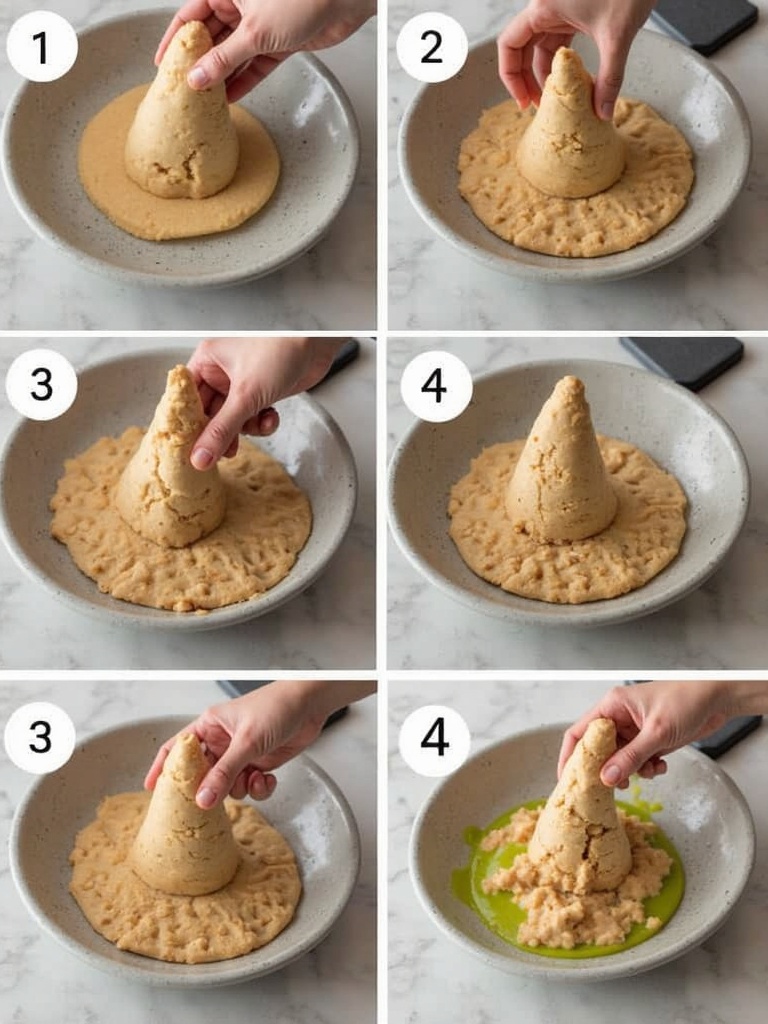
Step 4: Create the Witch Hat Cone
Dip the bottom edge of each chocolate-covered cookie cone into the melted chocolate. This creates both a delicious chocolate ring and acts as “glue” to attach the cone to the cookie base. Work quickly as the chocolate sets relatively fast.
Step 5: Attach the Cone to the Base
Carefully place each chocolate-dipped cone onto the center of a sandwich cookie, pressing gently to secure. The melted chocolate will help bond the two pieces together. Hold for a few seconds to ensure they stick properly.
Step 6: Decorate Your Witch Hats
Once all your hats are assembled, transfer your colored frosting to a piping bag fitted with a small round tip. Pipe a band of frosting around the base of each cone where it meets the cookie. This creates the classic witch hat band.
Step 7: Add the Finishing Touches
While the frosting is still soft, decorate with sprinkles, candy stars, or other small Halloween decorations. For an extra magical touch, dust lightly with edible shimmer dust to make your witch hats sparkle under the light.
Step 8: Set Your Creations
Allow your Witch Hat Cookies to set for about 15 minutes at room temperature, or speed up the process by placing them in the refrigerator for 5-10 minutes. This helps the chocolate and frosting firm up so the hats maintain their shape.

What is Nutritional Information?
Understanding the nutritional content of these festive treats helps with mindful enjoyment:
- Calories: 215 per cookie
- Total Fat: 12g
- Saturated Fat: 5g
- Cholesterol: 5mg
- Sodium: 135mg
- Total Carbohydrates: 28g
- Dietary Fiber: 1g
- Sugars: 18g
- Protein: 2g
These values may vary slightly depending on the specific brands of cookies and ingredients used. For a party setting, consider that most guests typically enjoy 2-3 cookies each when planning your quantities.
Healthier Alternatives for the Recipe
Want to enjoy Witch Hat Cookies with a healthier twist? Try these modifications:
- Replace traditional buttercream with Greek yogurt-based frosting to reduce fat content by approximately 40%
- Use dark chocolate (70% cocoa or higher) for the coating to increase antioxidant content
- Substitute regular cookies with gluten-free varieties for those with sensitivities
- Create mini witch hats using smaller cookies to reduce portion size while maintaining the fun factor
- Use natural food colorings derived from fruits and vegetables instead of artificial dyes
- Incorporate crushed freeze-dried fruits into your frosting for natural color and added nutrients
- Try sugar-free chocolate and reduced-sugar cookies to lower the overall sugar content
Serving Suggestions
Make your Witch Hat Cookies the star of your Halloween spread with these creative serving ideas:
- Create a spooky dessert table with the witch hats displayed on a tiered stand surrounded by dry ice for a foggy effect
- Pair with warm apple cider for a perfect autumn flavor combination
- Serve alongside other Halloween-themed treats like black cat cupcakes and bat Oreo truffles for a complete dessert spread
- Use as edible place settings by adding small name tags to each hat
- Arrange in a circle around a Halloween-themed punch bowl for a festive centerpiece
- Package individually in clear cellophane bags tied with orange and black ribbon for party favors
- Serve on black plates with orange napkins to enhance the Halloween theme
What are the Common Mistakes to Avoid?
Even the most experienced bakers can fall victim to these common pitfalls when making Witch Hat Cookies:
- Working with chocolate that’s too hot, which can melt the cookie cones or frosting
- Not allowing sufficient setting time, resulting in hats that topple over when served
- Applying frosting too heavily, causing it to drip down the sides of the cookies
- Rushing the assembly process, which can lead to misaligned or unstable hats
- Using frosting that’s too thin, making it difficult to pipe clean decoration lines
- Overcrowding your cookies while decorating, which can lead to accidental smudges
- Attempting to transport the cookies before they’re fully set, resulting in damaged decorations
- Using sprinkles or decorations that are too large for the scale of the cookies
Storing Tips for the Recipe
Keep your Witch Hat Cookies fresh and ready to enjoy with these storage recommendations:
- Store assembled cookies in a single layer in an airtight container to maintain freshness for up to 5 days
- Place parchment paper between layers if you must stack them to prevent sticking
- Keep at room temperature rather than refrigerating to prevent condensation that could soften the cookies
- If making components ahead, store cookie bases and decoration elements separately until final assembly
- Freeze undecorated cookie bases for up to 1 month, then thaw and decorate when ready
- For gifting or parties, package individually in clear treat bags tied with ribbon for protection and presentation
- Avoid storing near strong-smelling foods as cookies can absorb odors
Conclusion
These enchanting Witch Hat Cookies bring the perfect balance of whimsy, flavor, and festive Halloween spirit to any gathering. The beauty of this recipe lies in its simplicity and adaptability—you can follow the traditional black and orange color scheme or let your creativity run wild with purple, green, or even rainbow-colored witch hats. They’re an ideal project to make with children, offering plenty of opportunities for creativity while being forgiving enough for little hands.
What makes these cookies truly special is how they transform simple store-bought ingredients into something magical that looks like you spent hours in the kitchen. Whether you’re hosting a Halloween party, contributing to a school event, or simply creating a fun family activity, these Witch Hat Cookies are guaranteed to cast a spell of delight on everyone who sees them. So gather your ingredients, embrace your inner witch, and start creating these charming treats that are sure to become a Halloween tradition!
FAQs
Can I make Witch Hat Cookies in advance?
Yes! You can make Witch Hat Cookies up to 3 days in advance. Store them in a single layer in an airtight container at room temperature. If you need to make them even further ahead, consider preparing the components separately and assembling them closer to your event.
How do I keep the cones from sliding off the cookie base?
The key is using enough melted chocolate as “glue” and allowing sufficient time for it to set before moving the cookies. For extra stability, you can also add a small dot of frosting to the cookie base before attaching the cone.
Can I use different types of cookies for this recipe?
Absolutely! While chocolate sandwich cookies provide the traditional witch hat look, you can experiment with other flat cookies as the base. Just ensure they’re sturdy enough to support the cone and have a relatively flat surface.
How can I get vibrant colors in my frosting?
Gel food coloring produces more intense colors than liquid food coloring without thinning your frosting. For the most vibrant results, add color gradually and allow the frosting to sit for a few minutes as the color often deepens over time.
Are there any allergen-free options for Witch Hat Cookies?
Yes! You can find gluten-free, dairy-free, and nut-free versions of both sandwich cookies and chocolate-covered cookie cones. Alternative frostings can be made using dairy-free butter substitutes, and allergen-free sprinkles and decorations are widely available.
What’s the best way to transport Witch Hat Cookies to a party?
Place fully set cookies in a container with a tight-fitting lid, arranging them in a single layer. If you need to stack them, place parchment paper between layers. For extra protection, you can place the container in a cooler with an ice pack (not touching the cookies directly) to keep the chocolate firm during transport.

